


hello! hello! it has been a while since i have posted to the blog. i feel like content over the last couple years has shifted to video & this litte space doesn't get the love it deserves. that being said i have a super exciting kitchen reveal to share with you! that is right, modest kitchen got a MAJOR upgrade over 2023. i am beyond thrilled to have a custom space i created for all my recipe development, photography & video projects. as you can imagine, a lot of work & attention to detail went into this renovation.. so let's get down to the nitty gritty!
the design: i worked with a canadian company called swede kitchens who sourced me a designer, local cabinet maker & cabinet installer. it is truly a one stop shop for all the key stages of my renovation! right after the first phone call with meaghan of studio hemma, i knew we had the same vision for this space! my goal was to create a beautiful danish inspired kitchen with natural wood tones, natural stone & a few playful elements to tie it all together! alongside swede, meaghan created moodboards & 3D renderings of her design in a stunning virtual design presentation. she had the most genius idea to turn the tiny little island i originally had into a huge peninsula featuring double sided storage. after a few tweaks to the design, i went ahead & ordered the cabinets!
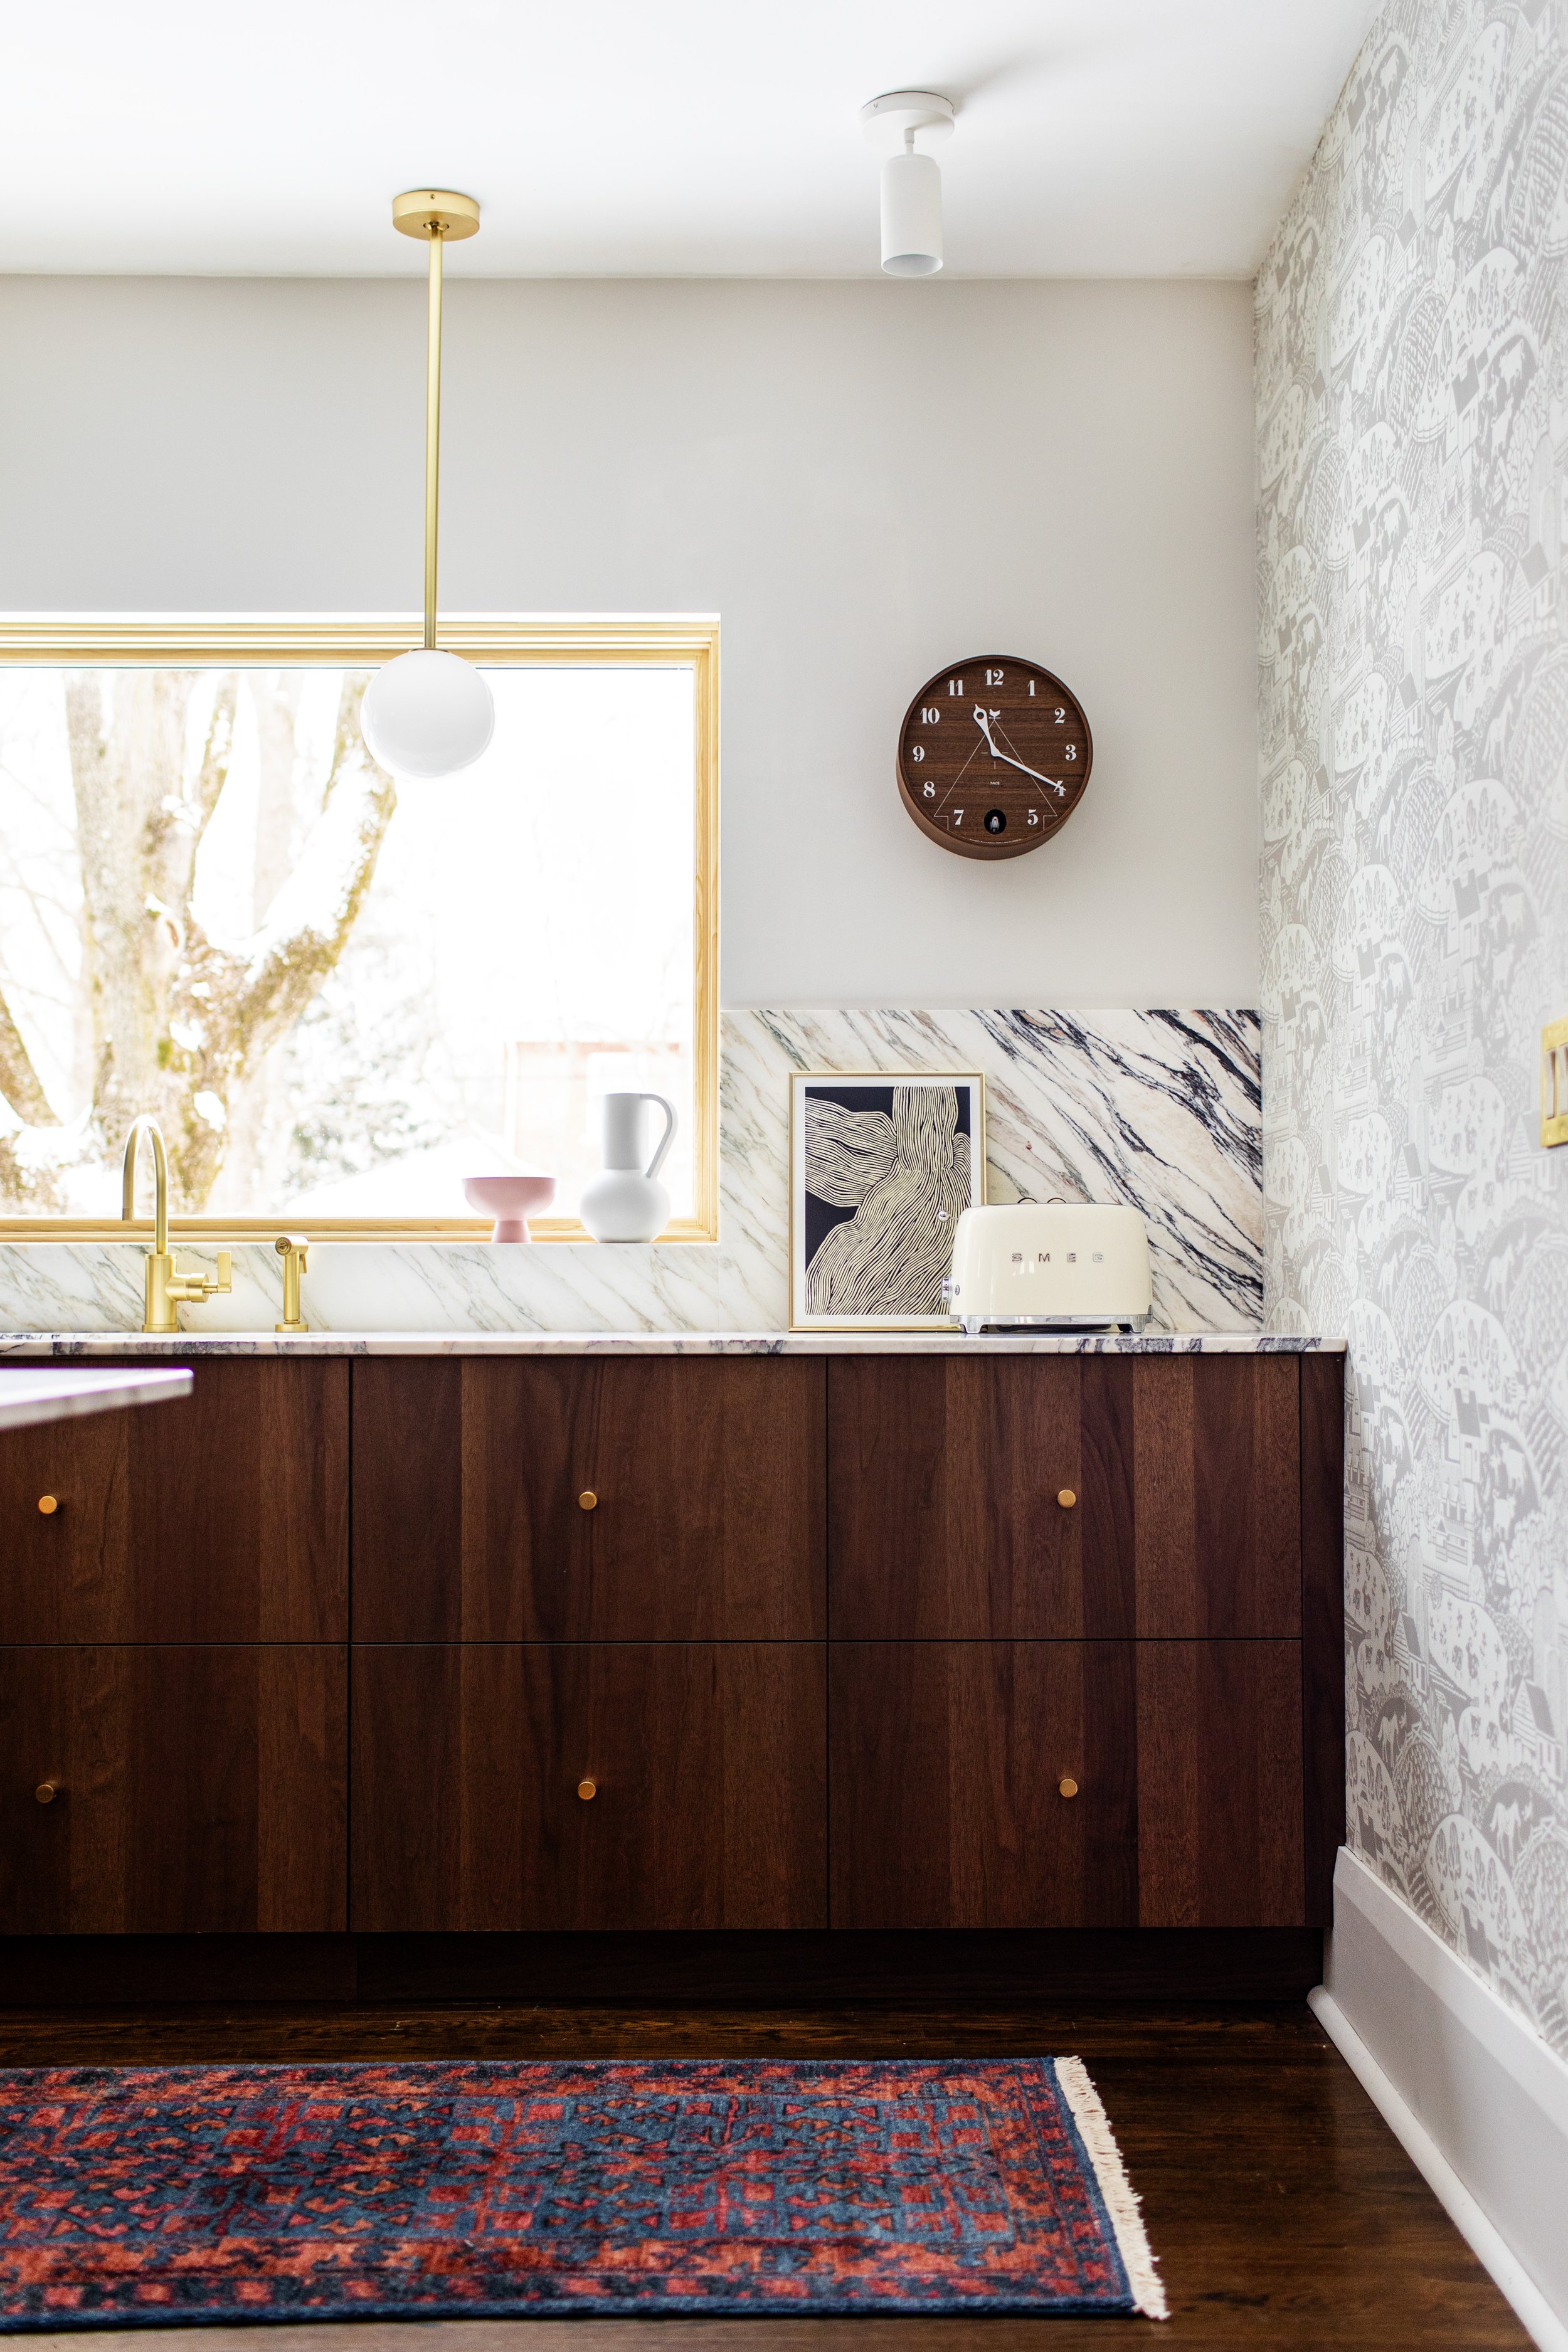
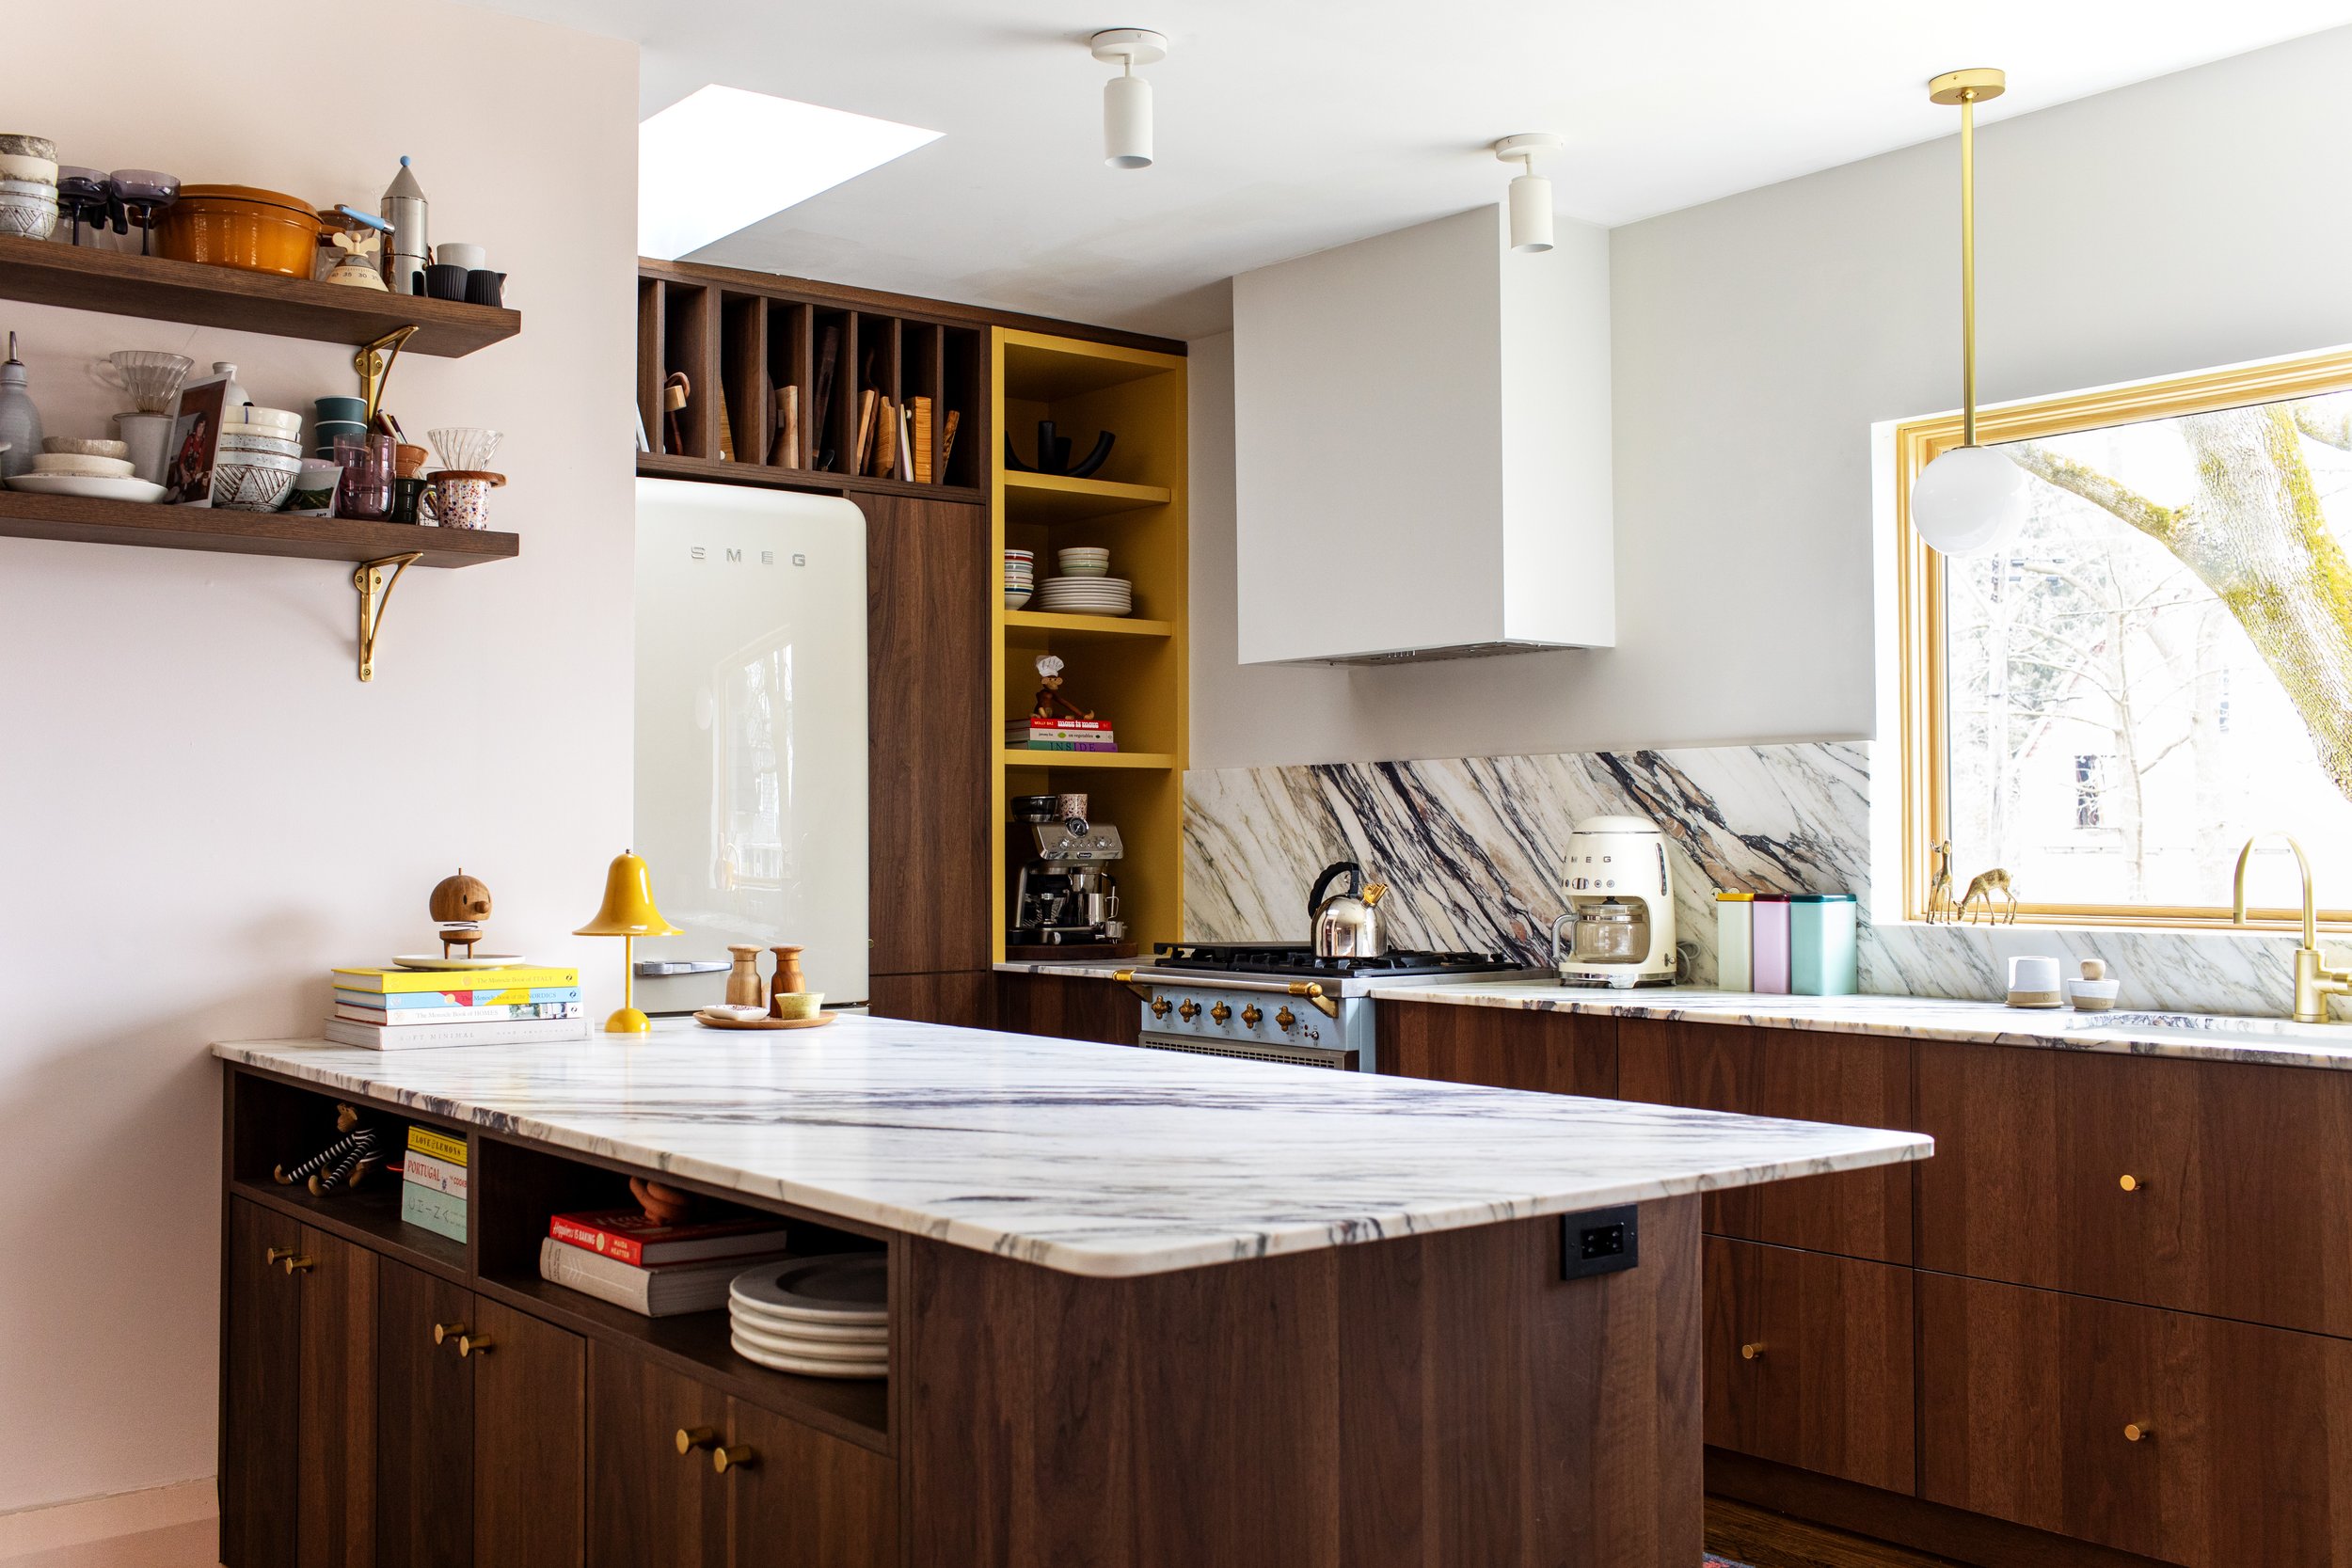
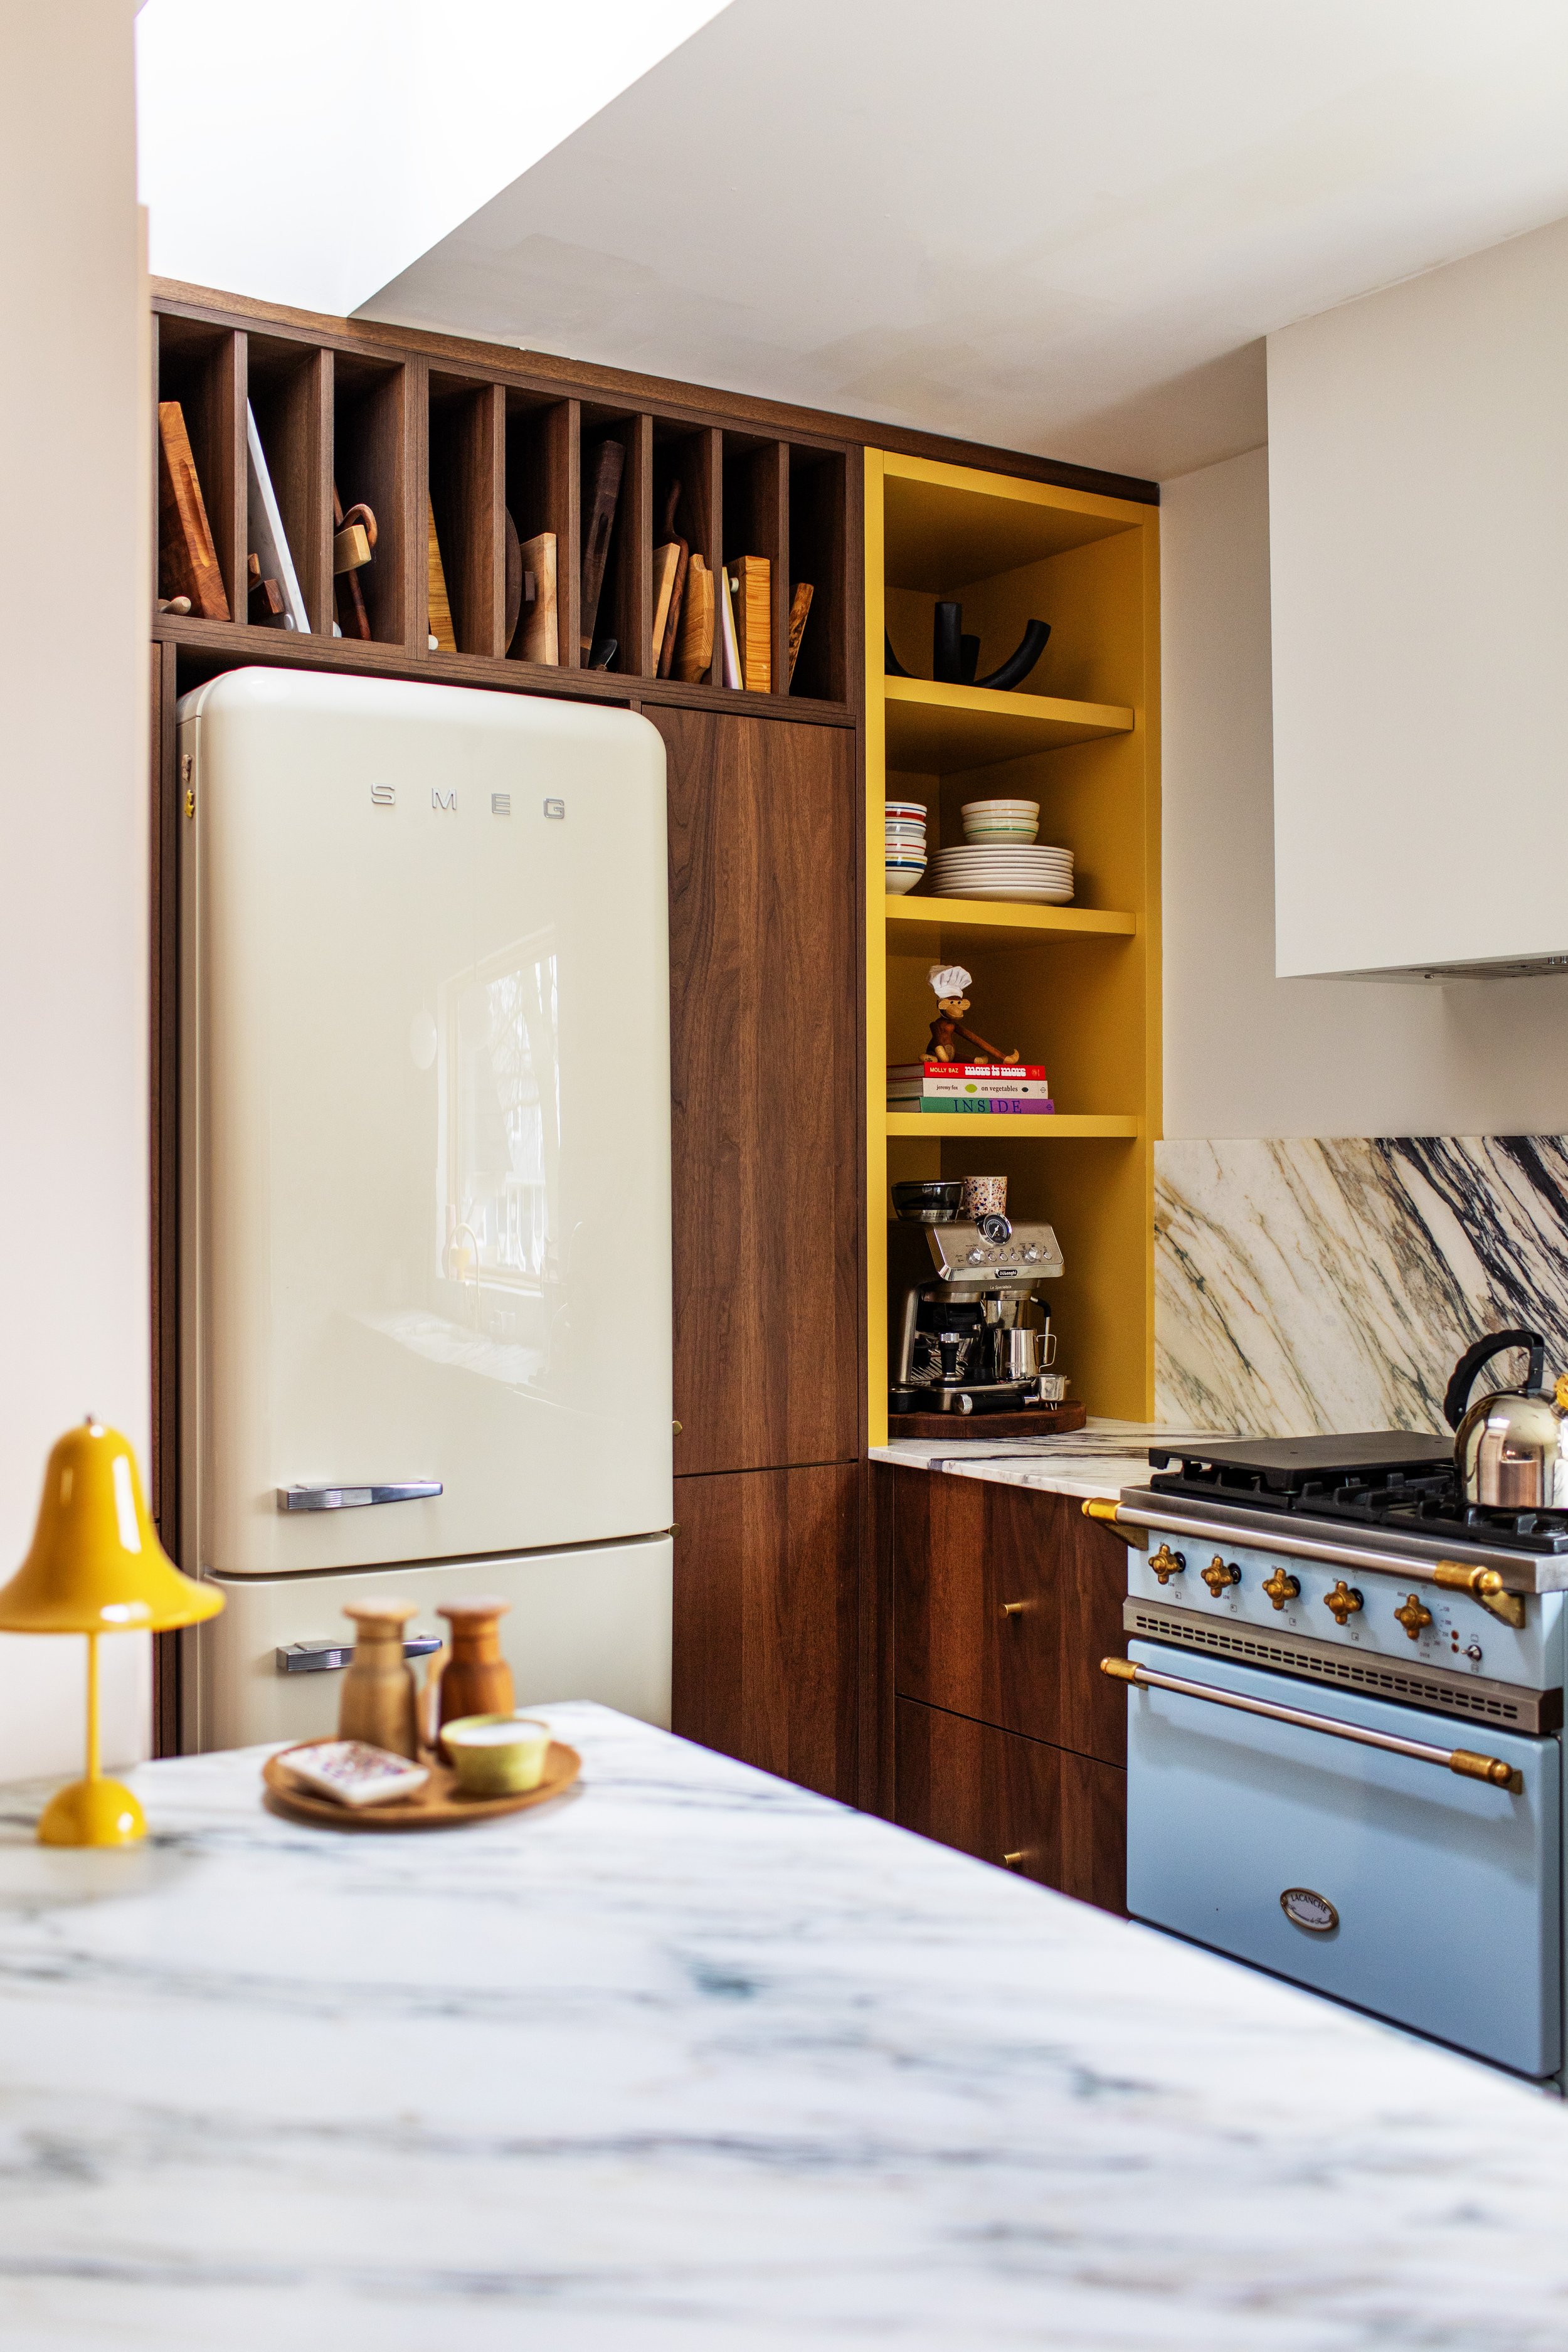
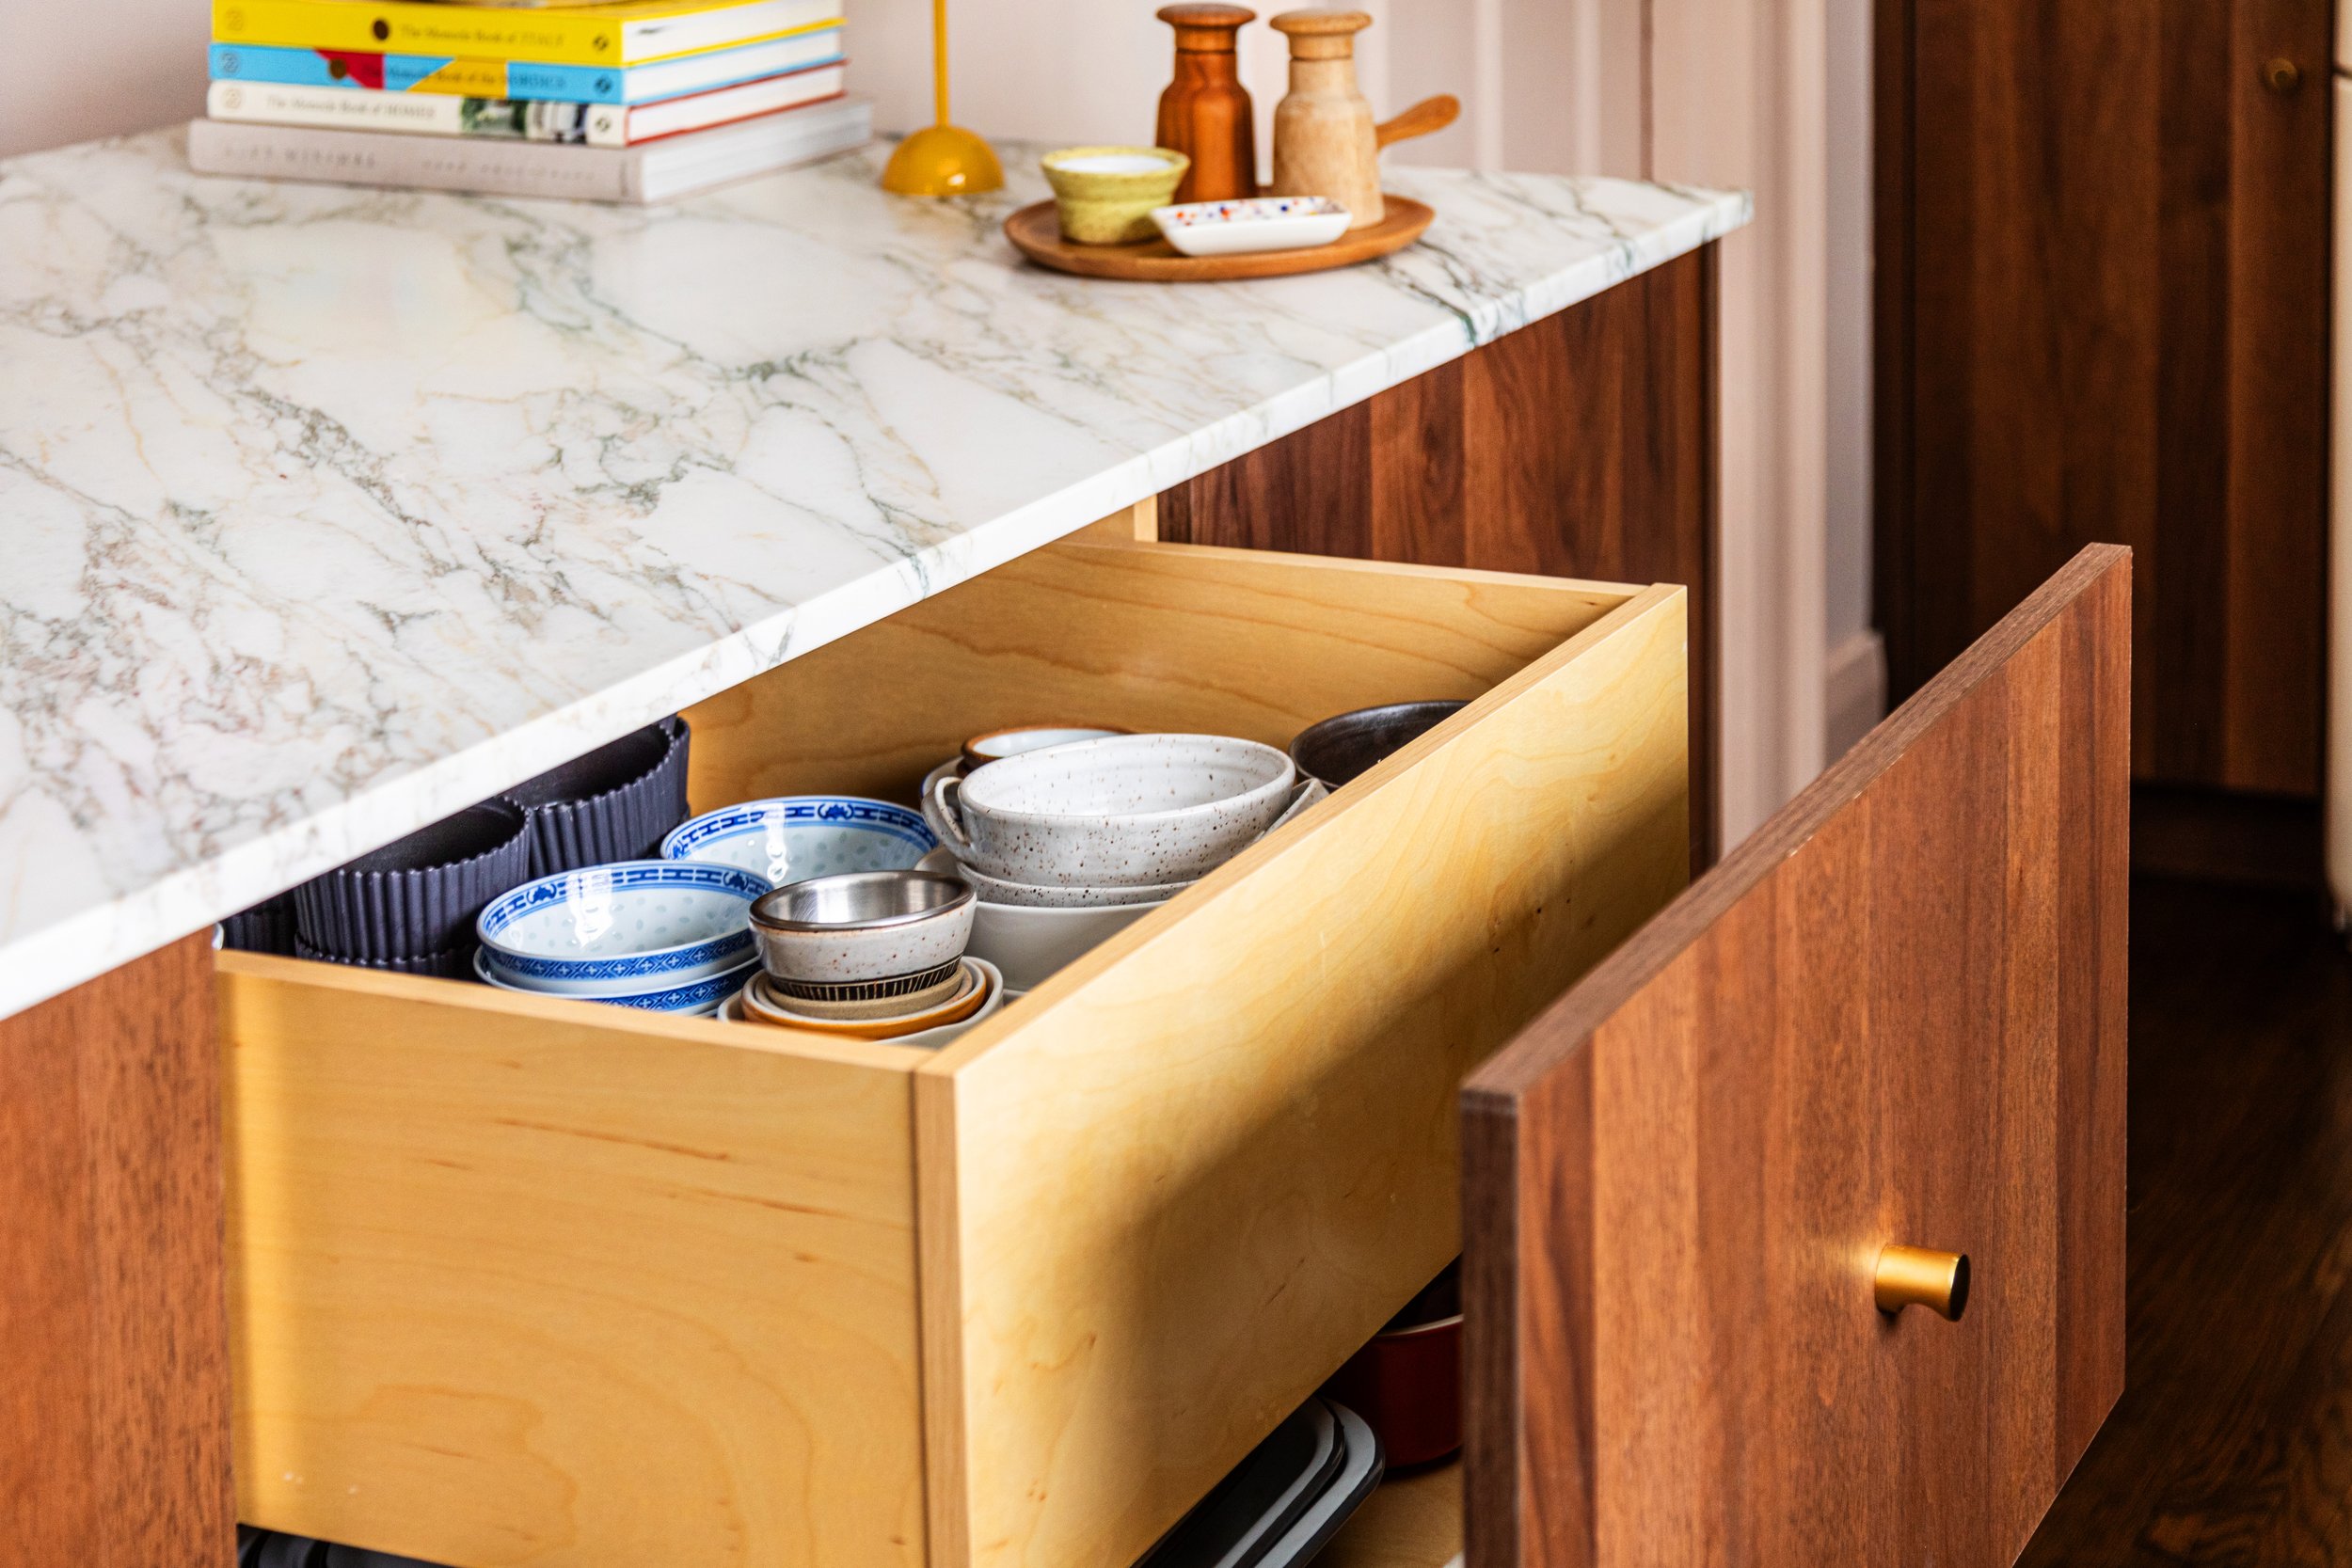
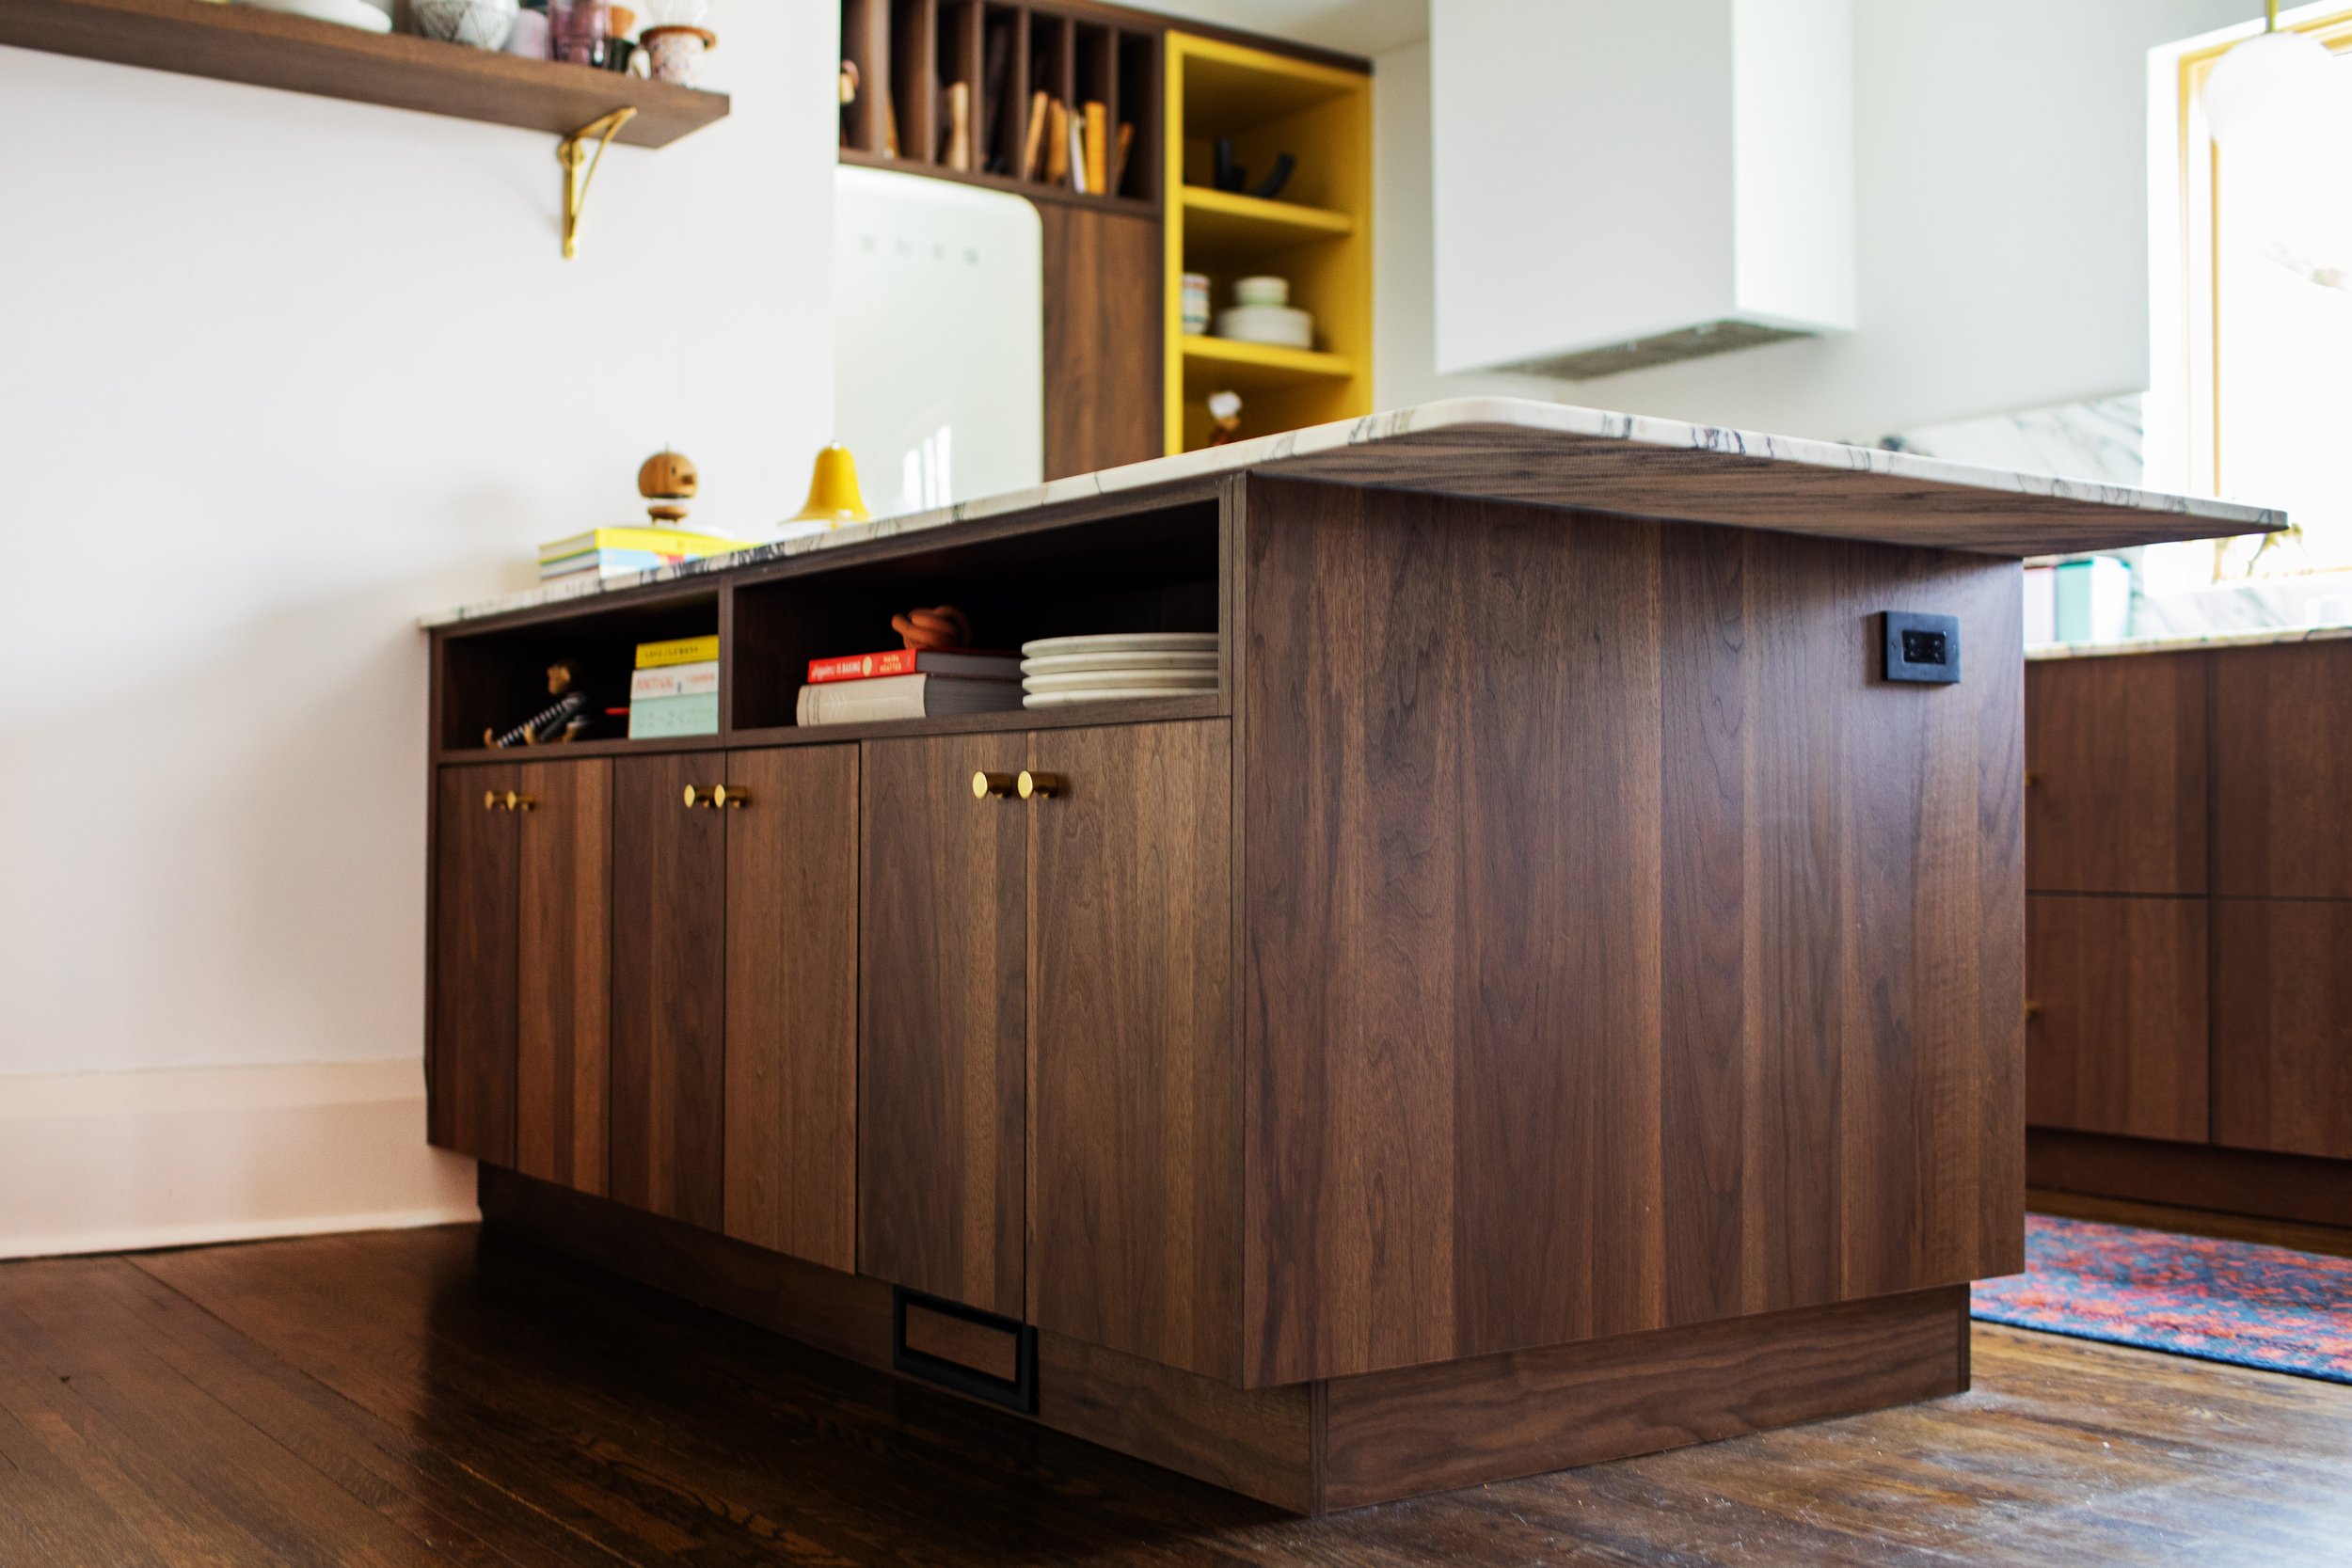
the cabinets: i always had my heart set on a rich looking walnut, so i went with swede's shinnoki smoked walnut doors & bespoke cabinetry for the durability of solid plywood. the cabinets are made locally in oakville & are fully customizable! i went with all drawers for the base cabinets & two floor to ceiling pantries with easily accessible pull outs. the shinnoki panels are crafted in belgium using real wood veneers. the finish is very high quality & the cabinets are super durable. for that playful pop of colour to really give this space some character, i had swede custom colour match farrow & ball's sudbury yellow for the corner open cabinet.
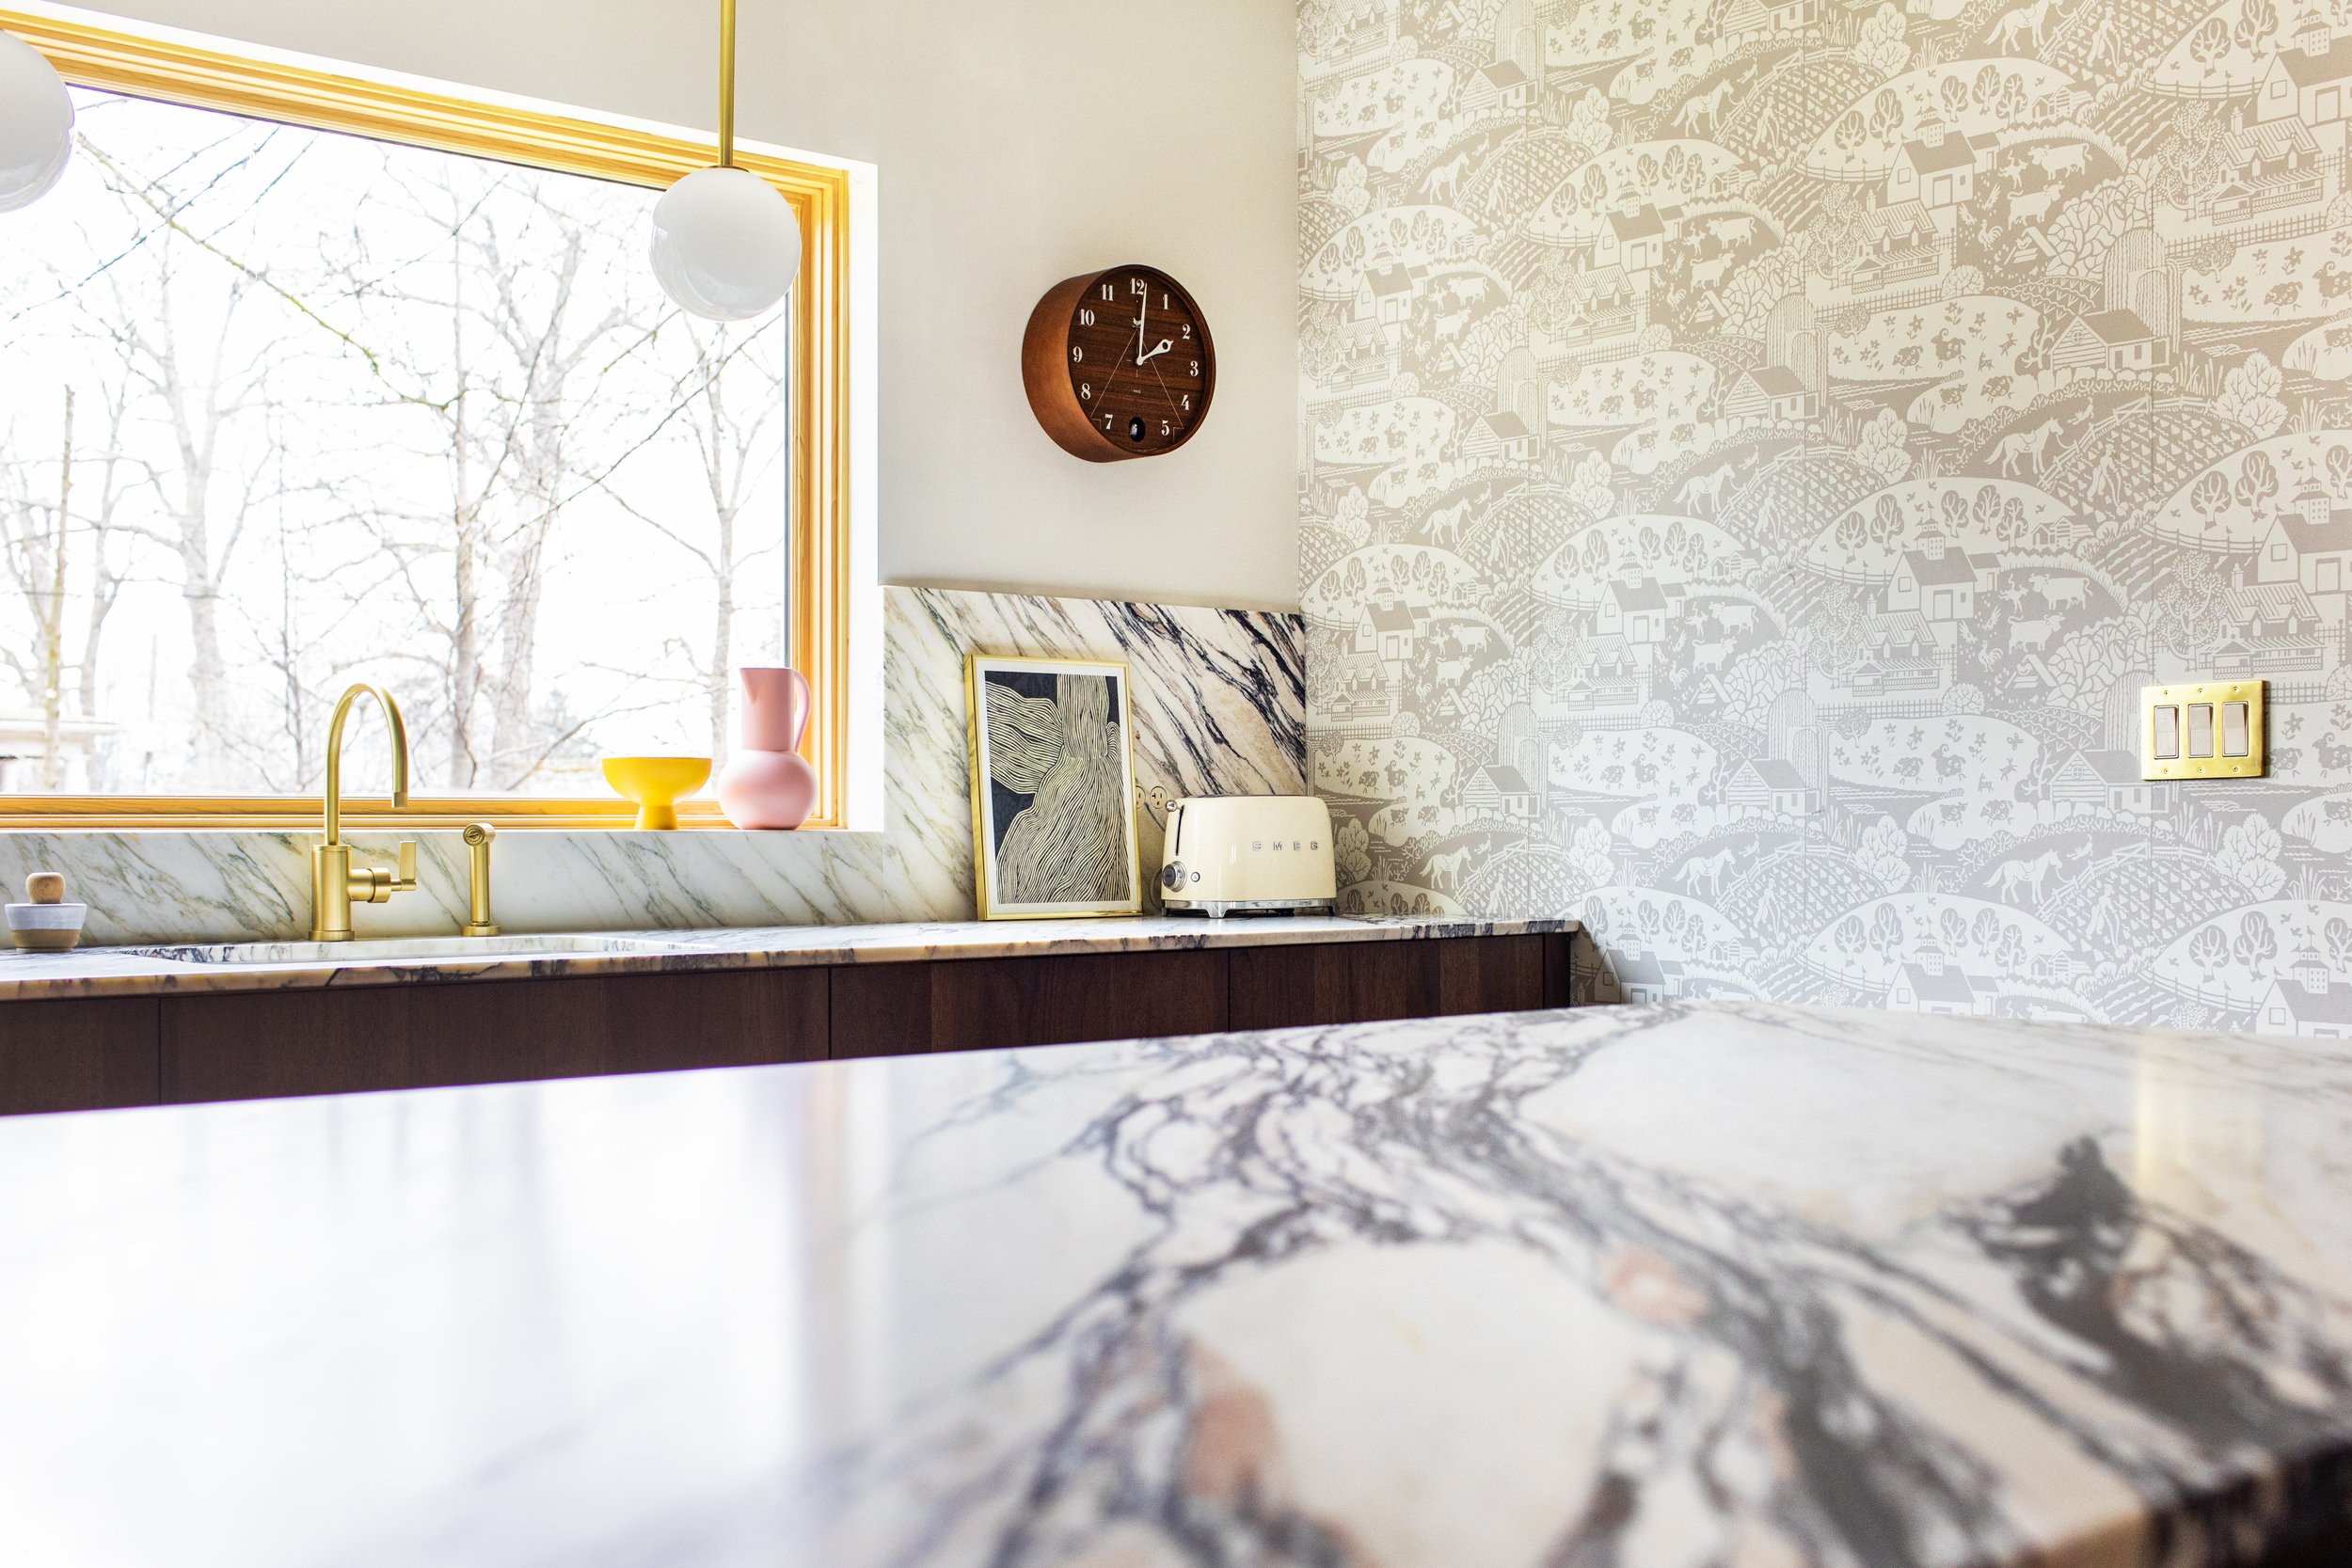
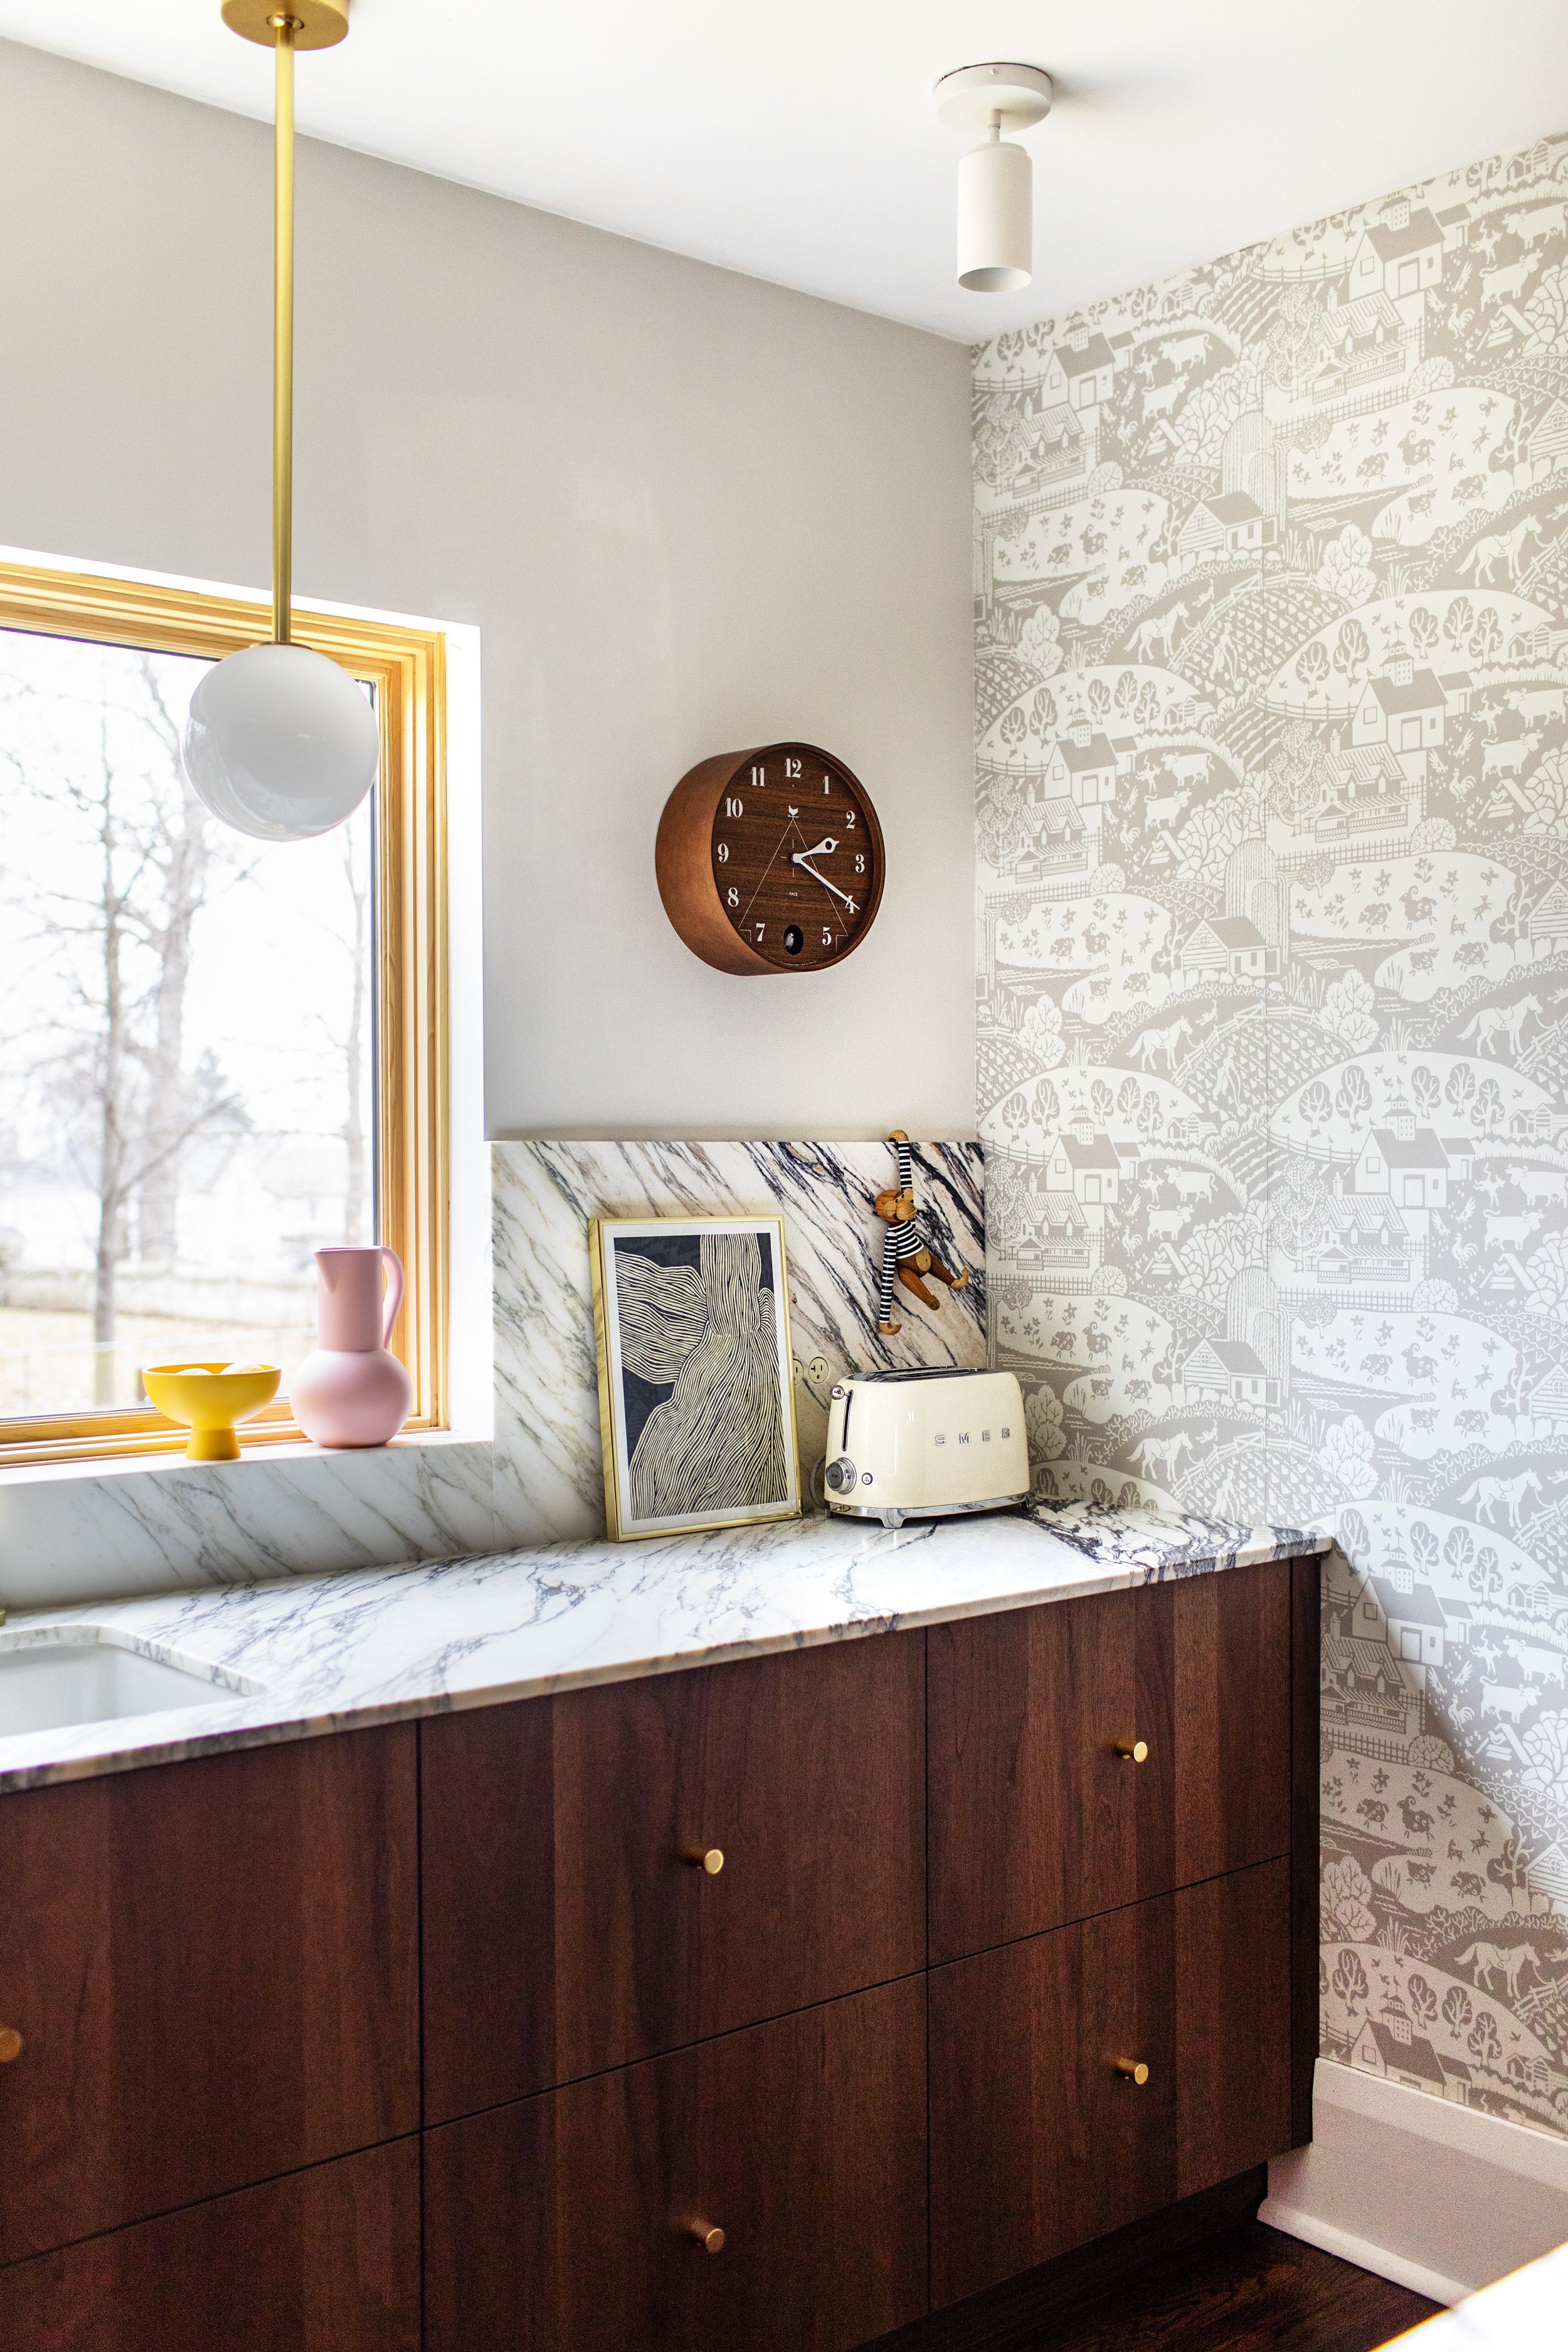
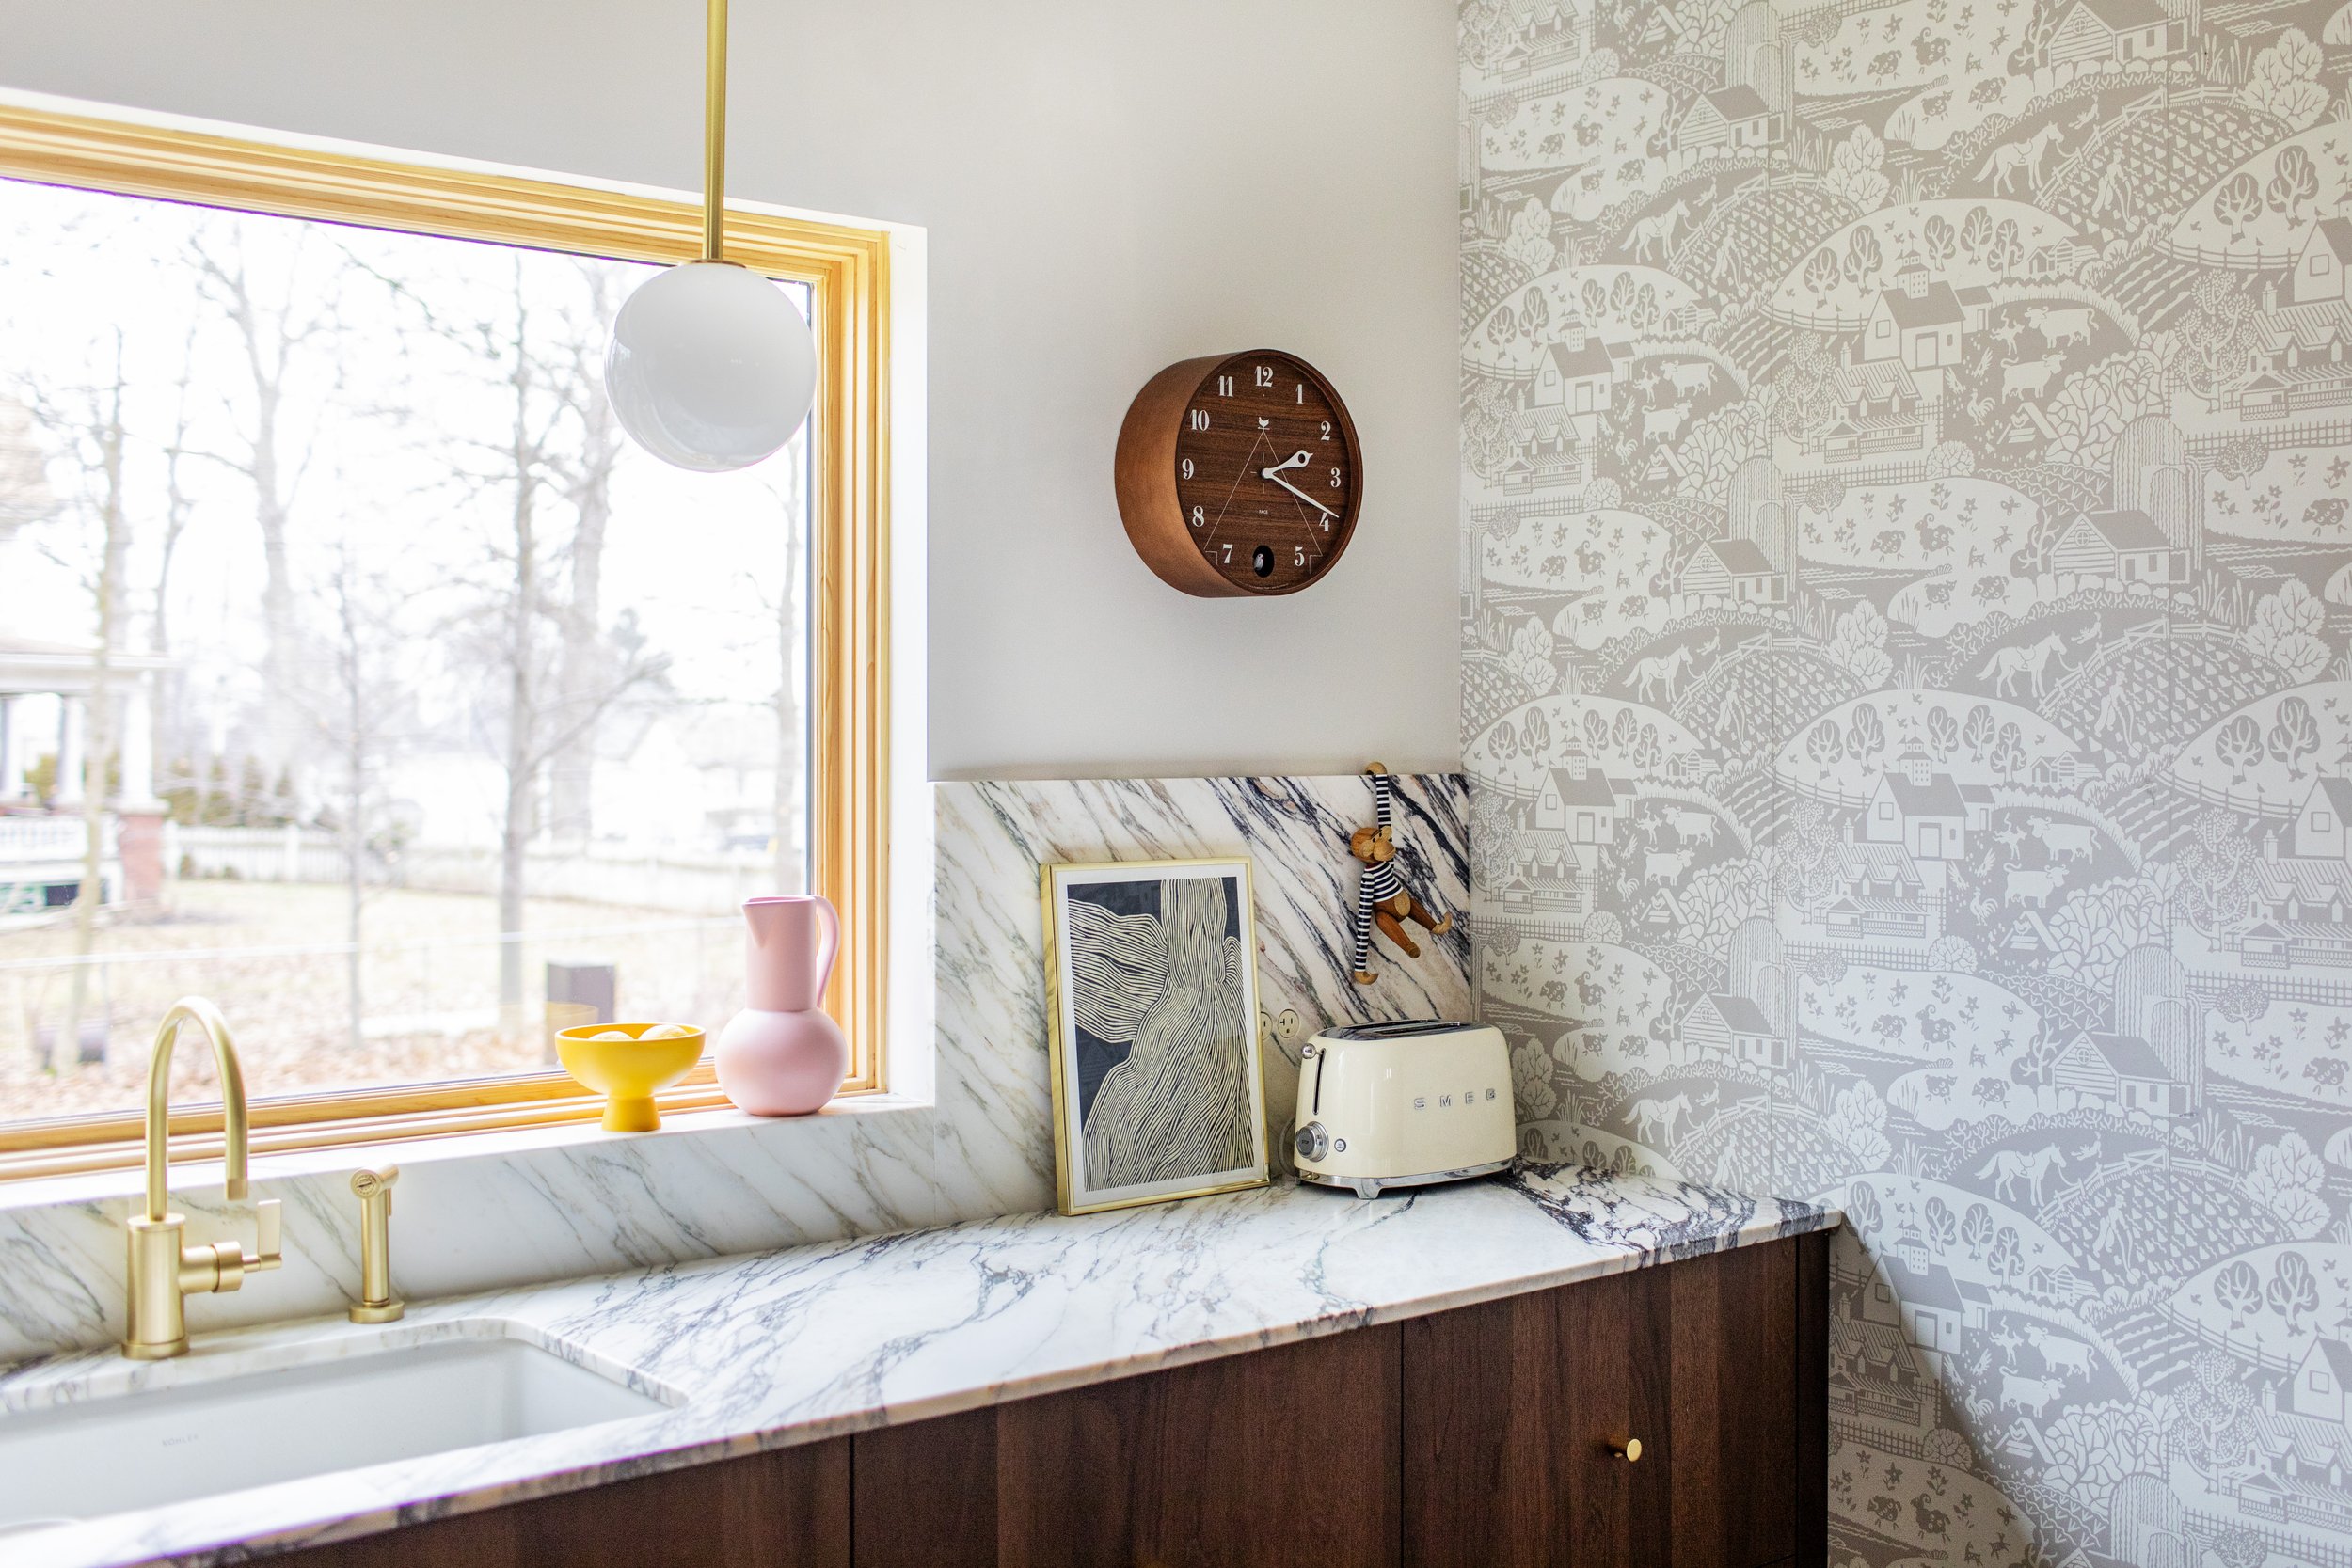
the counters: next, it was time to find the perfect natural stone for the counters & backsplash! the space i envisioned from the start would include a bold viola marble, so i stuck with my gut & hunted for the perfect slabs of viola marble. this was no easy feat, but at last i fell in love with the marble slab available at ciot vaughan! it had a mix of viola, rose, green & cream veining. i knew this would tie the whole space together. the marble was sent off to be honed & the cabinets were ordered! it has already become my go to backdrop for my images & videos. seriously, so stunning!
the installation: once the cabinets arrived swede's installer floyd of knights custom rennovation had everything installed within two days. justin & i were BEYOND impressed! within the next week the counters were templated & installed from a local fabricator, along with the sink & facuet. we had running water again & were in the home stretch of this renovation!
the final touches: for the sink i went with kohler's cast iron sink in a unique sea salt finish. i was worried white would look stark with the creamy marble & the sea salt finish looks perfect. it has a beautiful crackled enamel finish as well! for the faucet i wanted to match my powder room faucet & went with rejuvenation's west slope faucet with sprayer in aged brass. to go with the faucet i installed aged brass hardware on the cabinets. i wanted something very minimal & went with rejuvenation's emerson cabinet knob! last but not least we added a japanese cuckoo clock because my clock obsession continues to grow by the day. this clock is so whimsical & charming!
justin & i are in LOVE with our new kitchen. i can't wait to live & work in this space for many years to come! head on over to my instagram for more videos of the project.
xo