CANADIAN MAPLE FUDGE


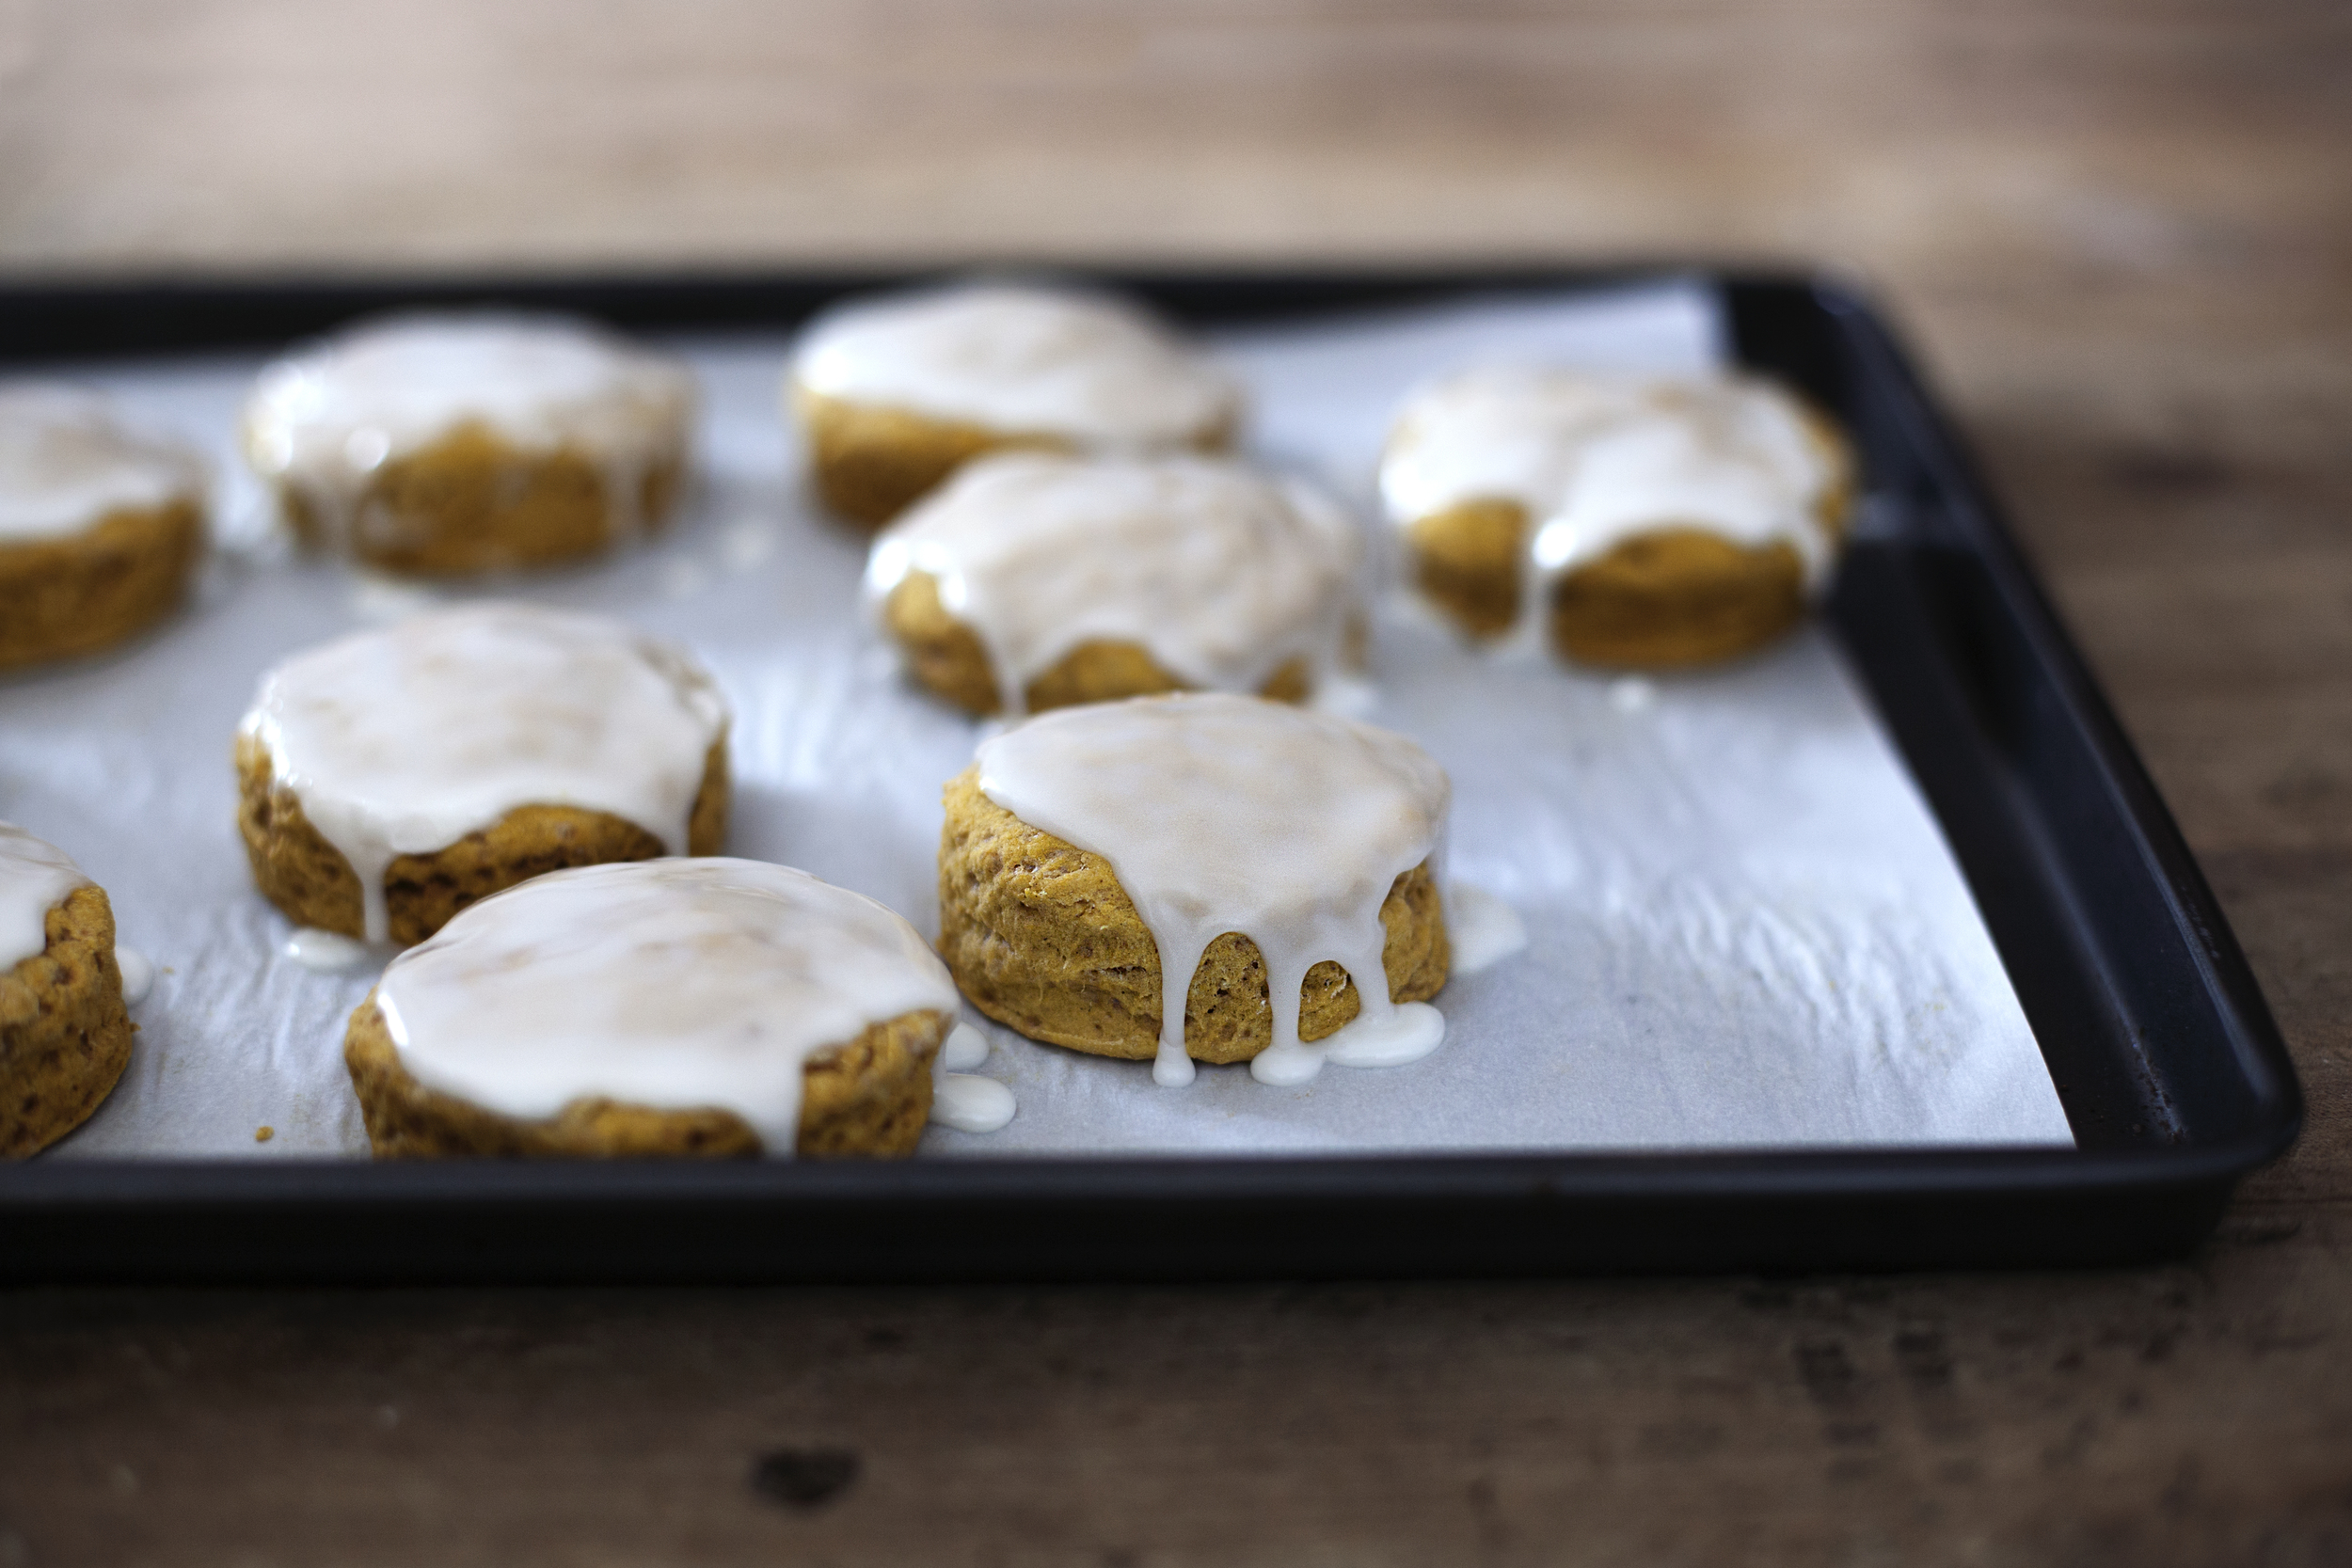
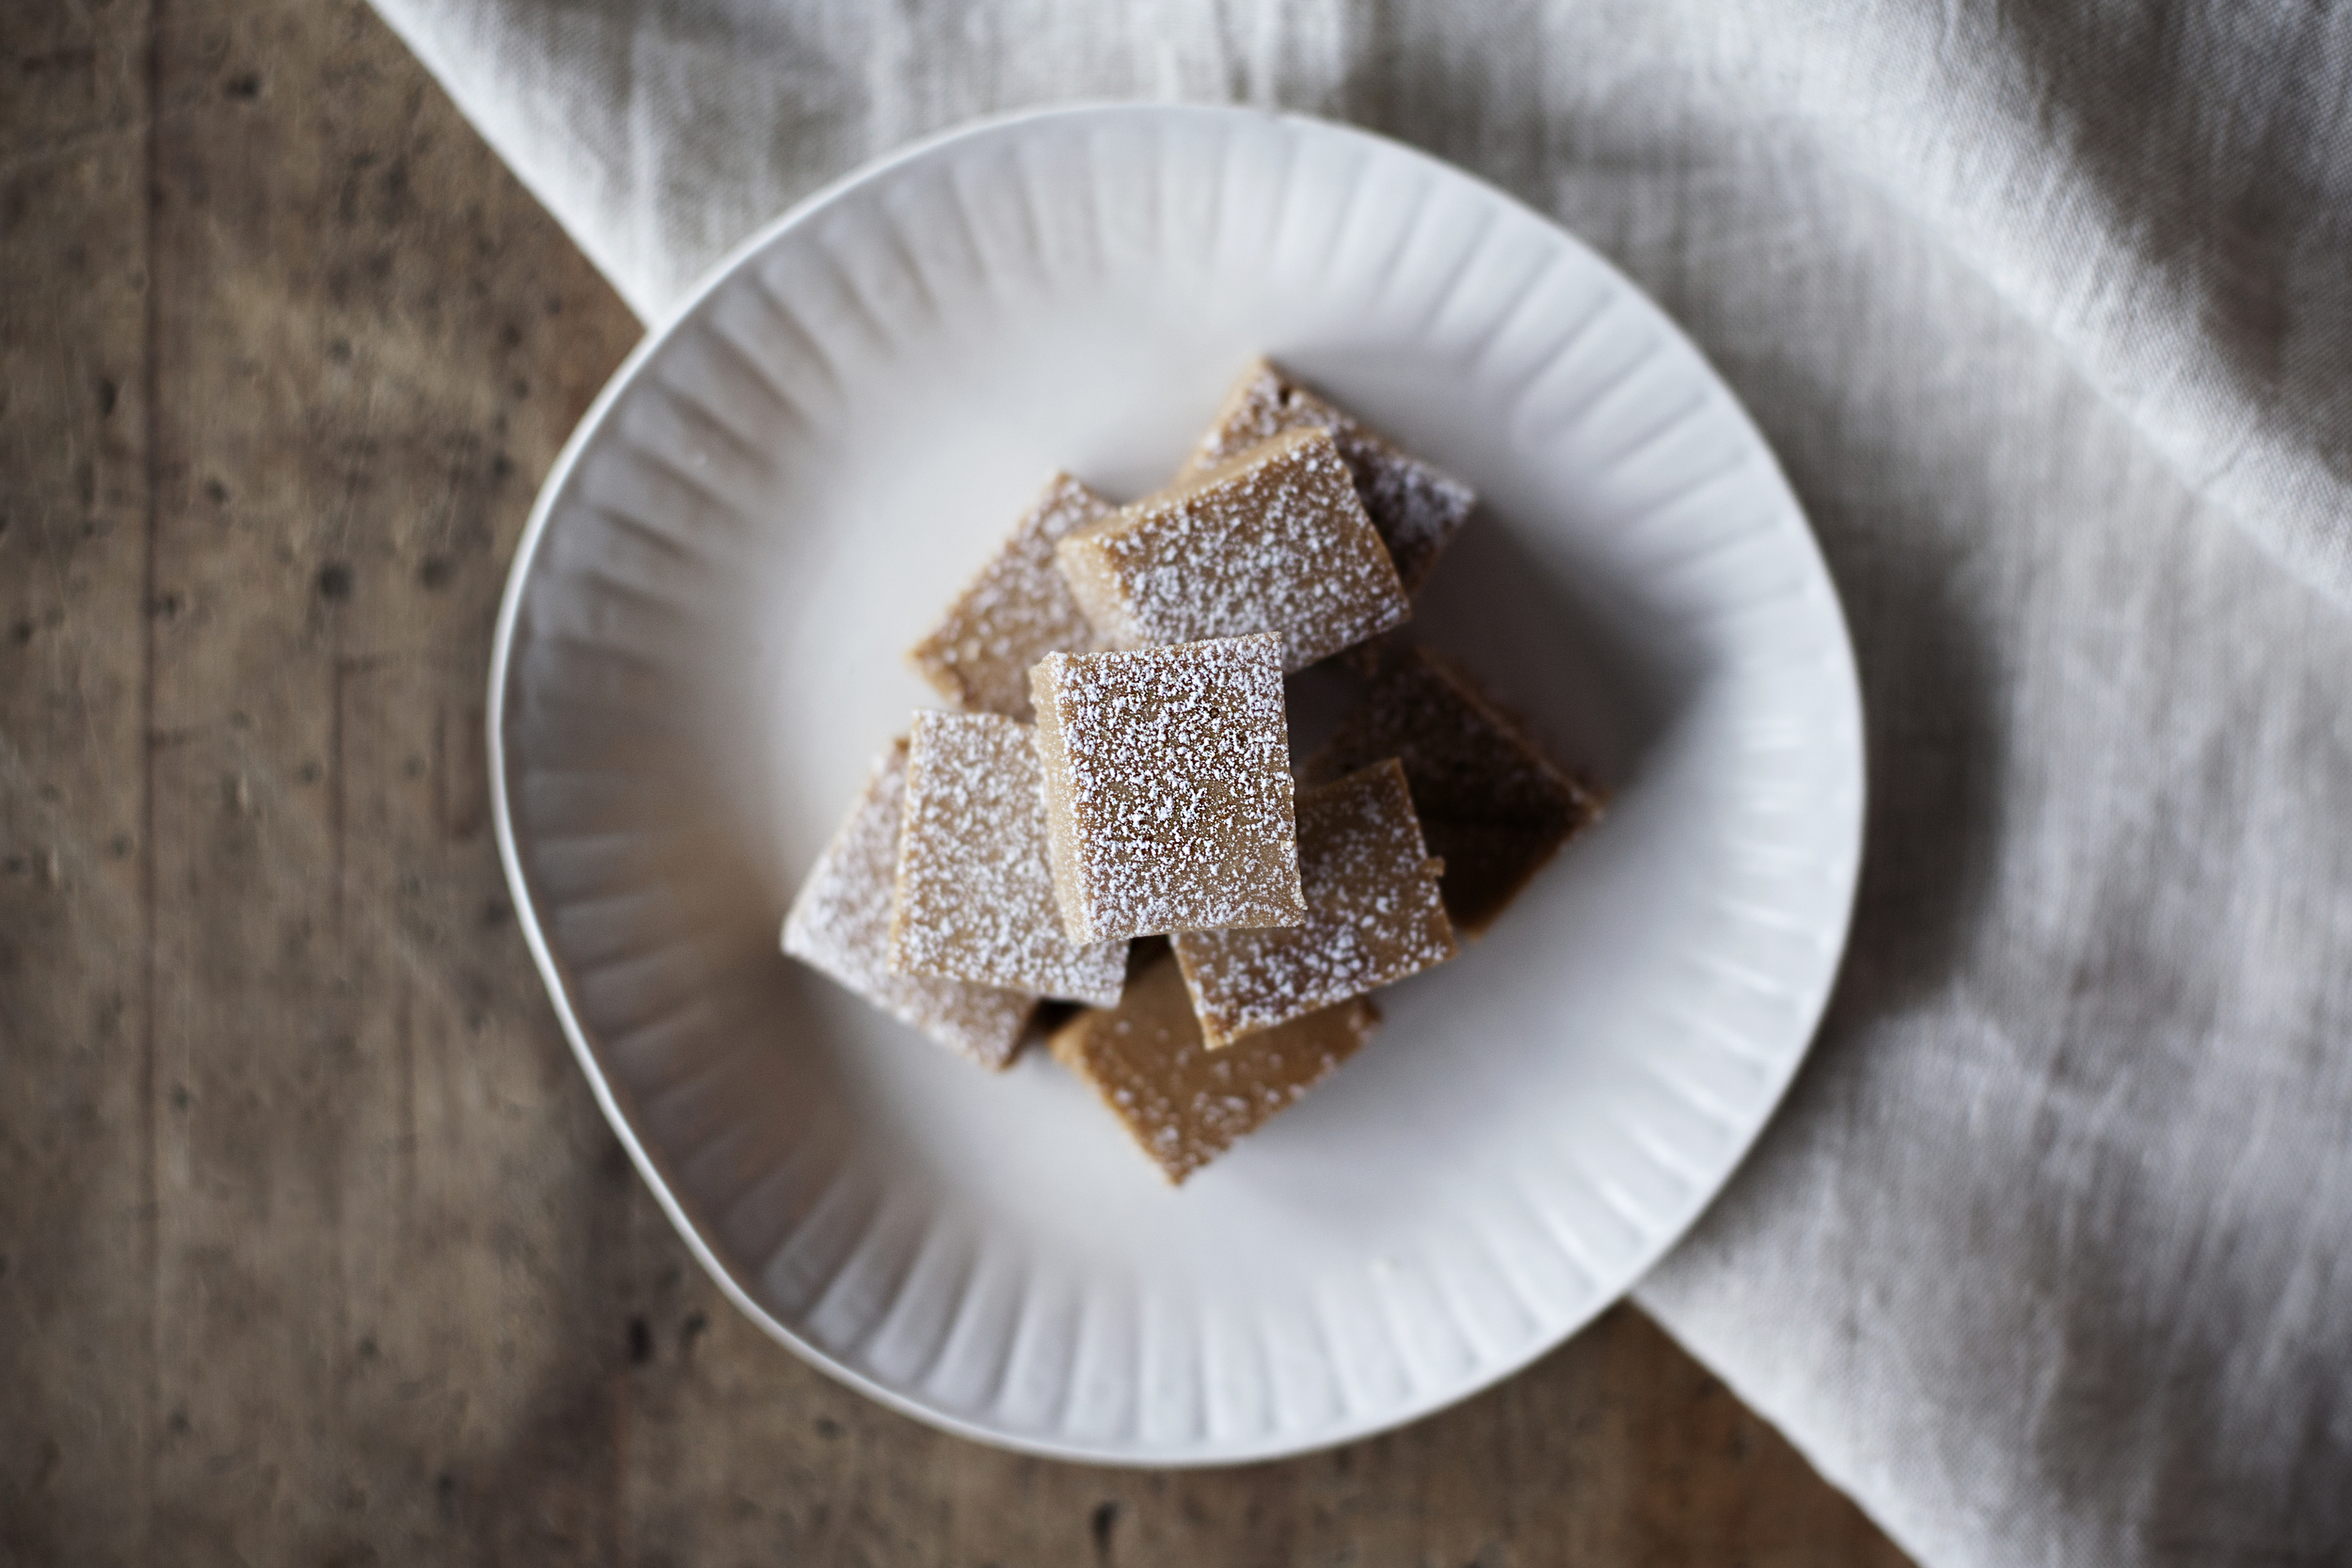
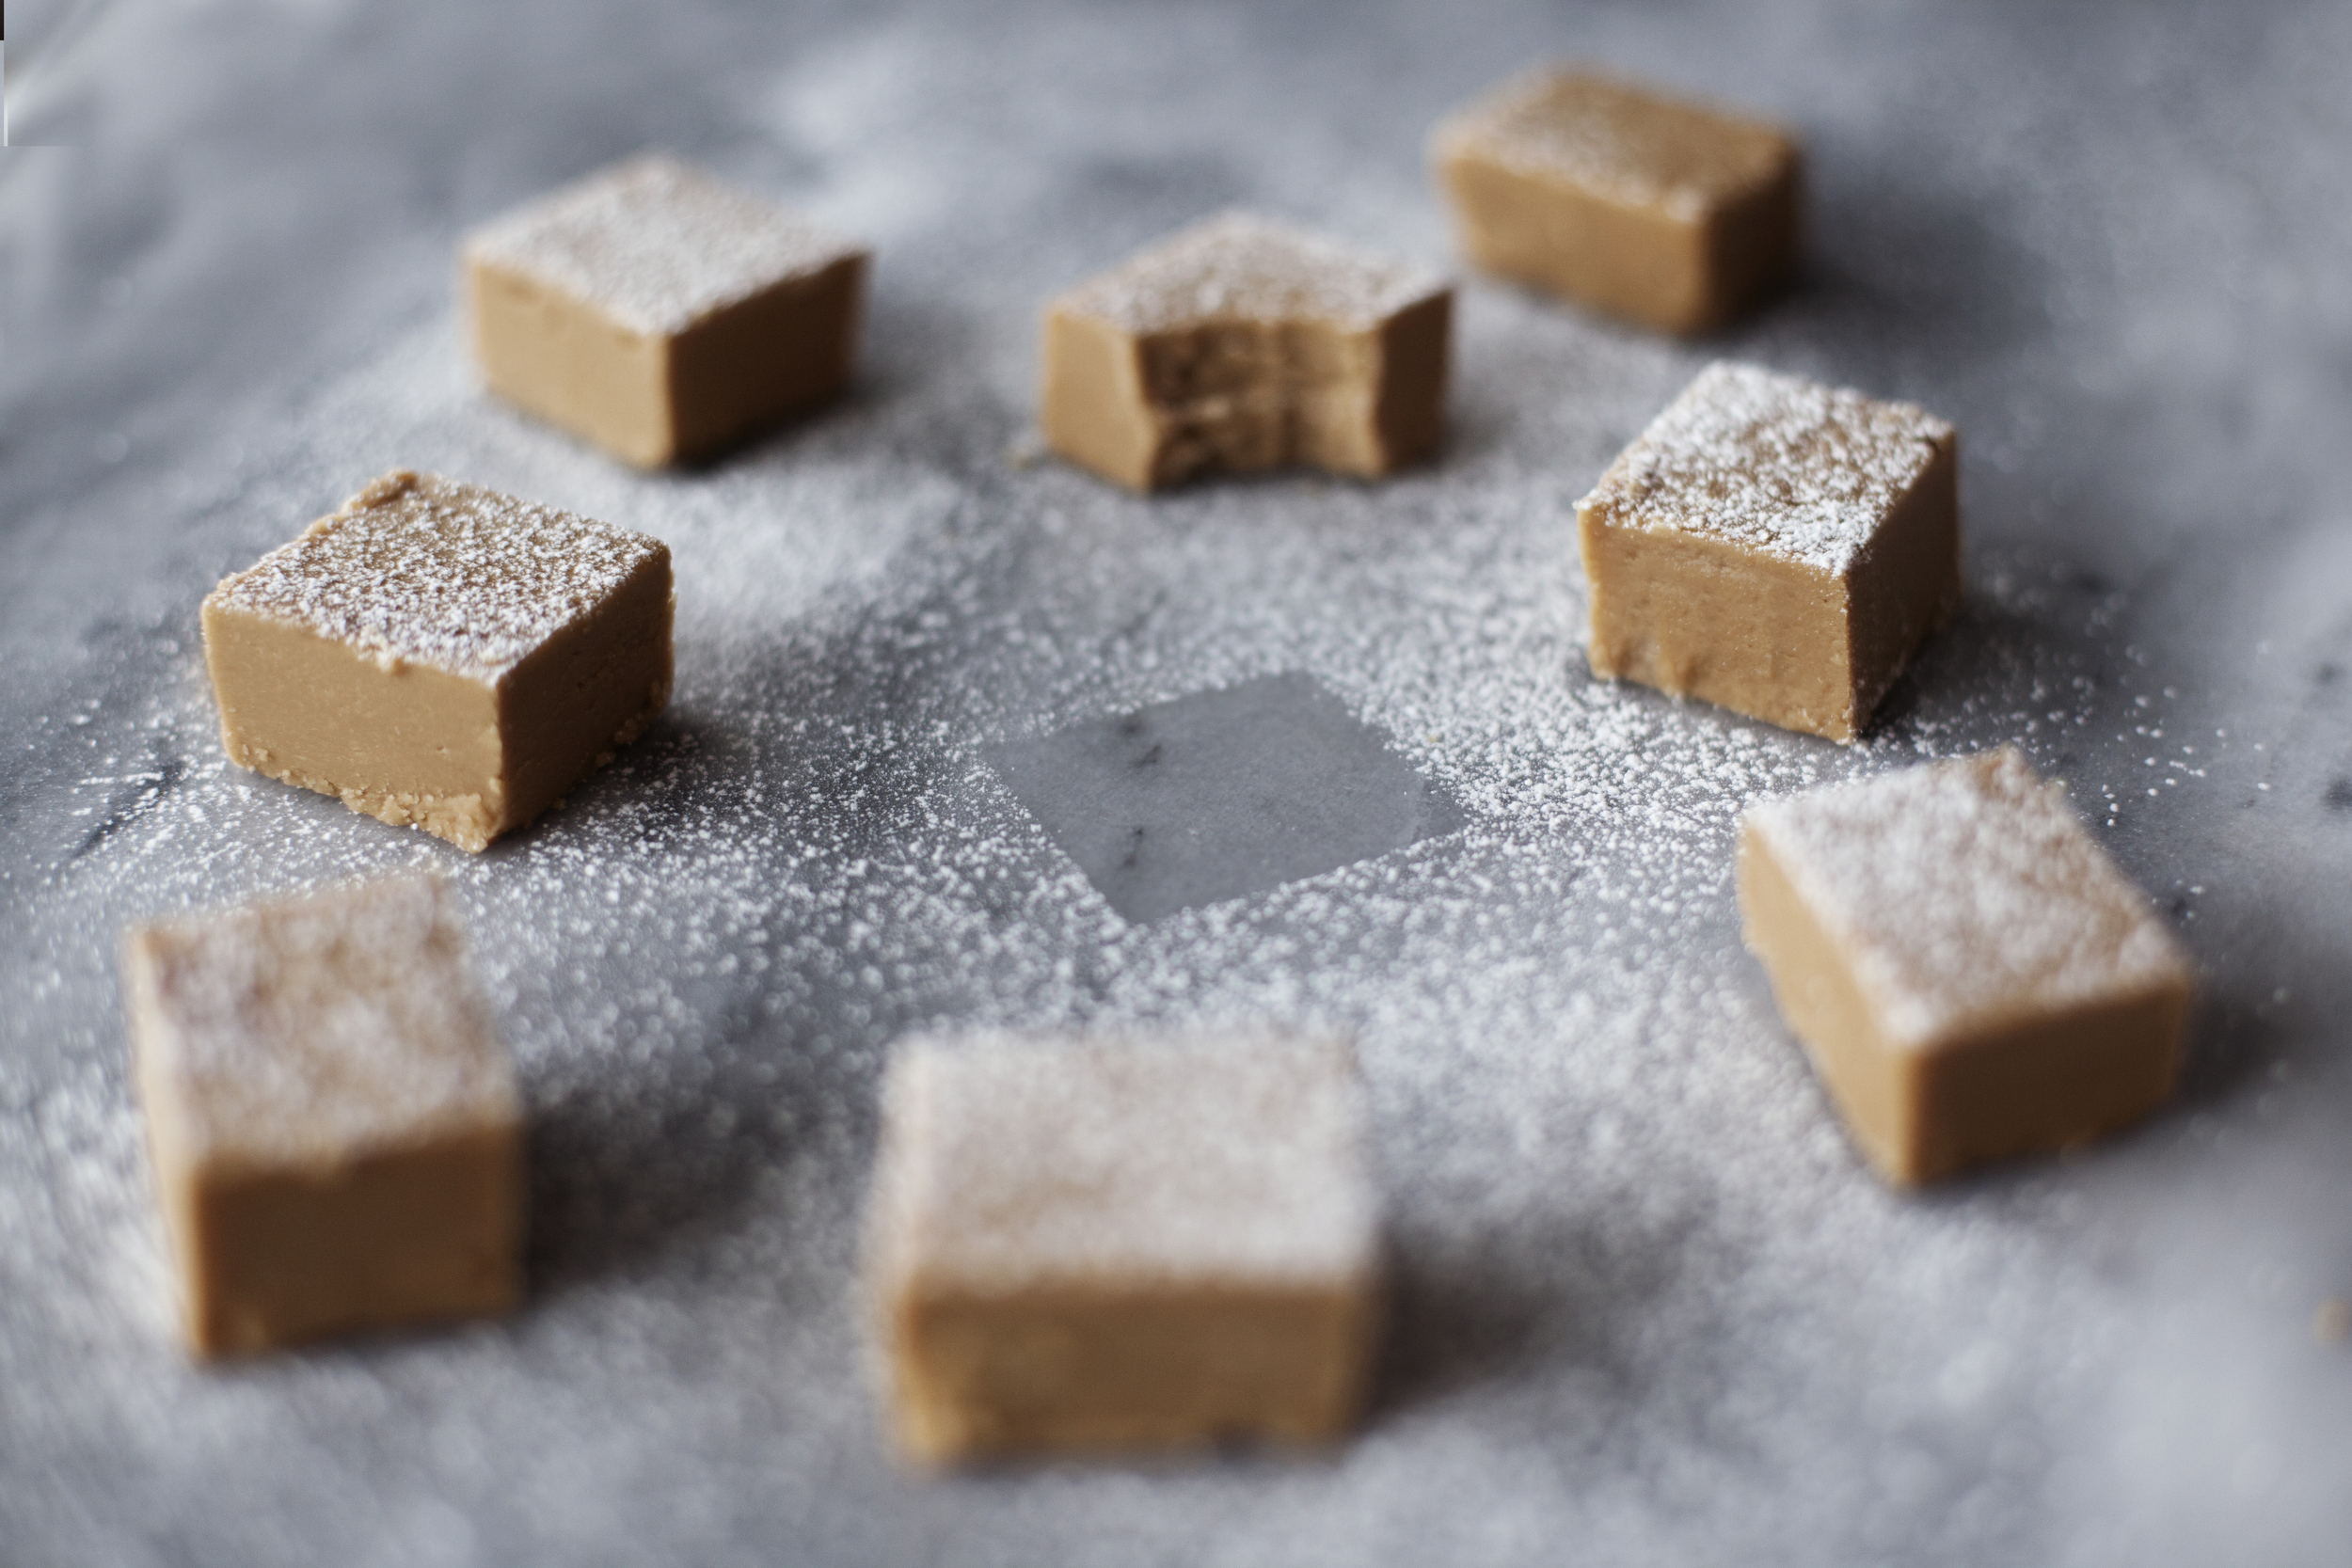
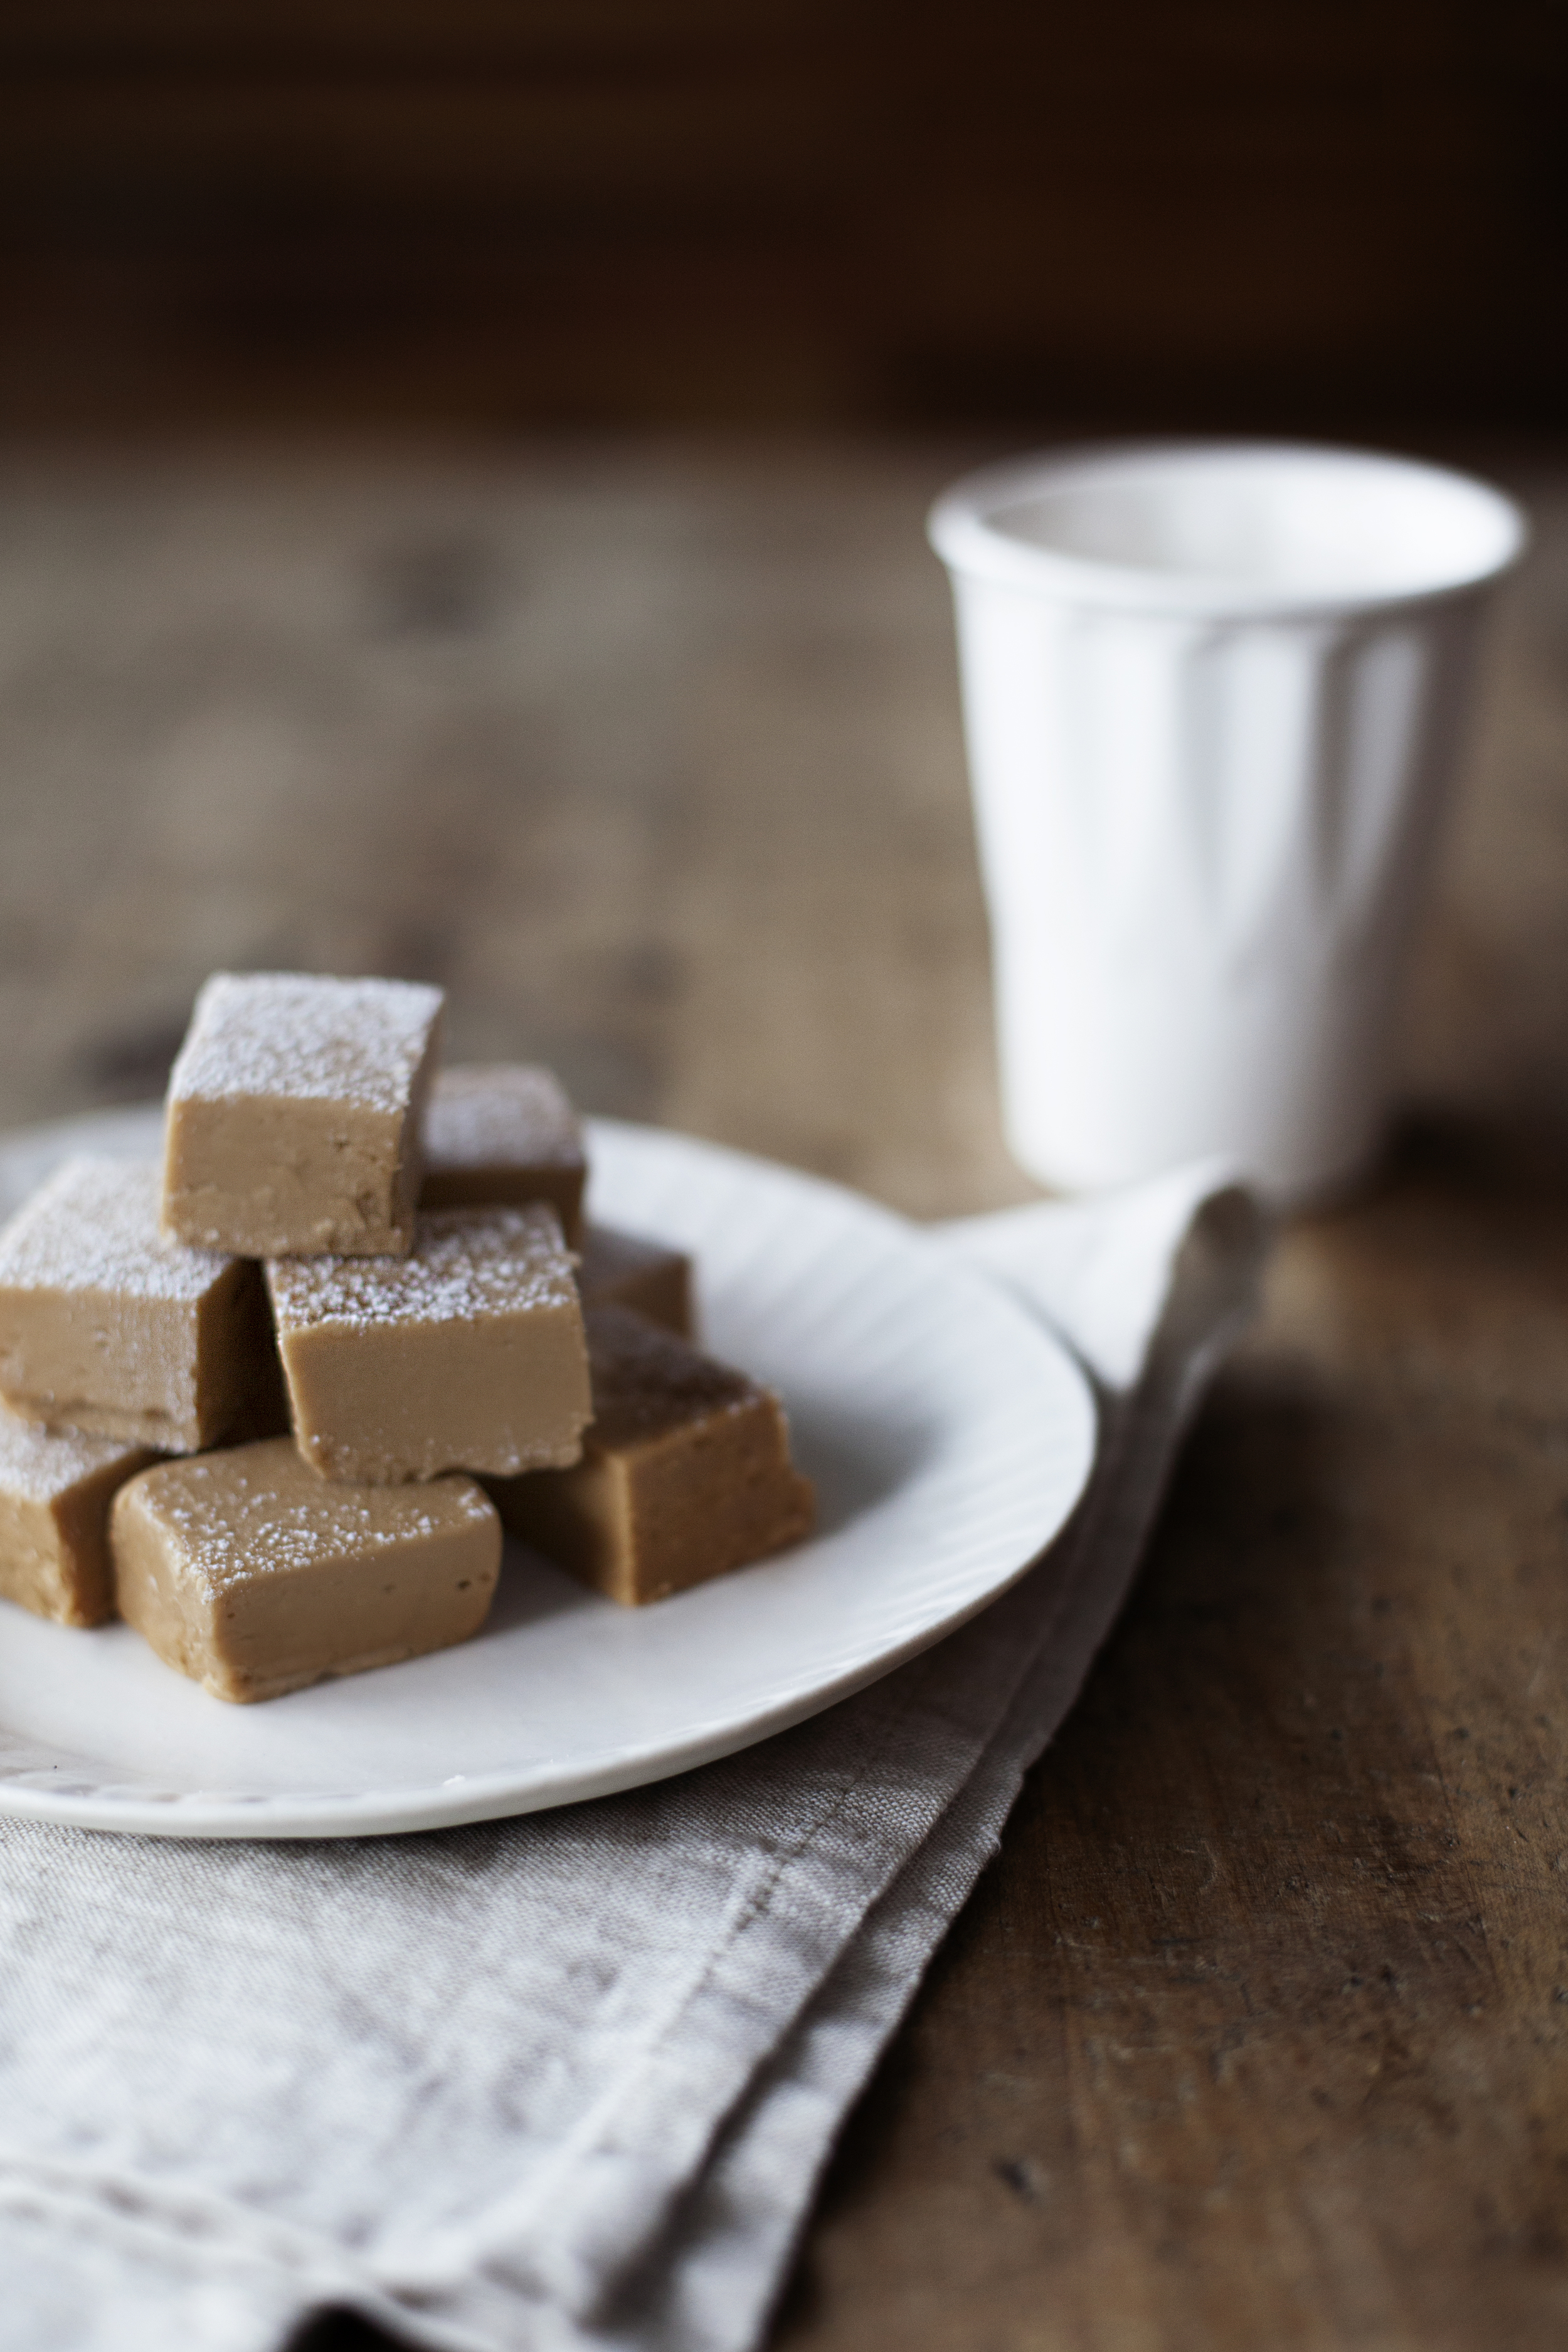
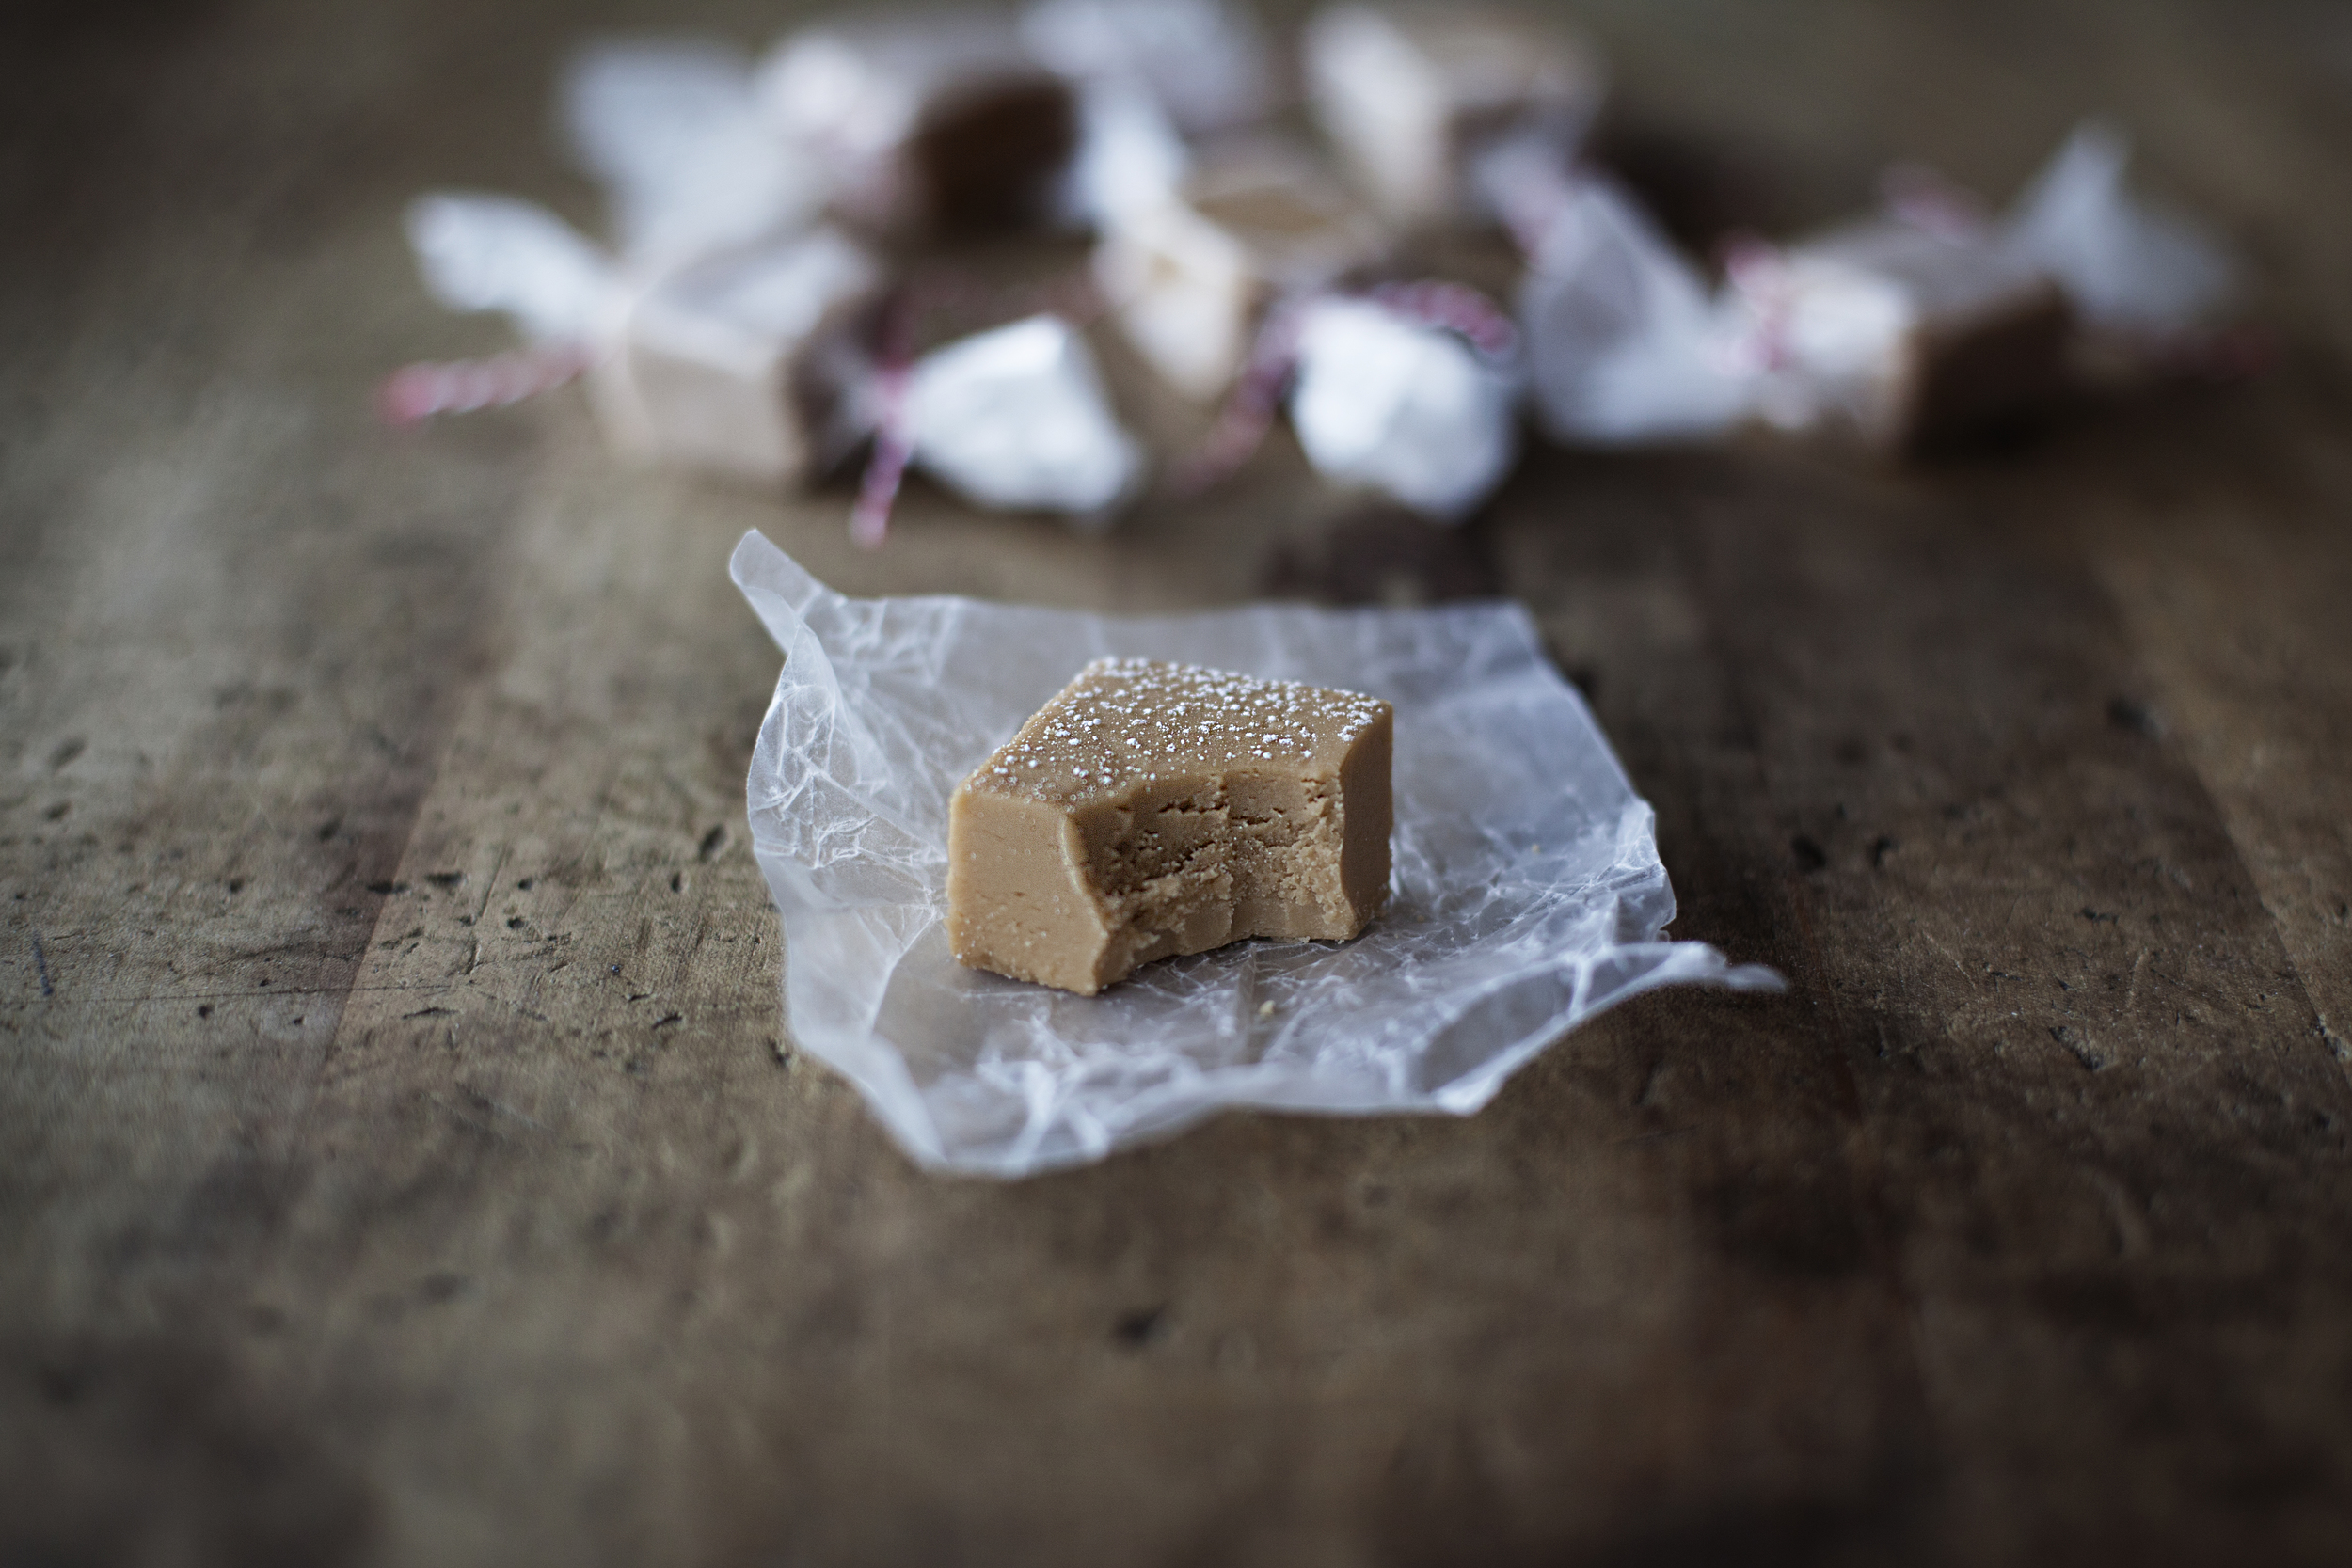
i don't have much to say today besides that i love fudge + this fudge is the bomb. there was a time back in the 7th or 8th grade where my school took part in a fudge selling fund raiser. we went door to door selling both chocolate & maple fudge.. but by the end i had eaten more maple fudge then i sold. i think it is safe to say that was when my love for fudge began, especially pure maple. i didn't think i would be able to make a fudge as good as the fudge shops sell, but here we are. my advice before making this is to invest in a candy thermometer!!! the temperatures are very important to achieving the right texture. otherwise you may end up with a maple caramel or a grainy fudge. trust me, in the end the thermometer will cost you less then the pure maple syrup.

this recipe has been adapted from canadian living

ingredients

  • 2 cups brown sugar, packed
  • 1 cup heavy cream
  • 1/2 cup pure maple syrup
  • 2 tablespoons unsalted butter, cubed
  • 1 pinch baking soda
  • 1/4 teaspoon salt
  • 1 teaspoon pure vanilla extract

directions

  • in a sauce pan over medium heat add sugar, cream, maple syrup, butter, baking soda & salt. stir constantly with a wooden spoon until the mixture begins to boil.
  • if the mixture does not foam up when boiling, add in a touch more of baking soda.
  • once it reaches a boil, stop stirring & let cool until the thermometer reaches 238 degrees F [approximately 8 minutes]. this is known as the "soft-ball stage" of candy making.
  • immediately pour into a greased bowl. do not stir & do not scrape the sauce pan clean. let mixture cool until it reaches 100 degrees F [approximately 1 hour].
  • once mixture reaches the correct temperature add vanilla. using hand beaters or the stand mixer, beat on medium speed until the gloss disappears [approximately 8 minutes].
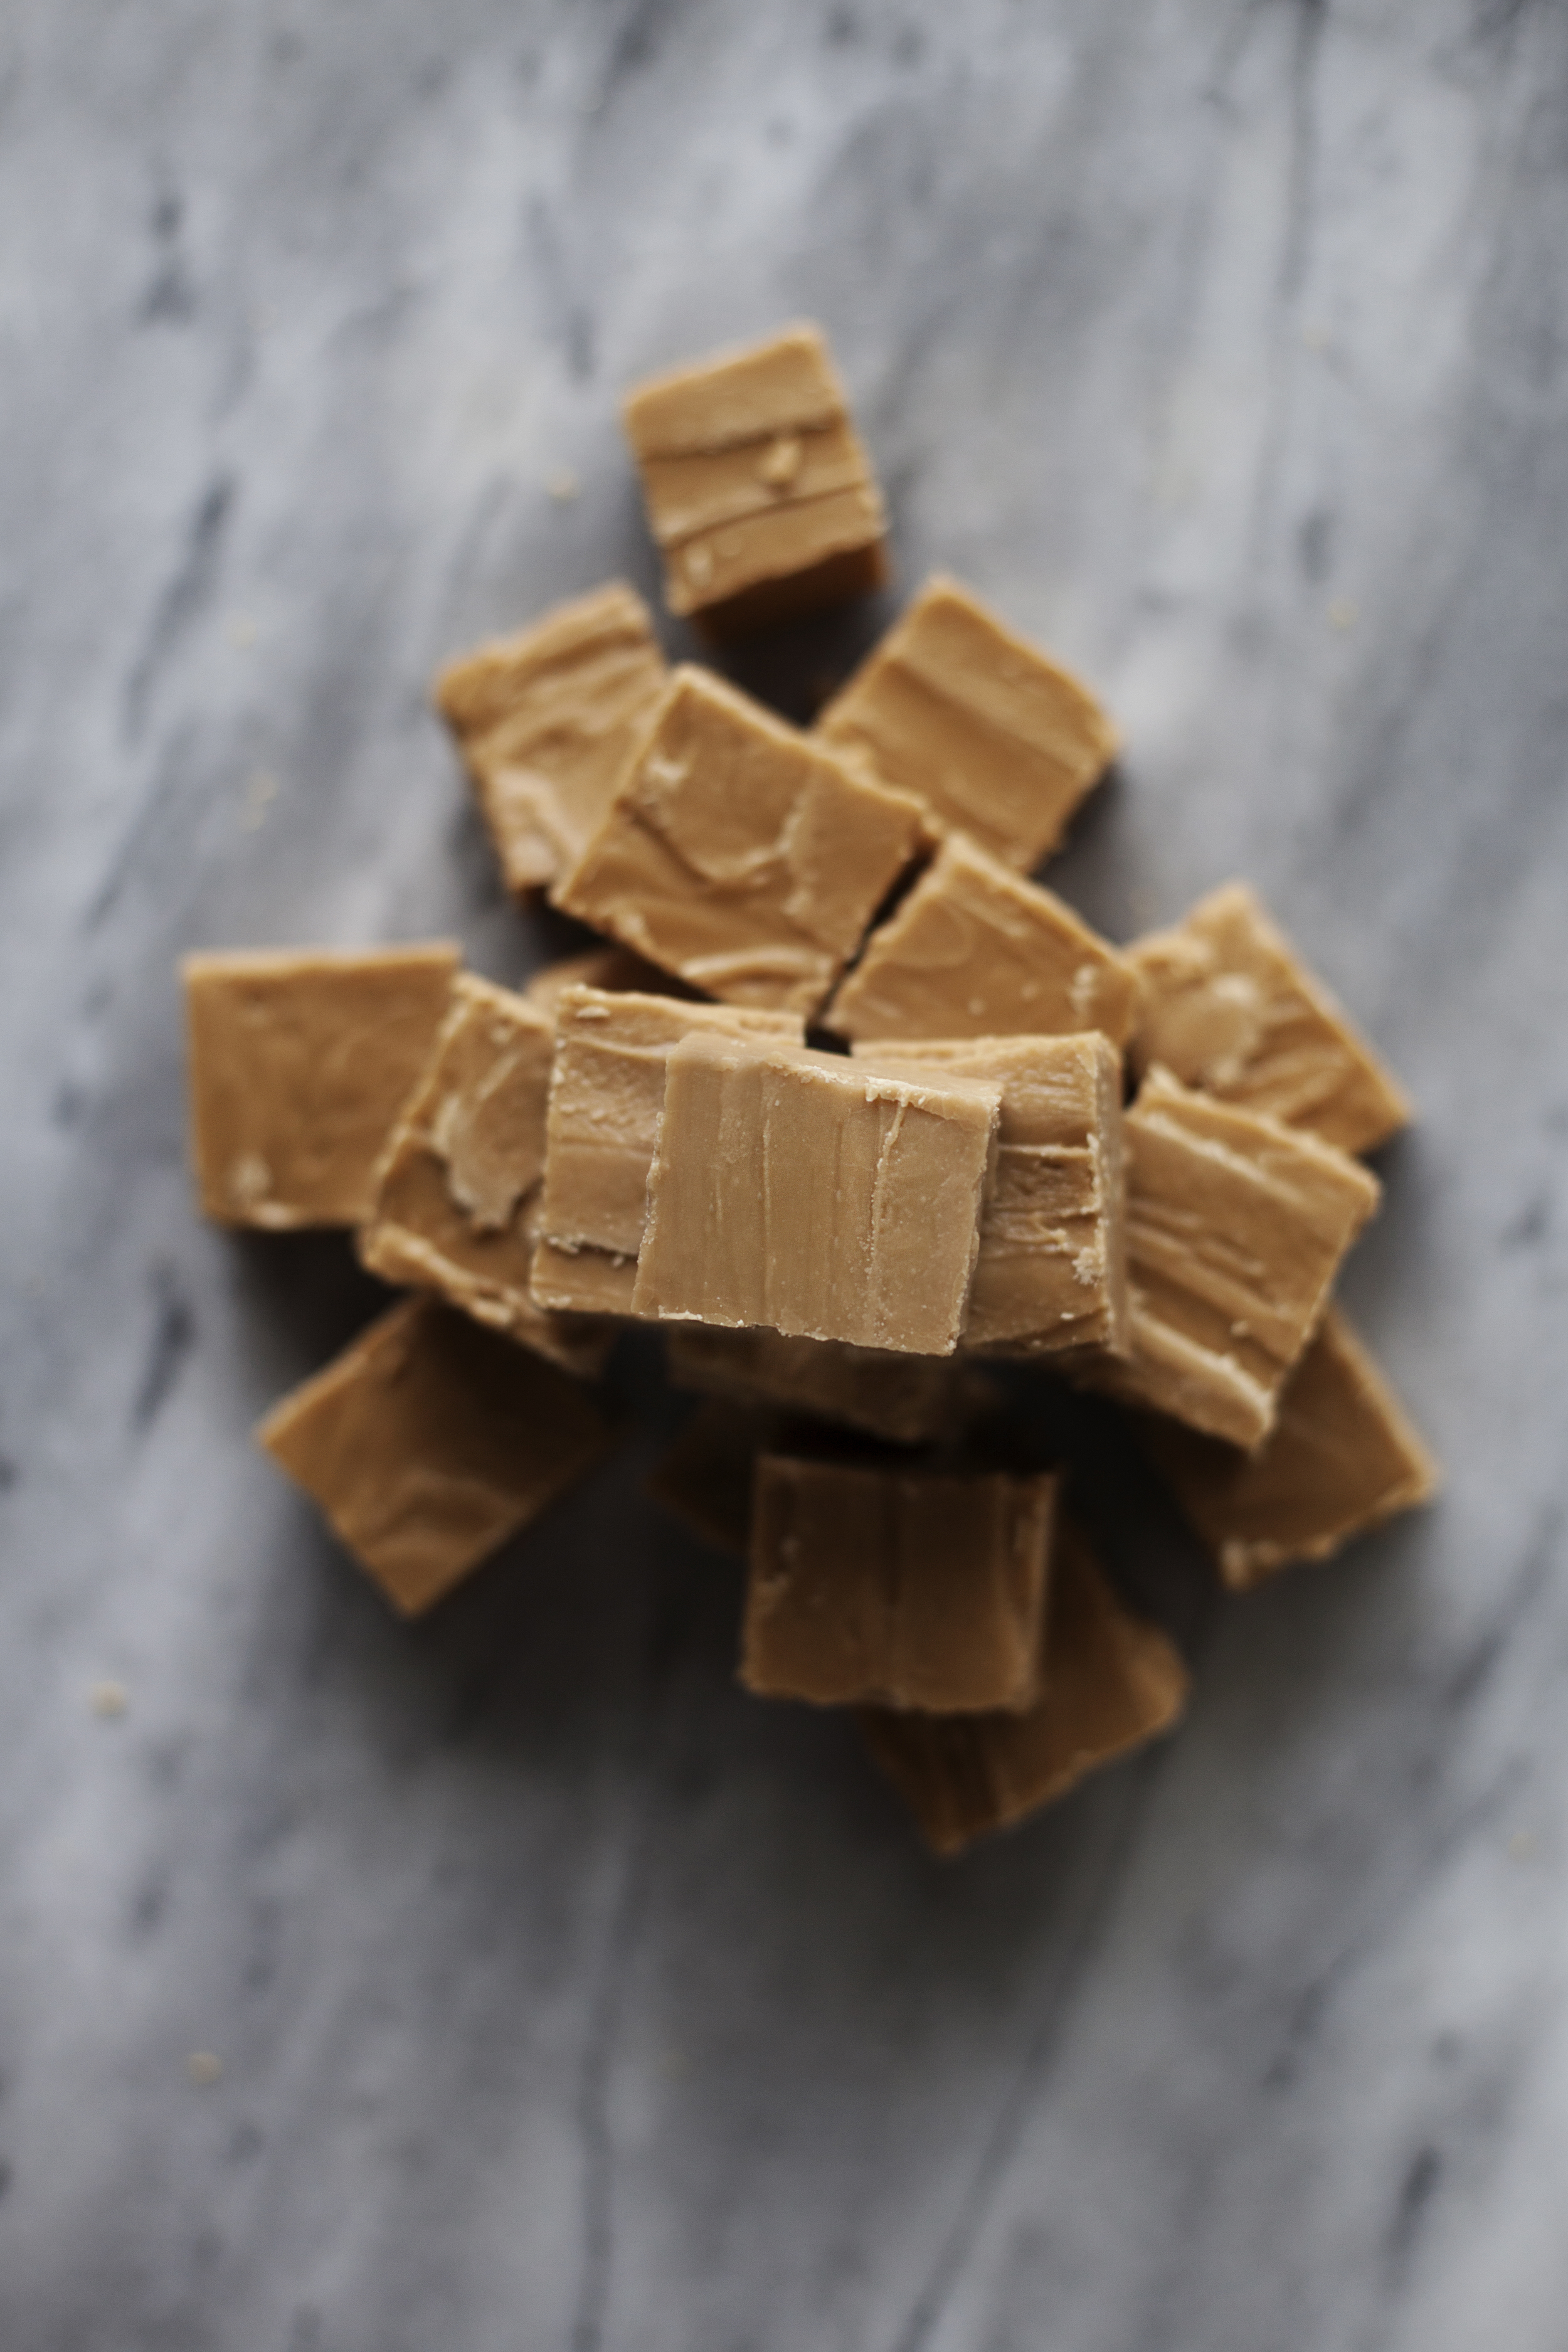
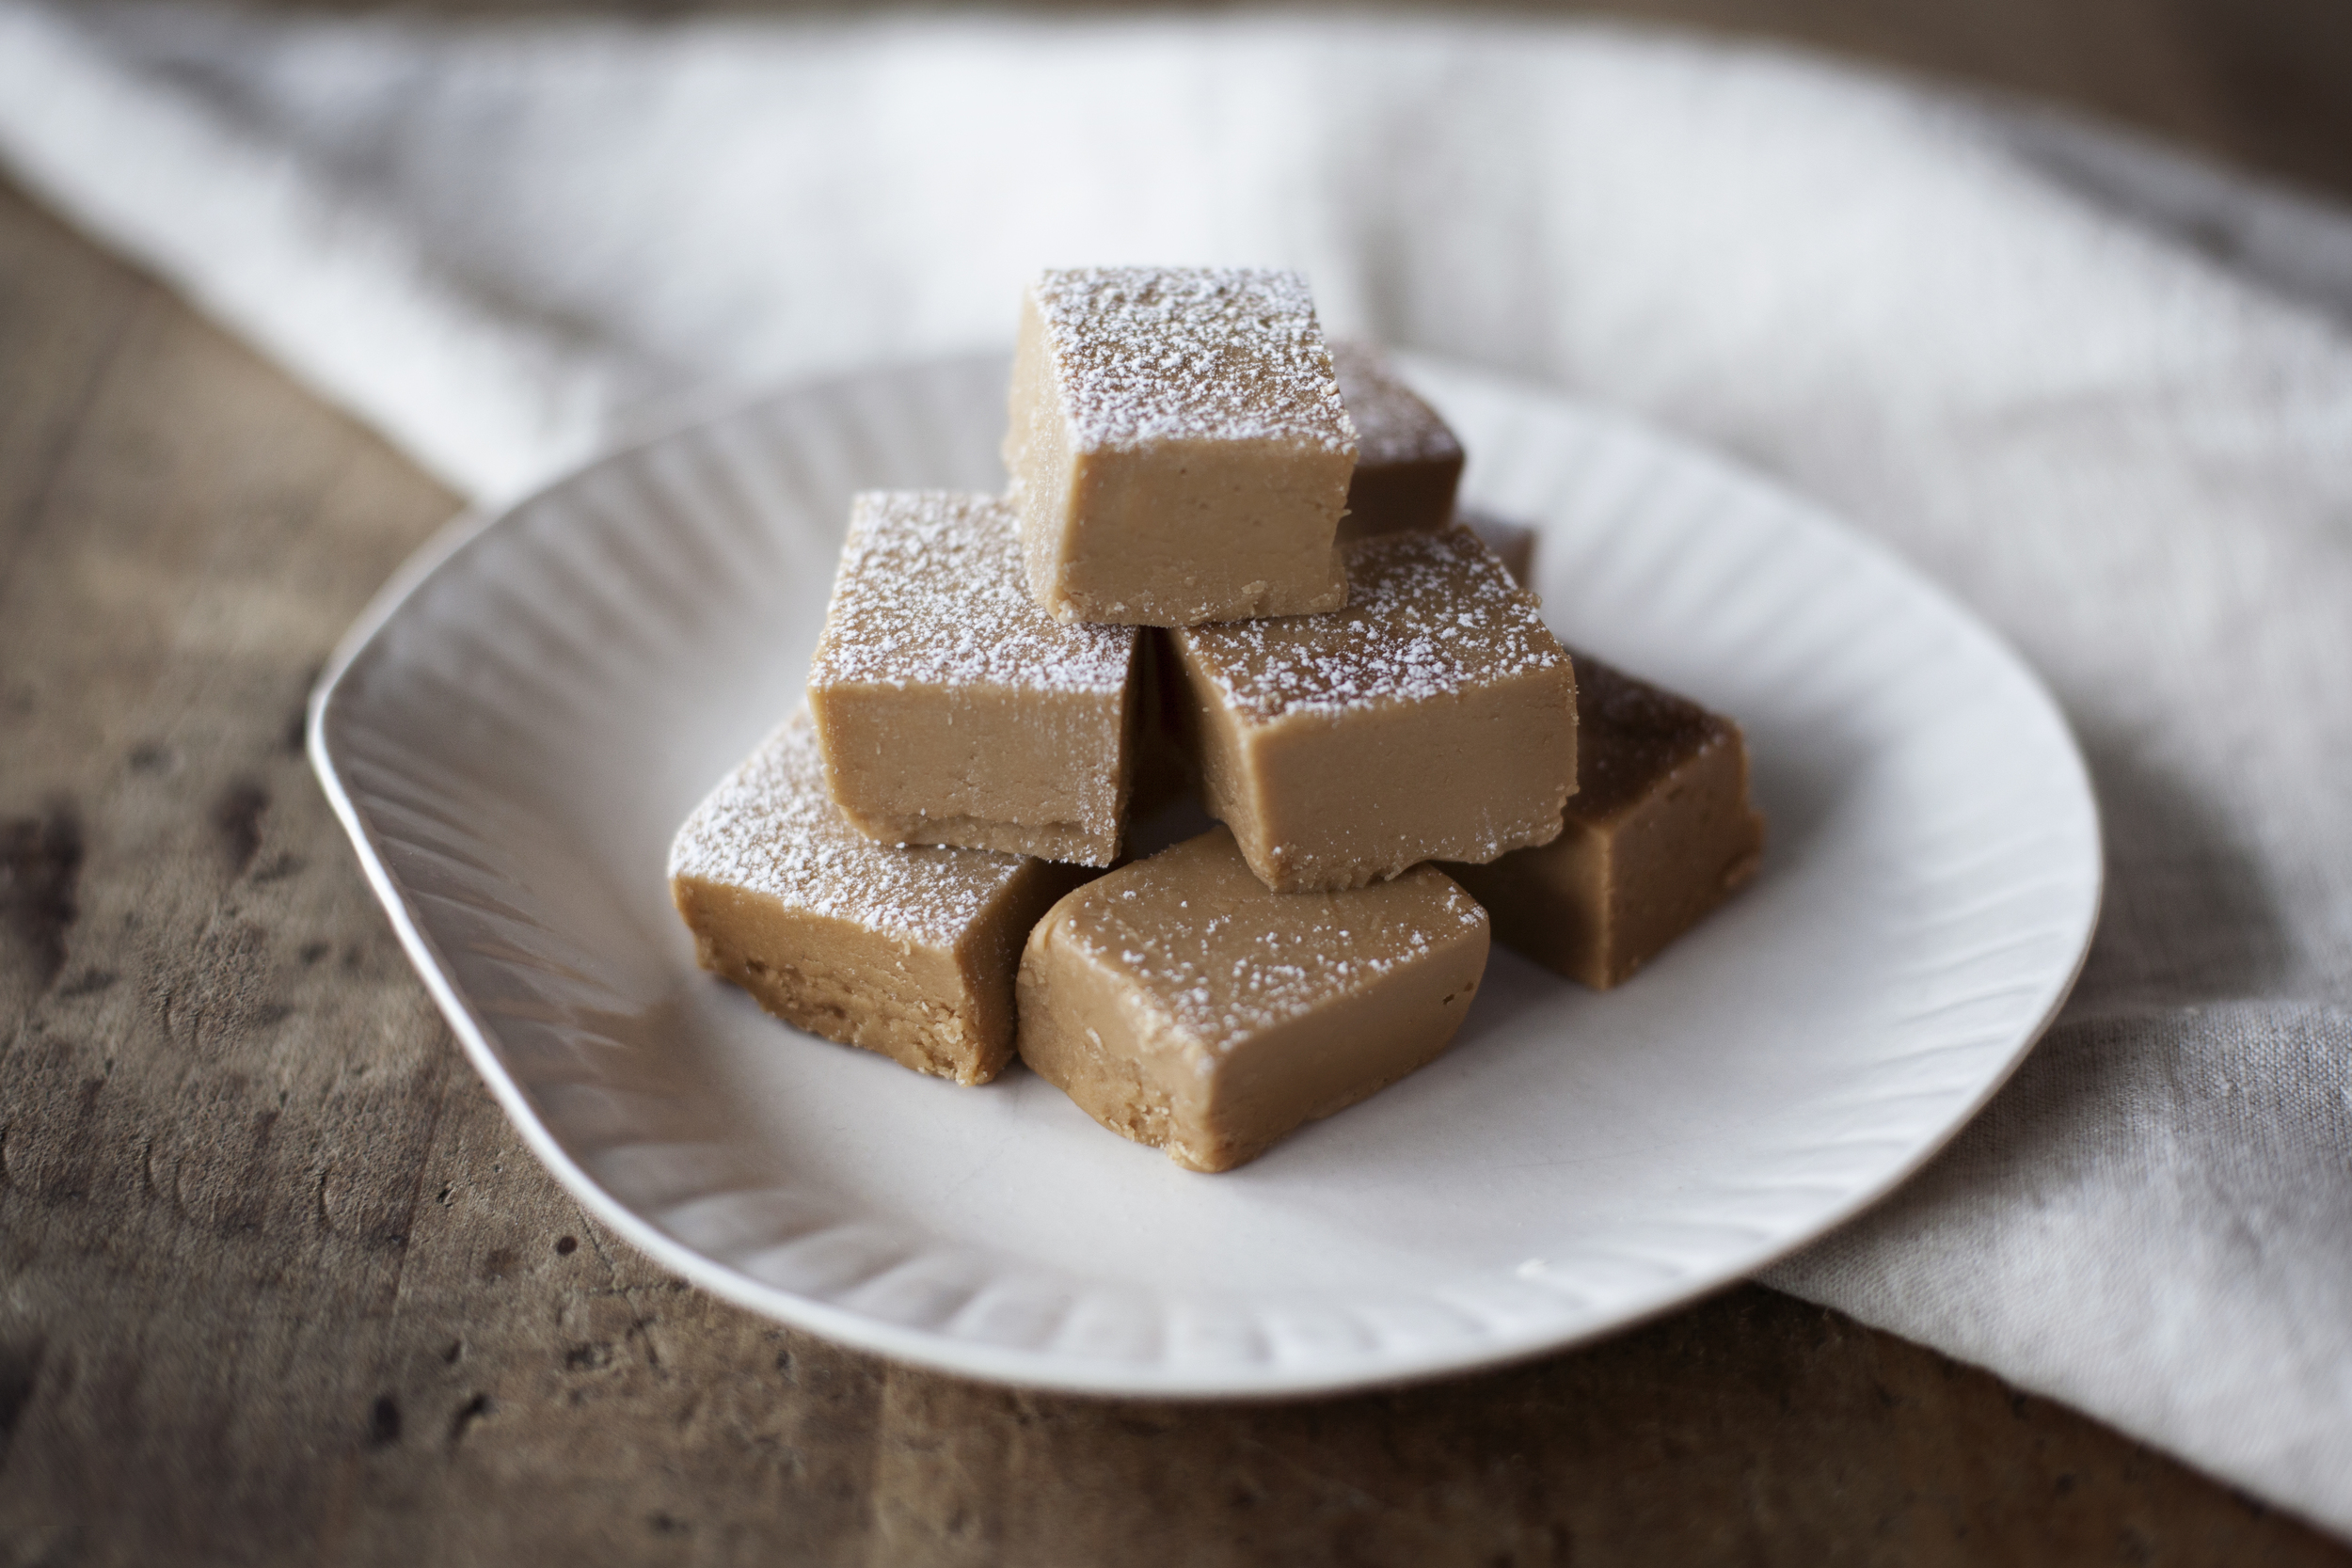
  • scrape into a parchment lined baking dish & let cool. once fudge has set, cut into individual squares.

like what you see? get it here. plate | mug | linen

PUMPKIN GLAZED SCONES


happy november!!! this is my favourite month of fall by far because it is my birthday month ( & my dad's birthday month AND my dogs birthday month).. that is A LOT of cake that needs to be made. also in a few short weeks it will be american thanksgiving (which usually falls on or around my birthday) & then BOOM it's christmas season. i swear every year christmas comes around quicker & quicker. is this what getting older feels like?! let's kick off november with one more pumpkin spiced treat, scones! the glazes (yes two) add the perfect amounth of sweetness to the pumpkin spiced scone. perfect treat for breakfast or with an afternoon tea!

ingredients

for the pumpkin scones

  • 2 cups all-purpose flour
  • 1/2 cup raw sugar
  • 1 teaspoon ground cinnamon
  • 1/2 teaspoon ground ginger
  • 1/4 teaspoon ground nutmeg
  • 1 teaspoon baking powder
  • 1/2 teaspoon baking soda
  • 1/4 teaspoon salt
  • 1/2 cup unsalted butter, cold & cubed
  • 1/2 cup fresh or canned pumpkin puree
  • 1/4 cup whole milk
  • 1 egg
  • 1 teaspoon pure vanilla extract

for the vanilla glaze

  • 1 cup powdered sugar
  • 1 tablespoon whole milk
  • 1 teaspoon pure vanilla extract

for the pumpkin glaze

  • 1/2 cup powdered sugar
  • 1/4 teaspoon fresh or canned pumpkin puree
  • 1 pinch of cinnamon, ginger & nutmeg
  • 1 teaspoon whole milk

directions

  • for the pumpkin scones: preheat oven to 375 degrees. in a large mixing bowl add flour, sugar, cinnamon, ginger, nutmeg, baking powder, baking soda & salt. stir. add the cubed butter & work into the flour mixture until pea sized crumbs are formed (similar to pie dough & biscuits). in a separate mixing bowl add pumpkin puree, whole milk, egg & vanilla. whisk until smooth. add the wet ingredients to the dry ingredients & stir until a dough comes together. roll out onto a floured surface & cut into desired shapes. bake until puffed & golden, about 10-15 minutes. let cool while you make the glazes.
  • for the vanilla glaze: add all ingredients into a mixing bowl & whisk until a smooth glaze forms. if glaze appears runny, add a touch more sugar. if glaze appears thick, add a touch more milk.
  • for the pumpkin glaze: add all ingredients into a mixing bowl & whisk until a smooth glaze forms. if glaze appears runny, add a touch more sugar. if glaze appears thick, add a touch more milk.
  • to assemble: once the scones have cooled, begin with a thick coating of the vanilla glaze. let set. finish by drizzling the pumpkin glaze.
  • serve as is or with (blueberry) jam!

DULCE DE LECHE CAKE


it's a double cake week on modest marce! this might be the BEST week ever. tonight i am celebrating halloween & attending the R.O.M's halloween bash dressed as creulla de vil. what's a better way to party then partying in a museum?! i cannot wait to spray paint half my hair white tonight. so what are we celebrating today with this fancy cake? i mean.. even though halloween hasn't technically happened yet, i think we have celebrated it enough on the blog (re: pumpkin chocolate cake, chocolate caramel apples, spicy pumpkin seeds). instead we are celebrating the launch of woven magazine's kickstarter campaign. this magazine has been created by two very awesome west coast people, jeremy & christi, who i have been fortunate to work with. this month, they need our help to create issue one of woven magazine in print. please check out the campaign & all the beautiful work they have created thus far, i know you'll love it.

happy weekend! happy halloween! happy trick or treating! xo

ingredients

for the cake

  • 1 cup unsalted butter, softened
  • 1 1/2 cups white sugar
  • 1/4 cup dulce de leche
  • 3 large eggs
  • 1 teaspoon pure vanilla extract
  • 1/2 cup vegetable oil
  • 2 1/2 cups all purpose flour
  • 2 teaspoons baking powder
  • 1 teaspoon salt
  • 1 cup whole milk

for the frosting

  • 1 1/2 cups unsalted butter, room temperature
  • 3-4 cups icing sugar, or to taste
  • 1 teaspoon pure vanilla extract
  • 2 tablespoon + 1 cup dulce de leche

directions

  • for the cake: preheat oven to 325 degrees. in the bowl of a stand mixer with the paddle attachment cream butter, sugar and dulce. add the eggs and mix until light and fluffy. mix in vanilla and oil until combined. in a separate bowl sift the flour, baking powder, and salt. gradually add to stand mixer at low speed. once flour is JUST combined into the wet ingredients, add the milk. evenly distribute batter into two 9-inch cake pans. bake for 20-25 minutes, or until a toothpick comes out clean. let cakes cool completely before flipping onto a cooling rack.
  • for the frosting: add butter, icing sugar, vanilla & 2 tablespoons of dulce in the bowl of a stand mixer and whip until light and fluffy, about 8-10 minutes. remaining dulce will be used to assemble the cake.
  • assembly: cut cakes evenly down the middle so you have four thin layers of cake. begin with the first layer of cake, followed by a thick layer of frosting & finished with a layer of dulce de leche. repeat until the top layer. for the final layer simply frost the top & edges with the buttercream. drizzel with left over dulce if desired.

like what you see? get it here. cake stand | wood measuring cups | linens | cake server | plate