banana + coconut cream pie jars


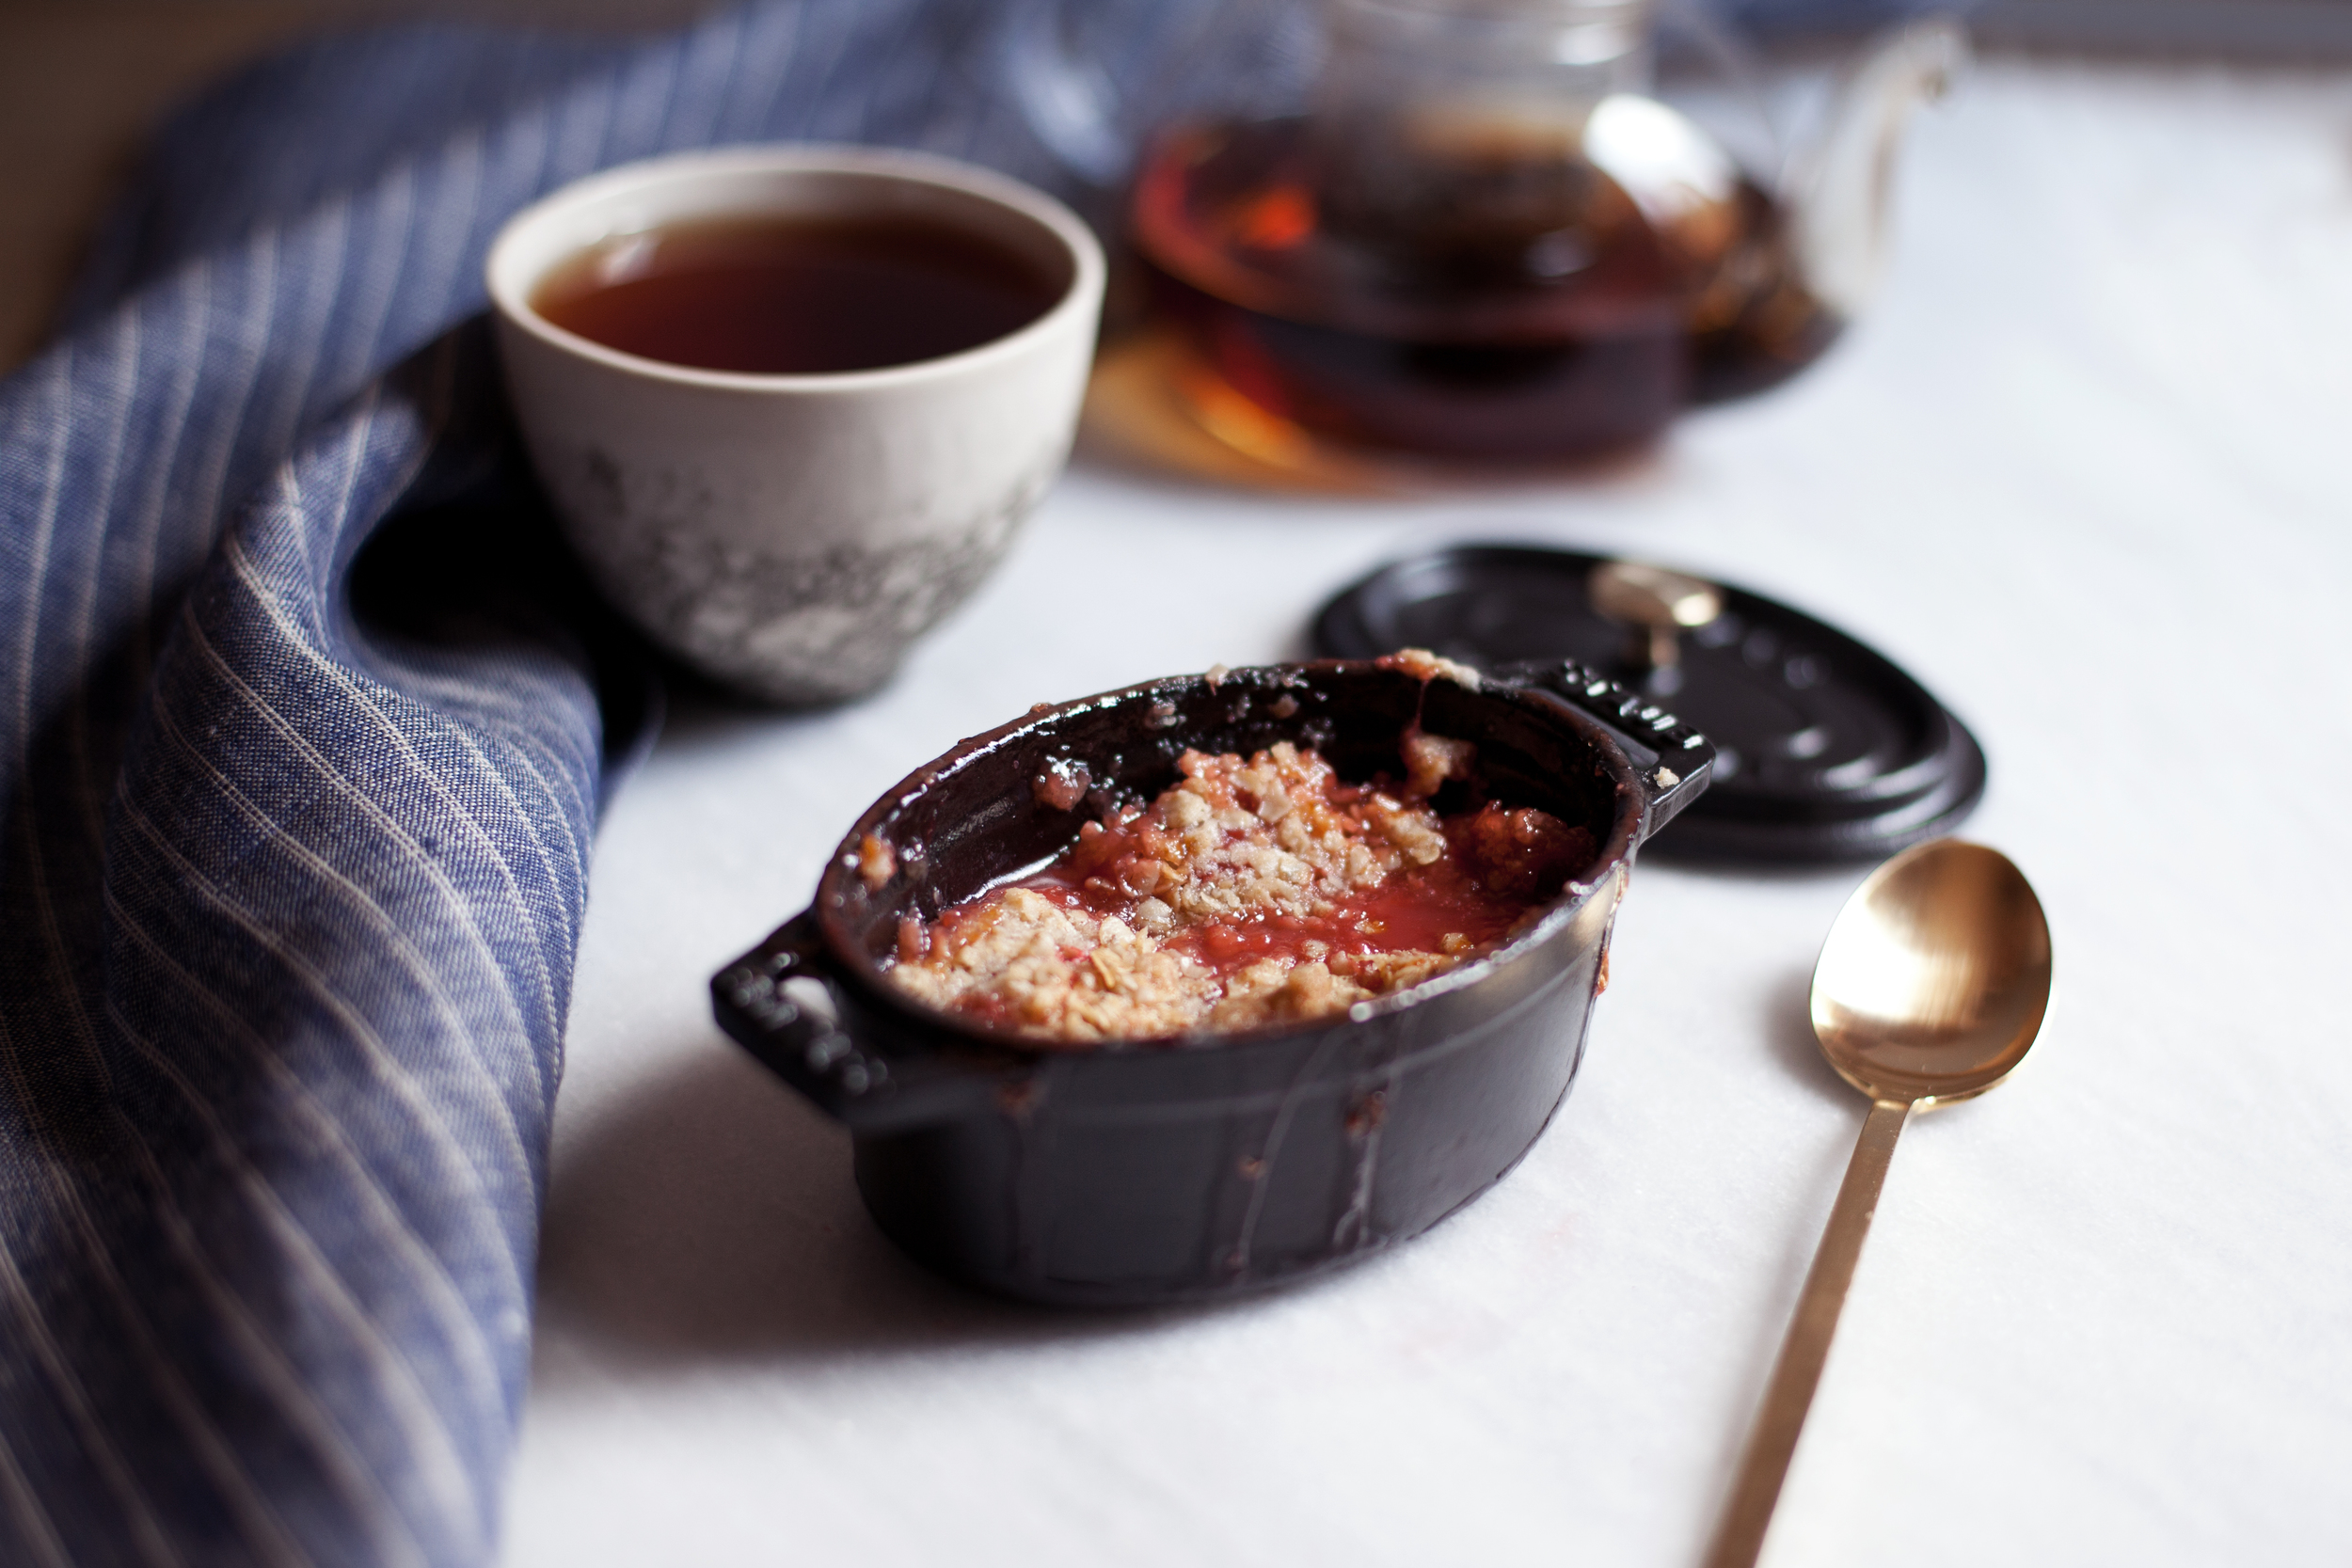
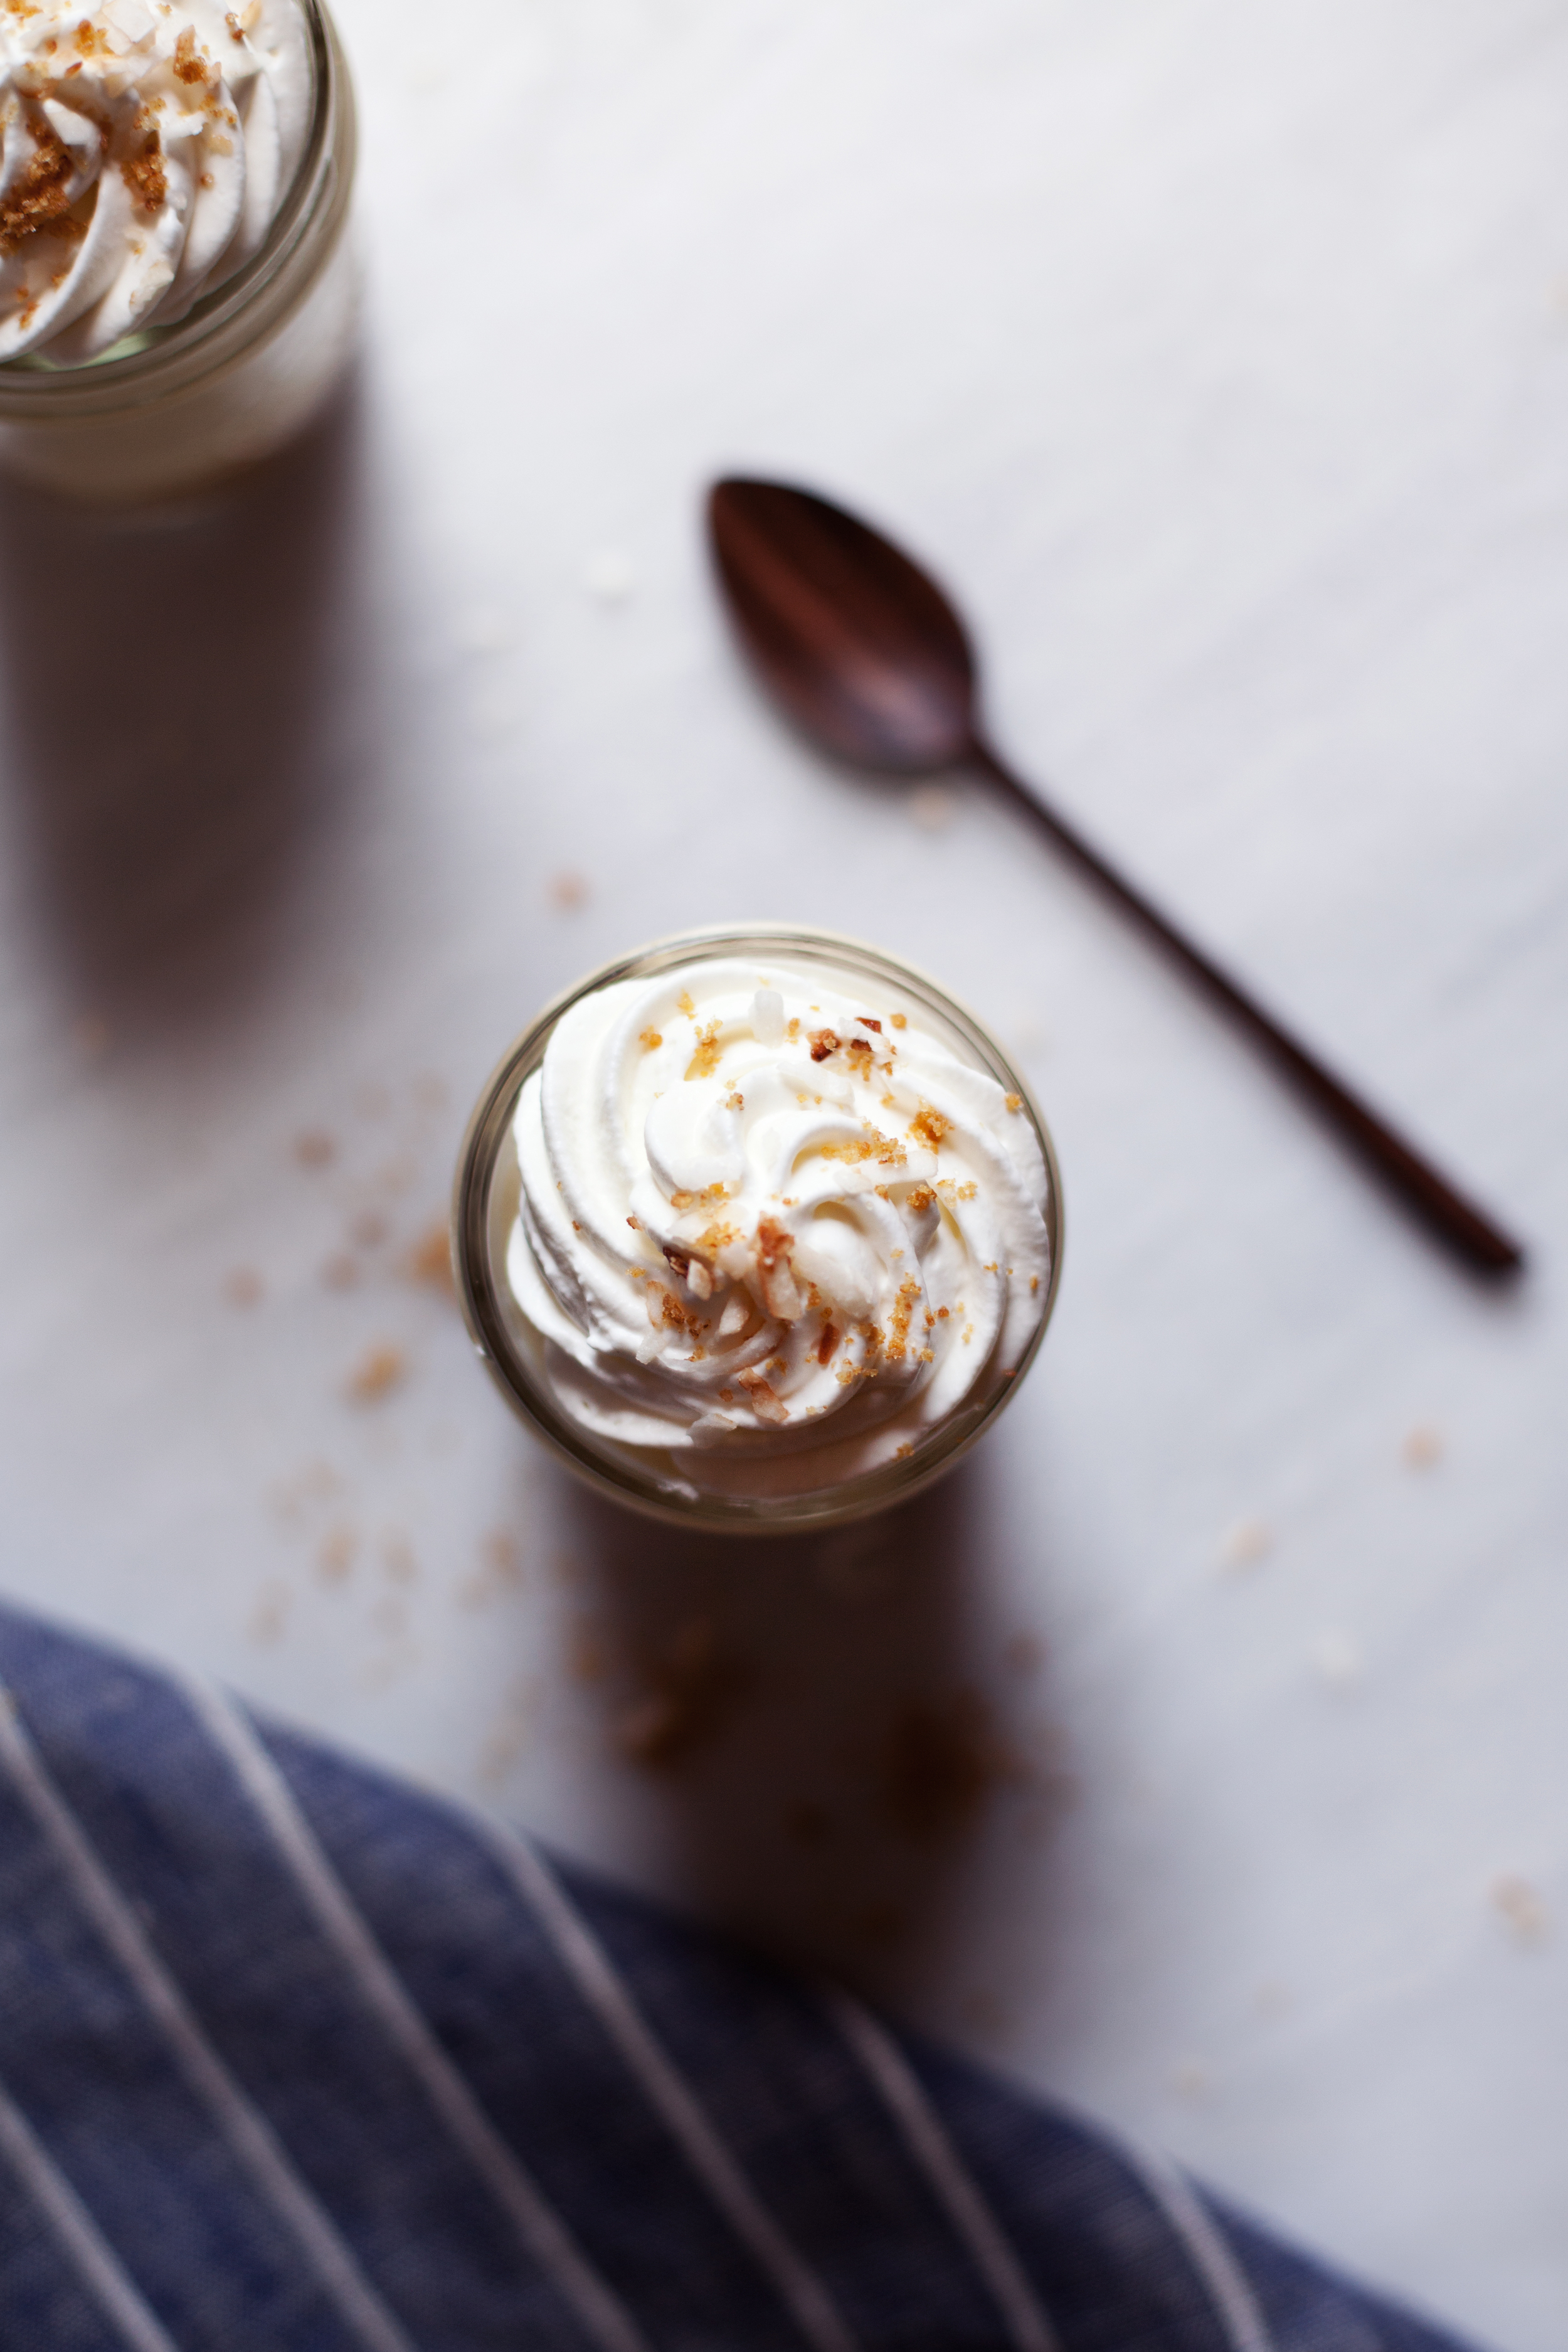
i feel like i have gone through a bit of a baking lull these past couple weeks. the weather has been so insanely hot that i don't even wanna step outside, let alone think about turning on the oven to bake! but then i thought hey! why not make a dessert that doesn't involve the oven (popsicles, i'll get back to you next week)!? cue: banana coconut cream pie jars.

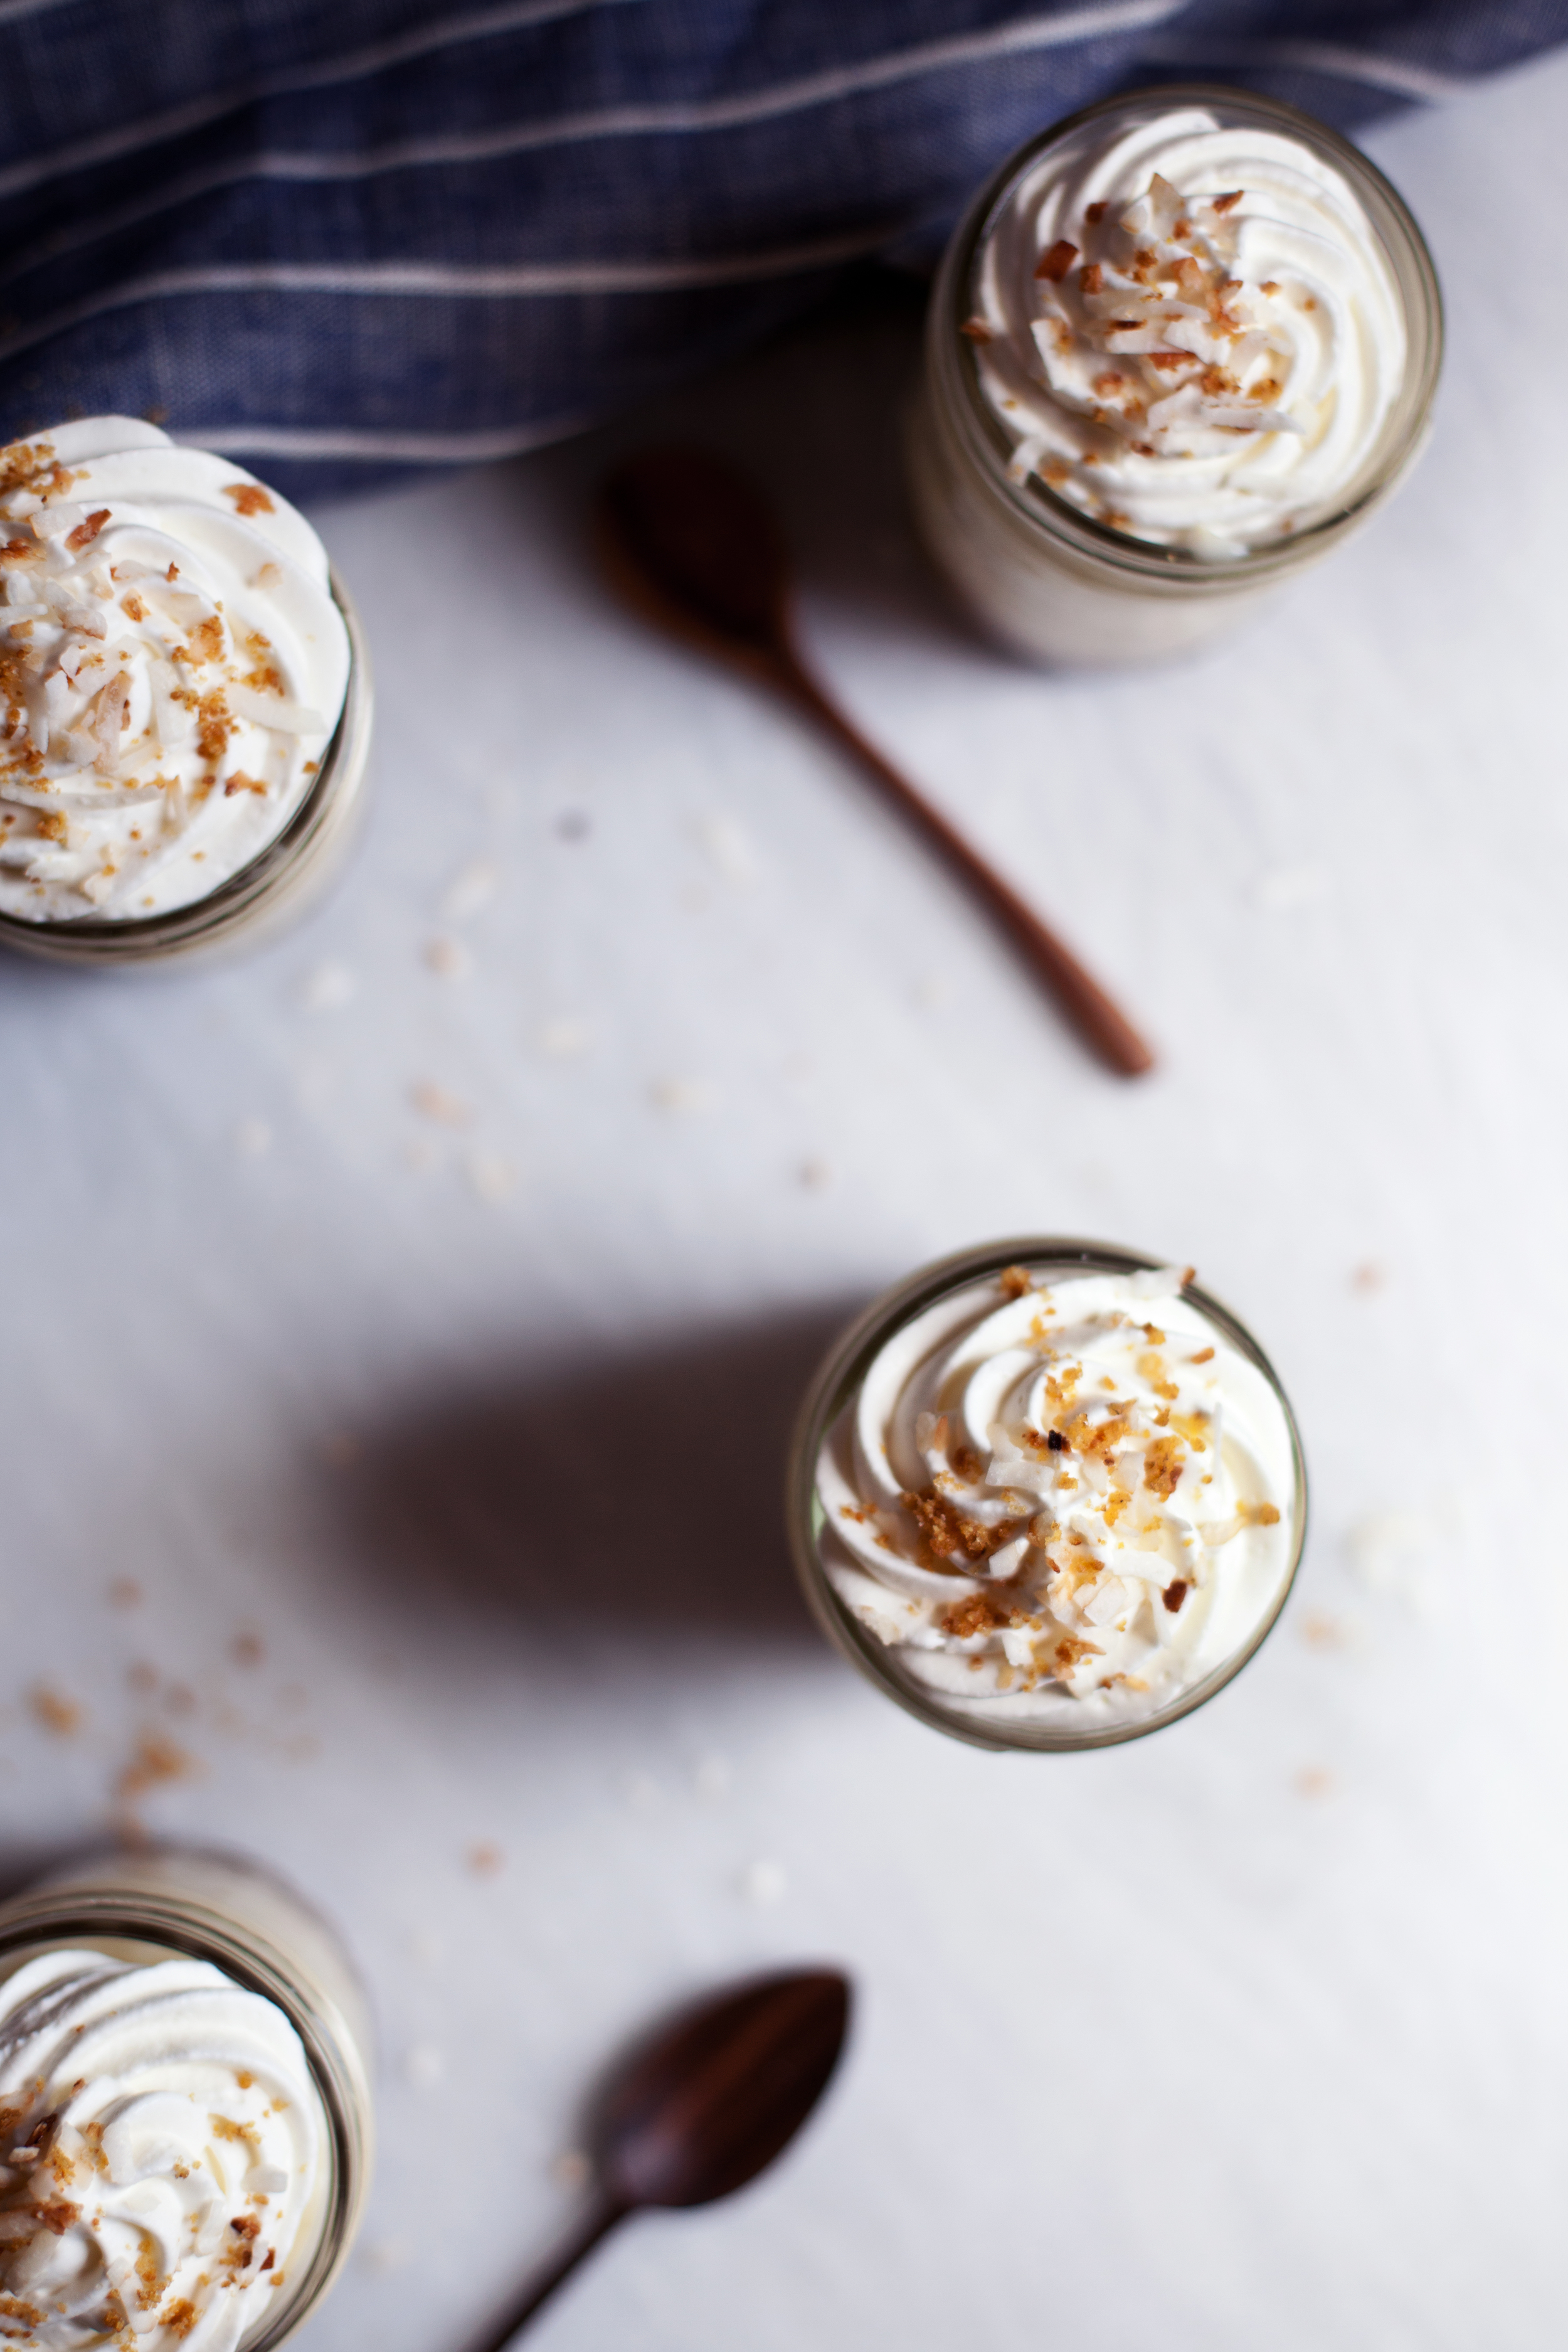
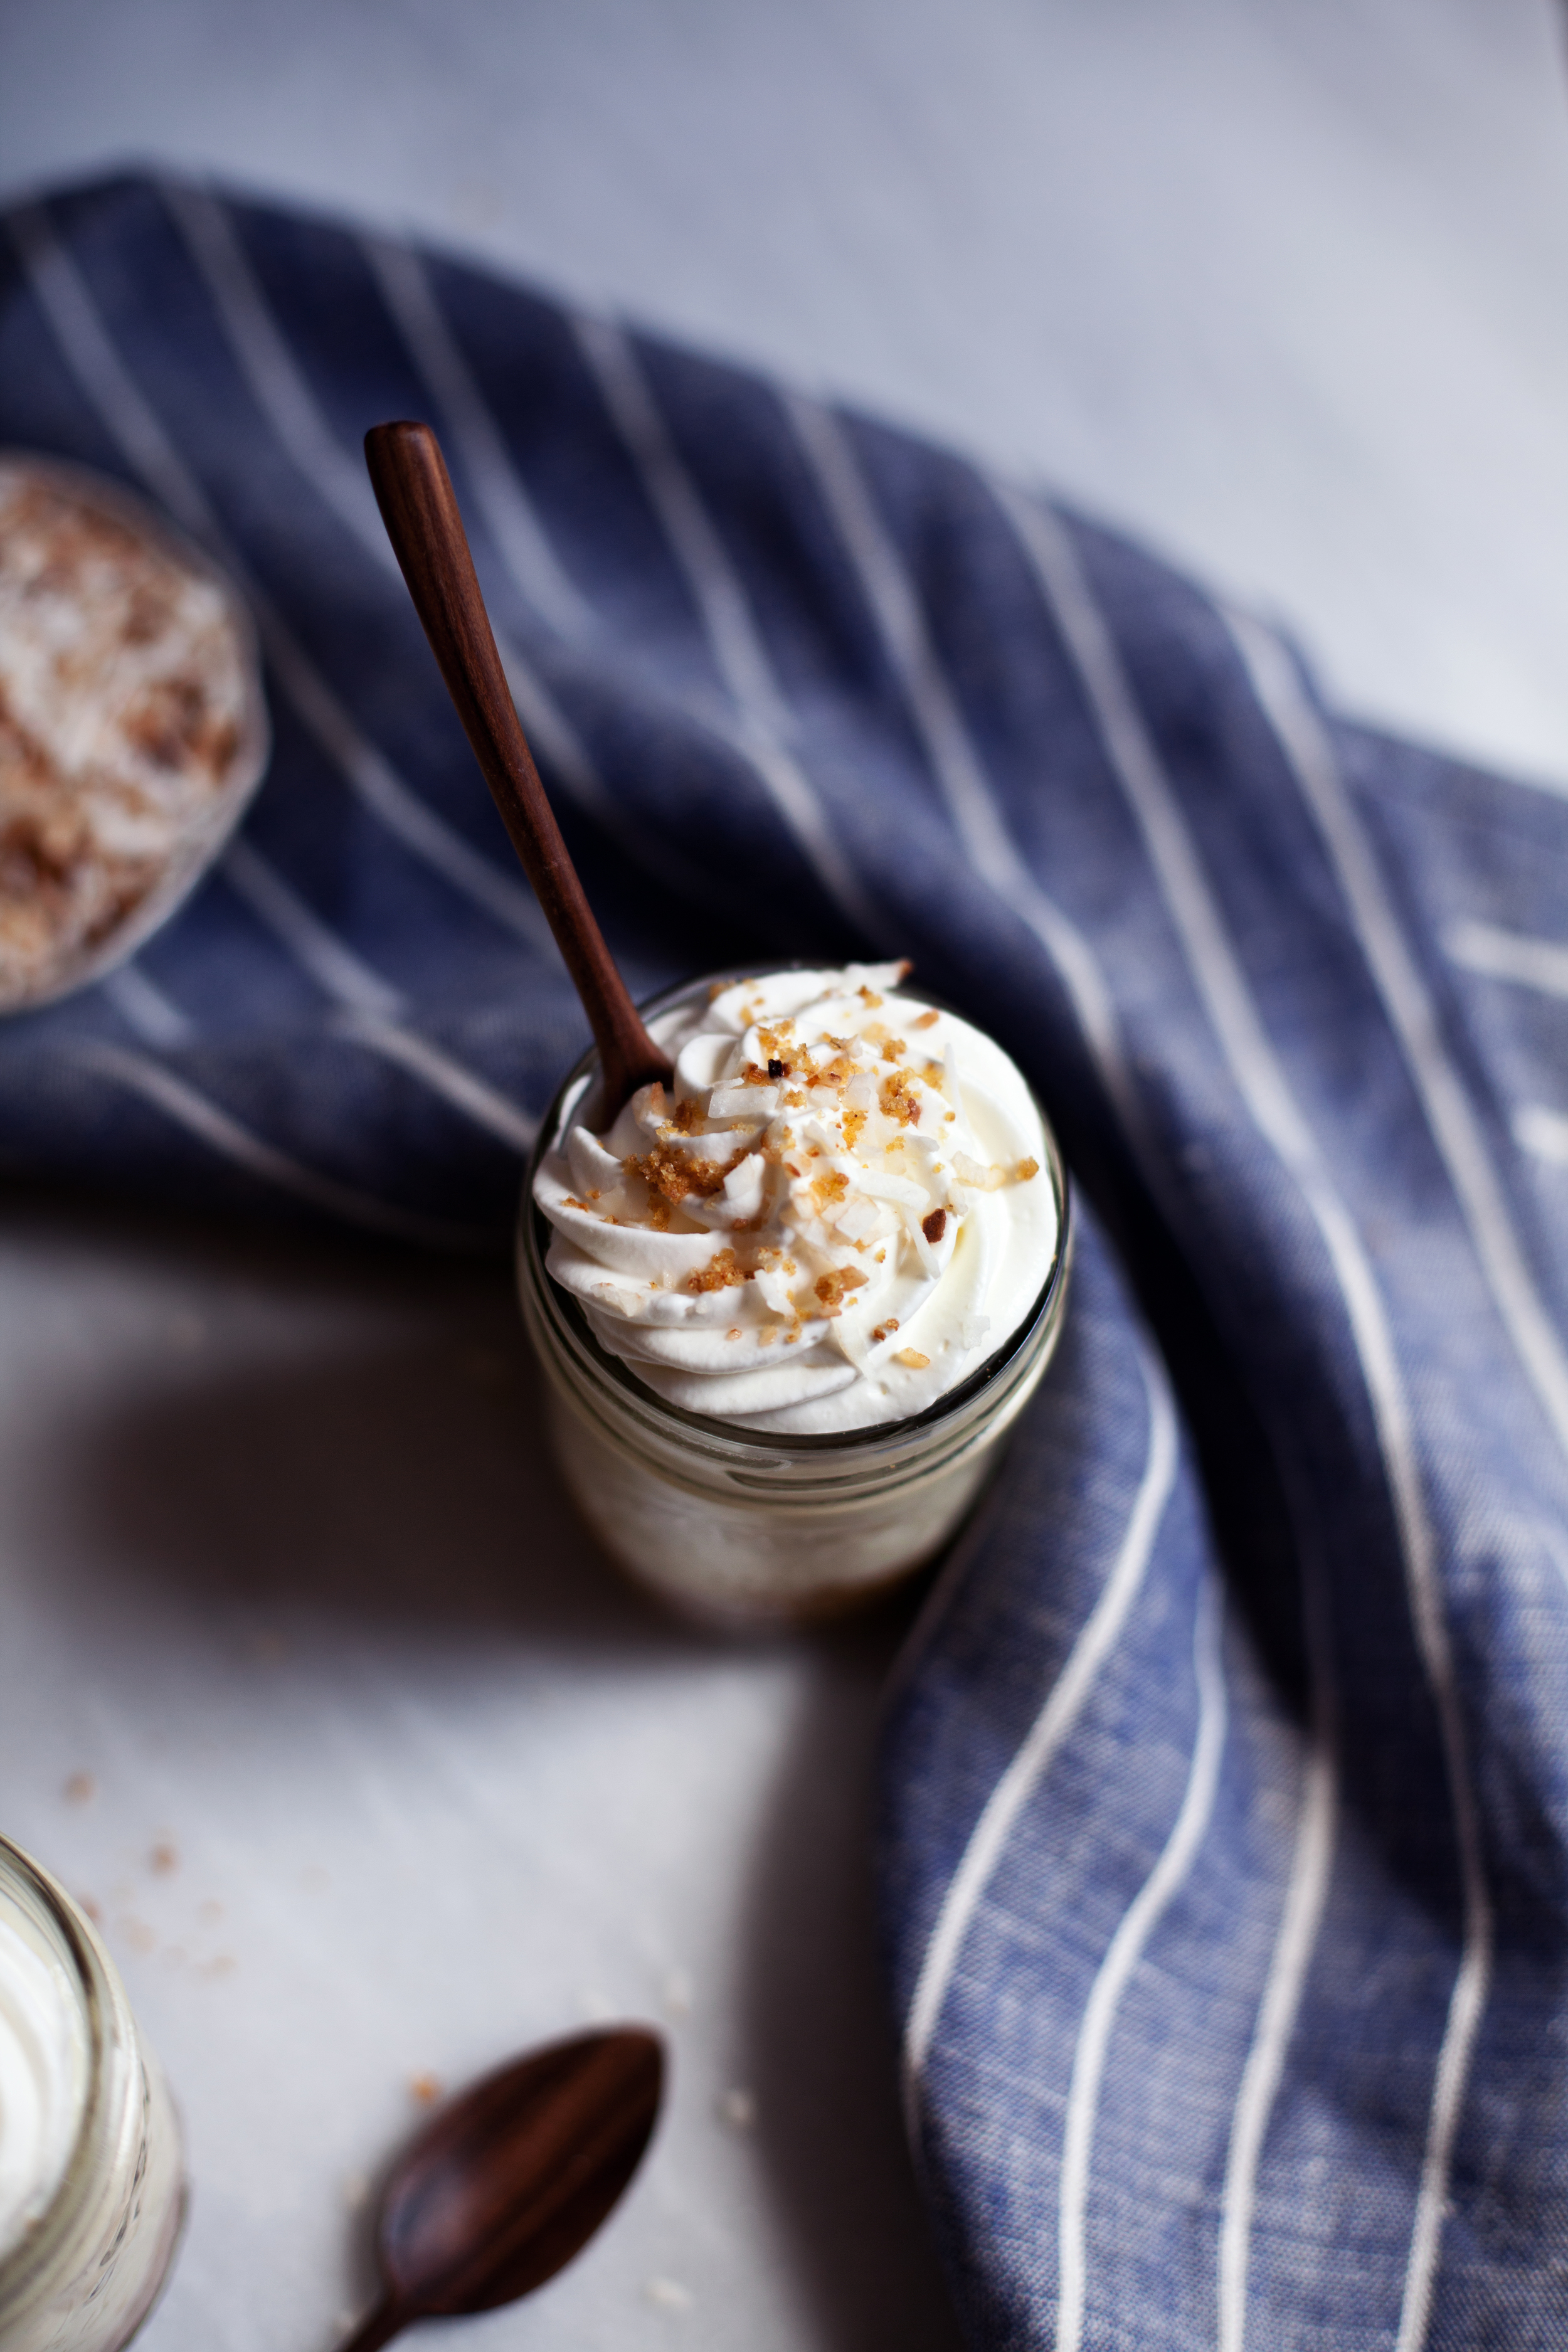
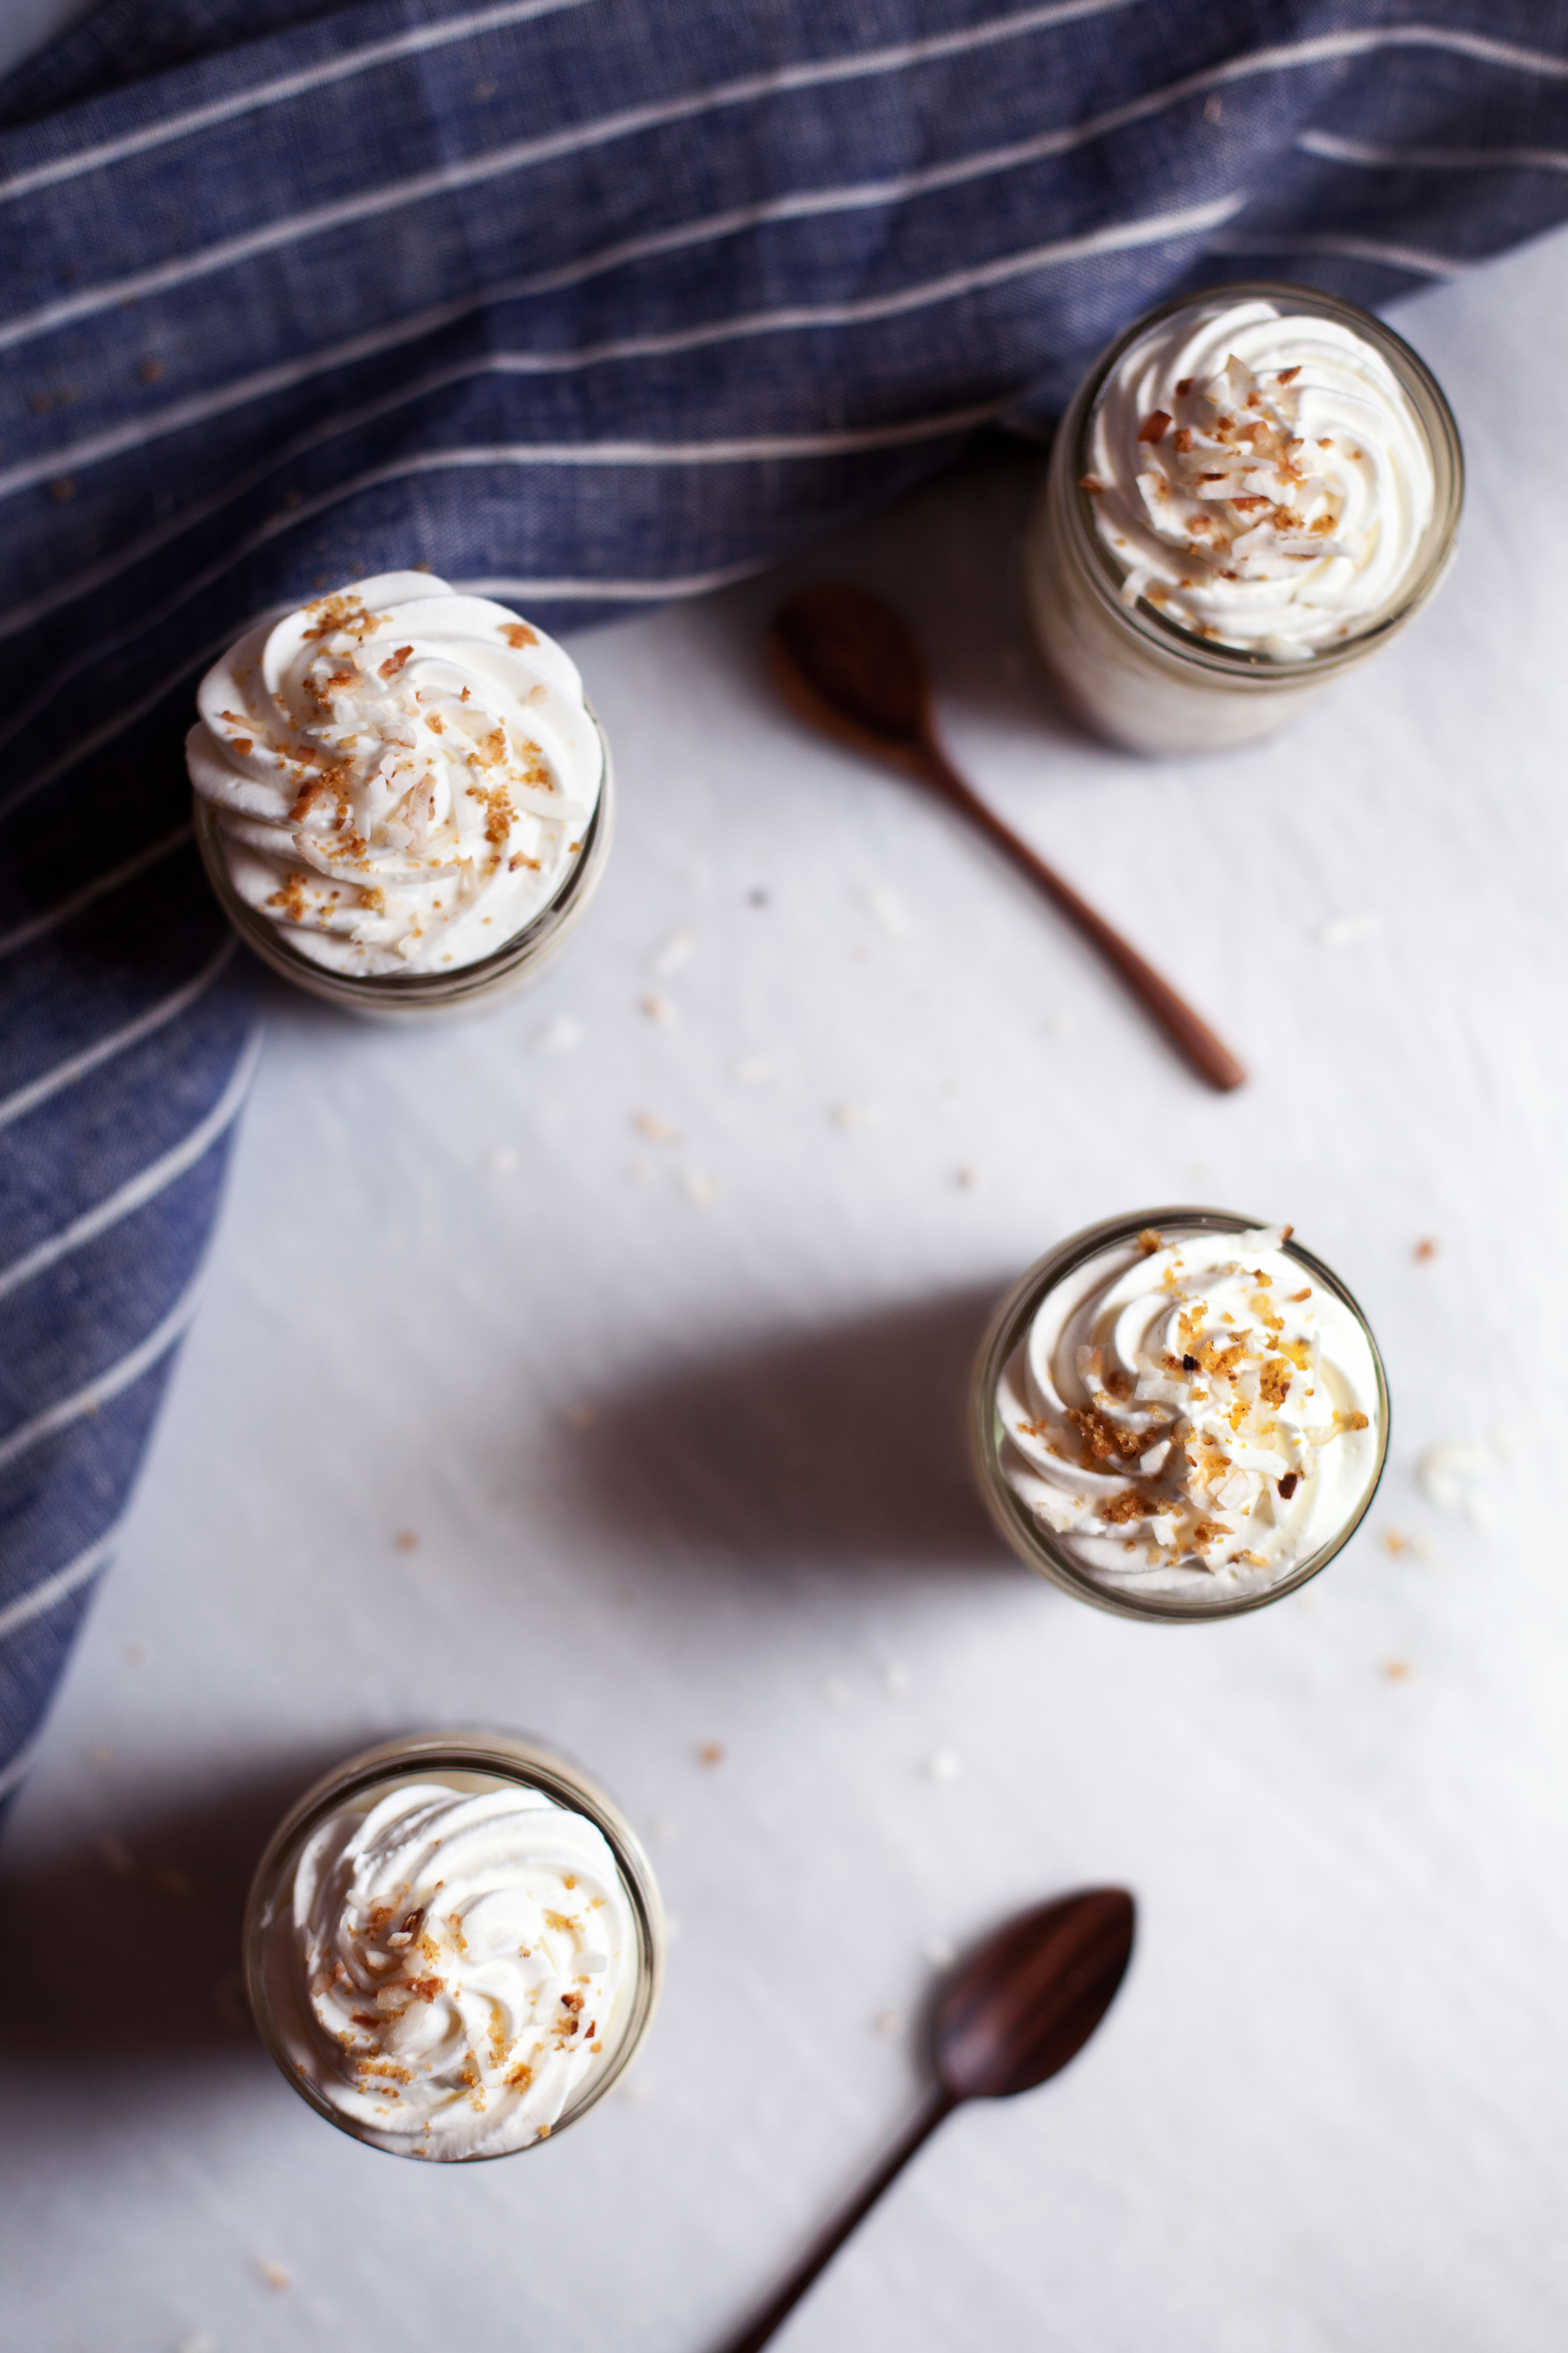
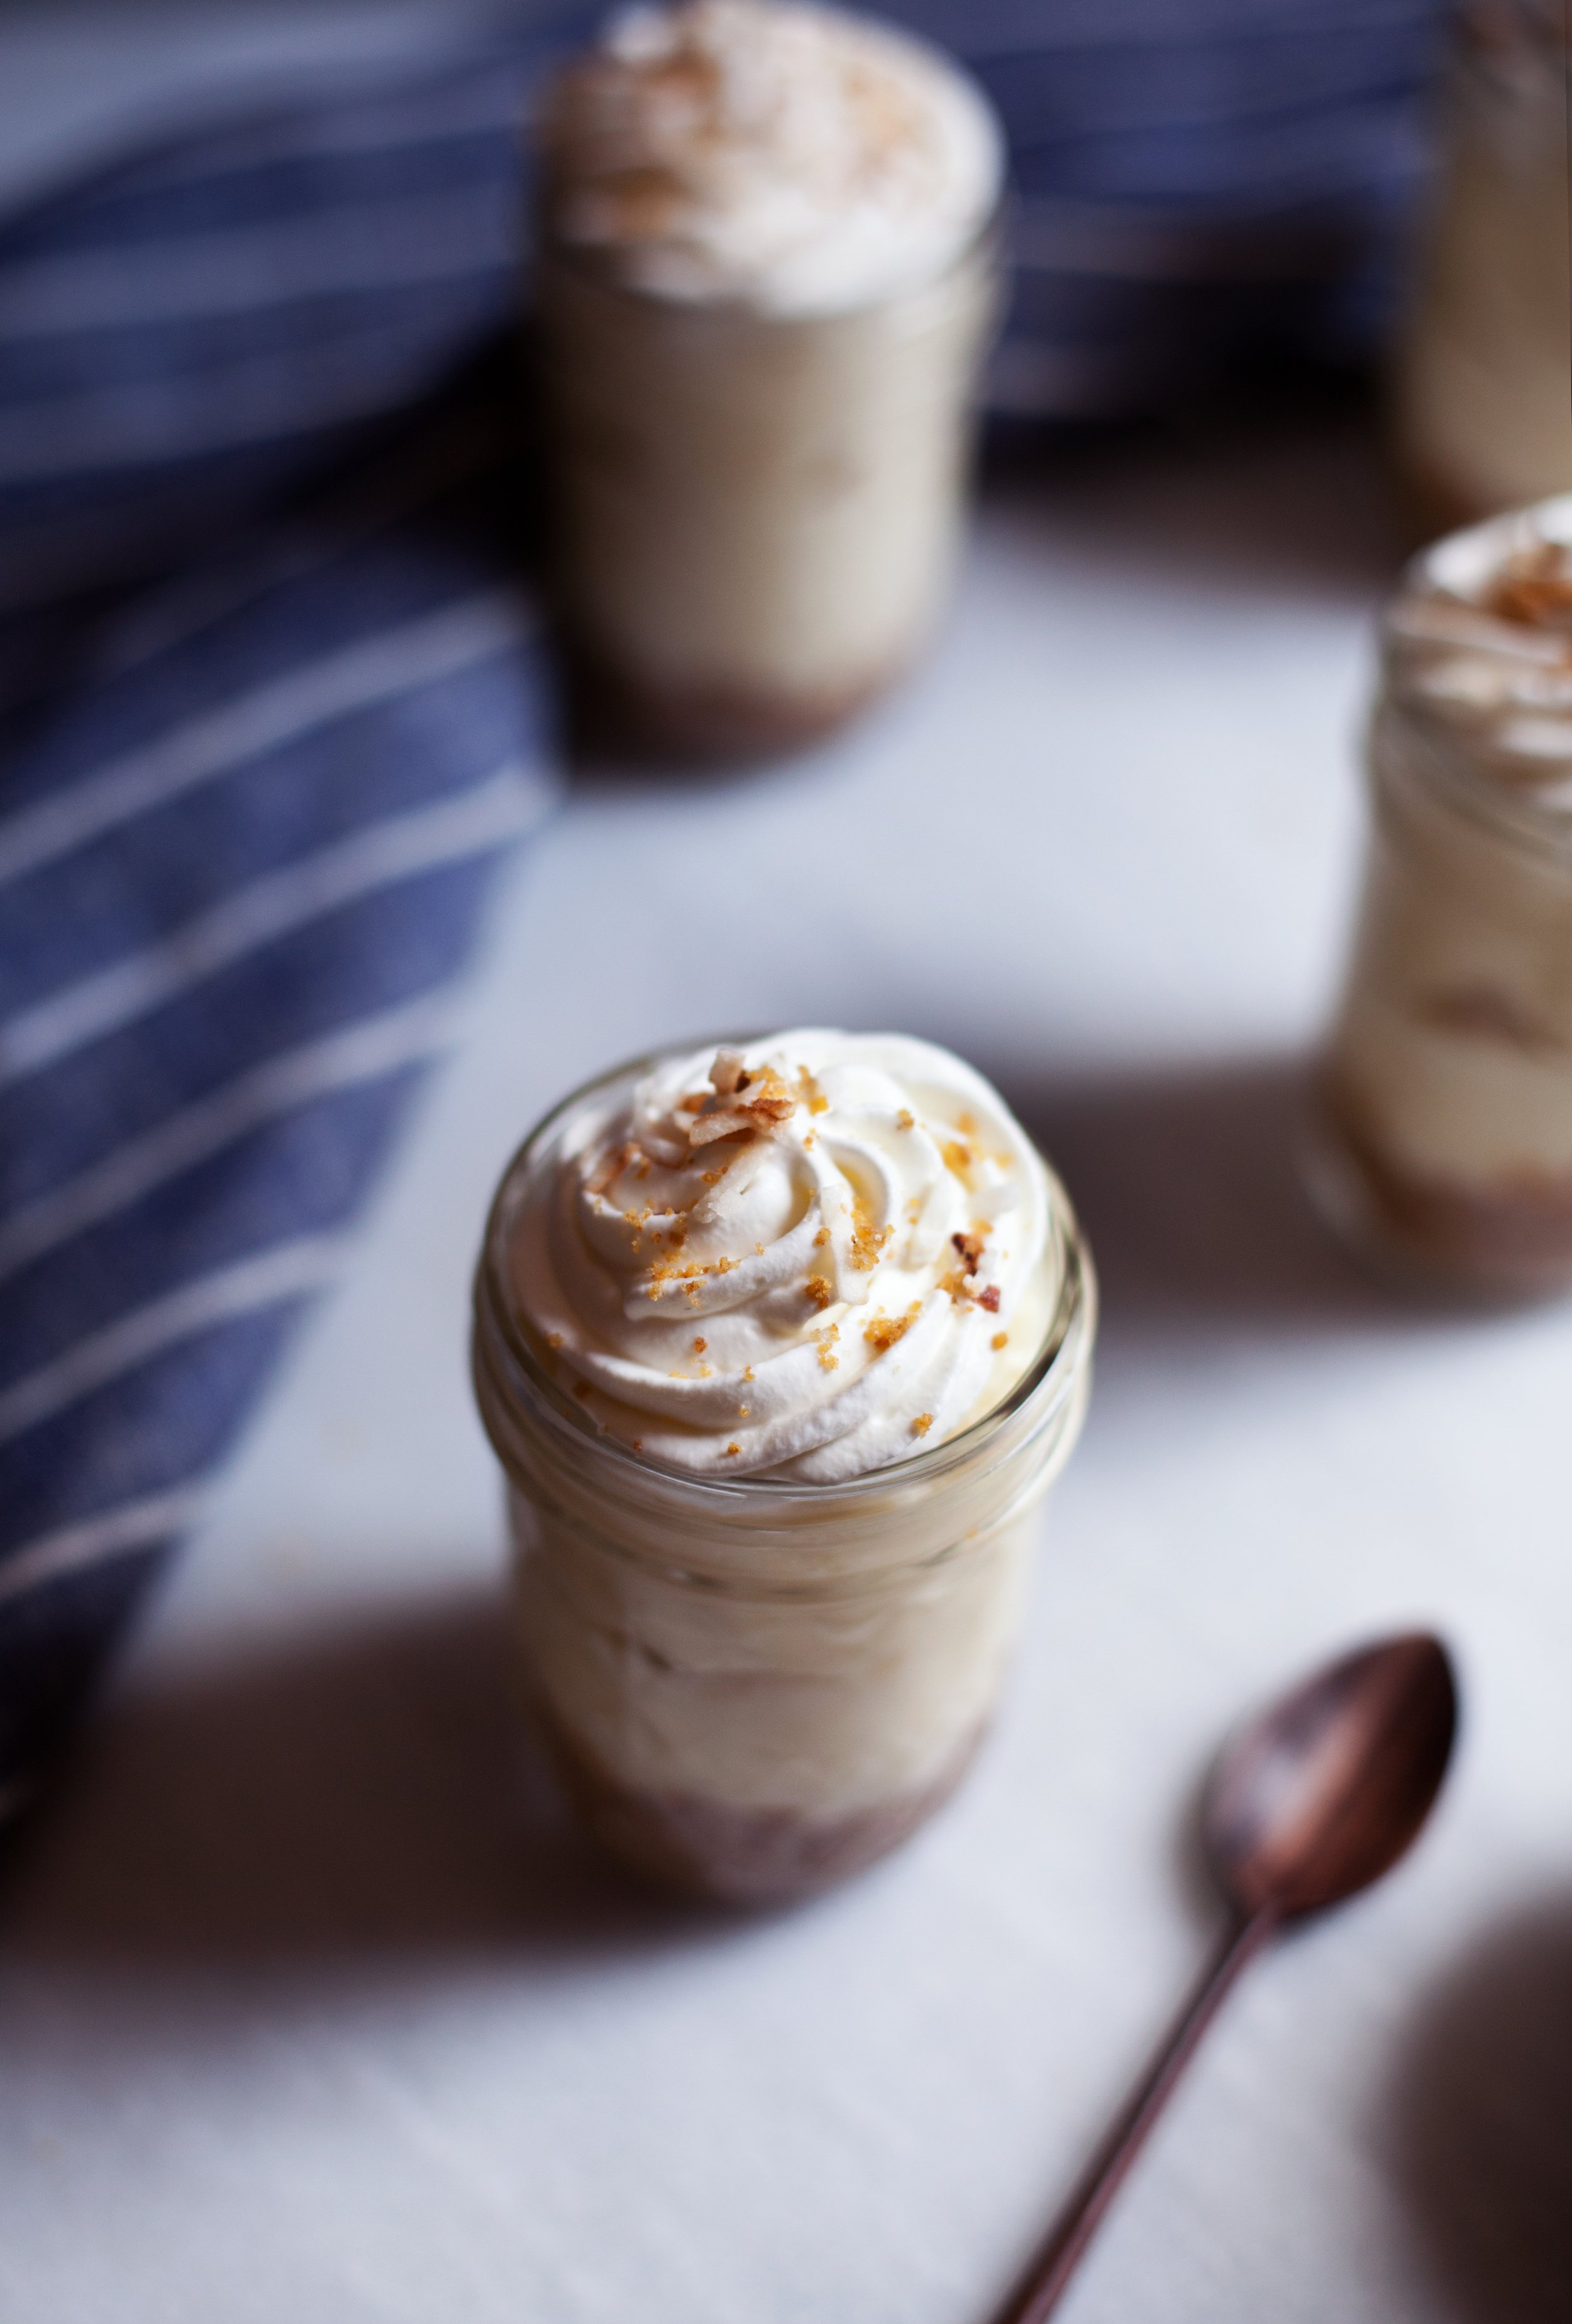
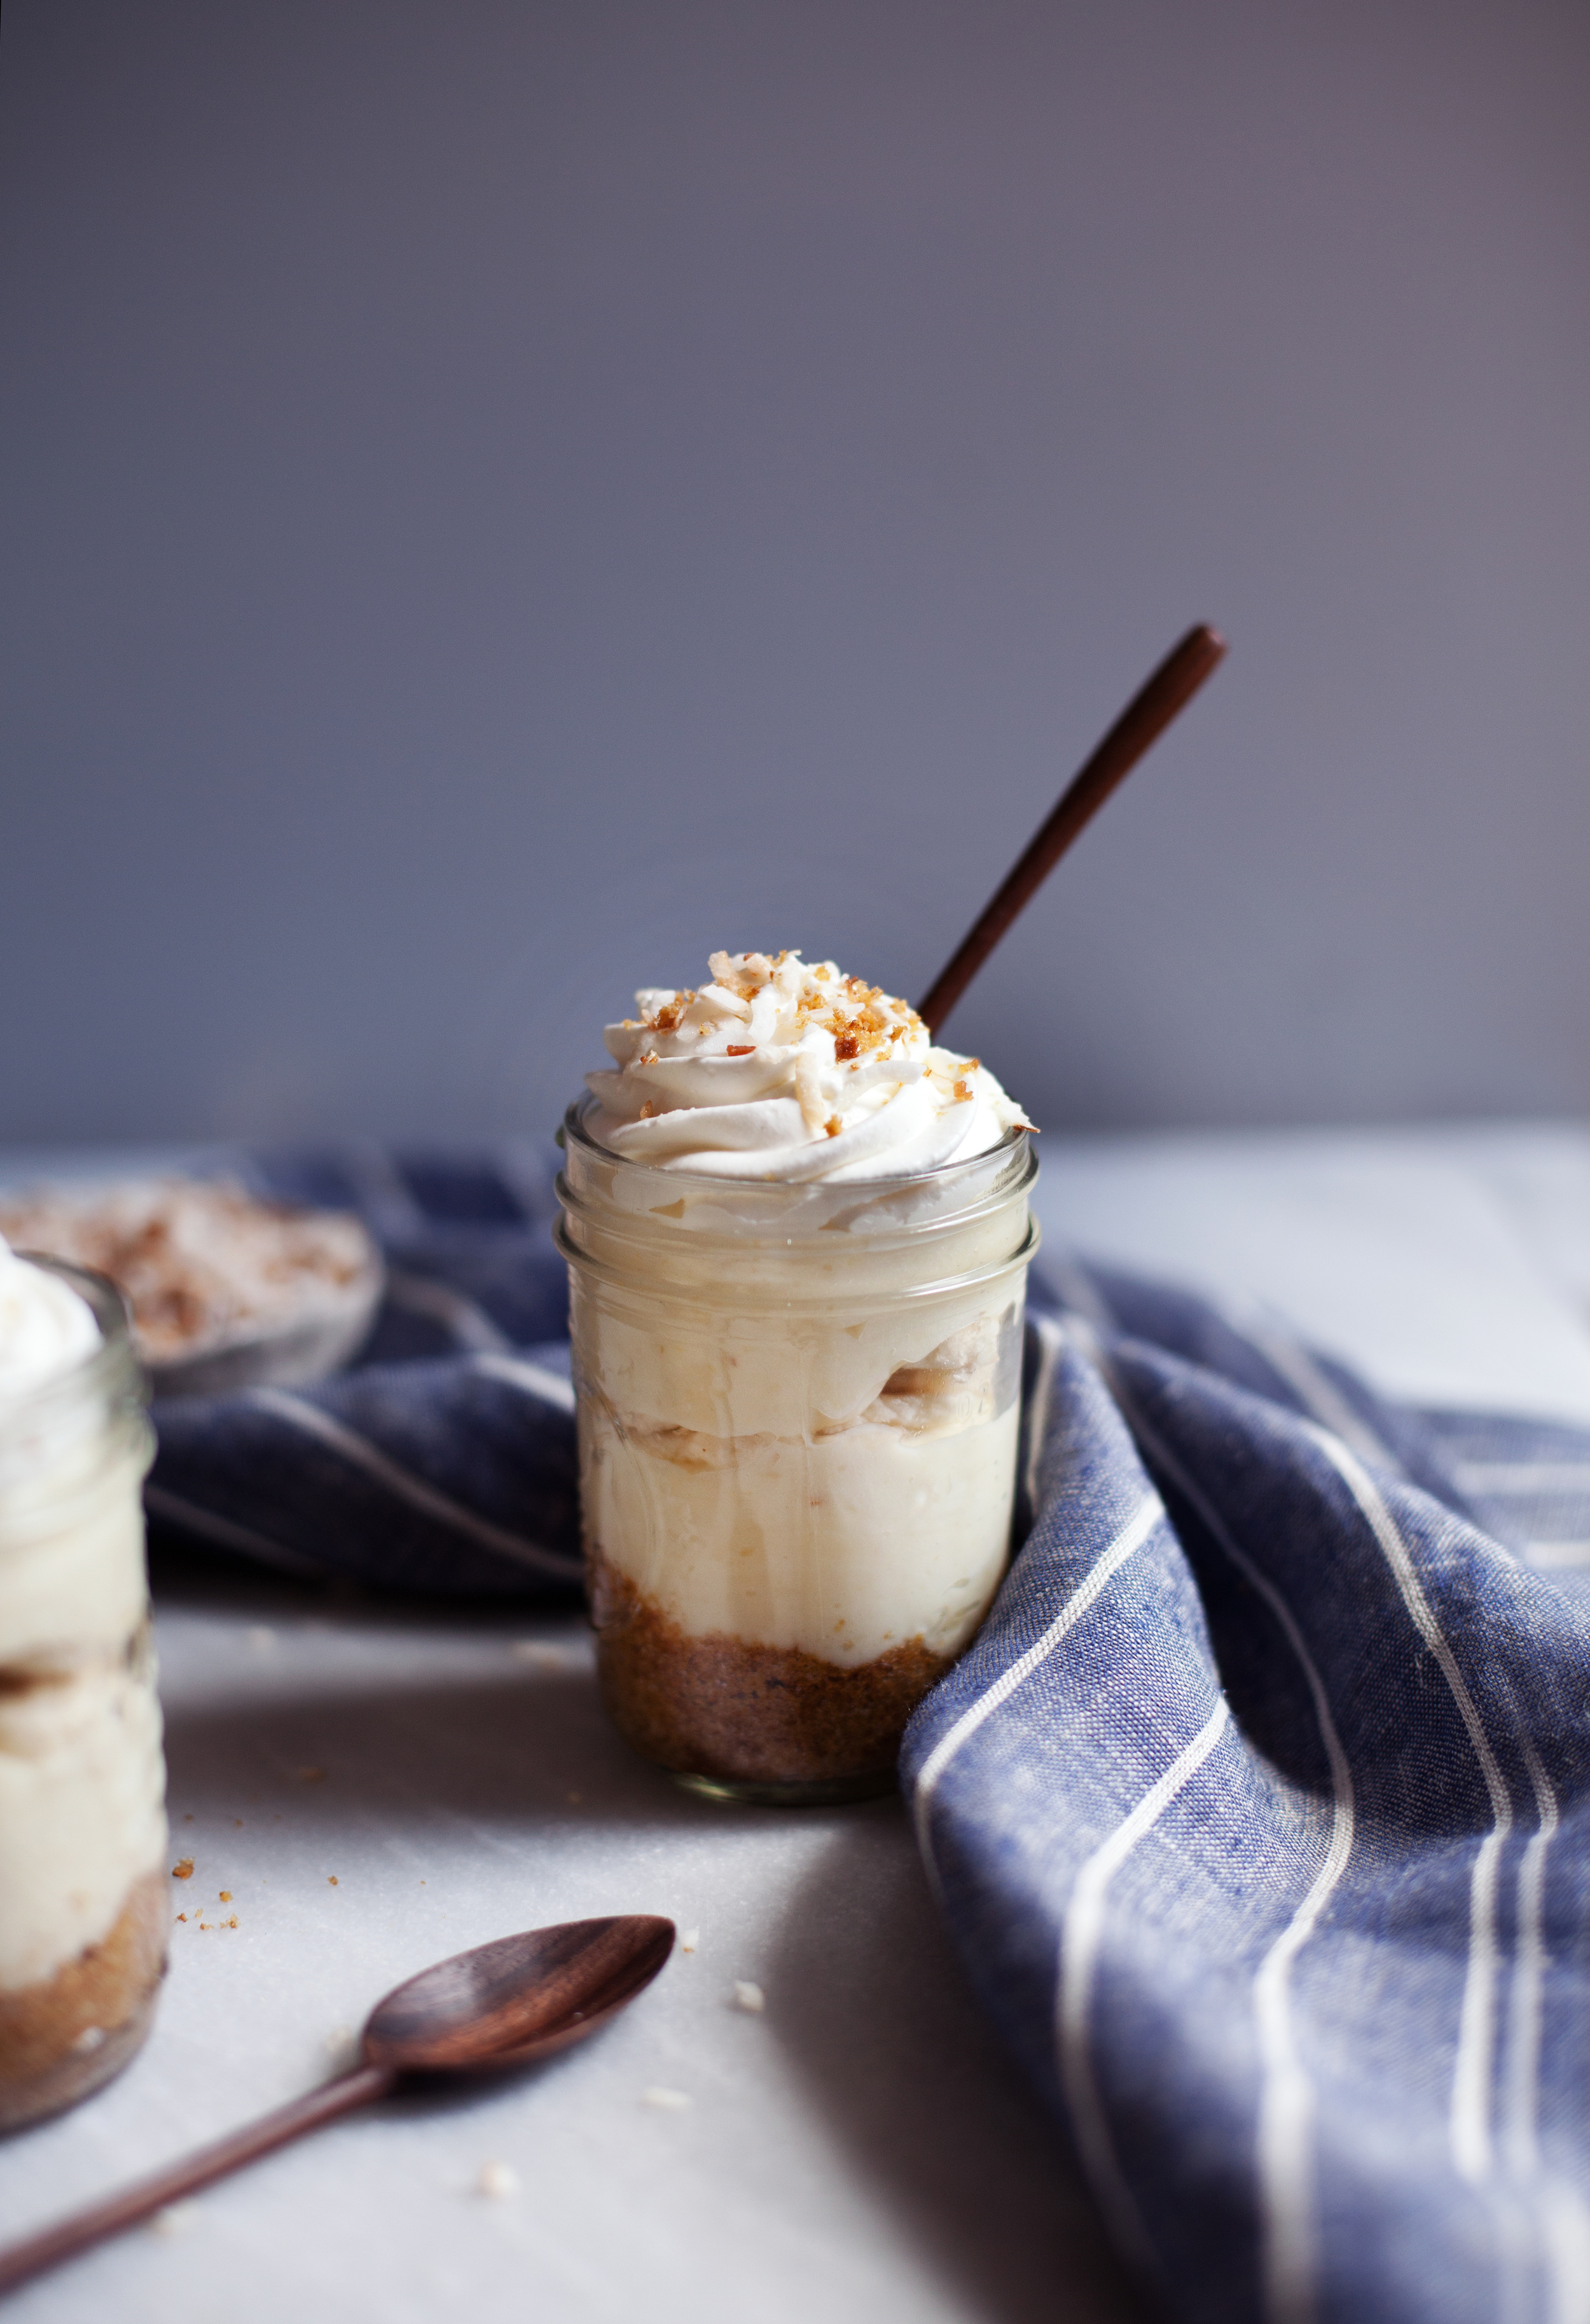
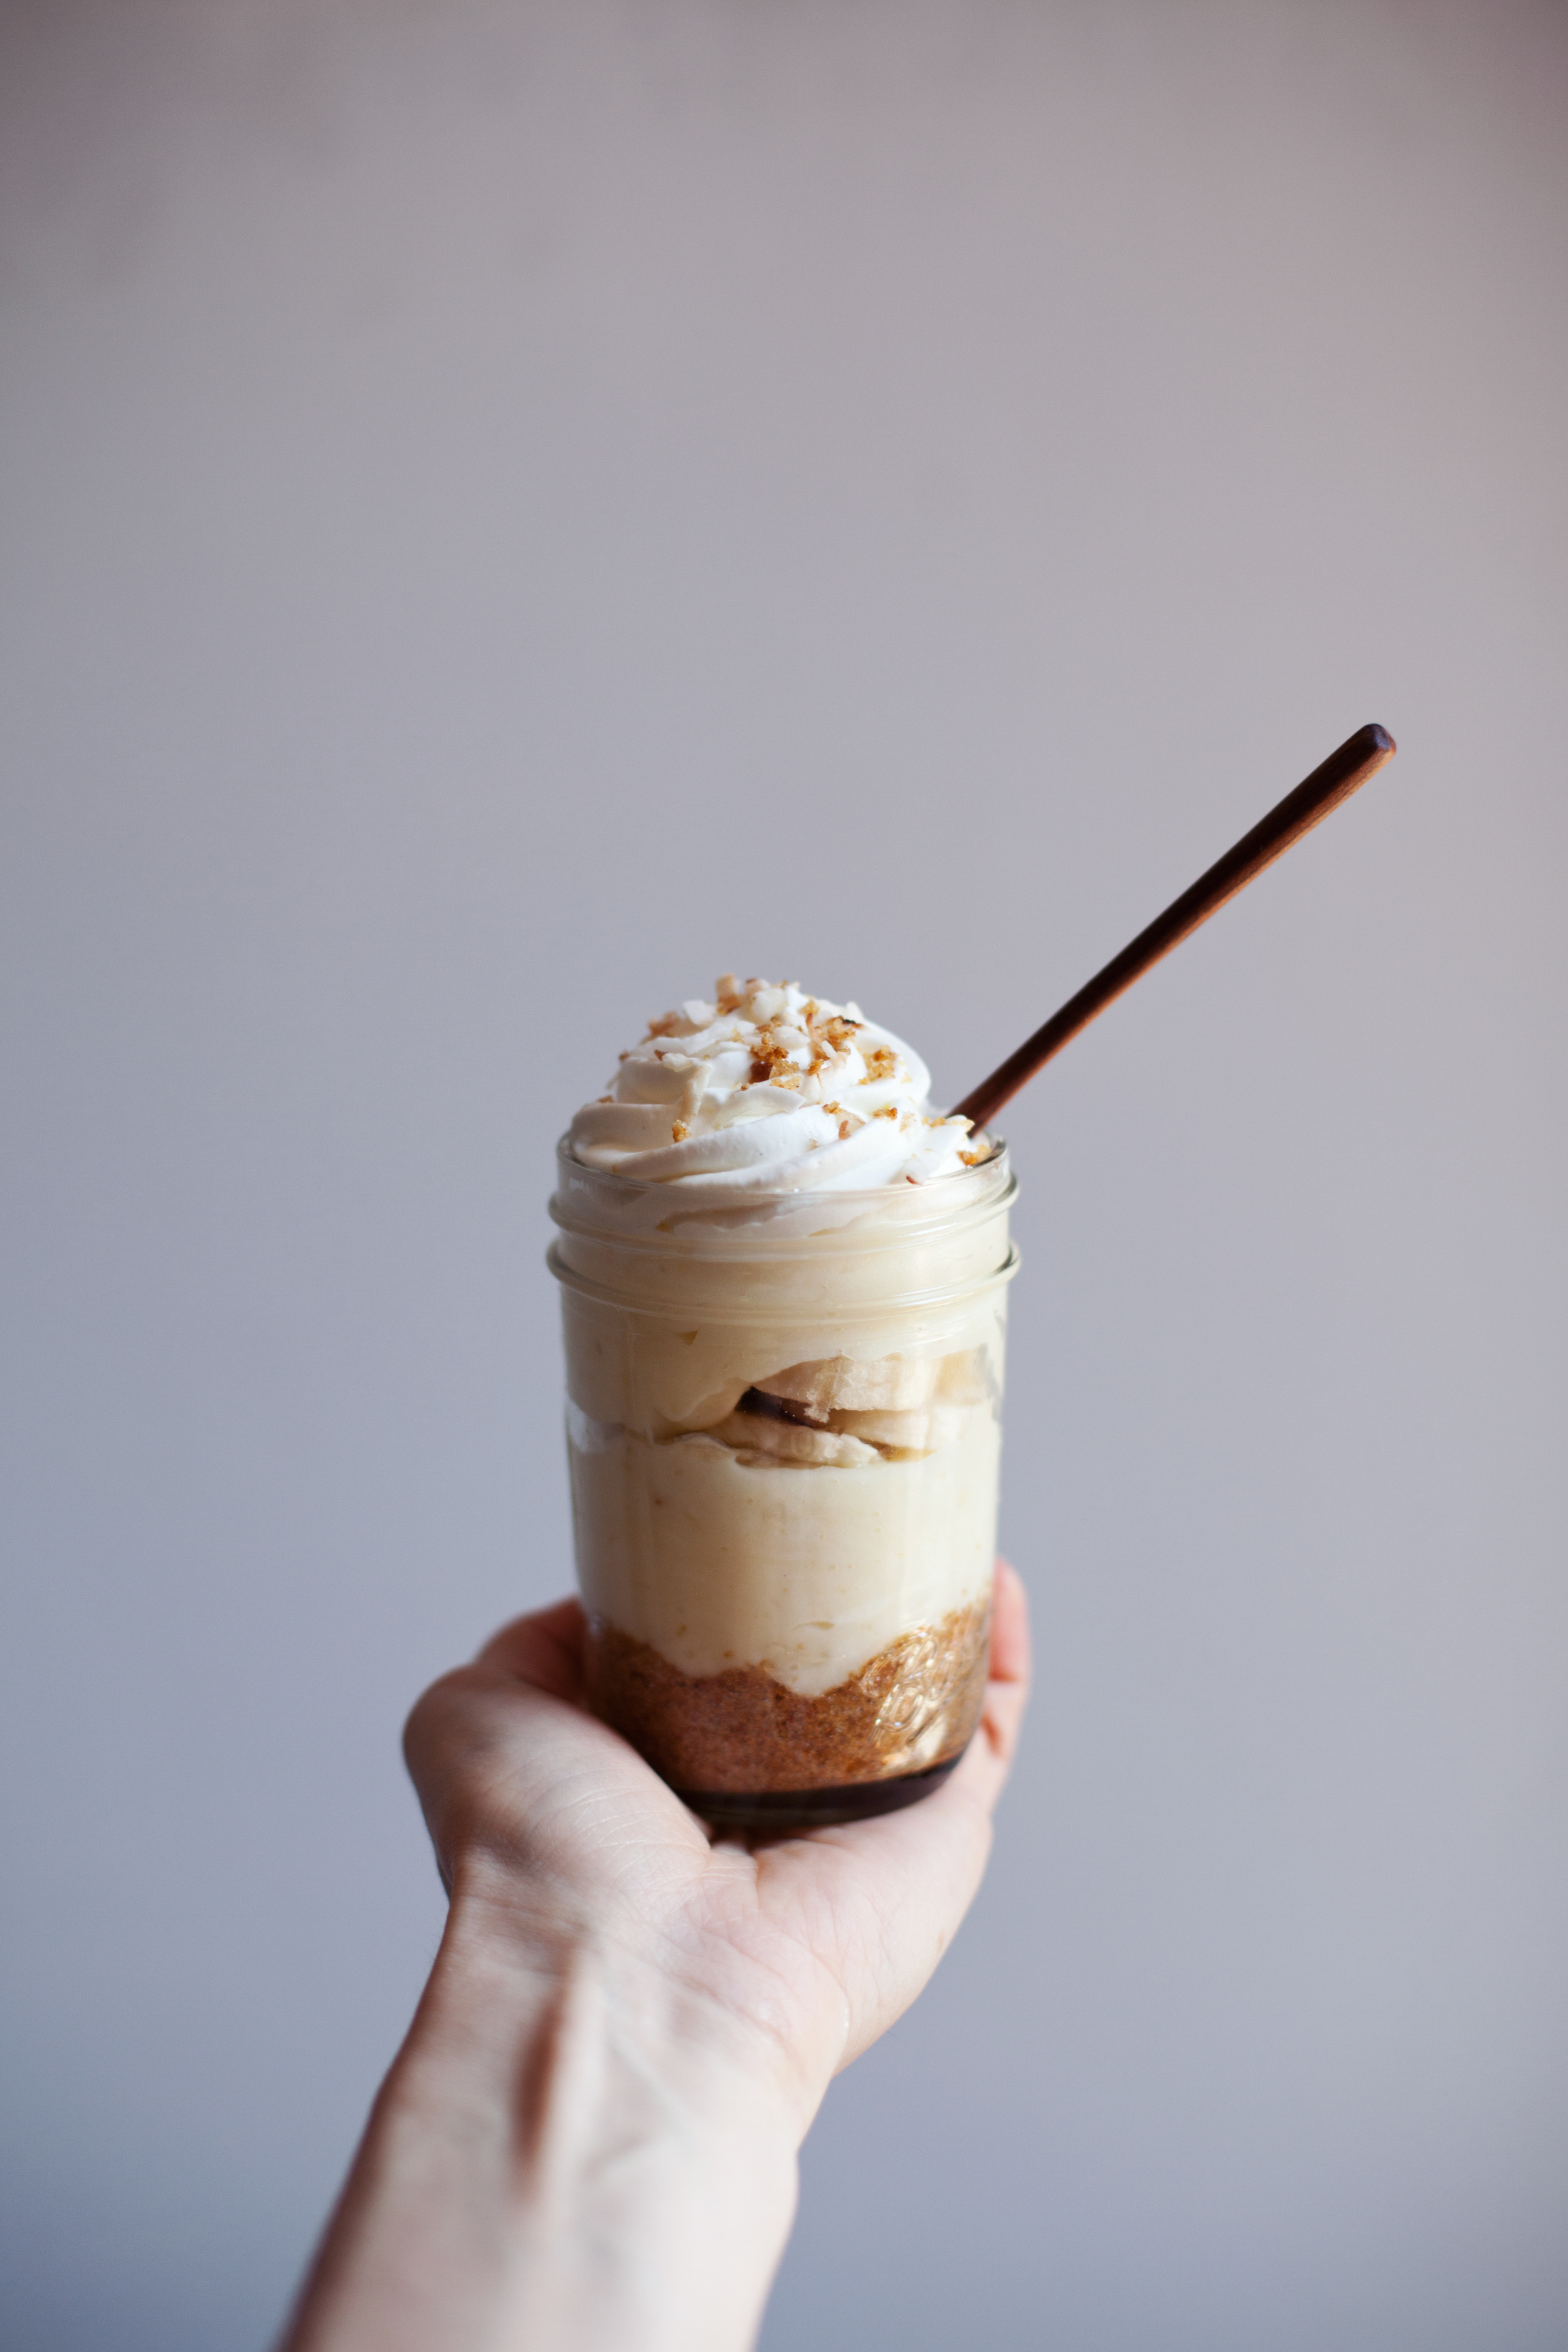
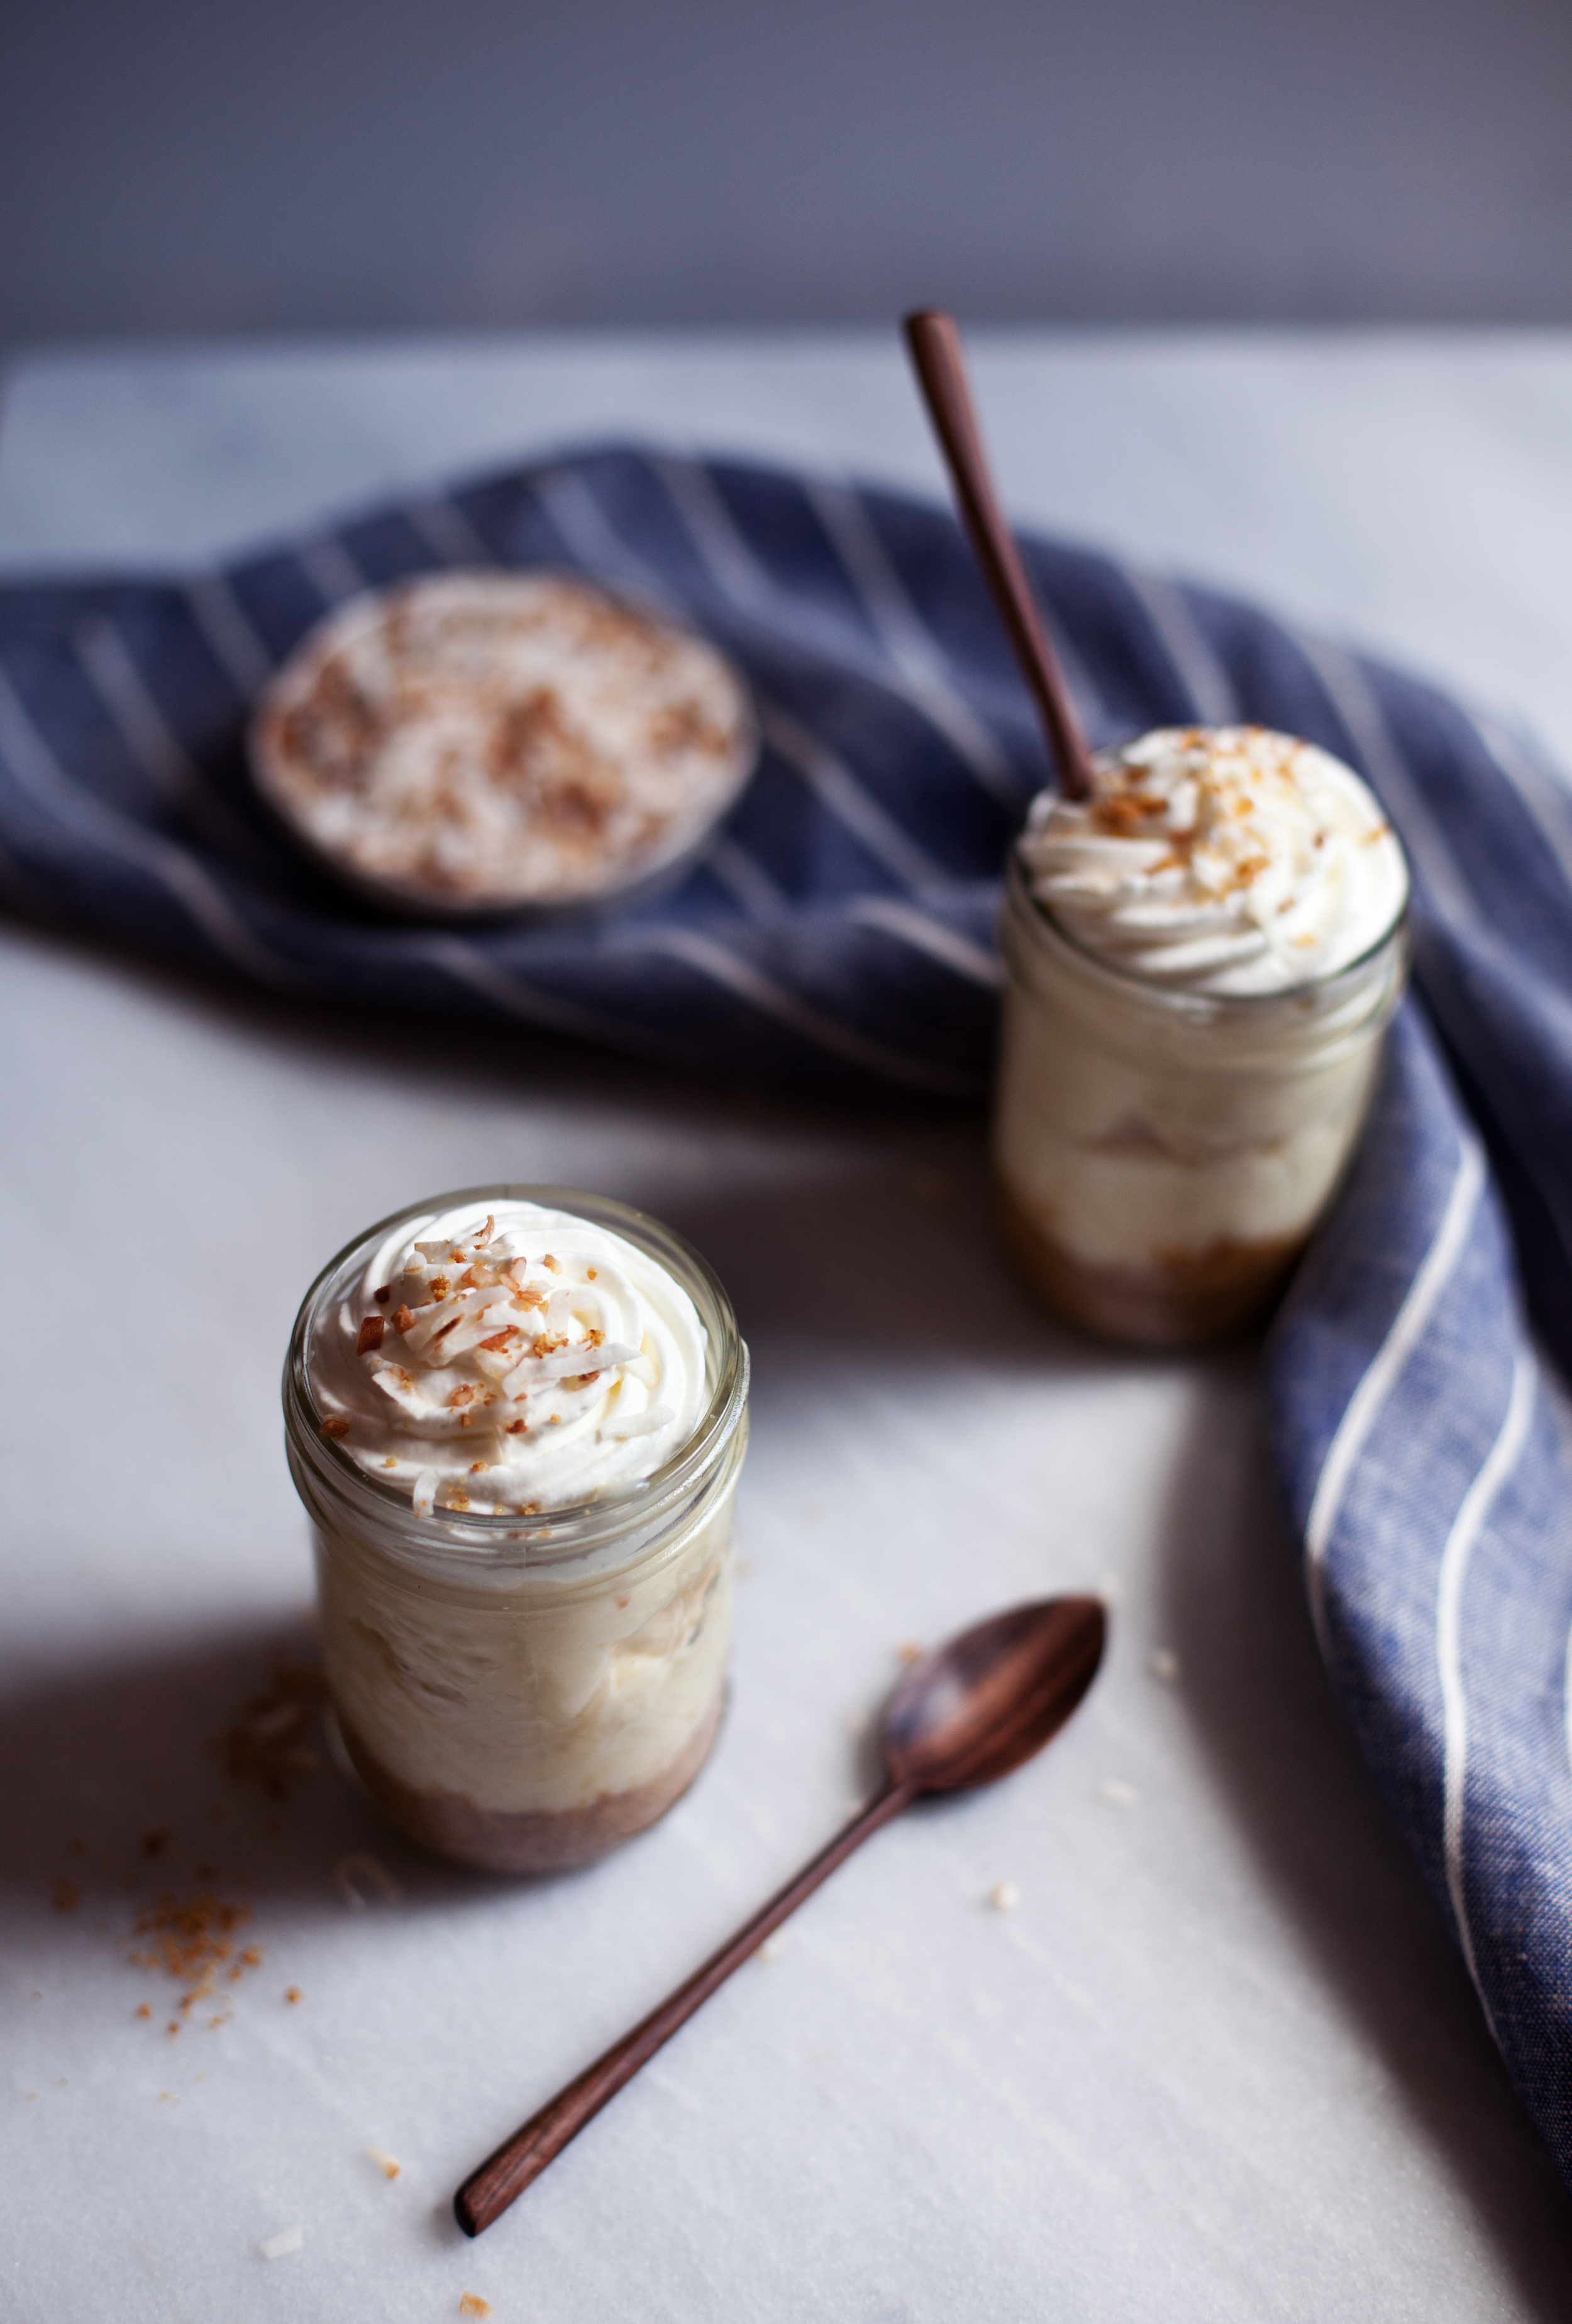
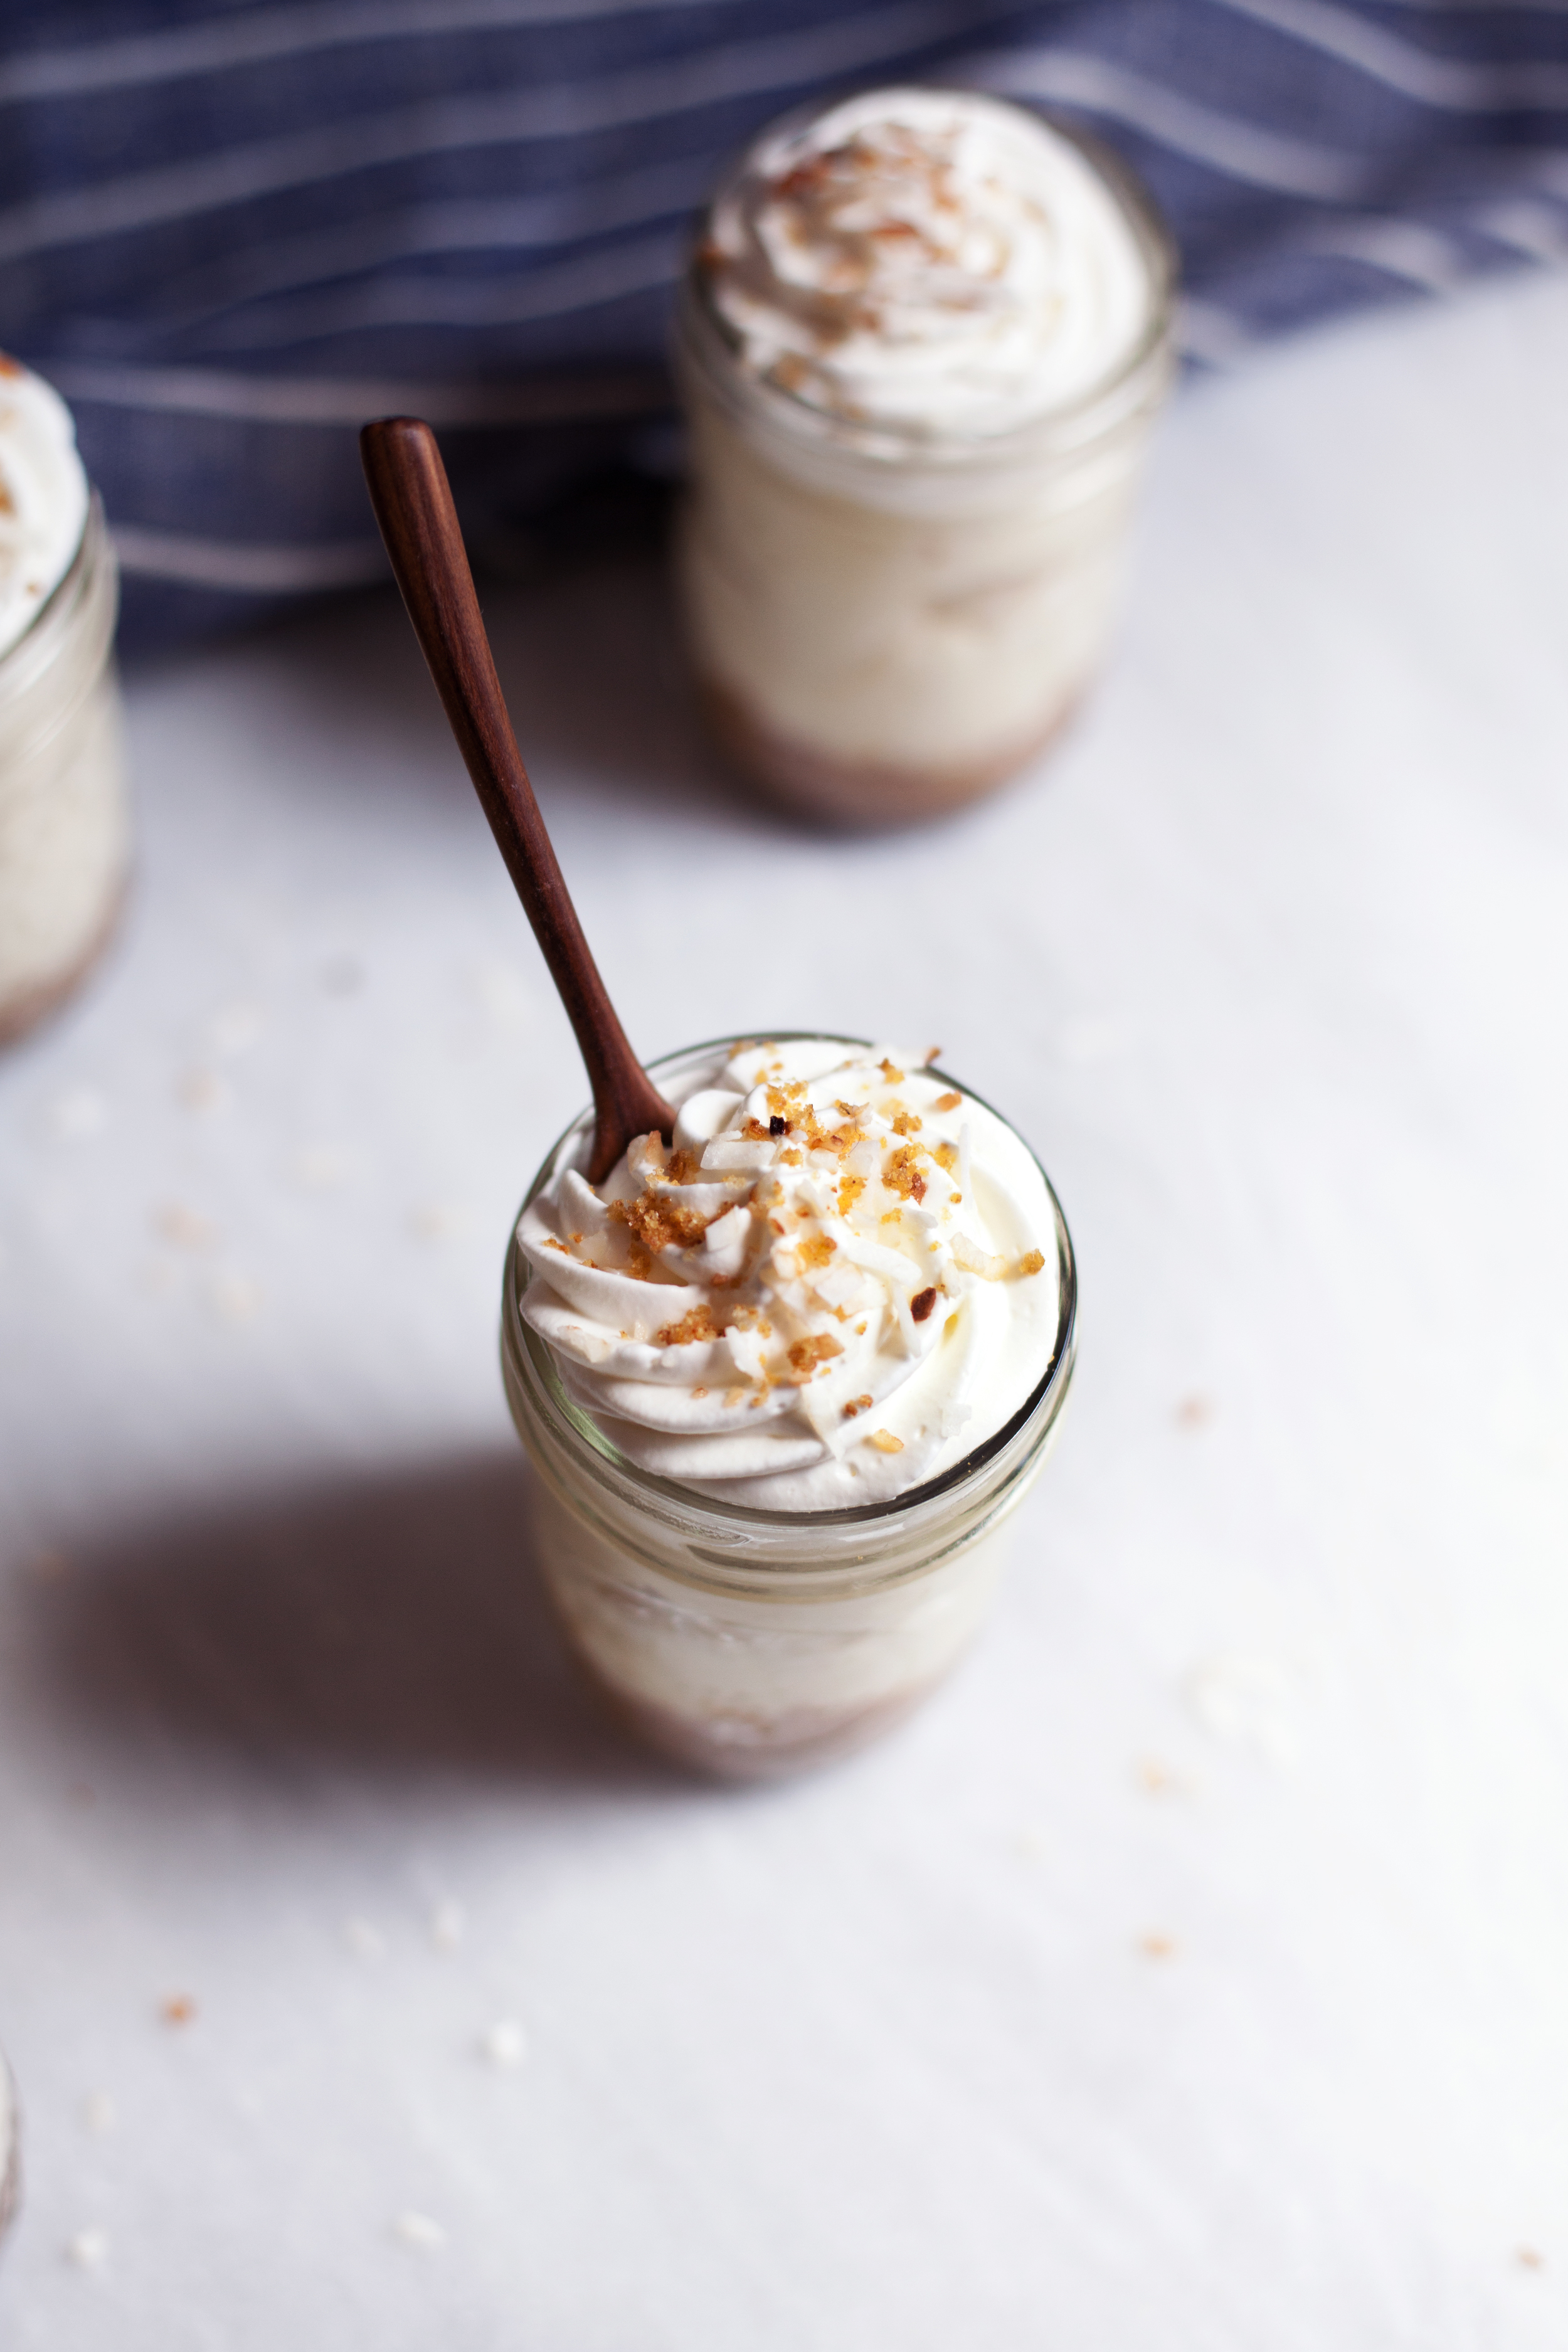
i couldn't decide between a no bake coconut cream pie or a banana cream pie, so i did both! a coconut + banana mash up layered in cute mason jars. these mason jar desserts are perfect for summer entertaining. whip them up in advance, store them in the fridge & serve them when ready. not even a plate is required! plus you get to see all the delicious layers of graham cracker crust, coconut custard, sliced bananas, sweet whipped cream & toasted coconut.

p.s. for the toasted coconut, i simply put a scoop of coconut in a dry frying pan over medium heat & occasionally tossed it around until it was brown & toasty. be sure to watch the coconut constantly when toasting it, as it will burn quickly. oh the amount of times i have gotten distracted & torched my sweet coconut.

ingredients (makes 6 jars)

for the graham cracker crust

  • 1 1/2 cups graham cracker crumbs
  • 1/3 cup unsalted butter, melted
  • 1/4 cup white sugar
  • 1/8 teaspoon salt
  • 1 teaspoon pure vanilla extract

for the coconut banana cream filling

  • 2 1/2 cups whole milk
  • 1 cup flaked sweetened coconut
  • 3/4 cup sugar
  • 1/4 cup cornstarch
  • 2 eggs
  • 1 teaspoon pure vanilla extract
  • 1/2 cup whipped cream (see recipe below)
  • 2 ripe bananas, sliced

for the whipped cream

  • 1 1/2 cups whipping cream
  • 2 tablespoons sugar
  • 1 teaspoon pure vanilla extract
  • toasted coconut, for sprinkling

directions

for the graham cracker crust

  • in a mixing bowl add the graham cracker crumbs, melted butter, sugar, salt & vanilla extract. mix until the butter is evenly distributed.
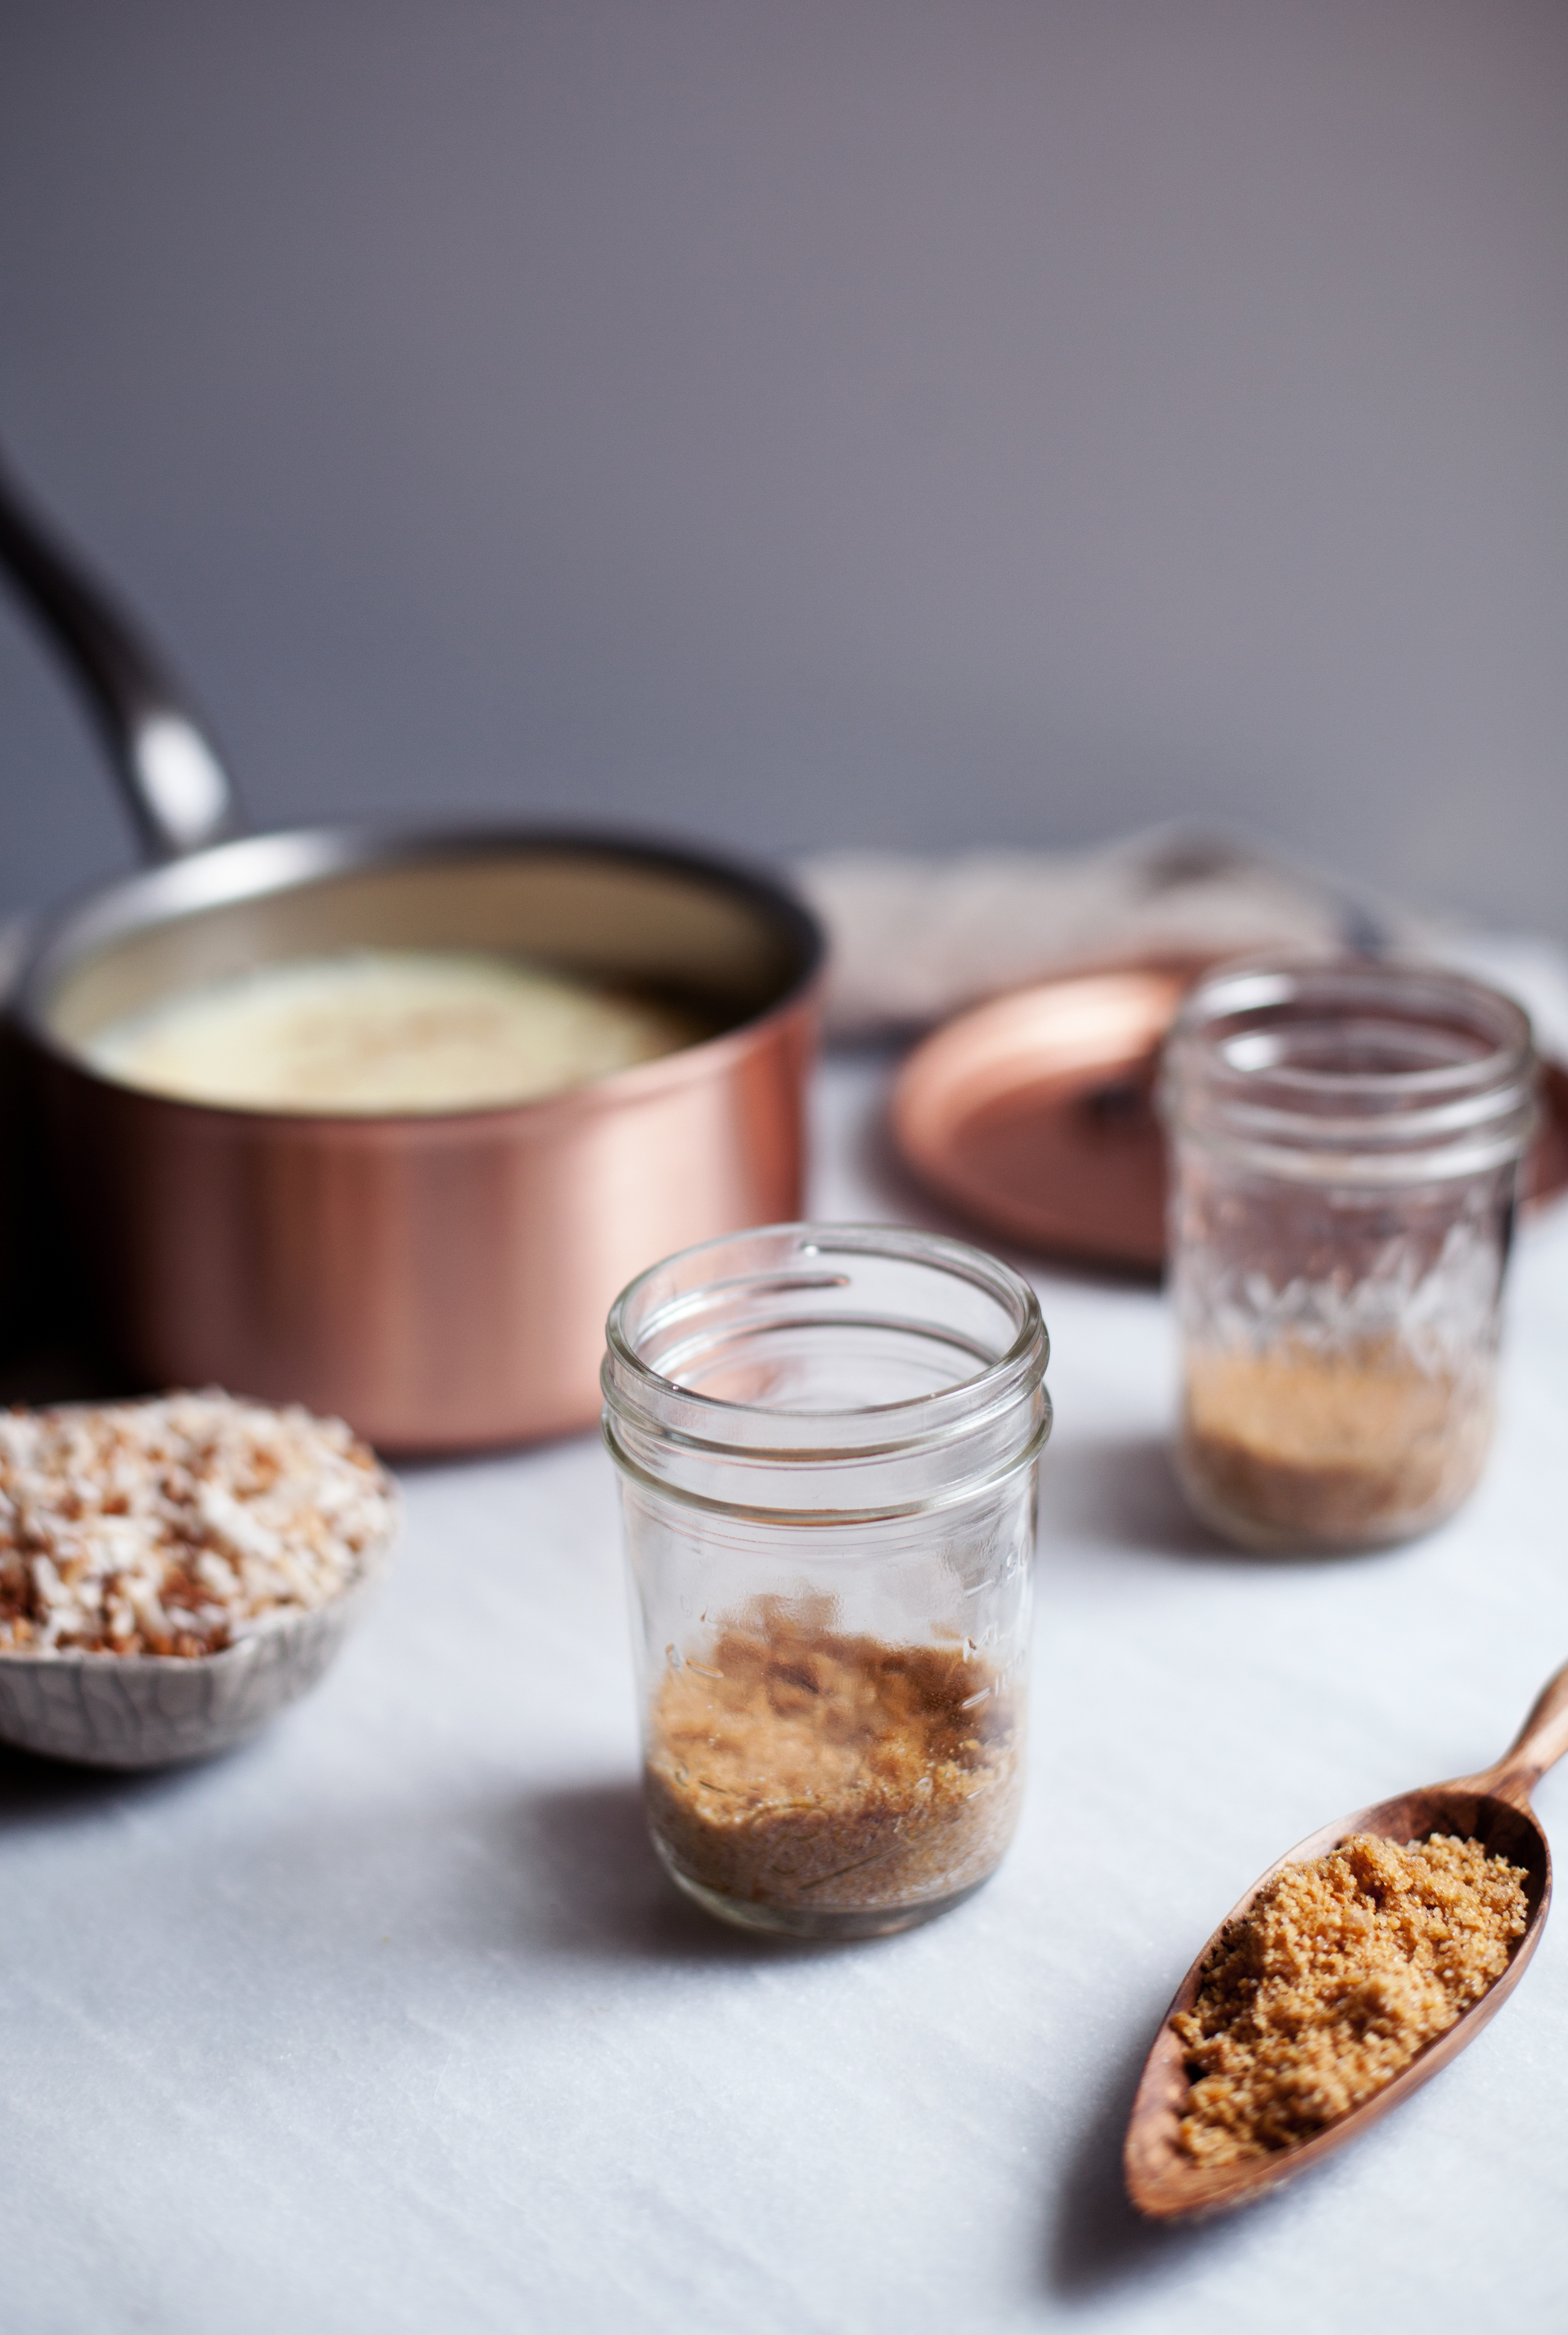
  • place a generous spoonful of the mixture in each mason jar. press it down to shape the curves of the glass & form a crust.
  • set aside until ready to layer.

for the coconut banana cream filling

  • in a saucepan over medium heat add the milk & coconut. stir while bringing to a gentle simmer.
  • in a separate bowl whisk the sugar, cornstarch & eggs.
  • once the milk is heated, temper some into the egg mixture & pour it back into the saucepan.
  • whisk constantly until the custard has thickened, about 5 minutes.
  • pull from heat & stir in vanilla extract. let mixture come to room temperature.
  • once the mixture has cooled fold in the reserved whipped cream.
  • start layering the jar with a scoop of the coconut cream filling, followed by a layer of freshly sliced bananas & finished off with another layer of coconut cream filling.

for the whipped cream

  • in a mixing bowl whisk the cream until soft peaks are formed.
  • add in the sugar & vanilla extract. whisk until stiff peaks are formed.
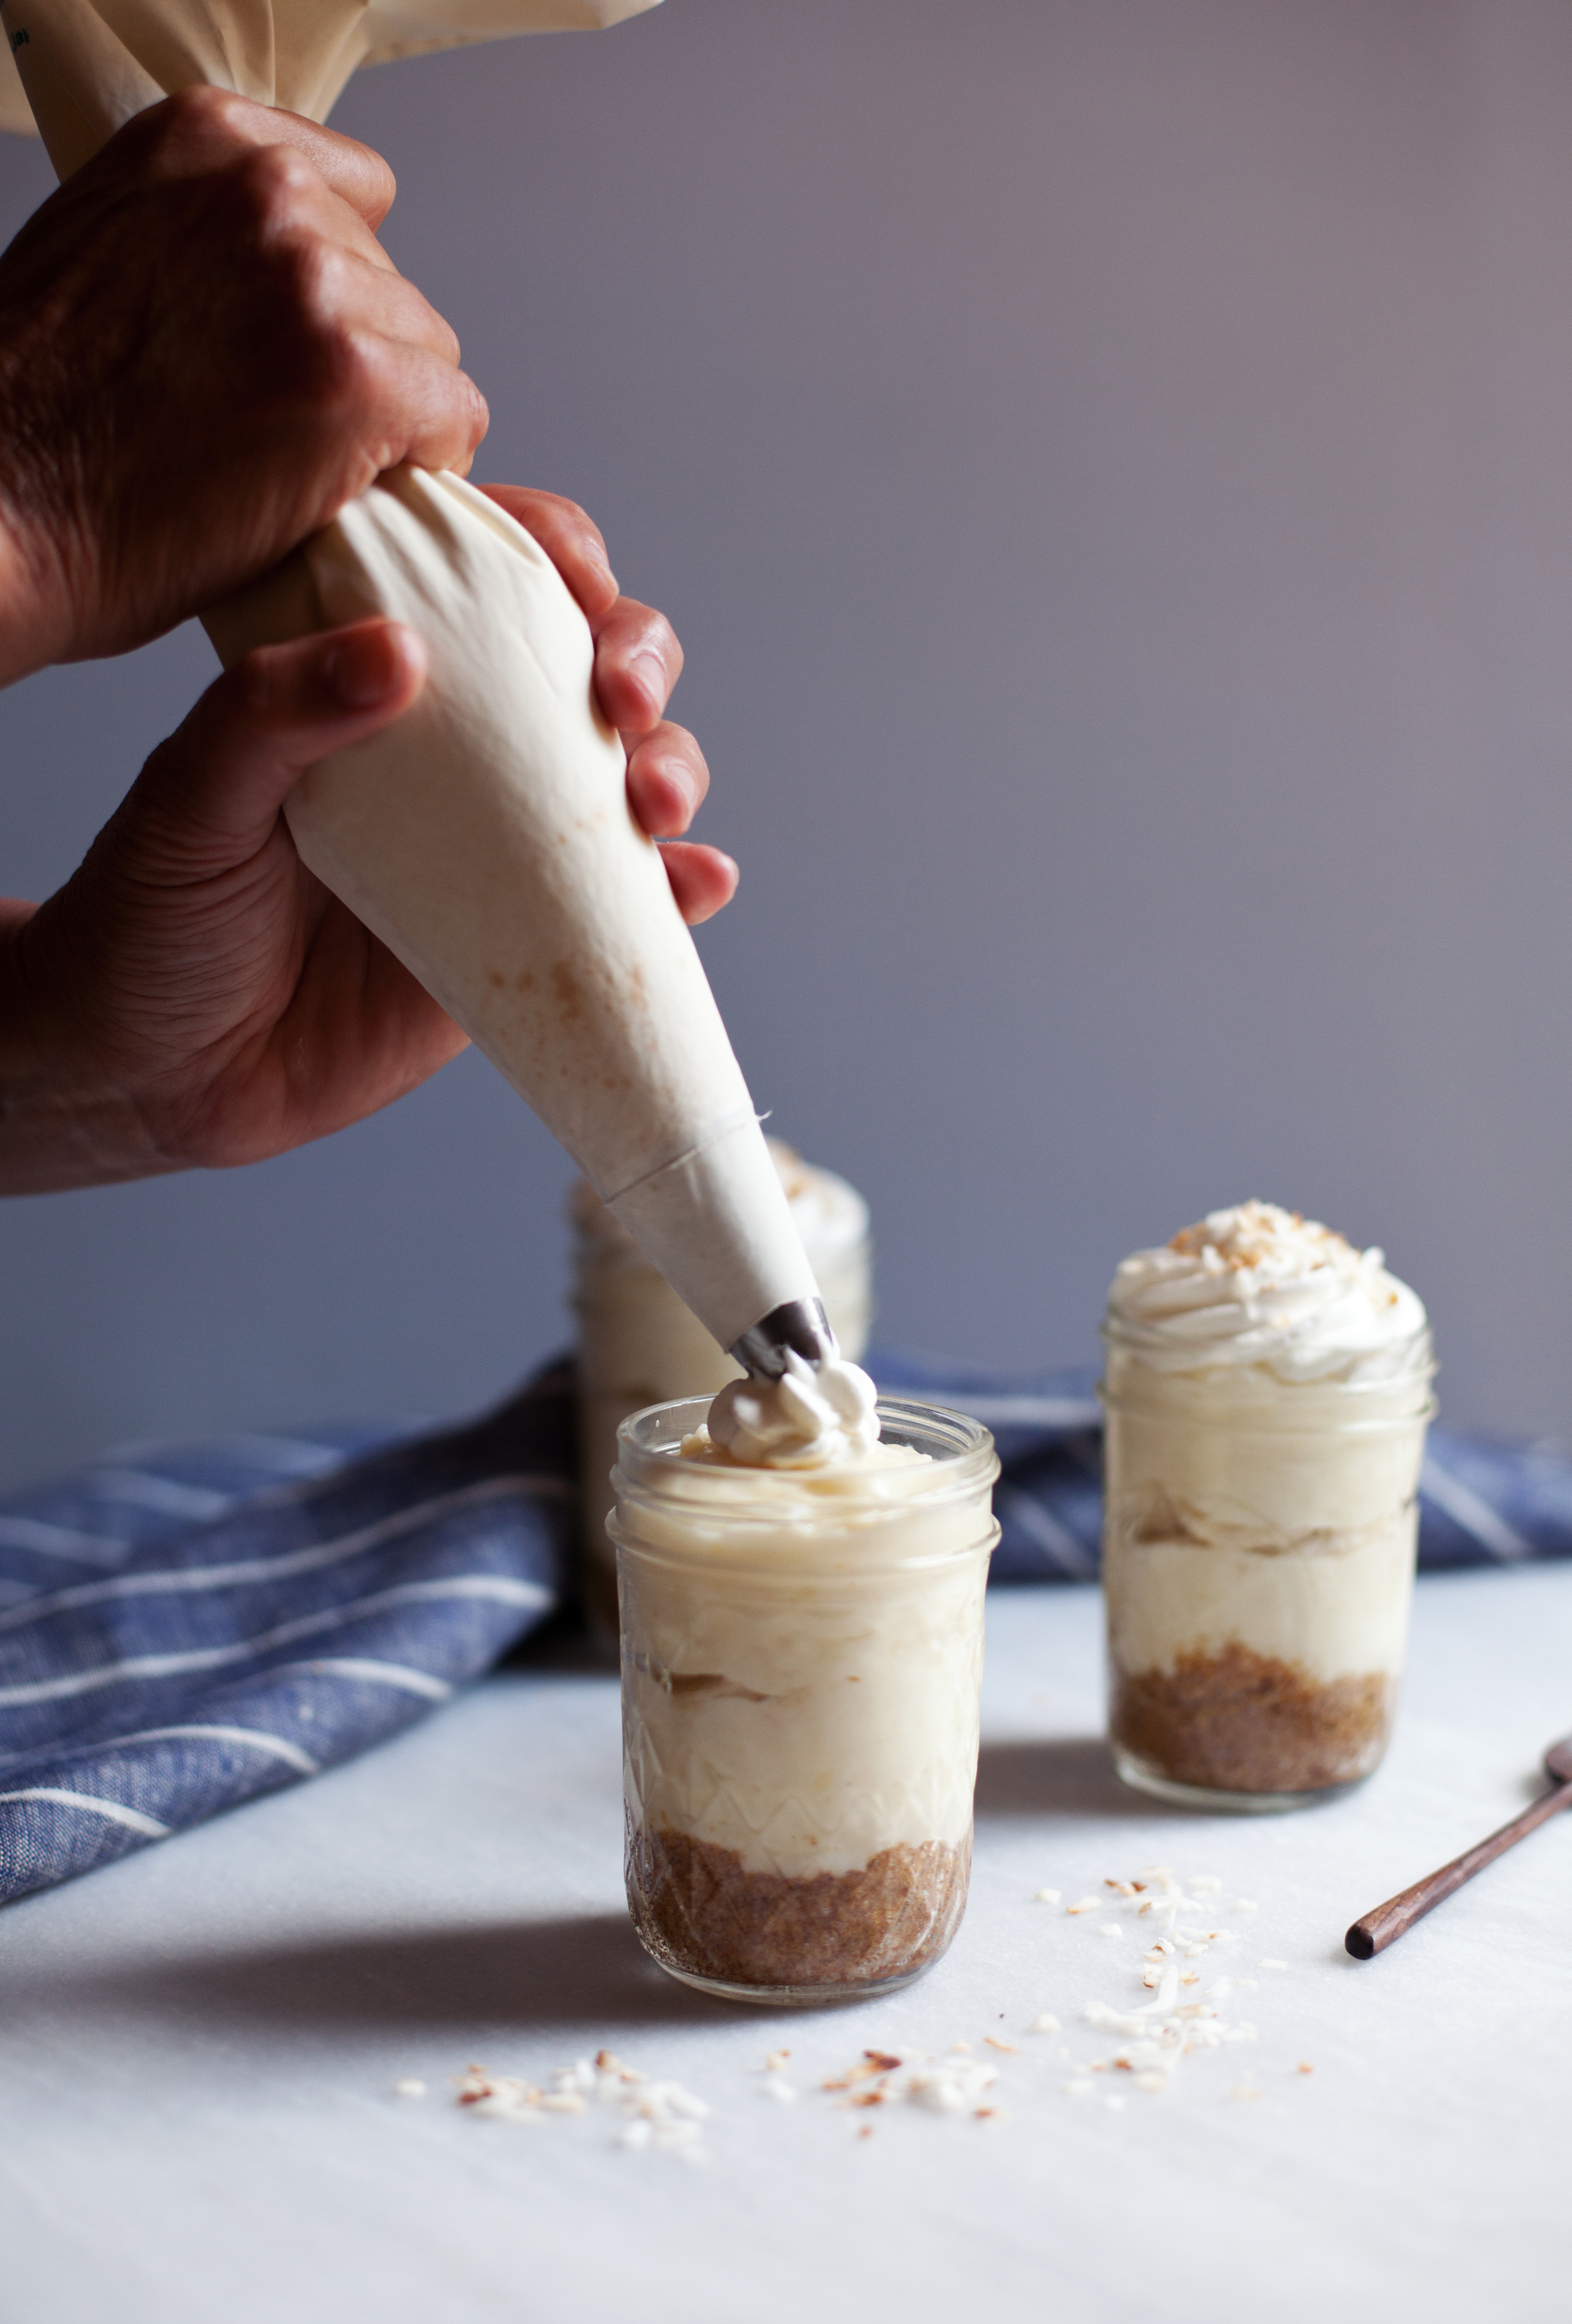
  • set one cup aside for the filling & place the remainder of the whipped cream into a piping bag.
  • finish off the jar layers by piping a layer of whipped cream & sprinkeling it with the toasted coconut.

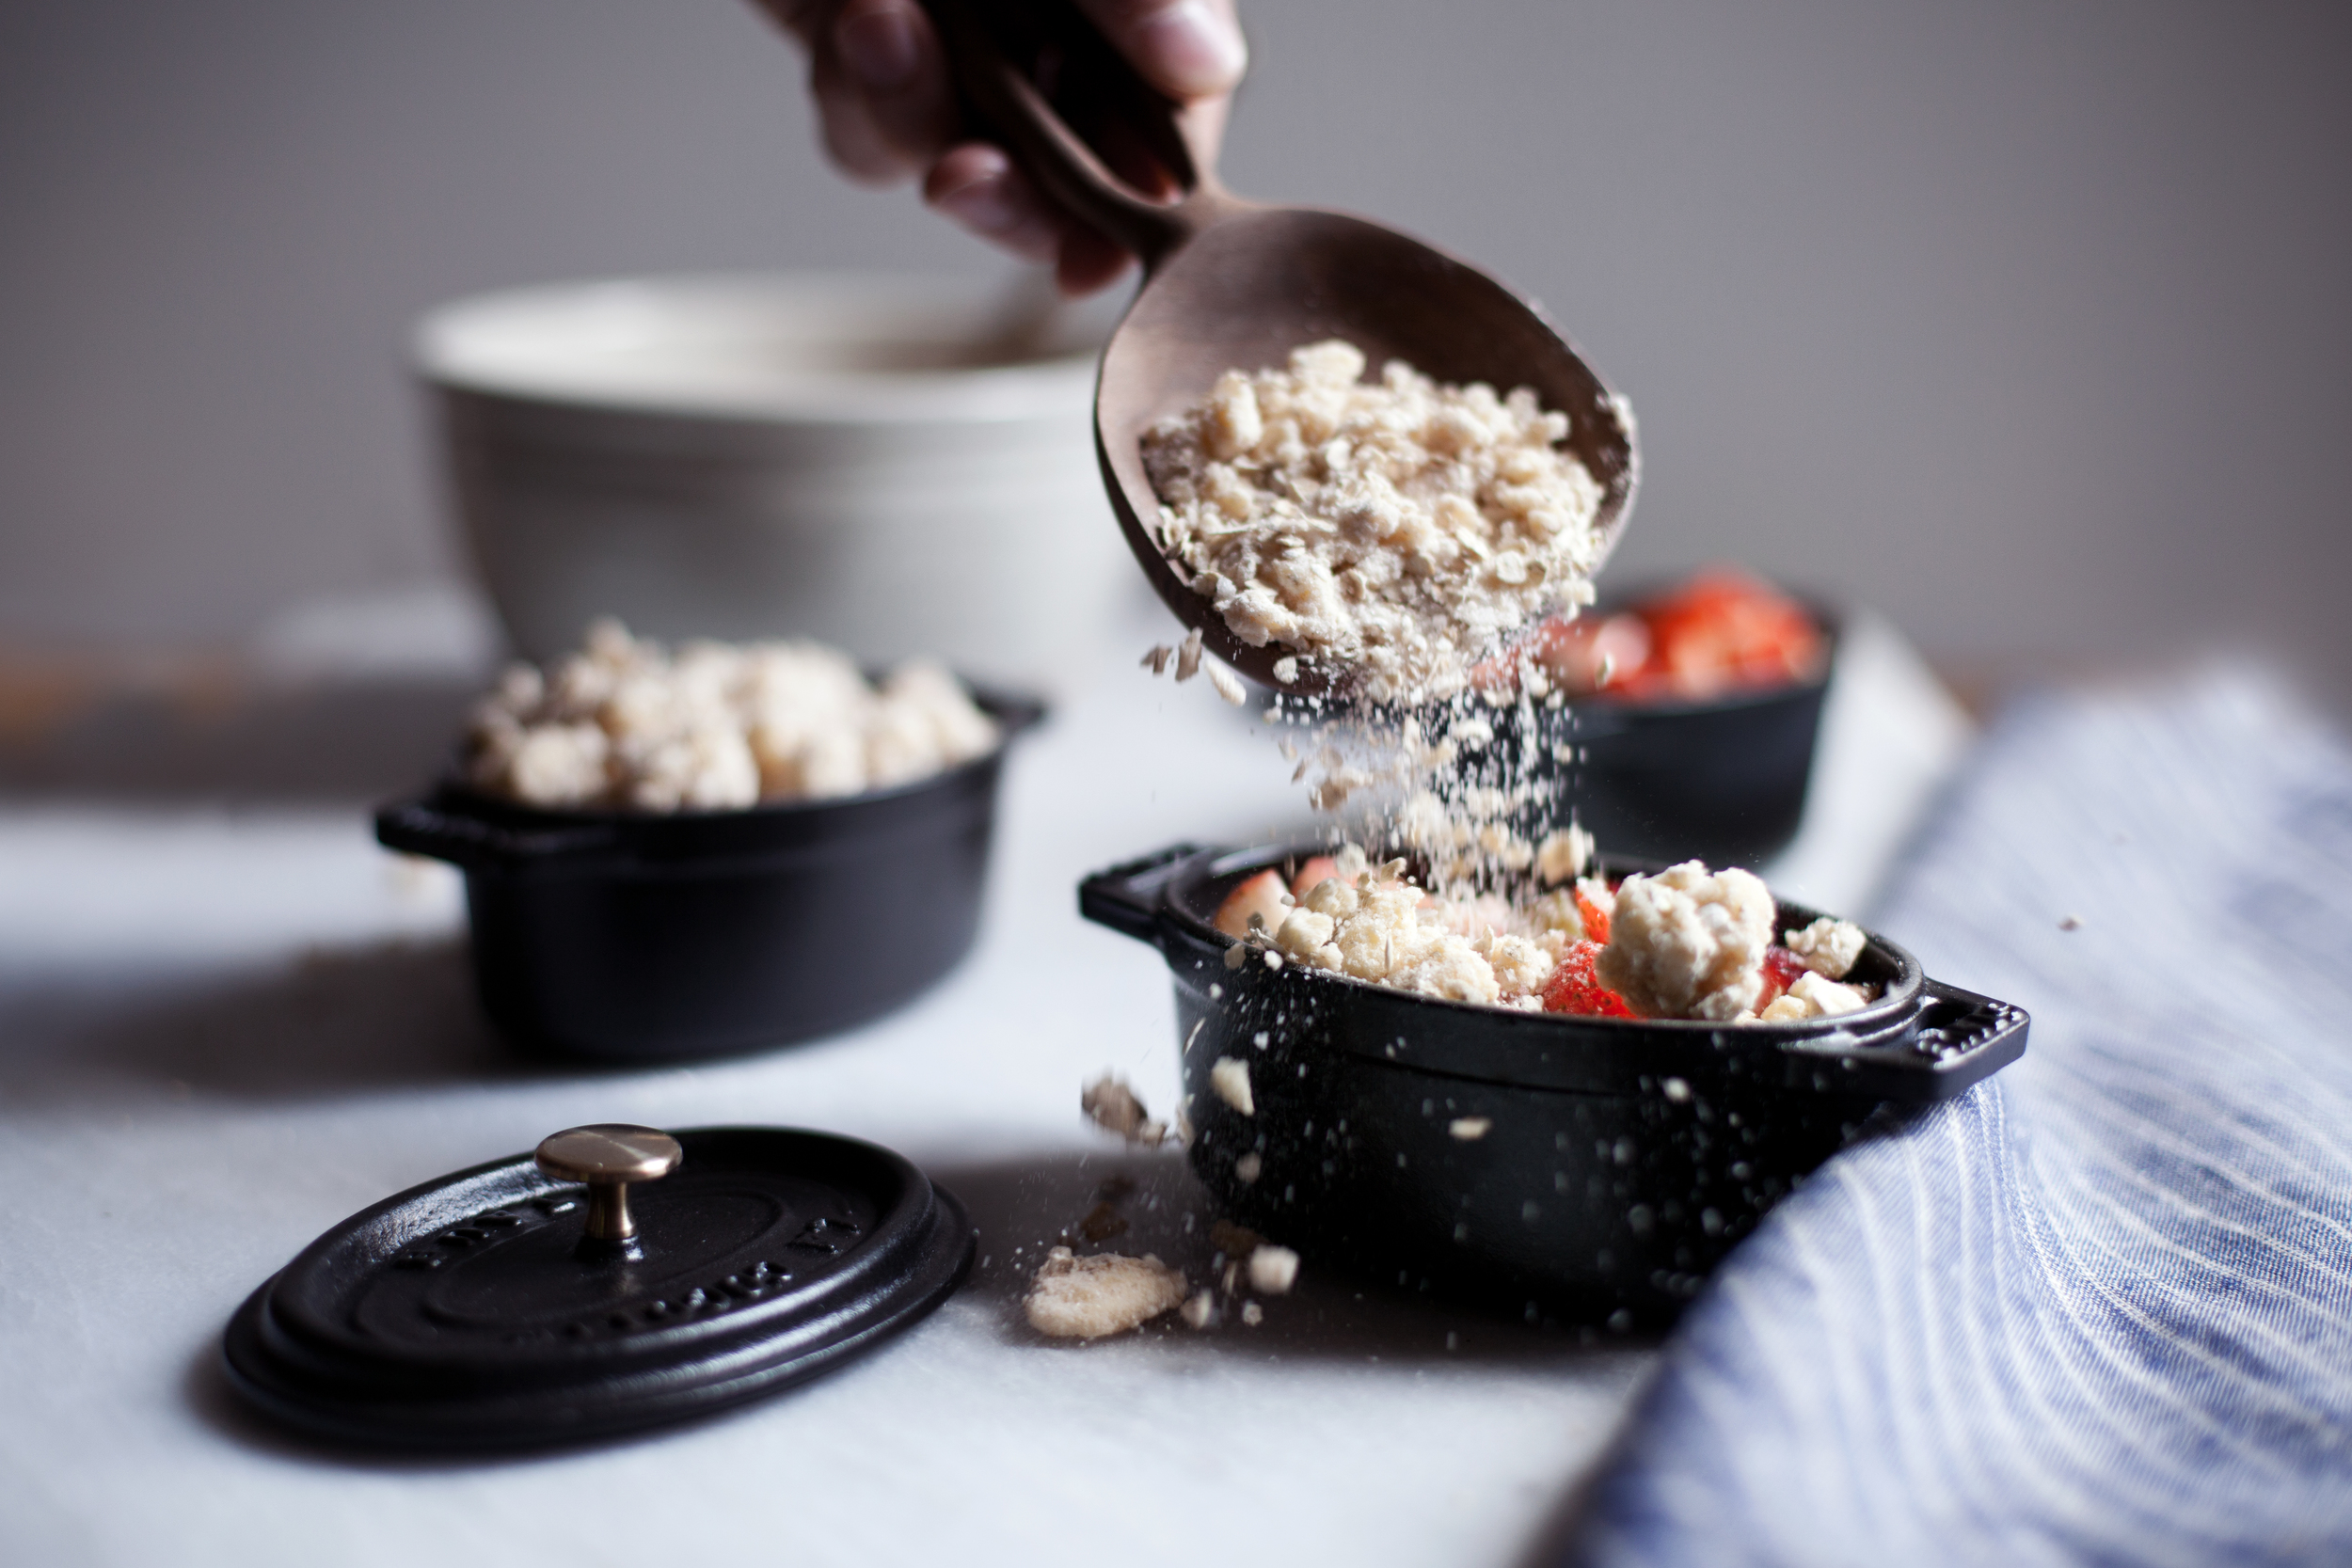
like what you see? get it here. wood dessert spoons | sweet gum wood scoop | copper saucepan | linen 

dry pea pesto spaghetti


between all the summer barbecues, campfire s'mores & one too many trips to the ice cream shop, it is important to whip up some healthy, fresh meals in the kitchen too! this pasta dish is both healthy & hearty thanks to the homemade dry pea pesto sauce. dry peas are part of the pulse family & 2016 has been named the year of the pulses! woo!

what are "pulses"?!?! pulses are protein packed, sustainable foods like beans, lentils, chickpeas & of course dry peas! basically, you have probably been eating pulses all along & did not even know it. did you see the garlic hummus & warm pita bread i made over on NOM last week? that counts as pulses too! this pesto is also the perfect meal to make if you have basil growing wild in your garden too. my mom planted like five different basil plants around the backyard this summer (okay, well four now thanks to buddy holly's latest attempt at catching a squirrel & destroying the plant in the process.. r.i.p basil plant #5).

if you want to add some additional protein serve it with grilled chicken breast or if you want to make it even healthier use whole wheat spaghetti instead! if you'd like to join me & take the pulse pledge to eat pulses once a week for ten weeks (fresh hummus & pesto once a week sounds pretty easy to me) head on over to the pulsepledge.com.

p.s. i roasted the peppers on the grill at high heat until the outsides were charred. cover & let cool before peeling.. voila! roasted peppers.

ingredients

for the dry pea pesto

  • 1 cup shelled walnuts or pine nuts, roughly chopped
  • 1.5 cups fresh basil, packed
  • 3/4 cup dry green peas, soaked over night
  • 1/2 cup freshly grated parmesan cheese
  • 2 cloves of garlic
  • salt & pepper, to taste
  • 3/4 cup extra virgin olive oil

for the dry pea pesto spaghetti

  • 1 cup prepared dry pea pesto (see recipe above)
  • 1 pound spaghetti, cooked & strained
  • 1 roasted yellow pepper, thinly sliced
  • 1 roasted red pepper, thinly sliced
  • shaved parmesan cheese, for serving

directions

for the dry pea pesto

  • in a food processor add the walnuts, basil, peas, parmesan, garlic, salt & pepper. pulse ten times to mix all the ingredients up.
  • turn the food processor on to low speed & slowly drizzle in olive oil. blend until a smooth paste is formed.
  • store in a lidded glass jar for up to two weeks.

for the dry pea pesto spaghetti

  • in a skillet over medium-low heat add the pesto sauce & stir to coat the pan.
  • add in the spaghetti & toss until the pesto is fully coated around the noodles.
  • add the freshly squeezed lemon juice, fold in the roasted red + yellow peppers.
  • top with shaved parmesan & serve warm.


this post was created in partnership with @USApulses & @pulseCANADA.  read all about pulses at www.pulsepledge.com & take the pulse pledge with me!

strawberry rhubarb crisp


yay for rhubarb season! yay for home grown rhubarb!

once i have my own garden & don't have to steal all my parents herbs, fruits & veggies i am gonna plant SO much rhubarb. i absolutely love baking with it. i am pretty sure it is a fairly easy plant to harvest, i hope. who knows though, i was told the same about succulents & my precious plants are almost ALL dead. i have managed to keep one alive for now, go aloe! maybe my green thumb is just something that cannot be fixed, especially if you can't even keep a succulent alive.

anyways, back to the fresh rhubarb i harvested from the garden last week. finally i can make the strawberry rhubarb crumble i have been planning on making for weeks now in these cute little oval cocottes with brass knobs. yes BRASS! these might just be my new favourite kitchen item. i think everything should come in a brass or copper finish, what about you? the crumble itself is both sweet + tart thanks to that sour rhubarb & the oat crumble topping is thick + buttery. be very very generous when you are topping this crumble, it'll cook down more then you think, so load it up!

ingredients

for the crumble

  • 1 cup all purpose flour
  • 1 cup whole oats
  • 1 cup raw sugar
  • 1/2 teaspoon cinnamon
  • 1 teaspoon pure vanilla extract
  • 3/4 cup unsalted butter, cold & cubed

for the filling

  • 3 cups chopped fresh rhubarb
  • 2 cups chopped fresh strawberries
  • 2 tablespoons corn starch
  • 1/2 cup raw sugar
  • 1/4 teaspoon cinnamon
  • 1 teaspoon pure vanilla extract
  • 1 tablespoon freshly squeezed lemon juice

directions

  • in a large mixing bowl add the flour, oats, sugar, cinnamon & vanilla. toss until evenly combined.
  • add the cubed butter & using your hands work into pea sized crumbs. set aside.
  • in a separate mixing bowl mix the rhubarb, strawberries, corn starch, raw sugar, cinnamon, vanilla & lemon juice.
  • pour into one large baking dish or four mini cocottes.
  • top generously with oat mixture.
  • bake at 350 degrees for 30-35 minutes, until the fruit is bubbly & the topping is golden brown.

like what you see? get it here. mini oval cocottes | bowl | wood scoop | flatware | linen | mug | teapot