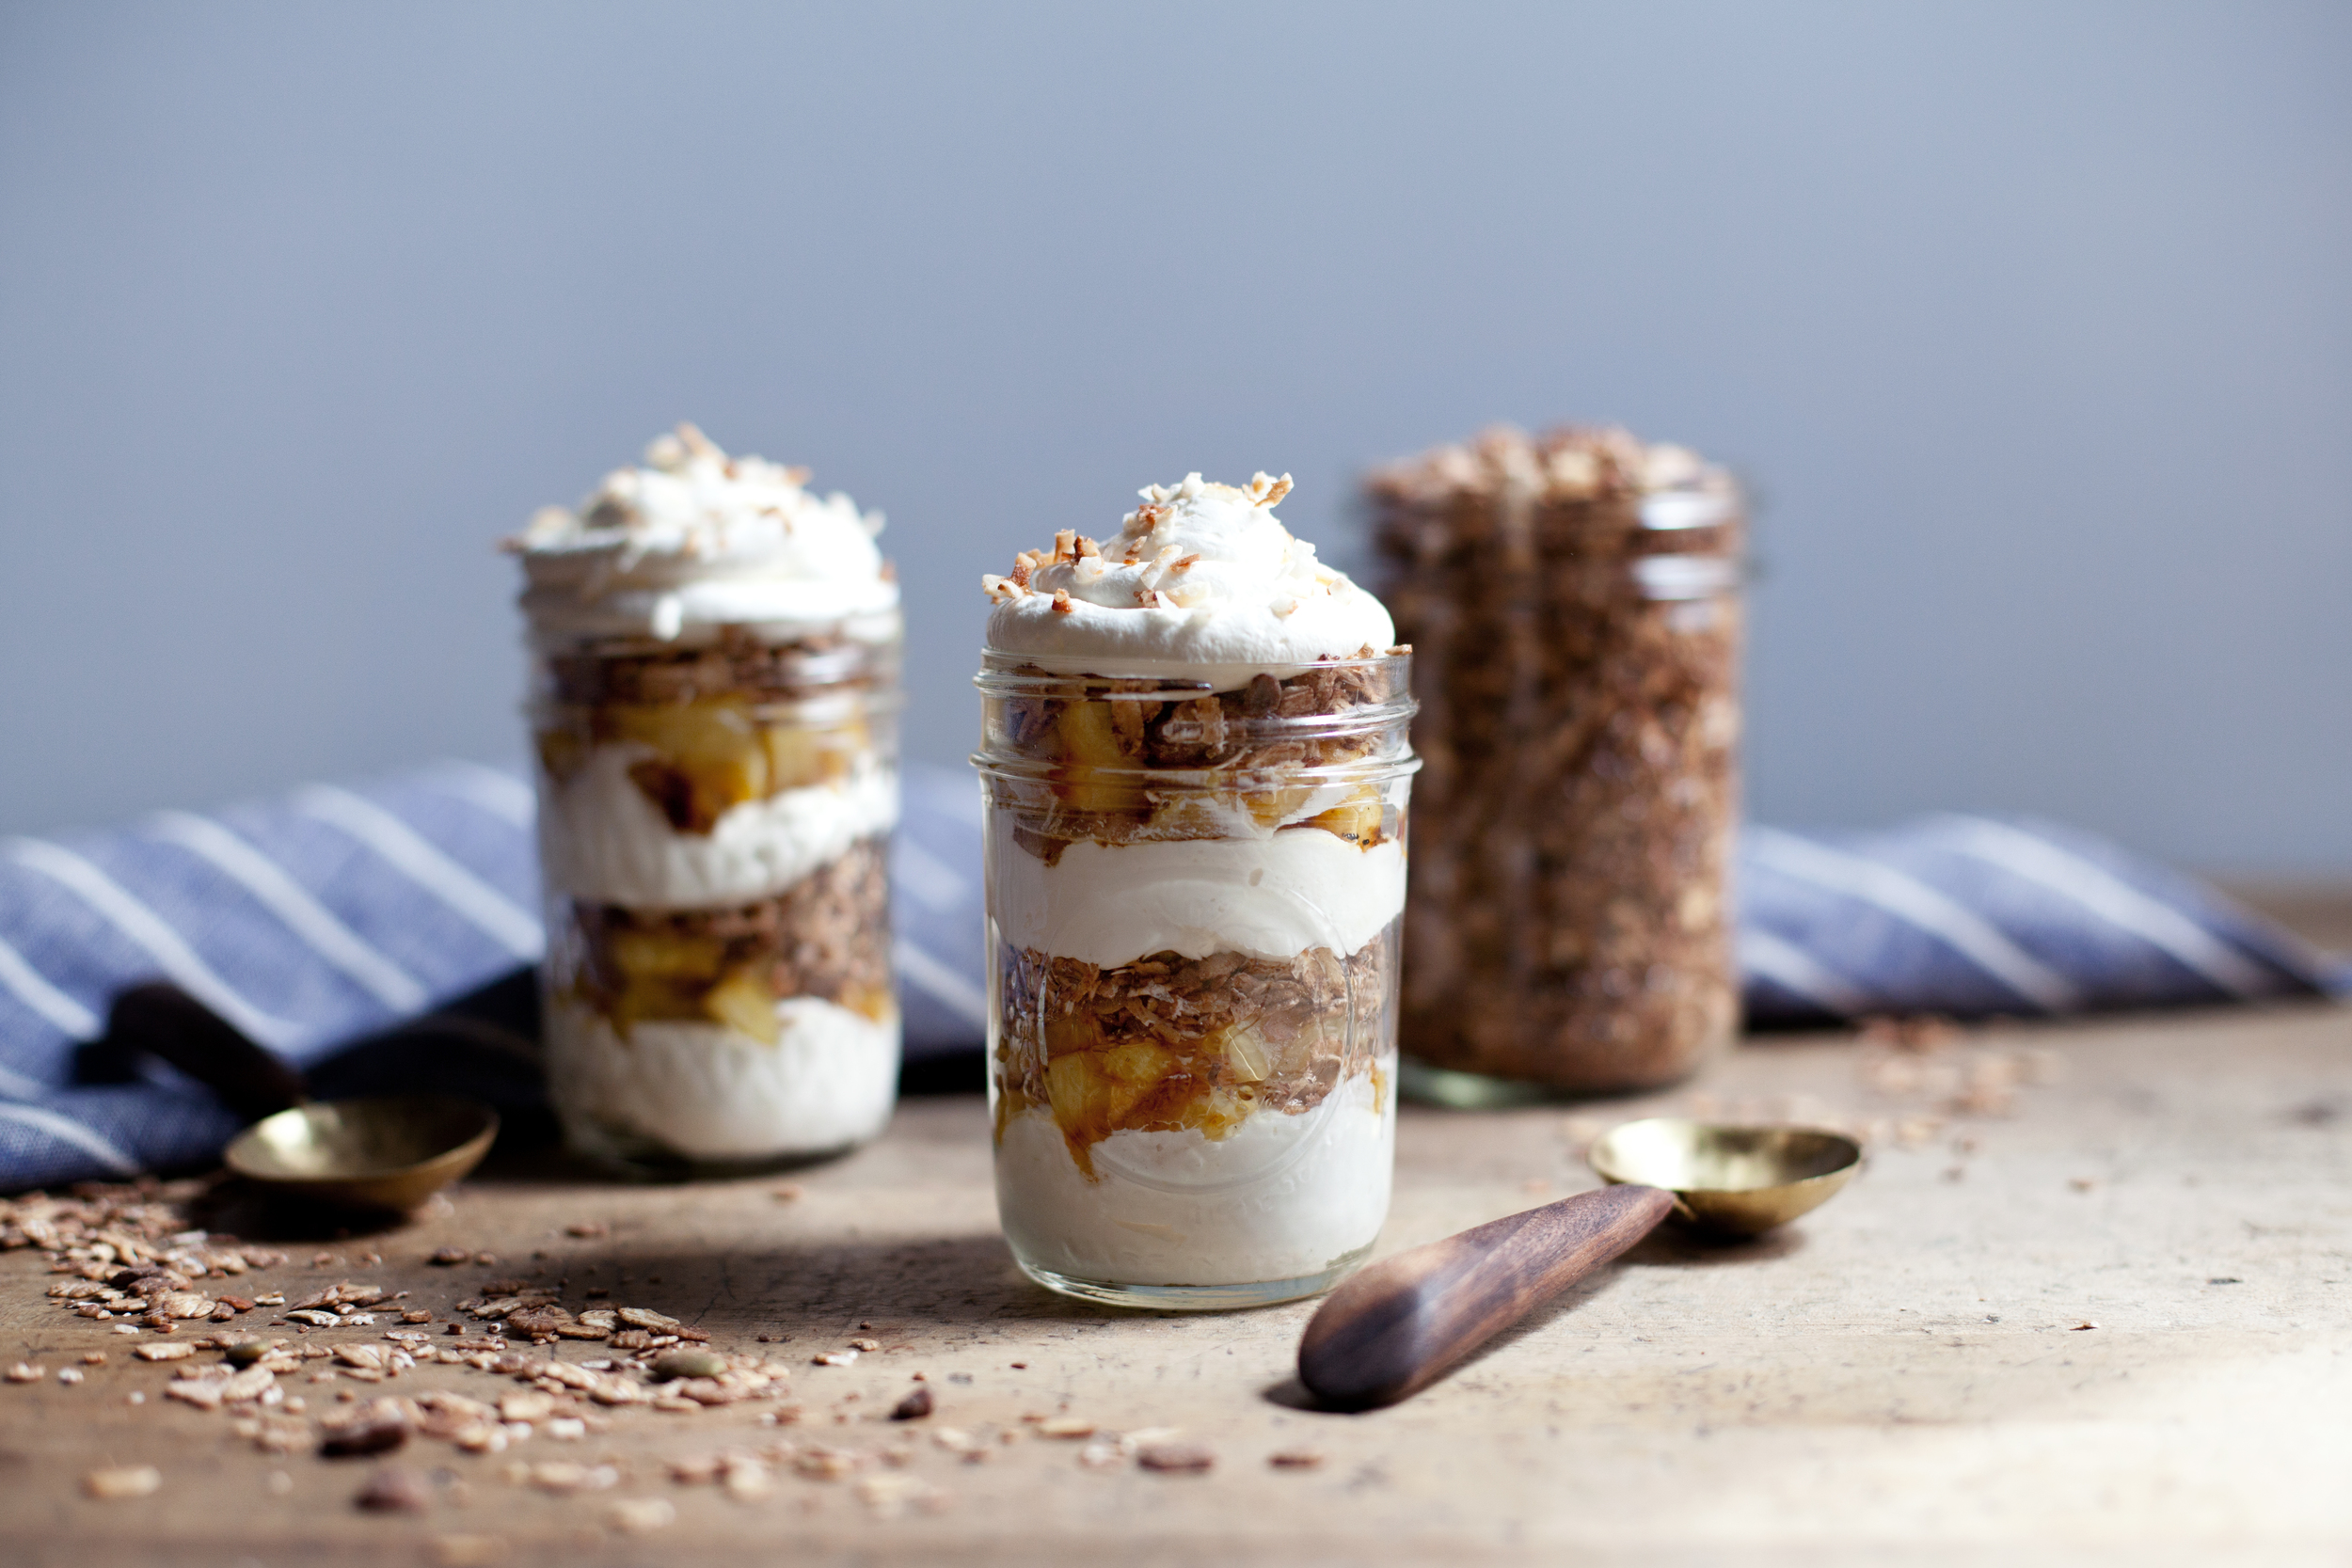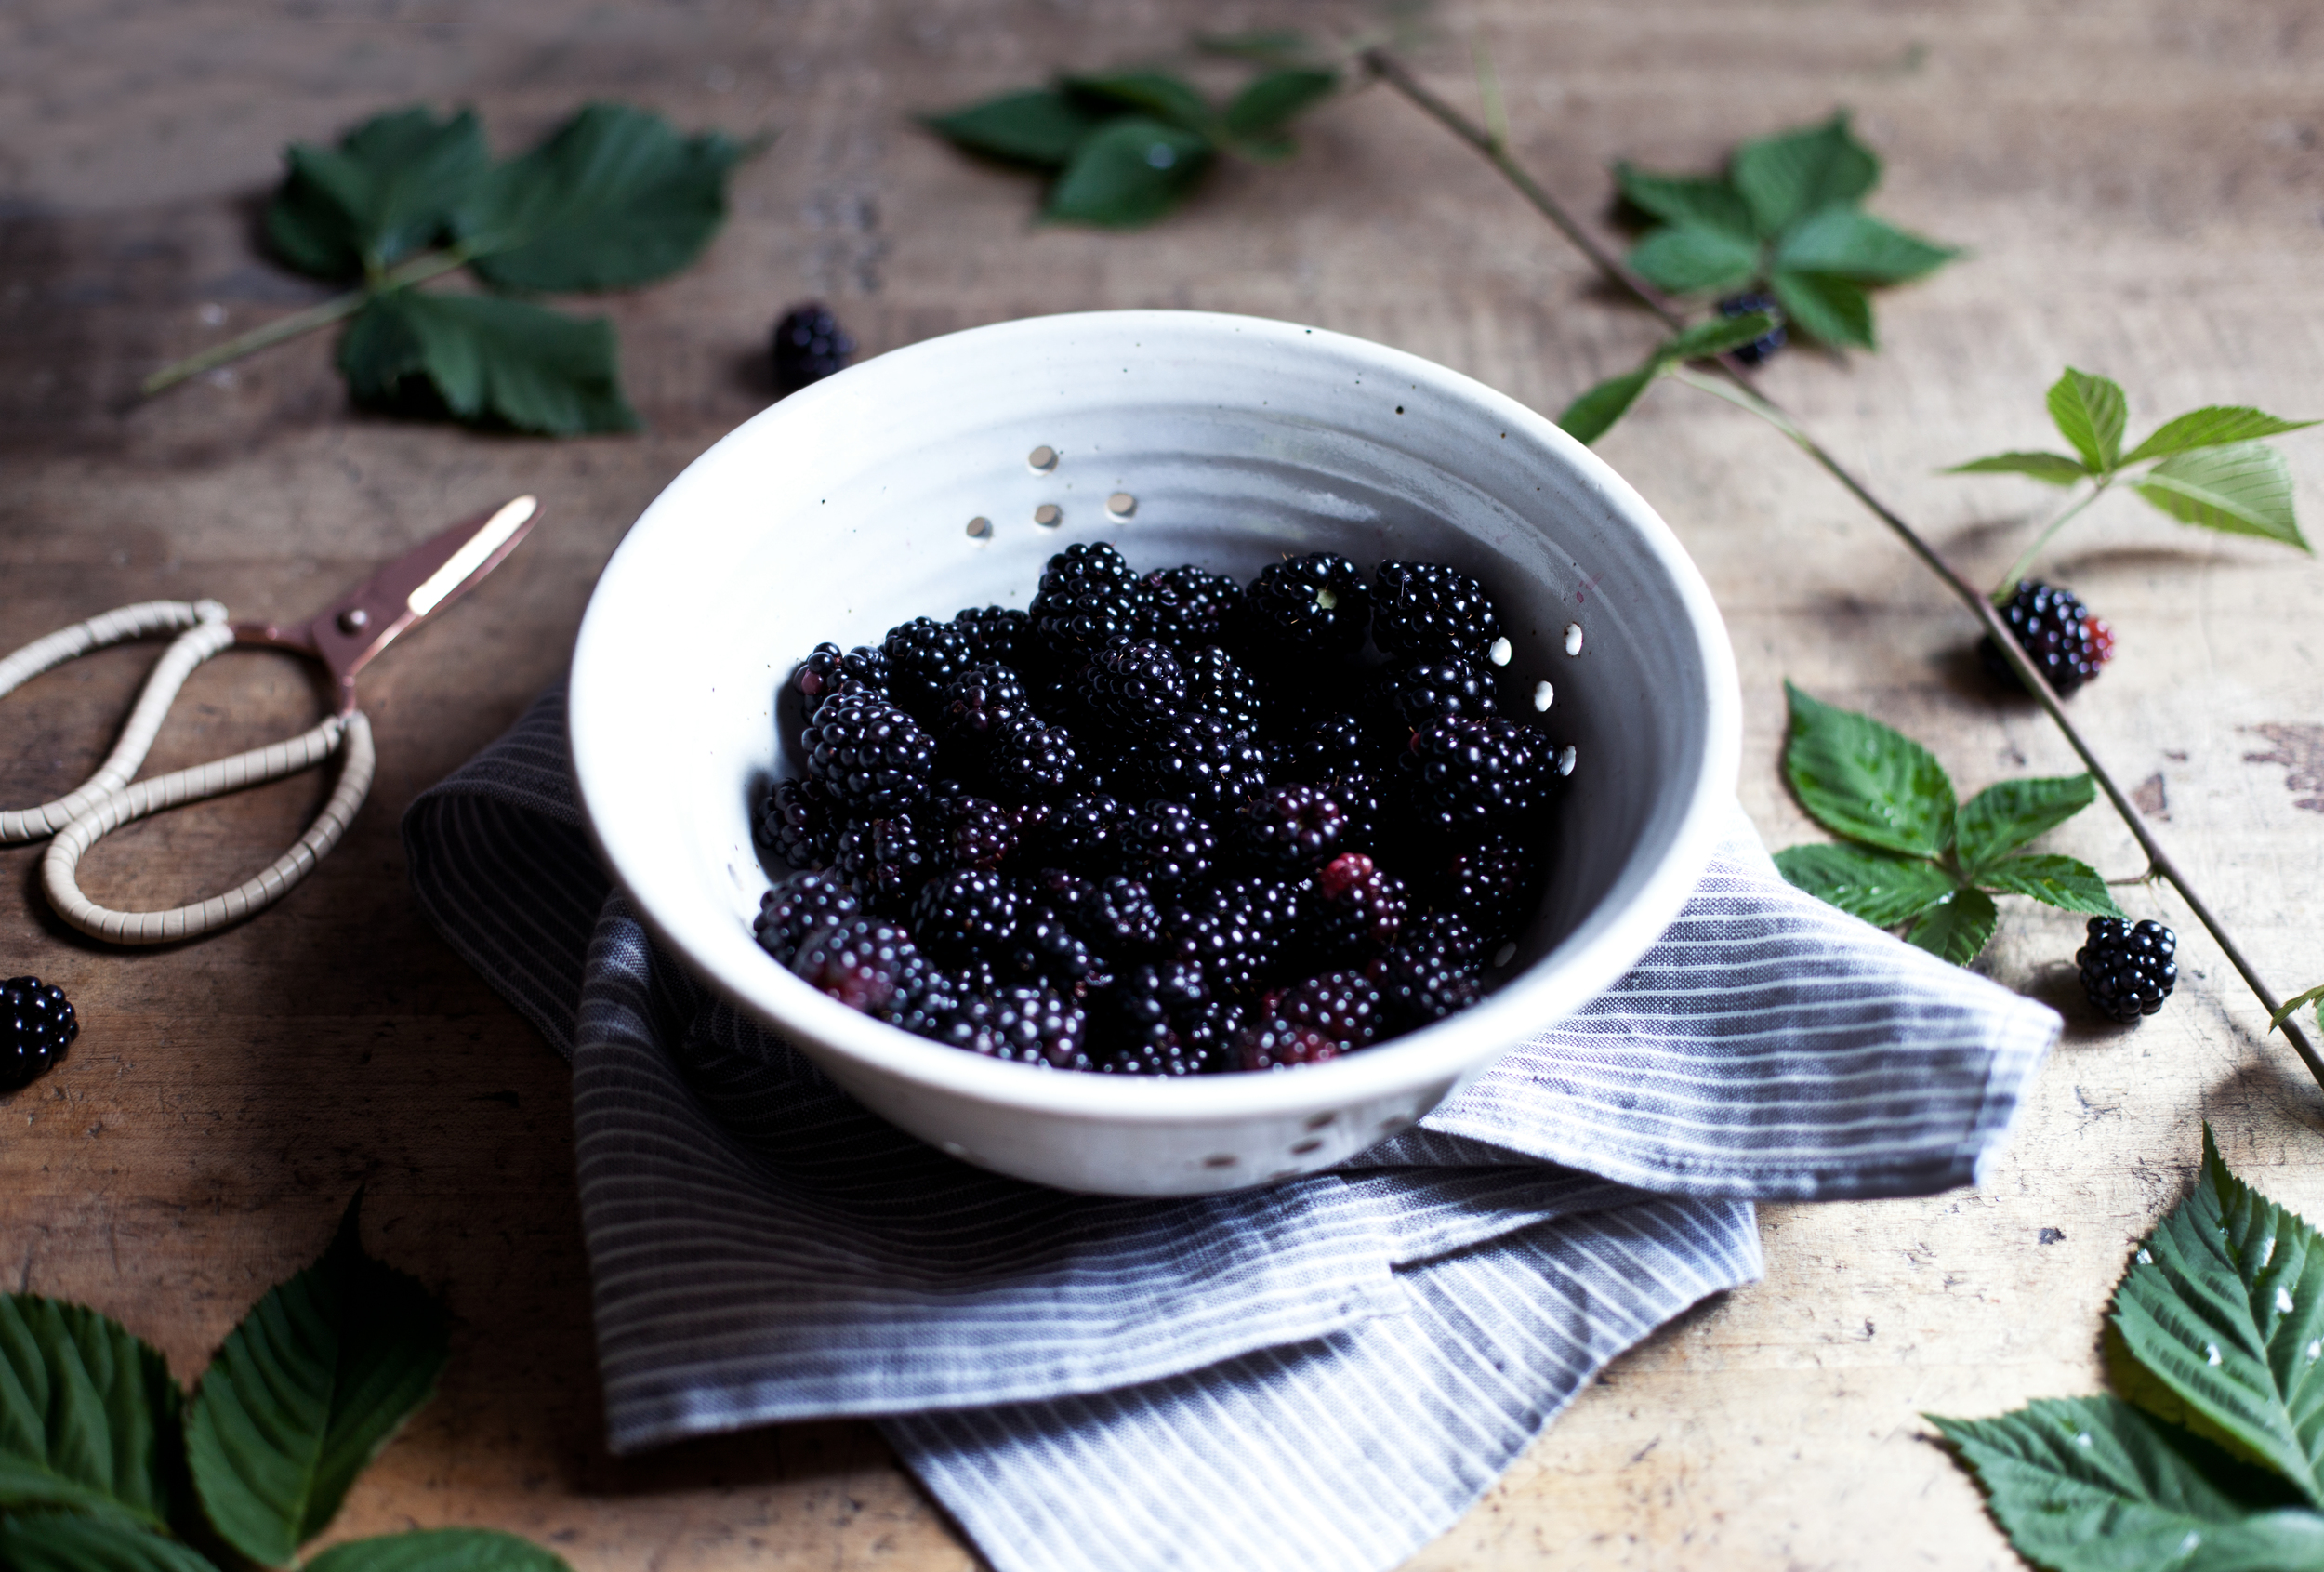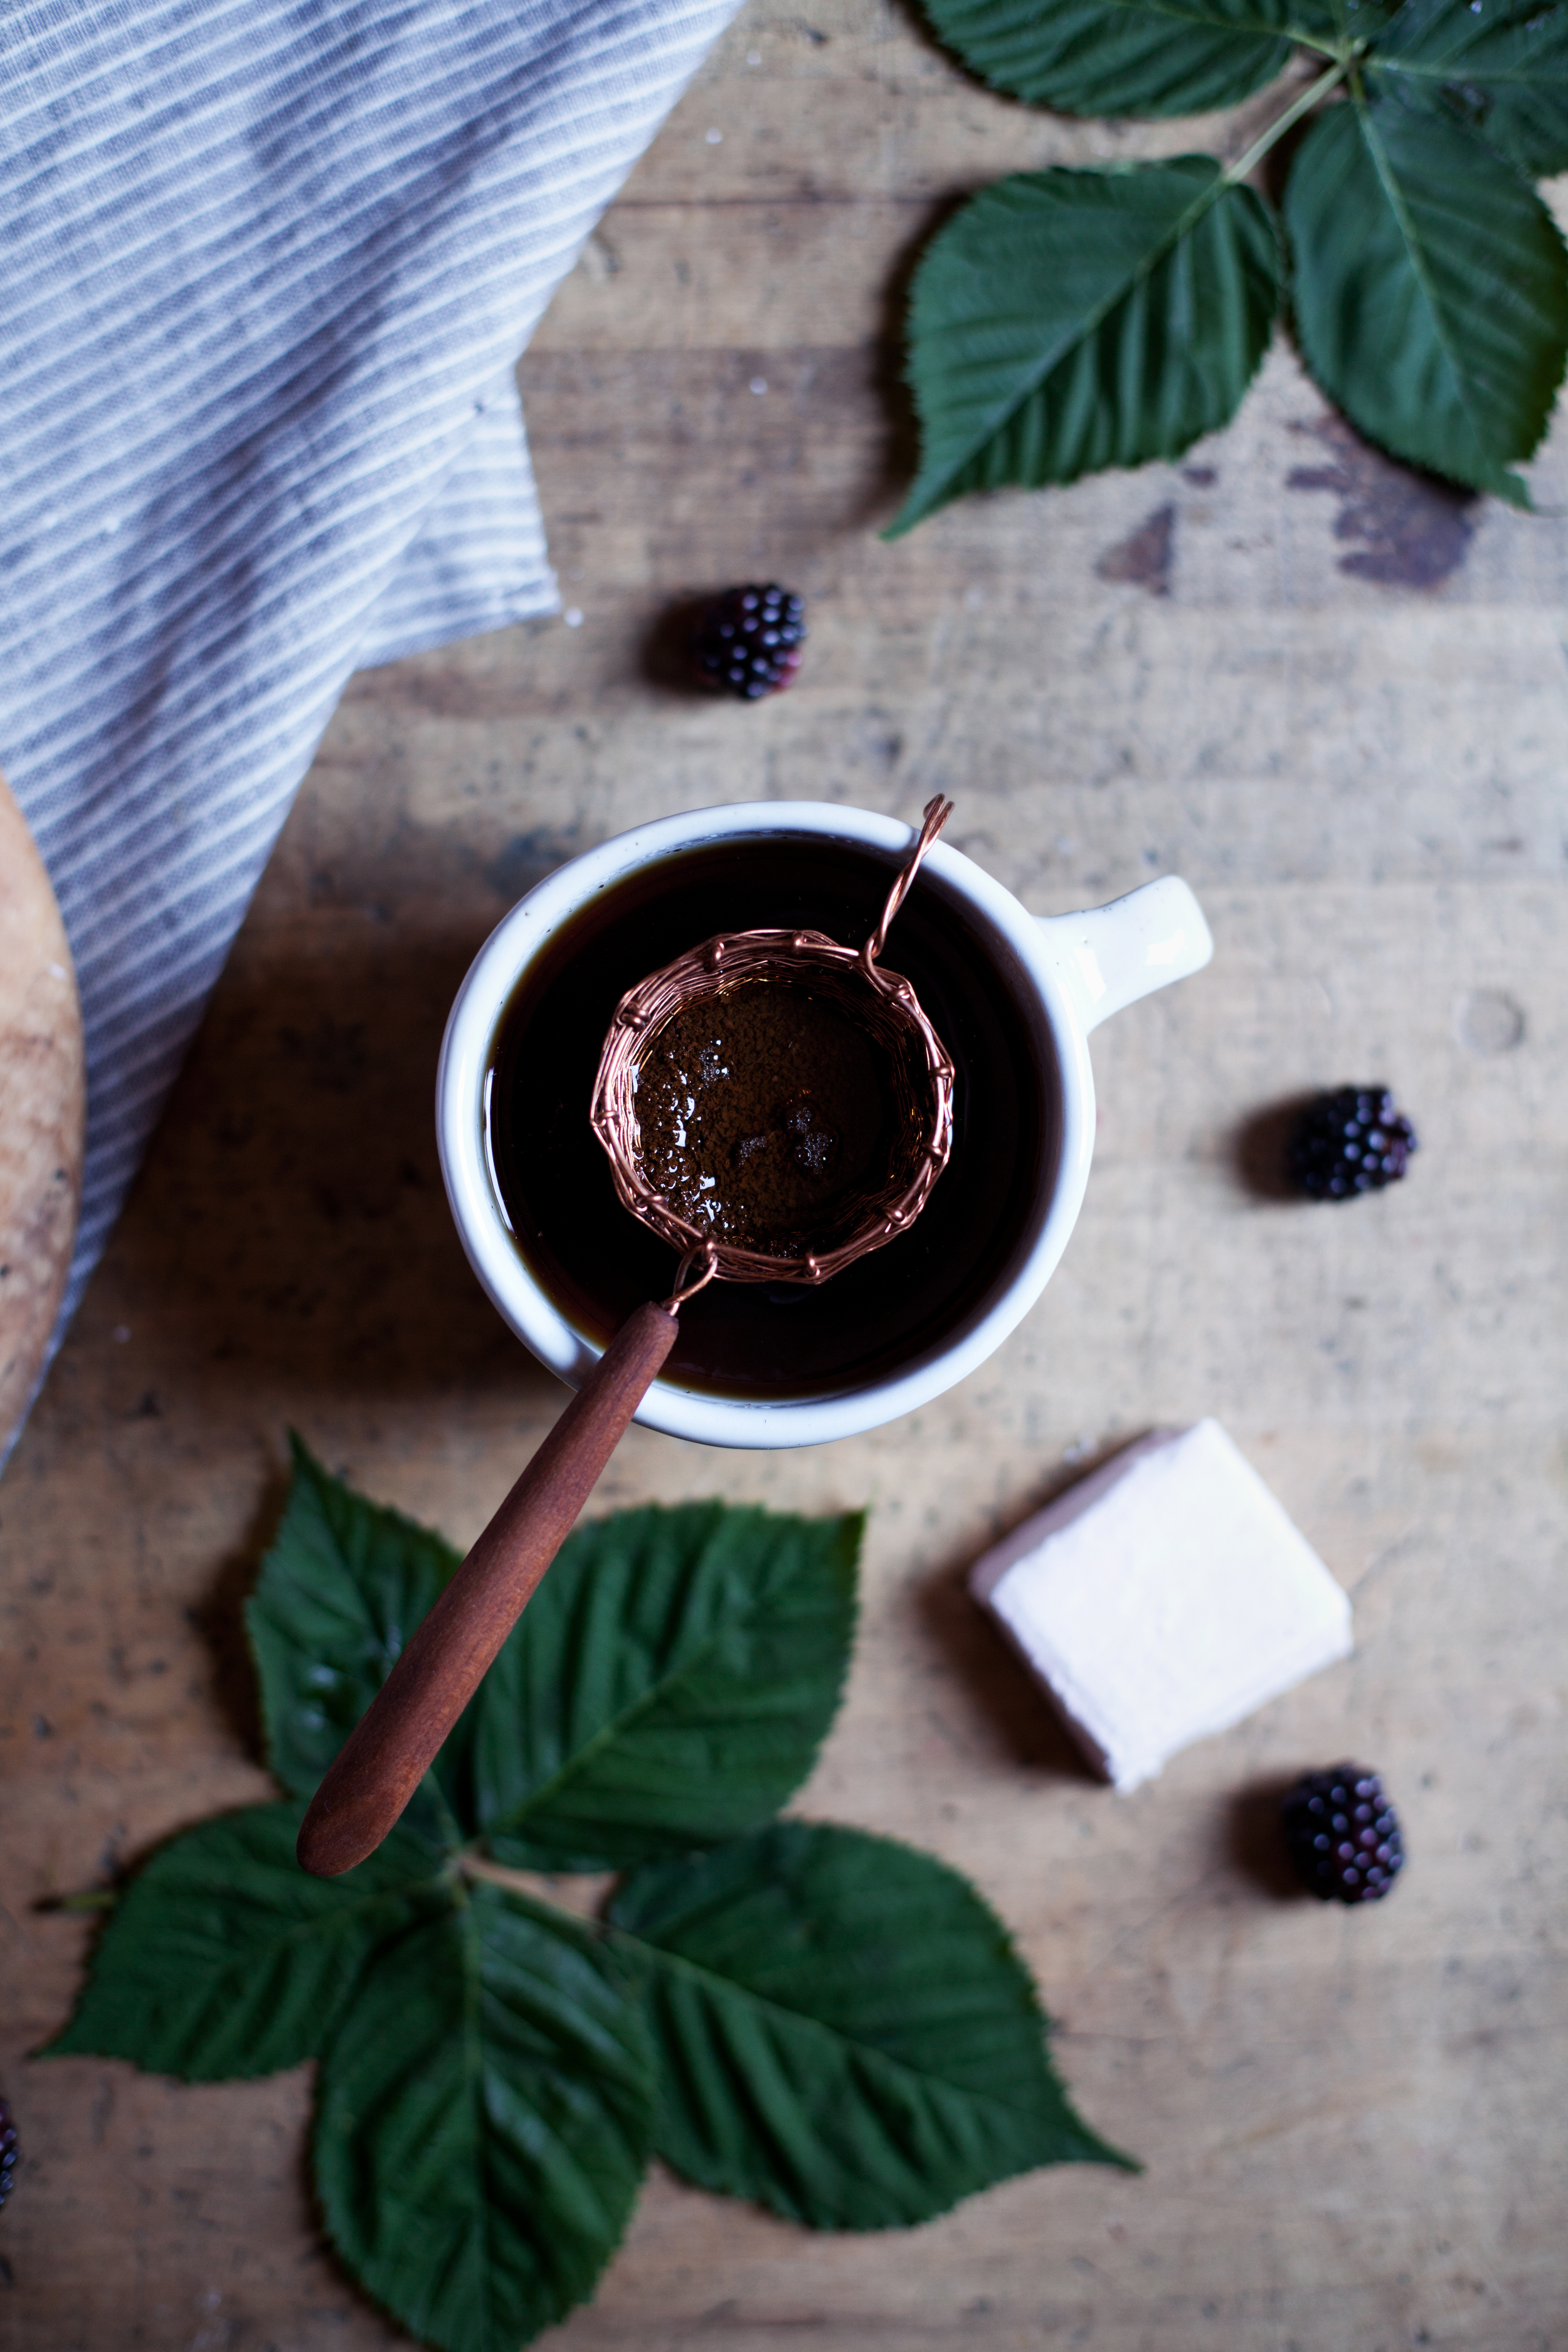


oh monday & the last of my blackberries (sad face). i figured making a dessert crepe was the best way to use what is left of the summer berries! i would be lying if i said i wasn't looking forward to baking with fall flavours again though... pumpkin, apples, pears & cinnamon everything. i actually went to a barbecue last weekend & brought a pumpkin pineapple cake for dessert! is that a weird flavour to bring to an outdoor summer party? probably, but everyone loved it & i figured if i added some pineapples to the mix it would pass as a summer dessert.
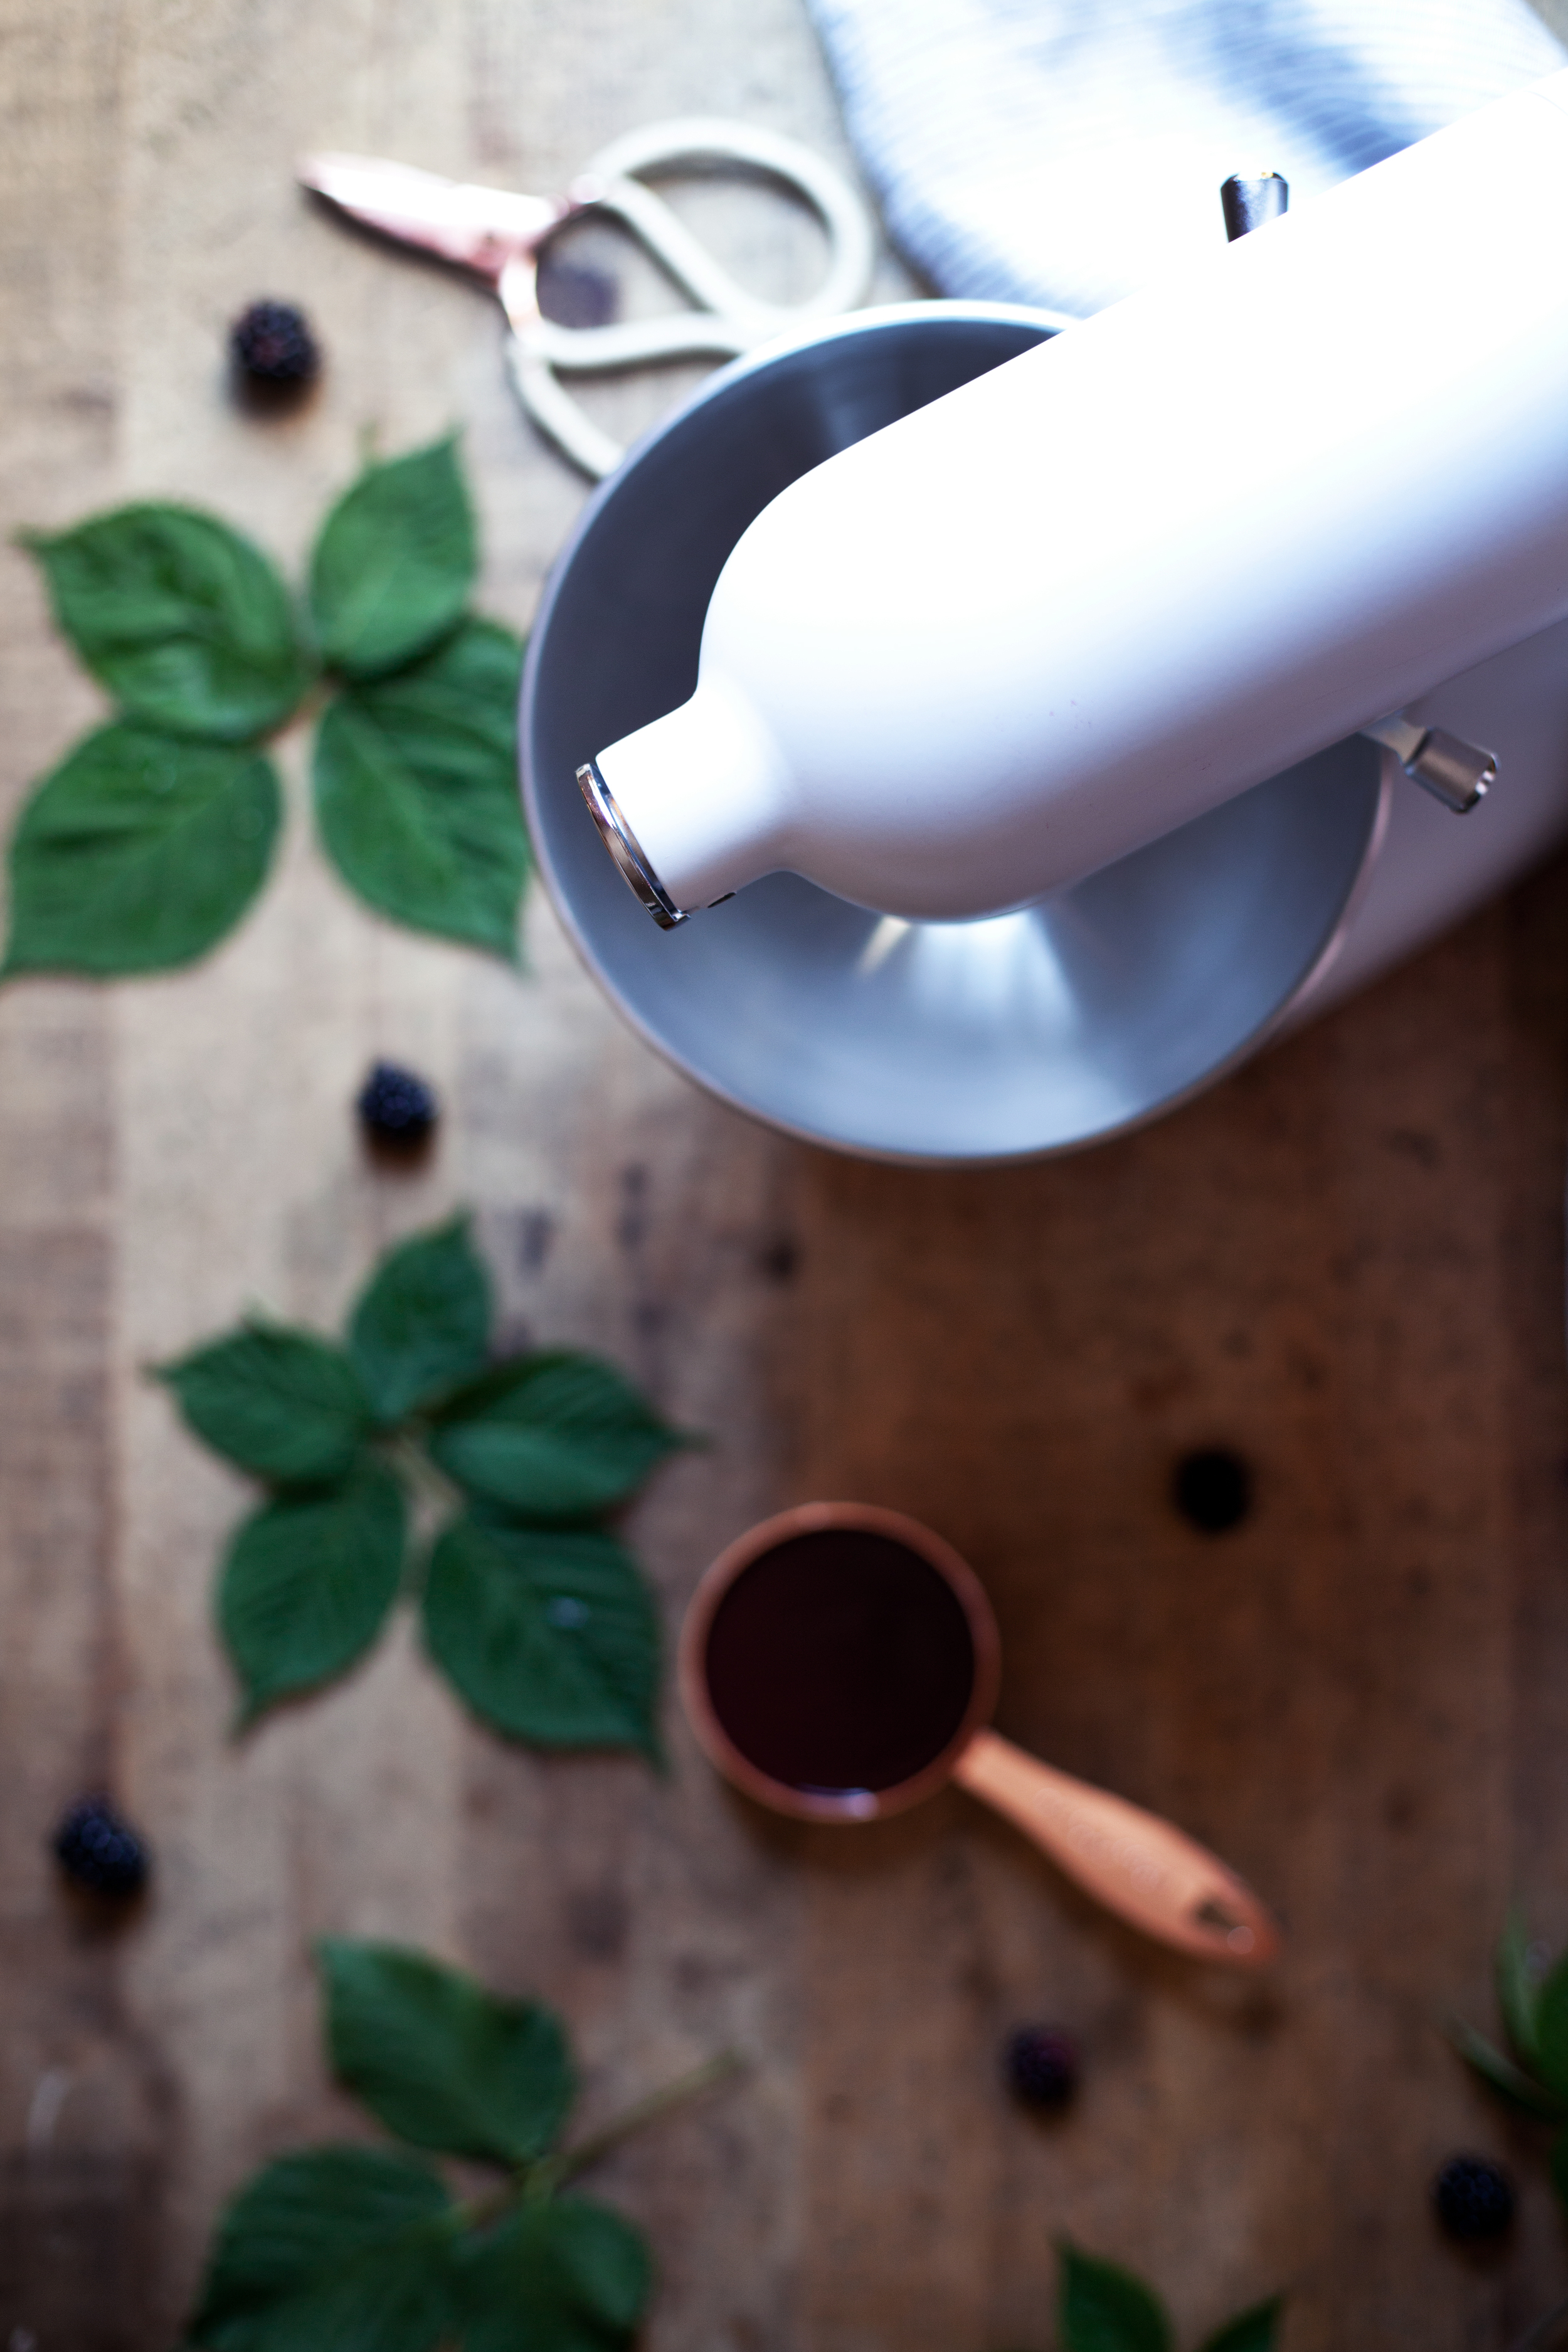
ANYWAYS, i am teaming up with zwilling canada today to give you the chance to WIN (yay!!!) a staub crepe pan over on my instagram so you too can make crepes like a boss. it seriously makes crepe making so much easier & i feel like i am a seasoned pro using the little wood wand & flipper that it comes with. there was this crepe restaurant right in downtown toronto on queen street where the cooks would make crepes in the window all day long. as a daily passerby i would just stare it awe because i never understood how they made them so damn perfect every. single. time. but alas, a few more batches to go with my staub pan & maybe i'll be making them in the window too. so head on over to my instagram HERE to enter for a chance to win & get the recipe below to make fresh blackberry ice cream crepes!
ingredients
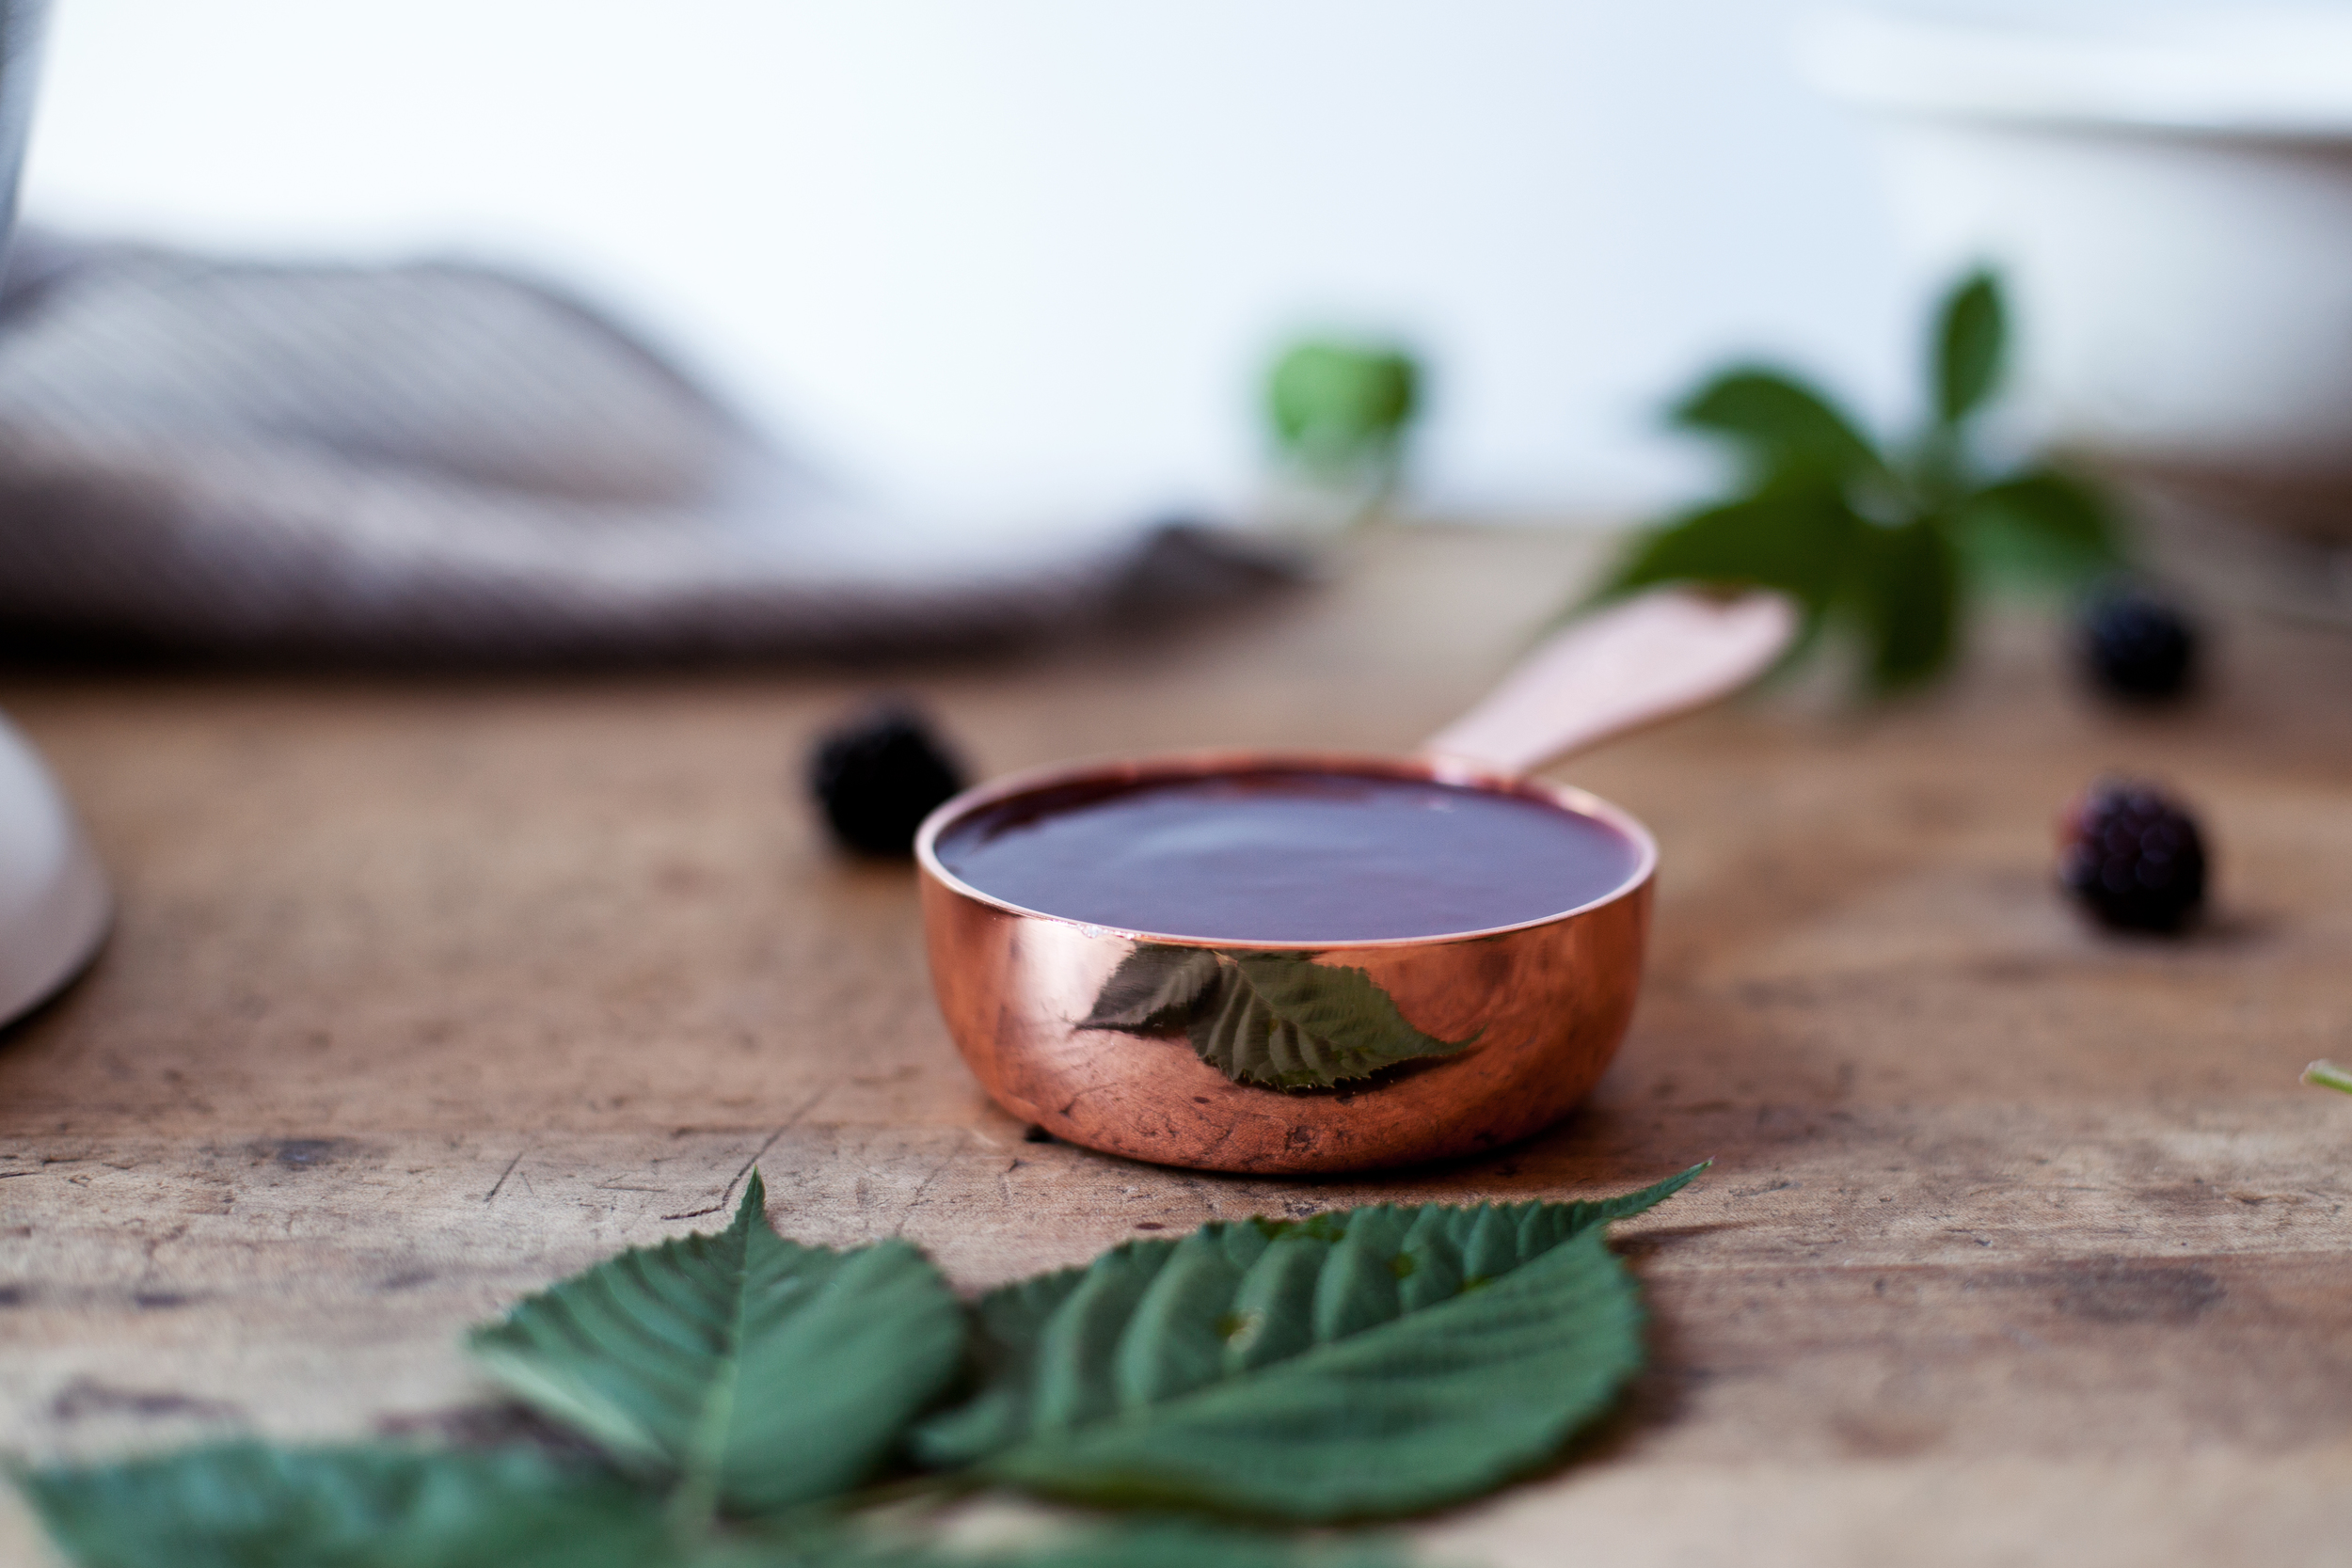
for the blackberry sauce
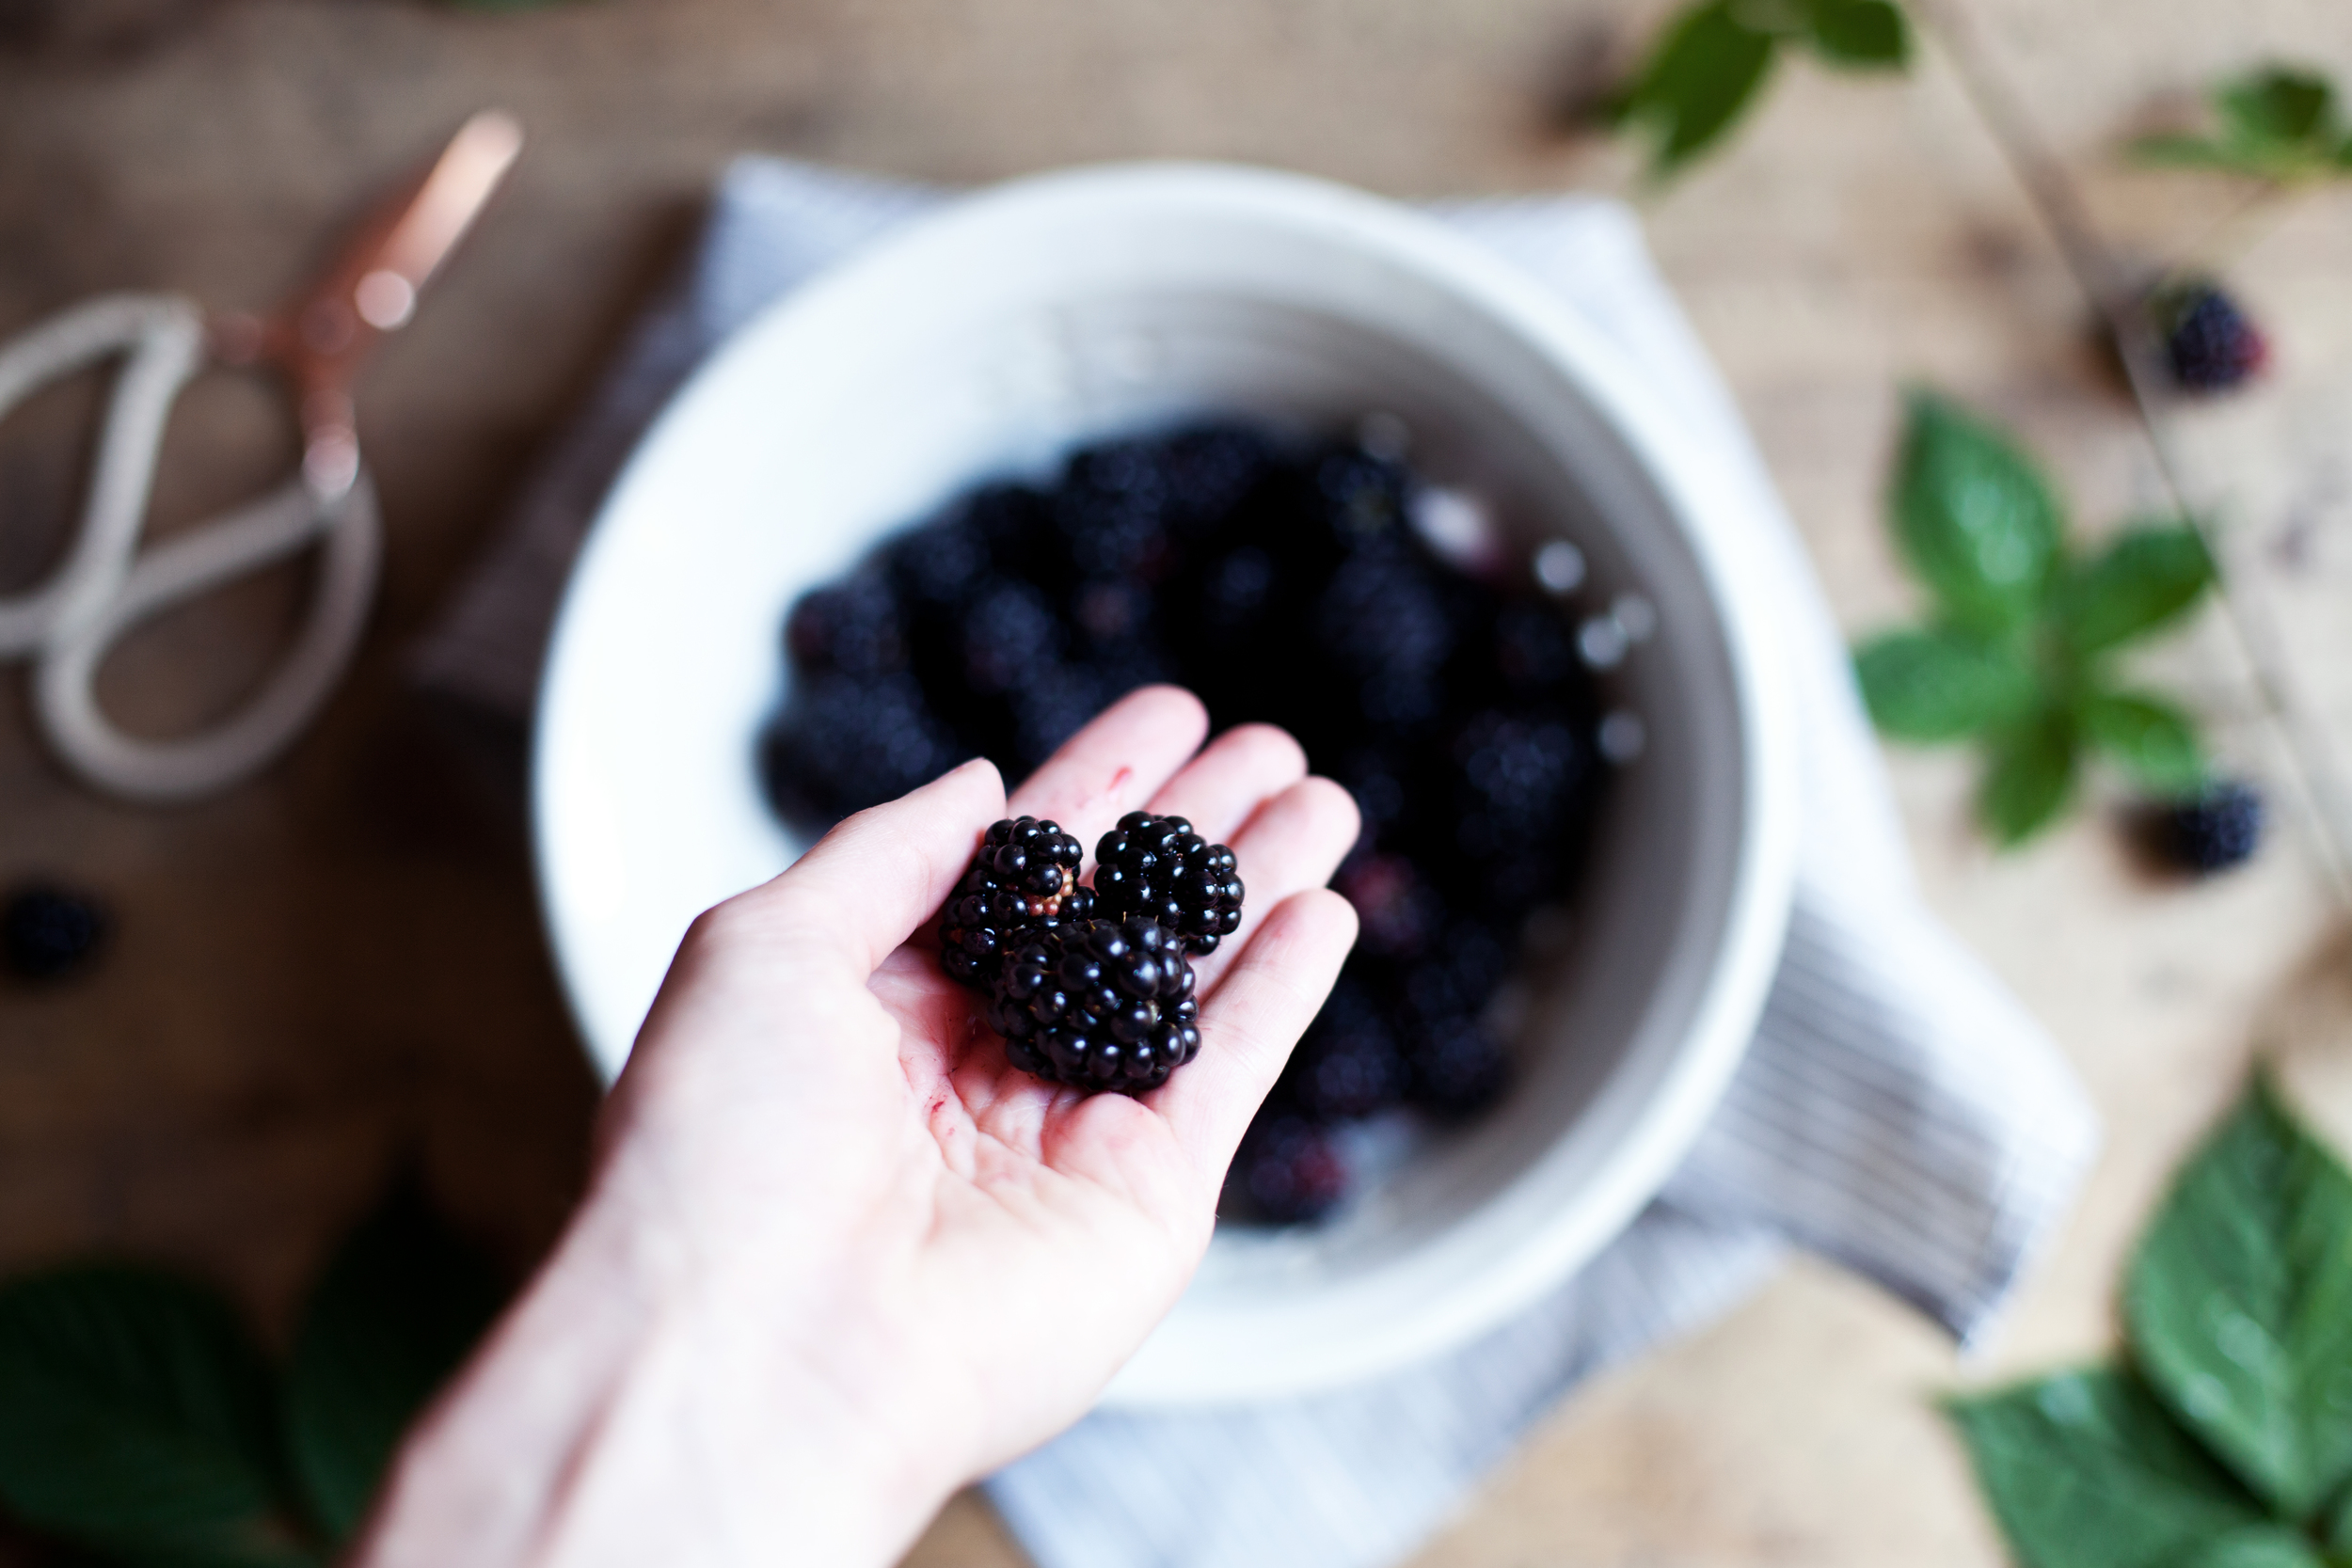
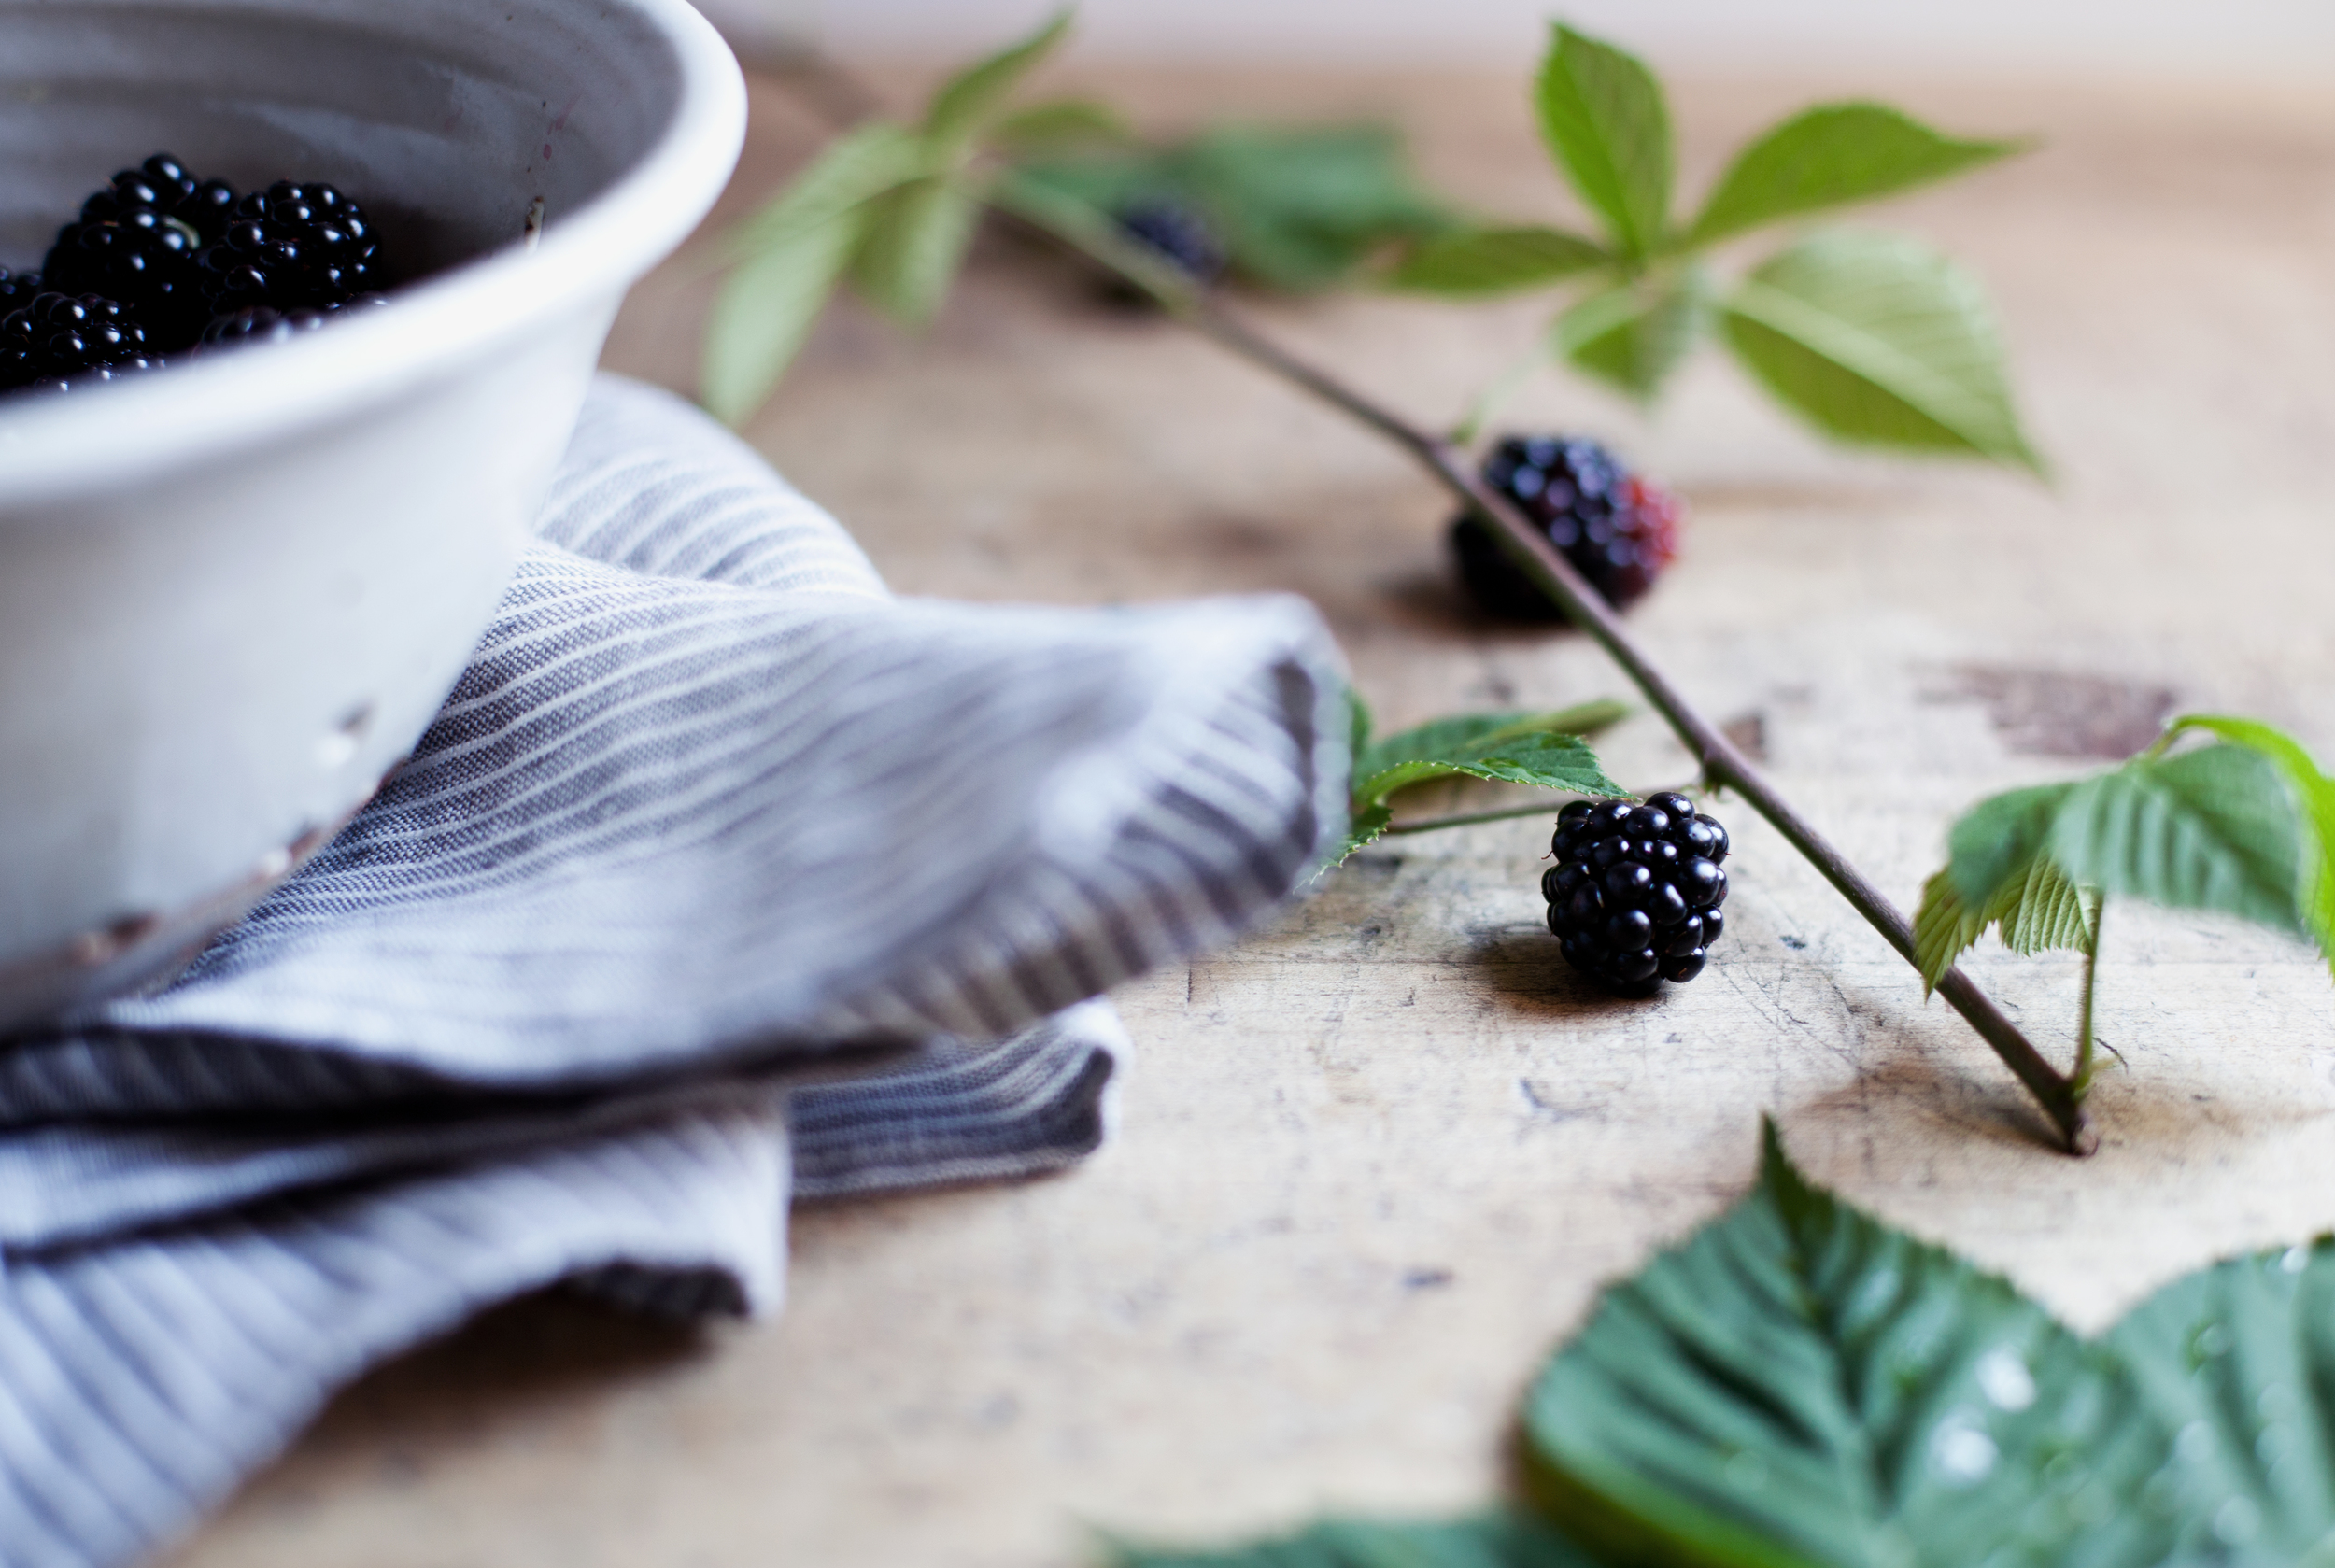
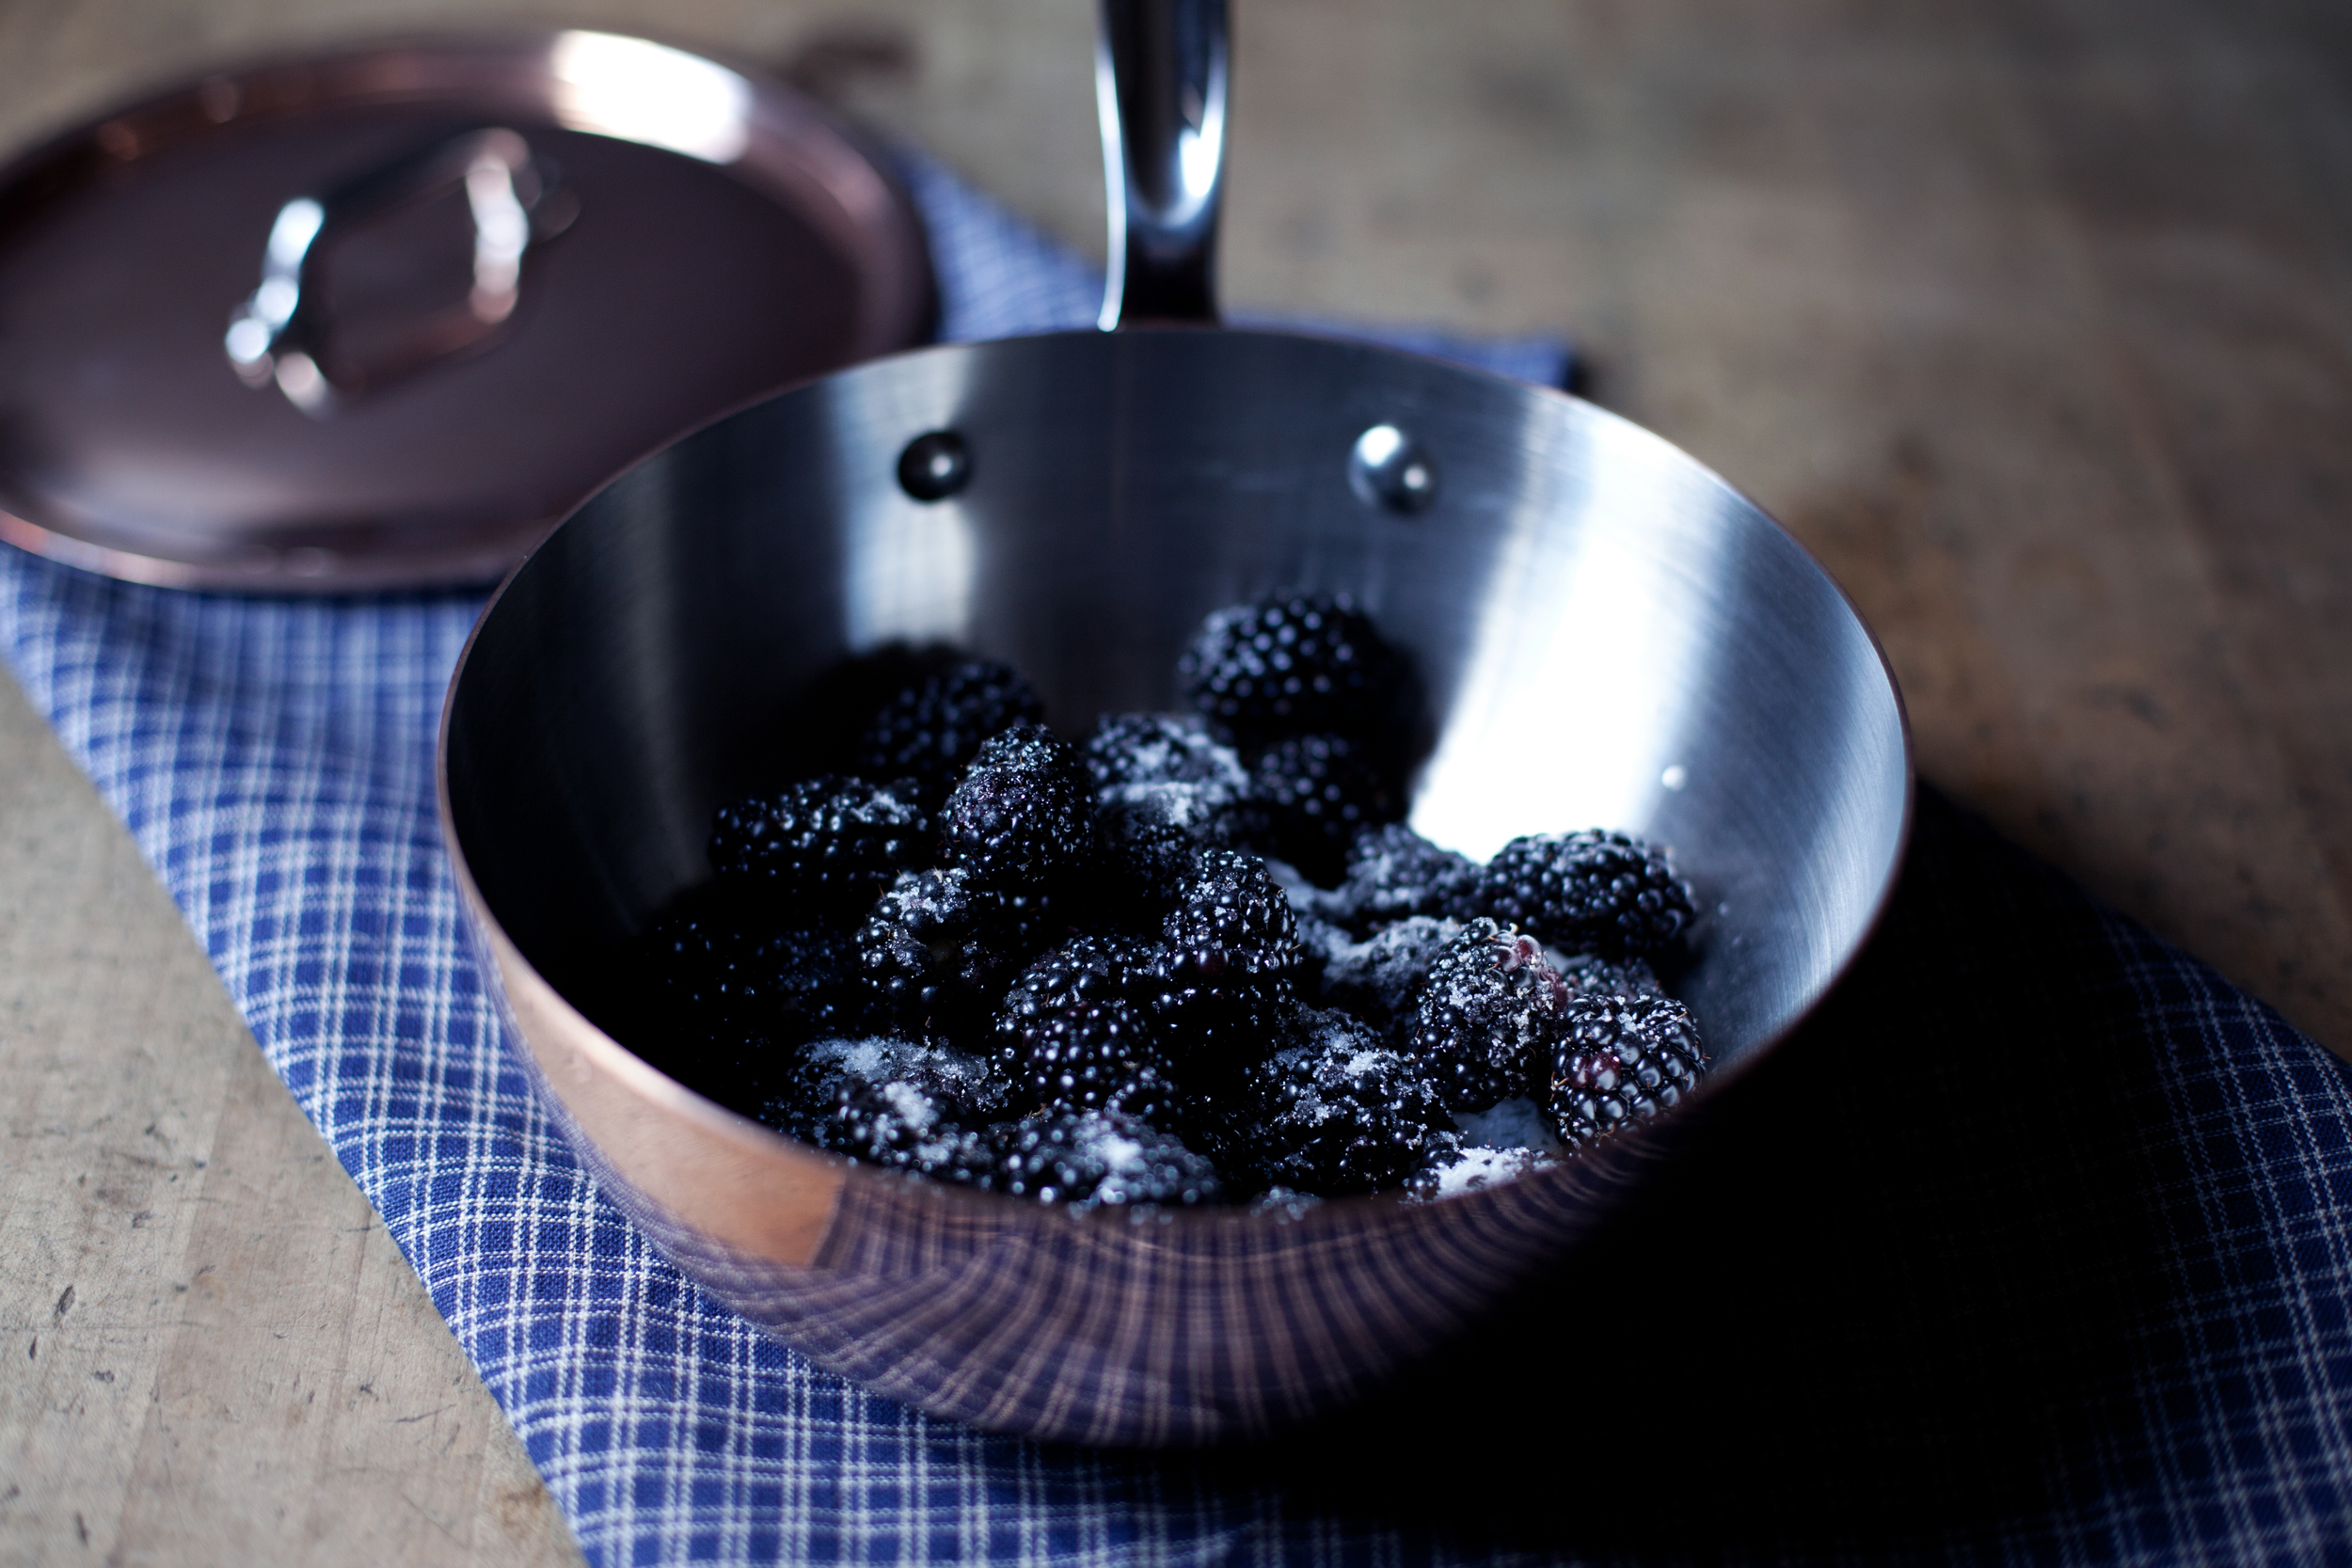
- 2 cups fresh blackberries
- 1/2 cup white sugar
- 1 teaspoon lemon juice
- 1 teaspoon cornstarch
- 2 teaspoons water
for the crepes
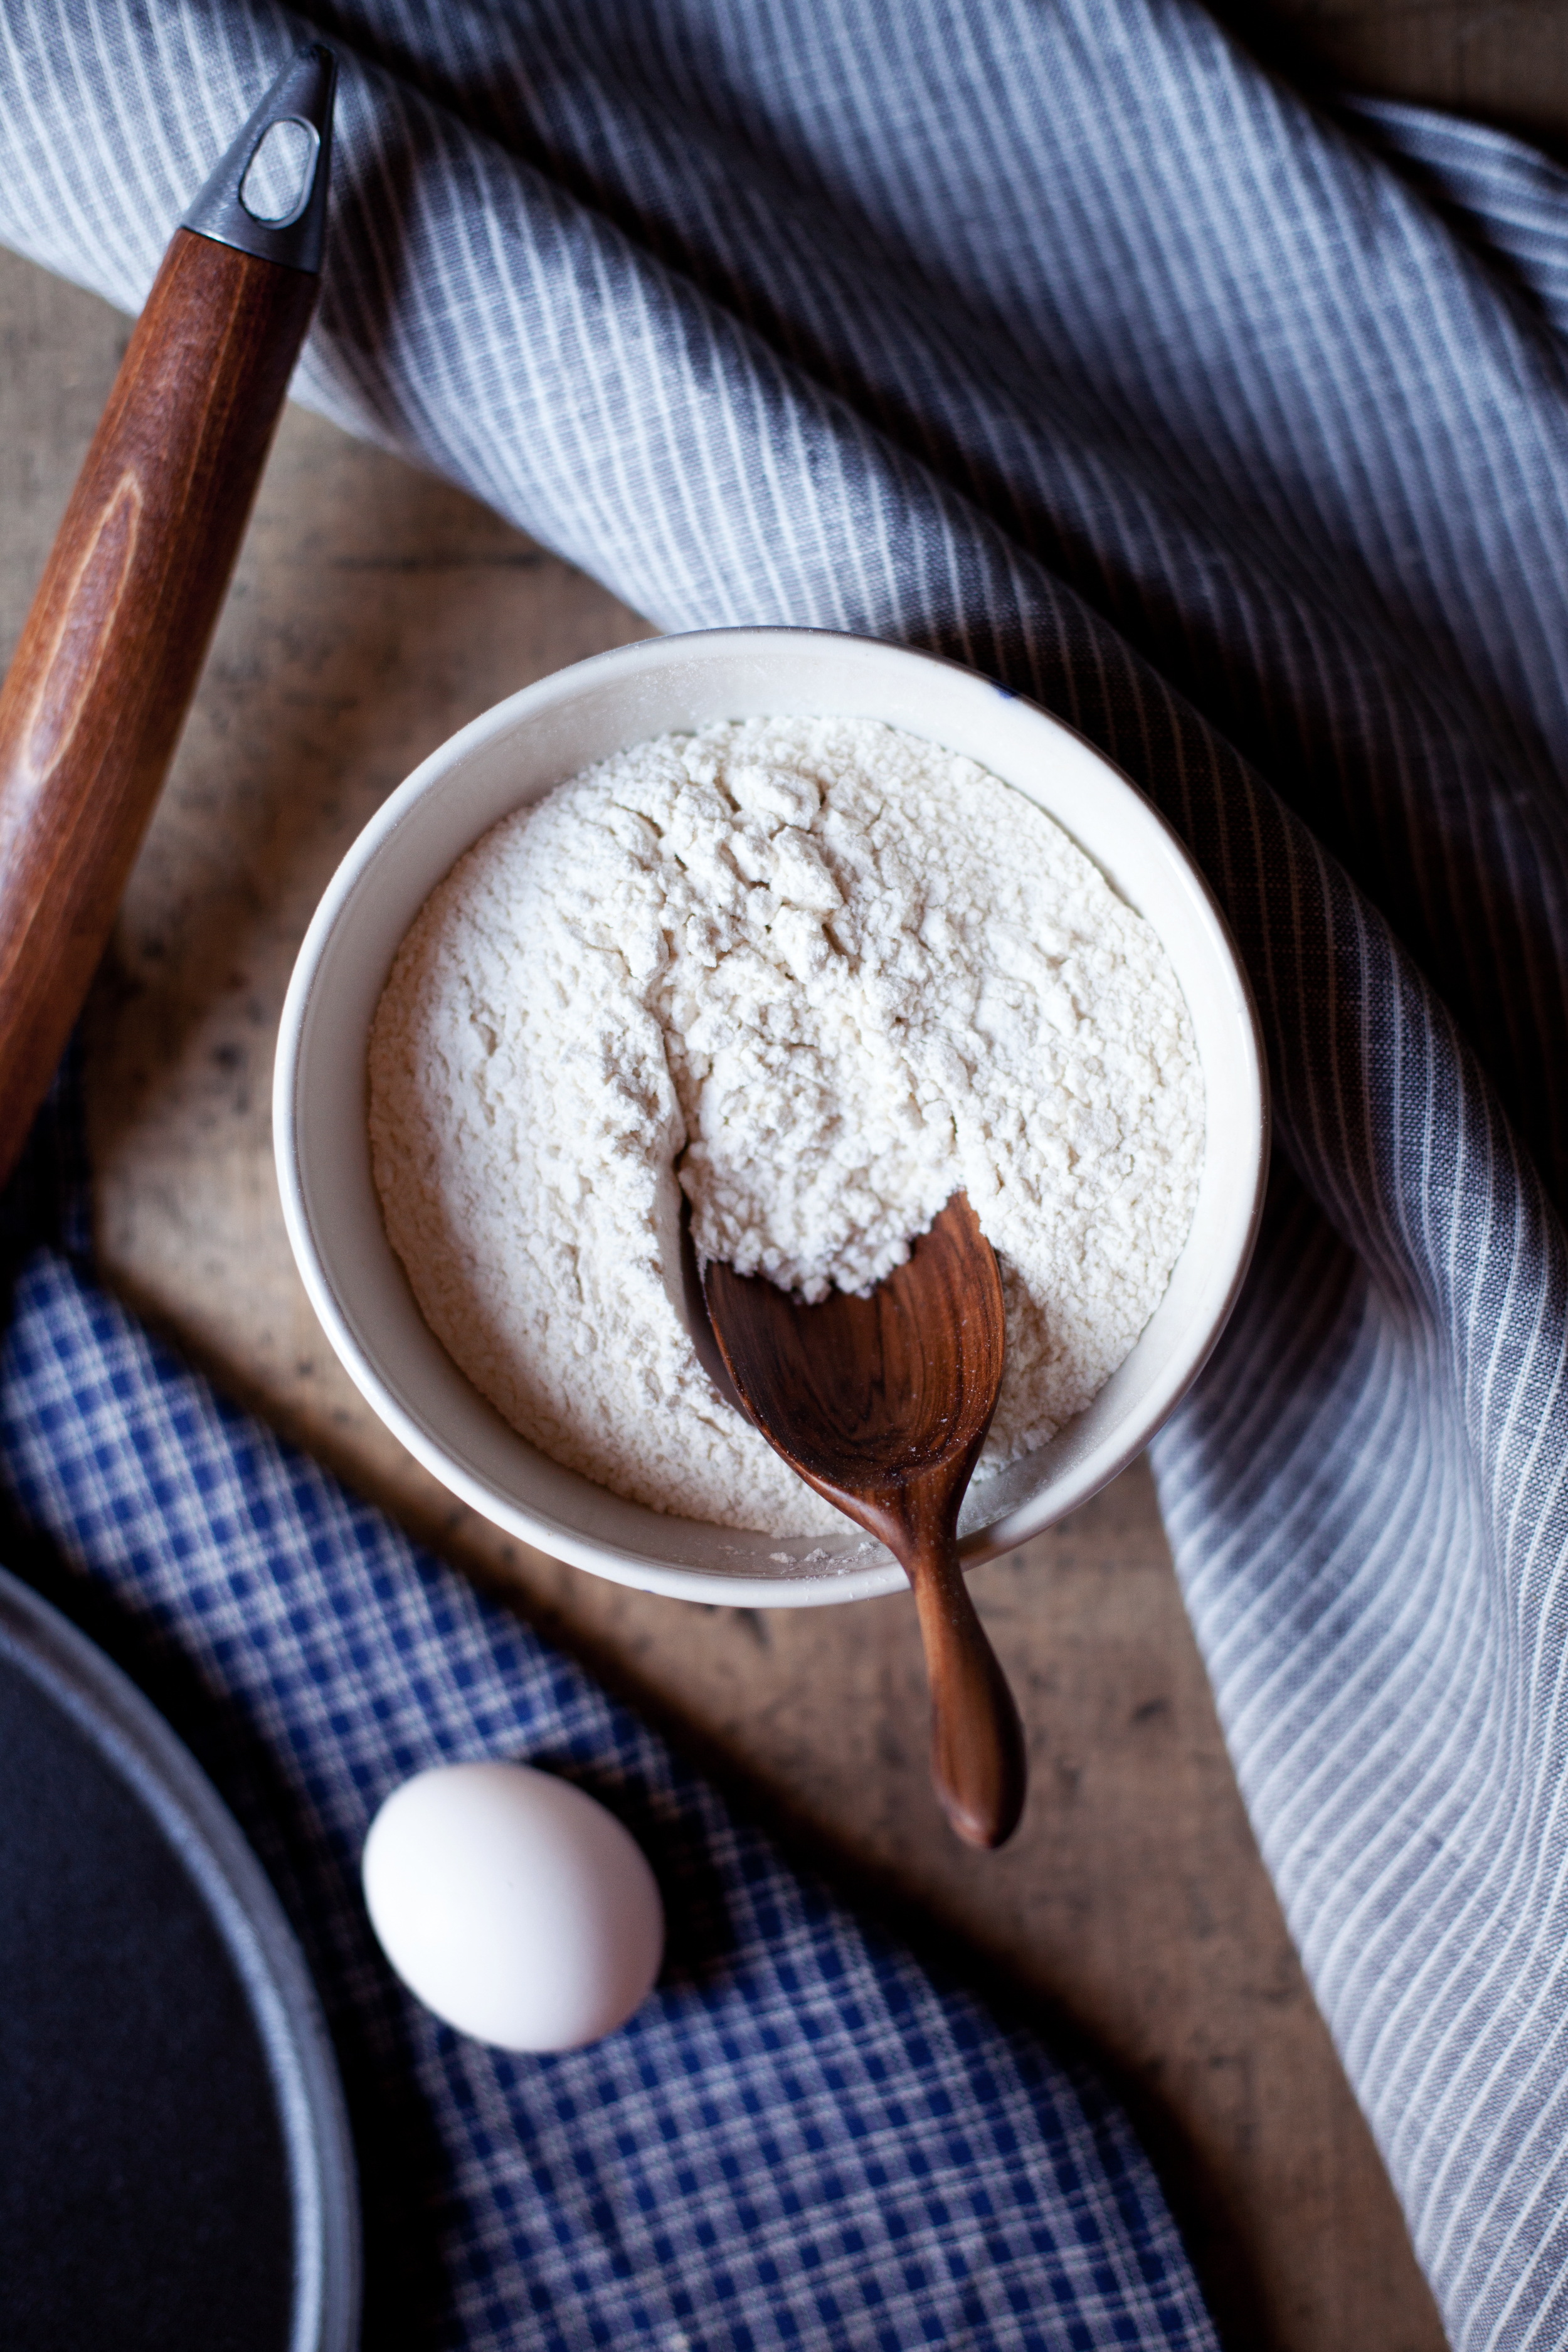
- 1 cup all purpose flour, sifted
- 1 tablespoon white sugar
- 1/4 teaspoon sea salt
- 1/8 teaspoon nutmeg
- 1 teaspoon pure vanilla extract
- 1 1/2 cups whole milk
- 4 eggs
- 1/4 cup unsalted butter, melted & cooled
- 1 pint of vanilla ice cream
directions
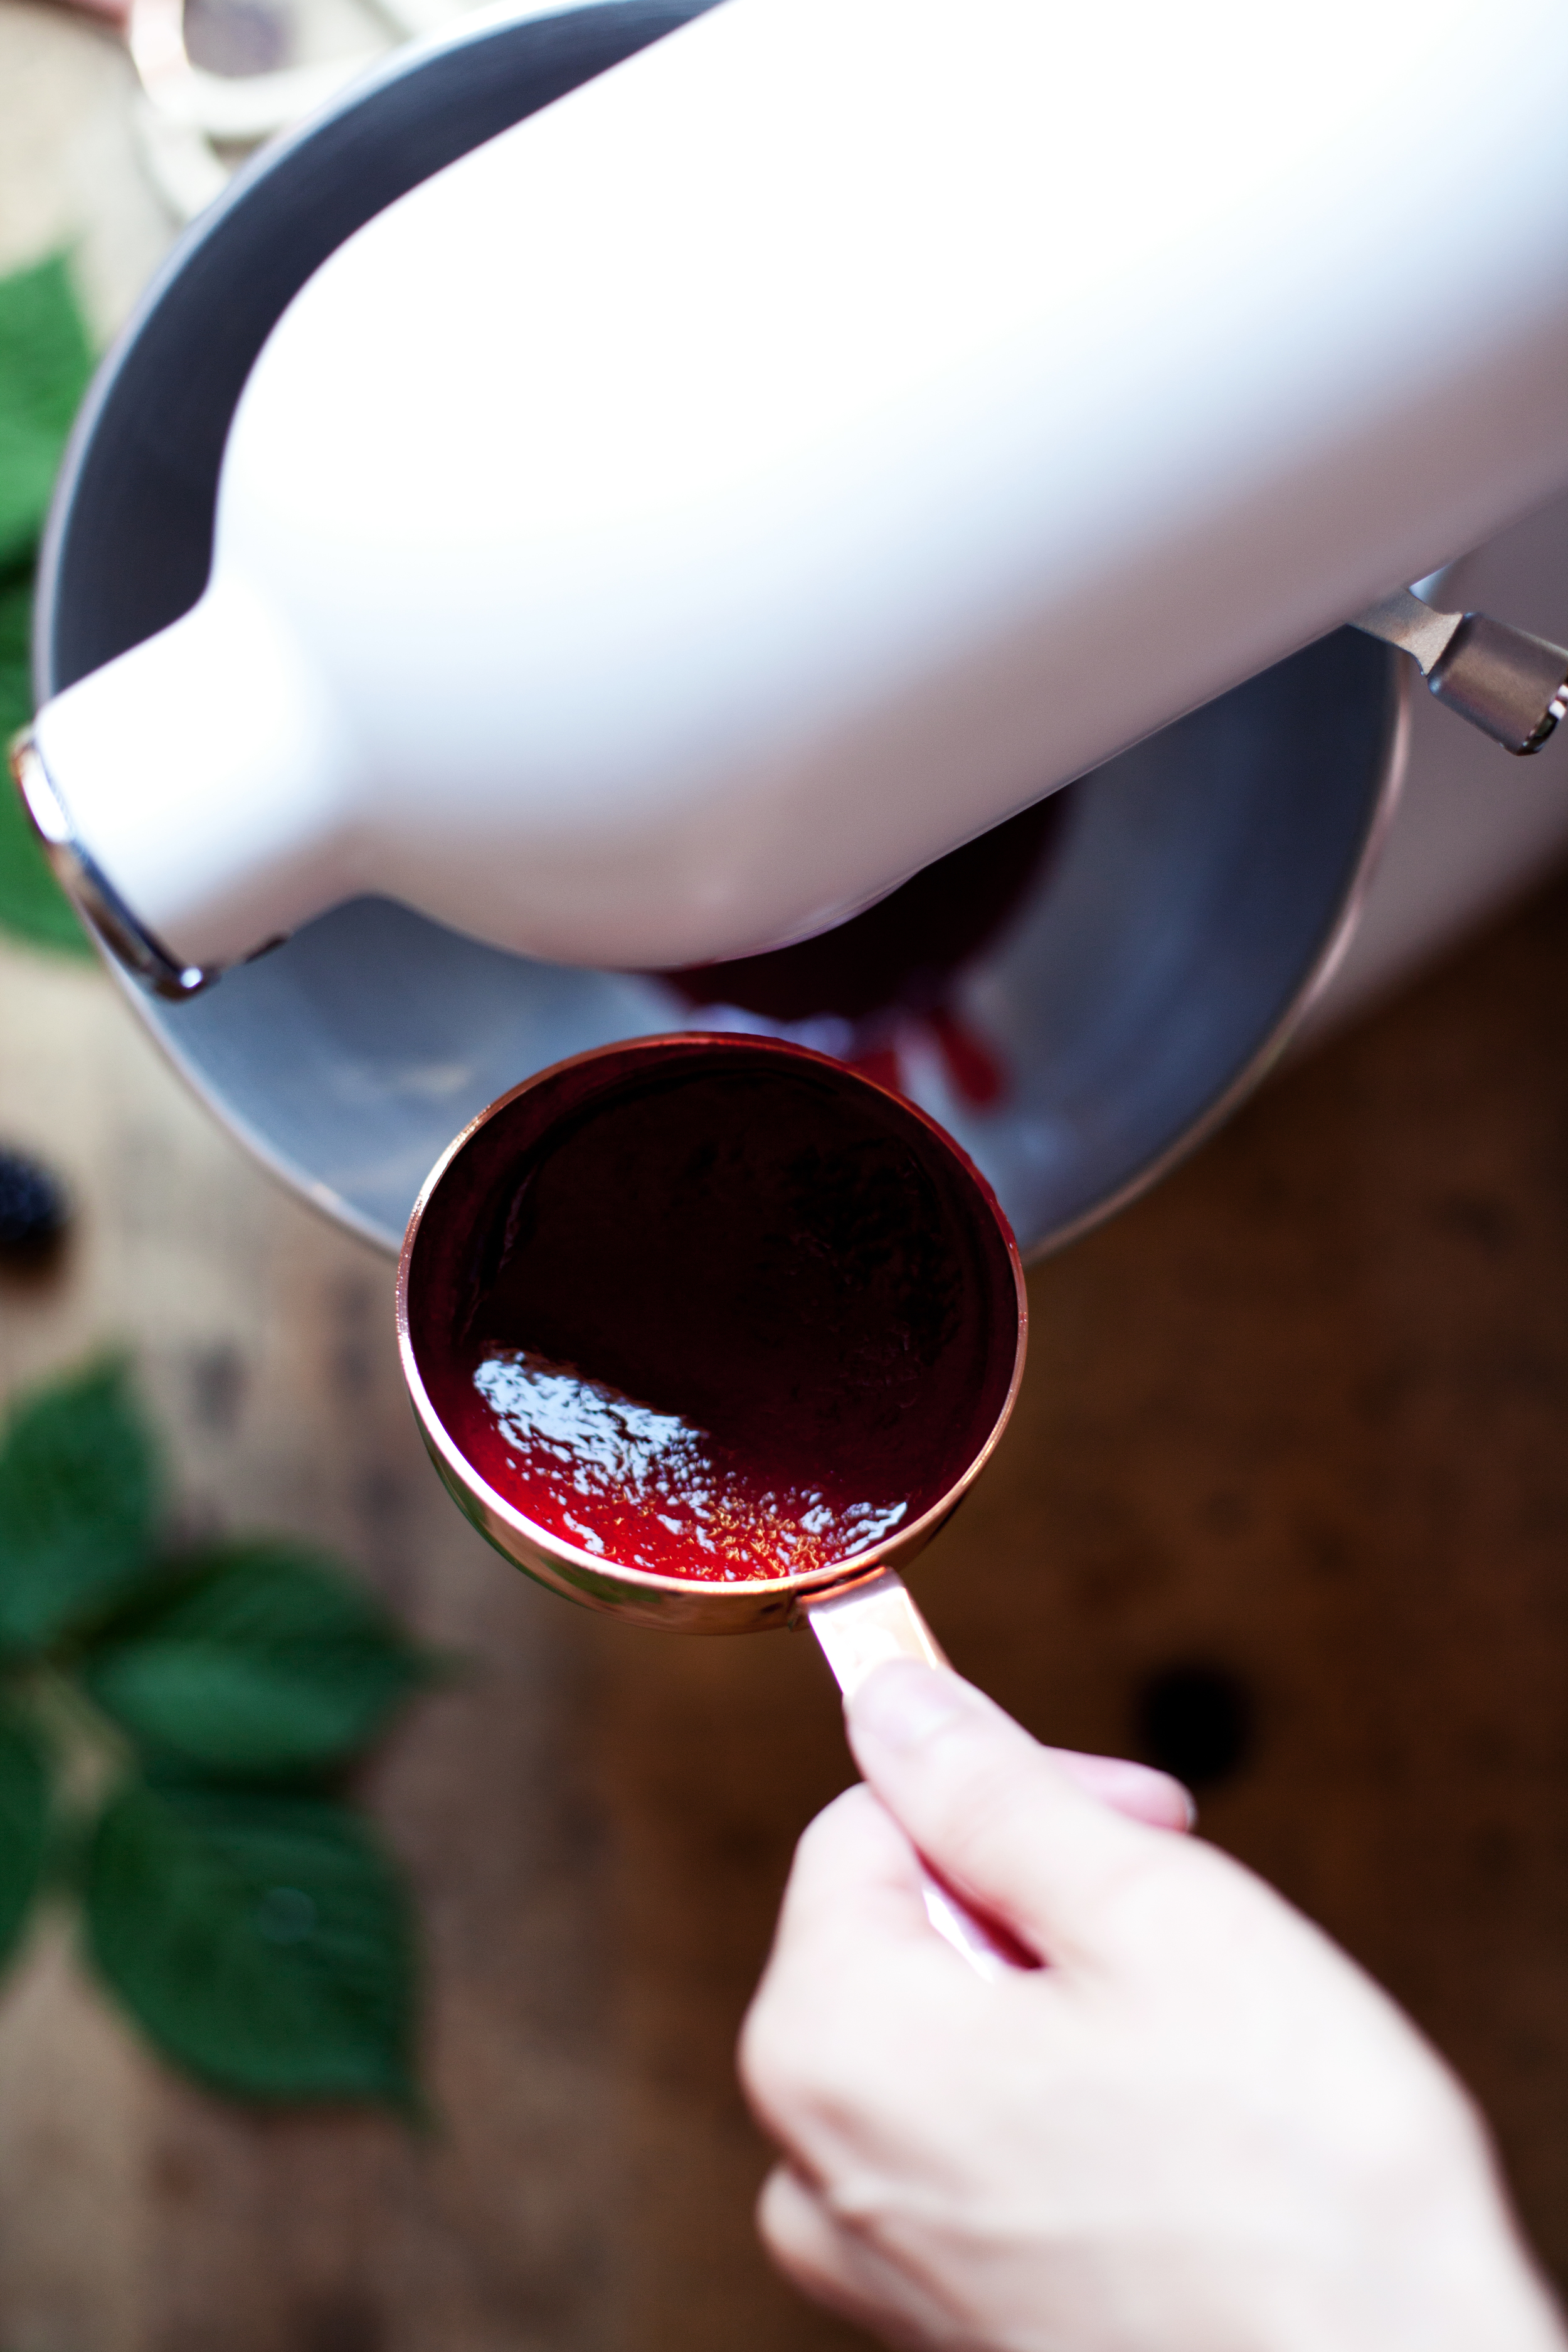
for the blackberry sauce
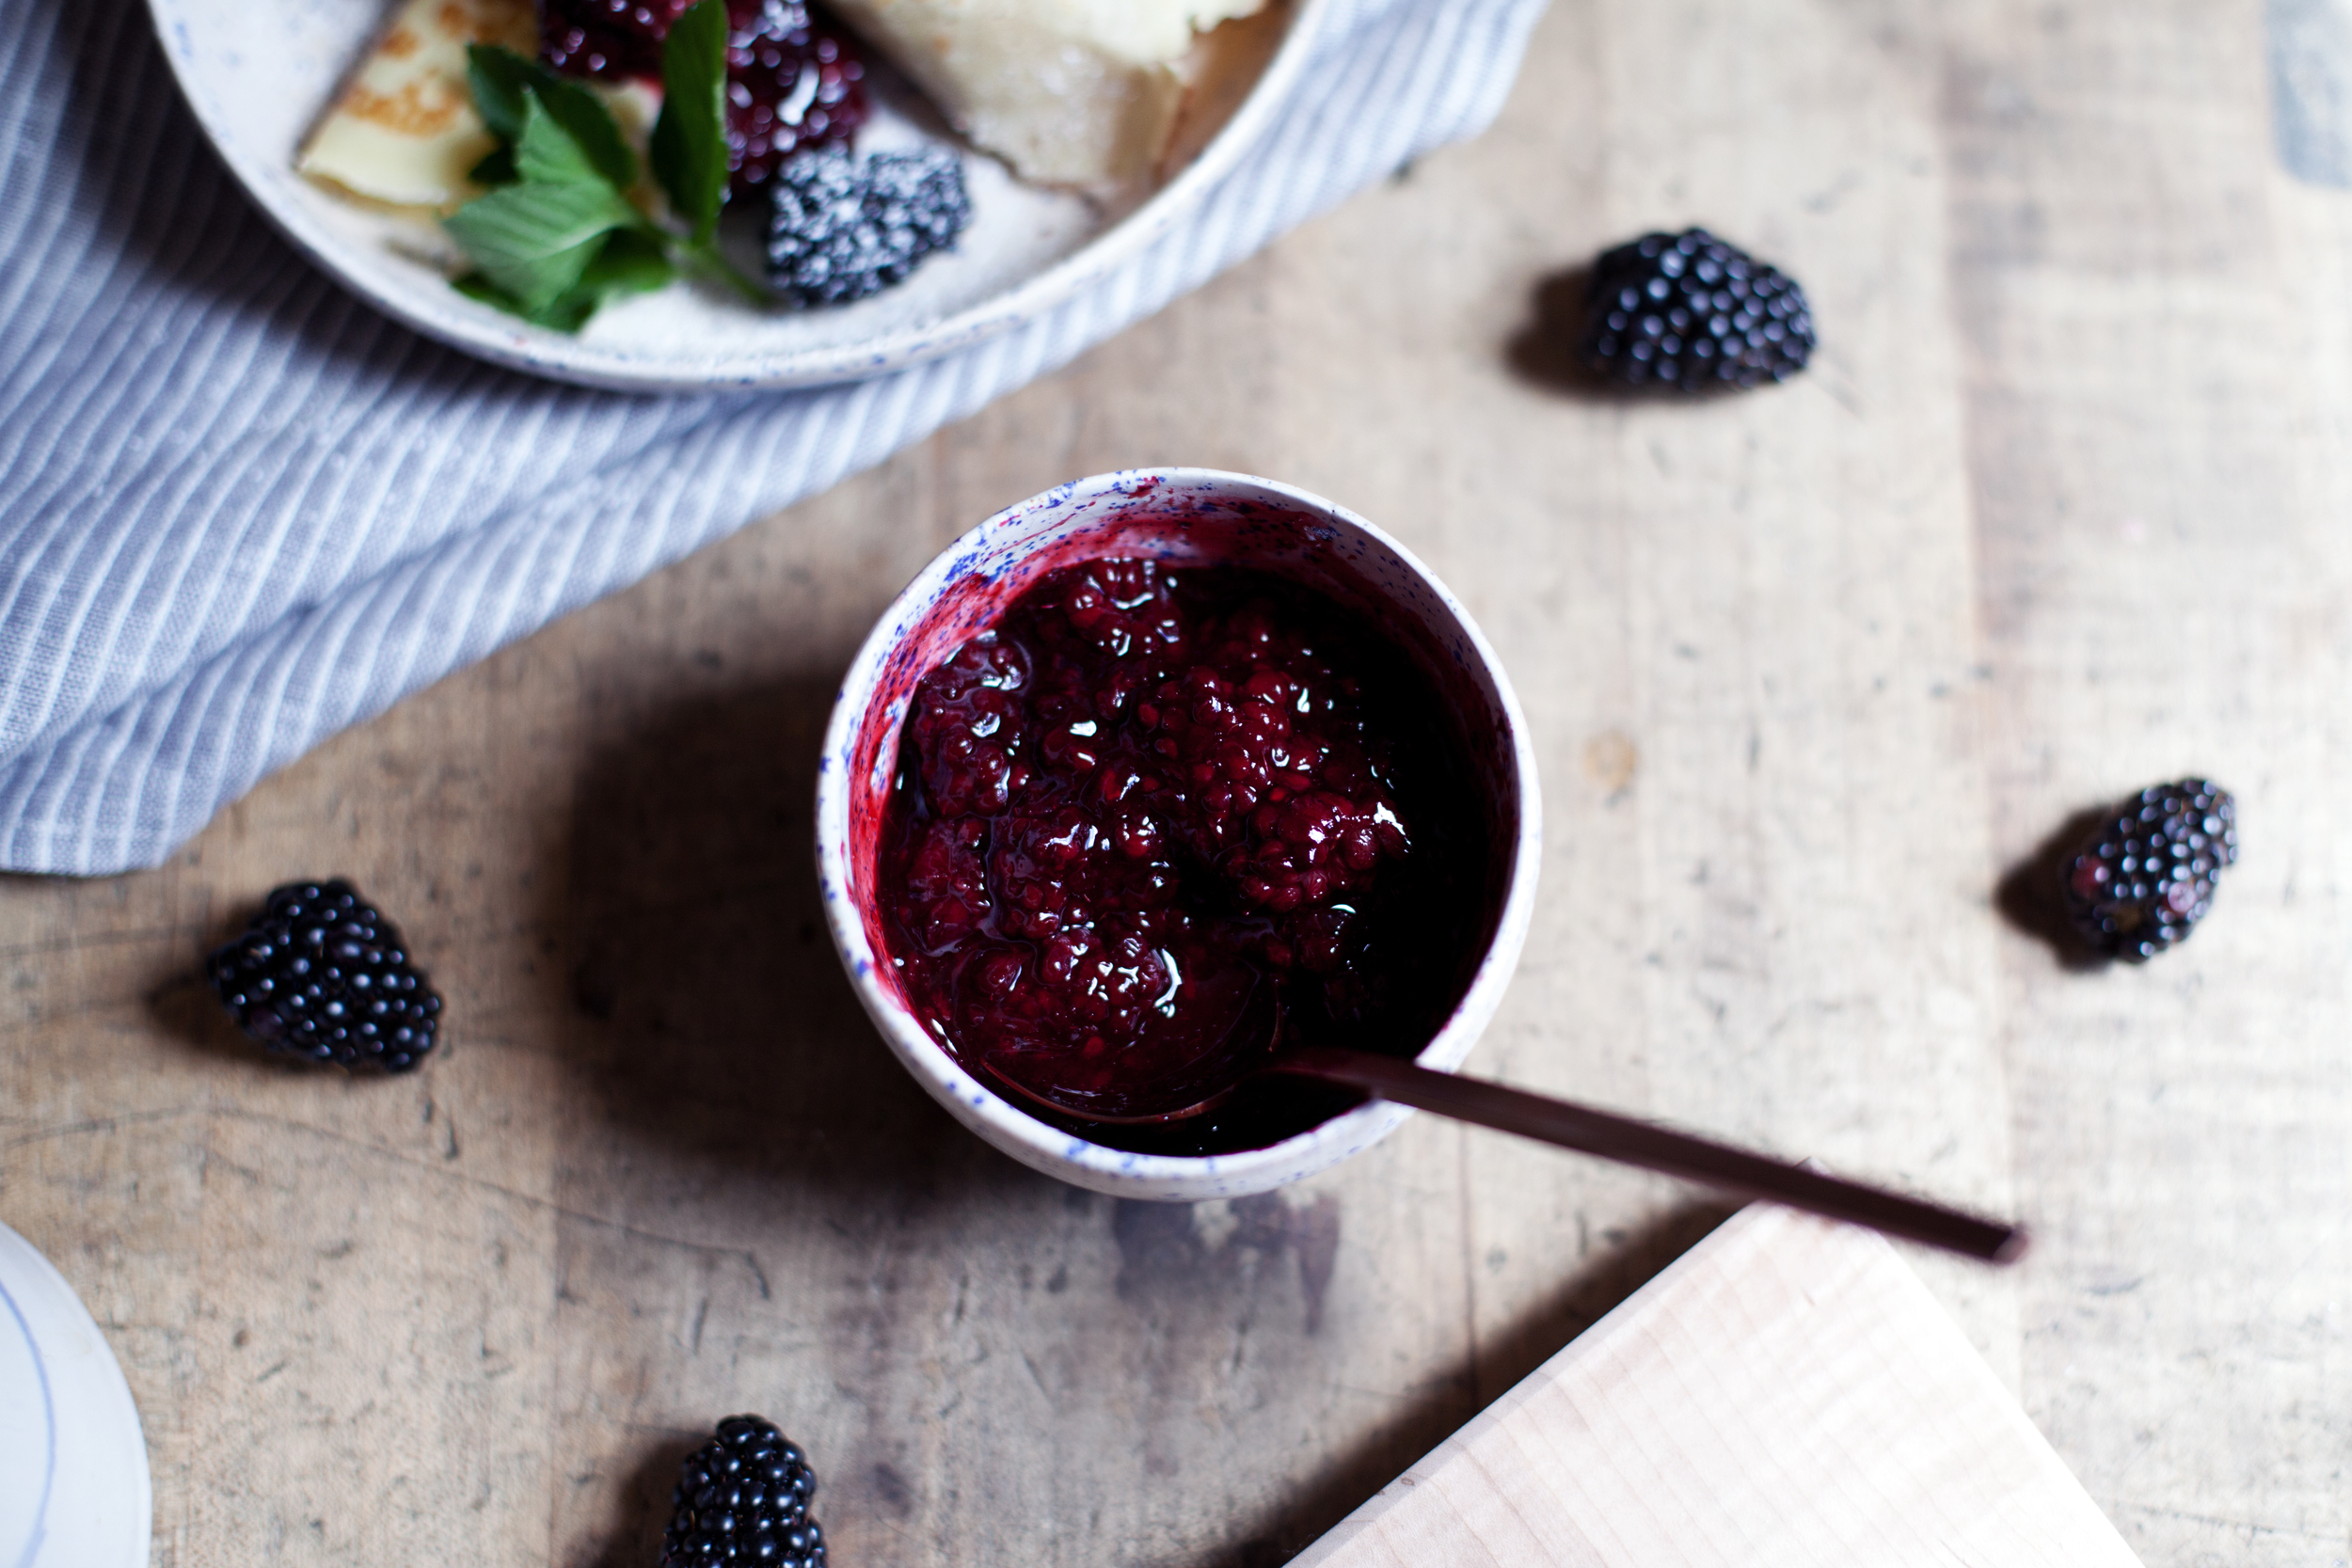
- in a saucepan add the blackberries, sugar, lemon juice, corn starch & water. toss to coat.
- cook on medium low heat until the blackberries begin to melt & burst open. i used a fork to smash them up a bit.
- let simmer for 5 minutes & remove from heat.
- set aside while you prepare the crepes.
for the crepes
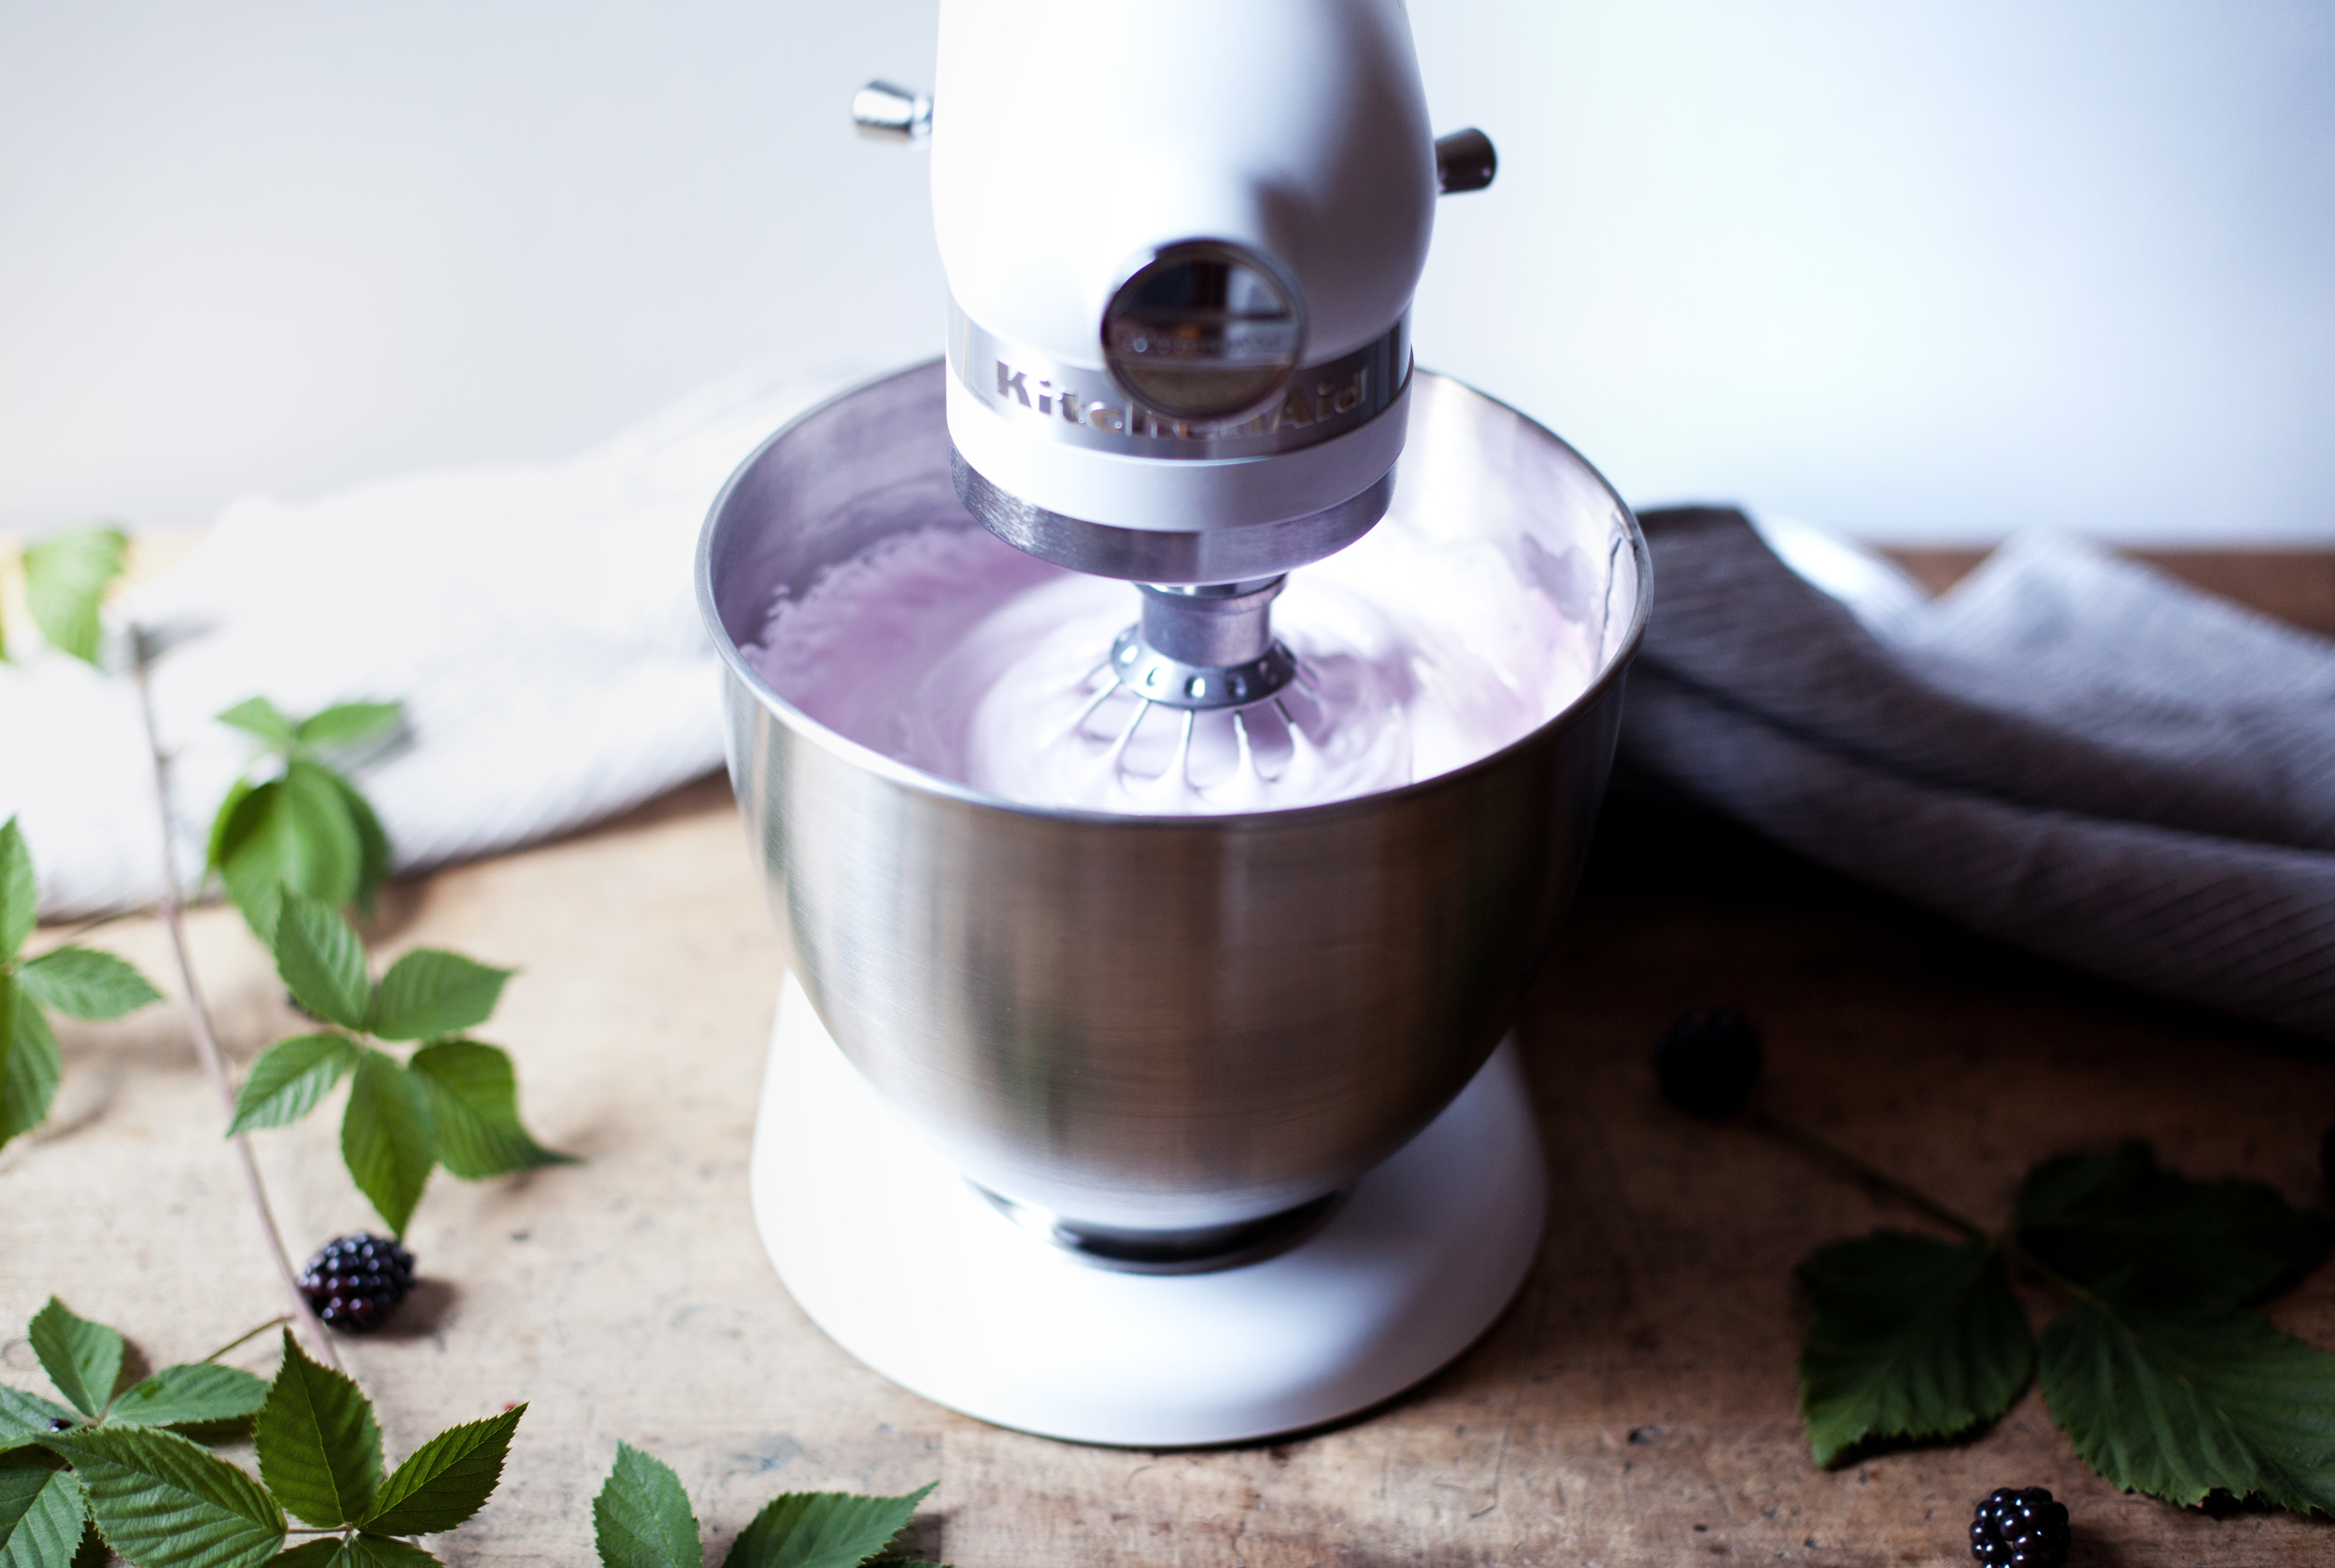
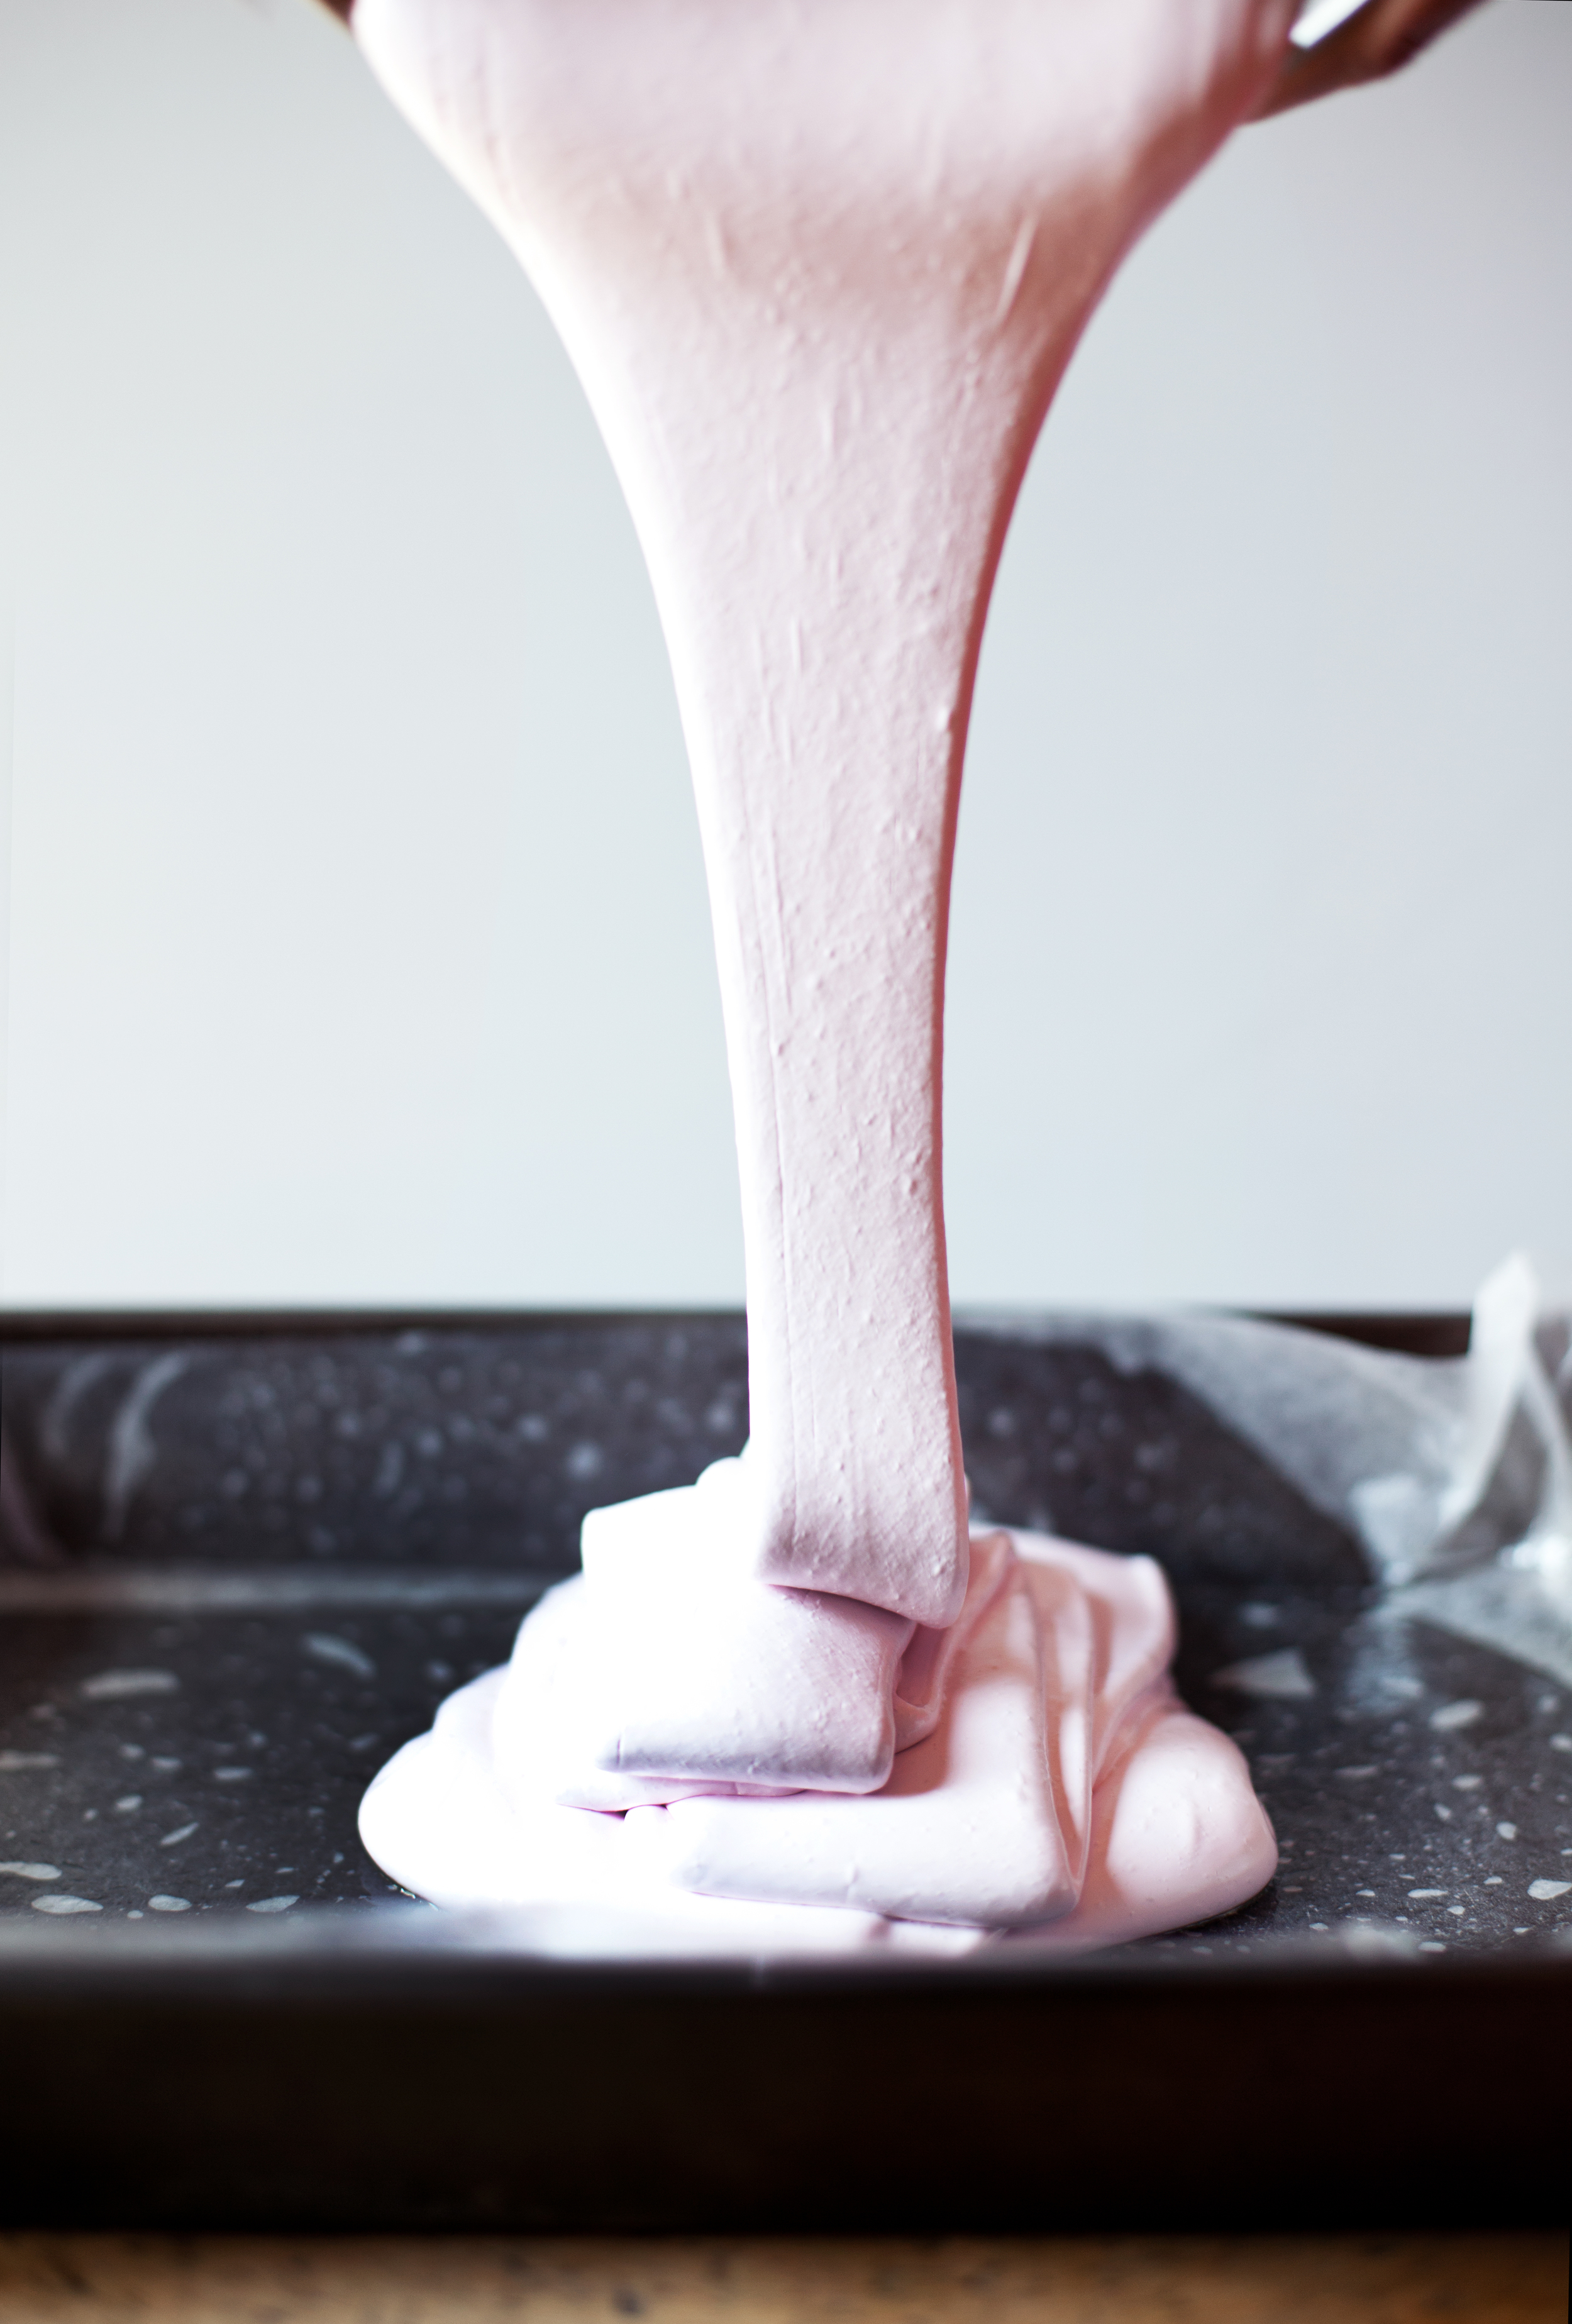
- using a blender or food processor add the flour, sugar, salt, cinnamon, nutmeg, vanilla, milk, eggs & butter. blend until a smooth batter is formed. let rest for 30 minutes at room temperature.
- once batter has rested, heat crepe pan over medium heat. adding a touch of butter per crepe, scoop 1/3 cup of batter into the pan & swirl around until a very thin pancake has formed. cook for 1-2 minutes per side. repeat until no batter remains.
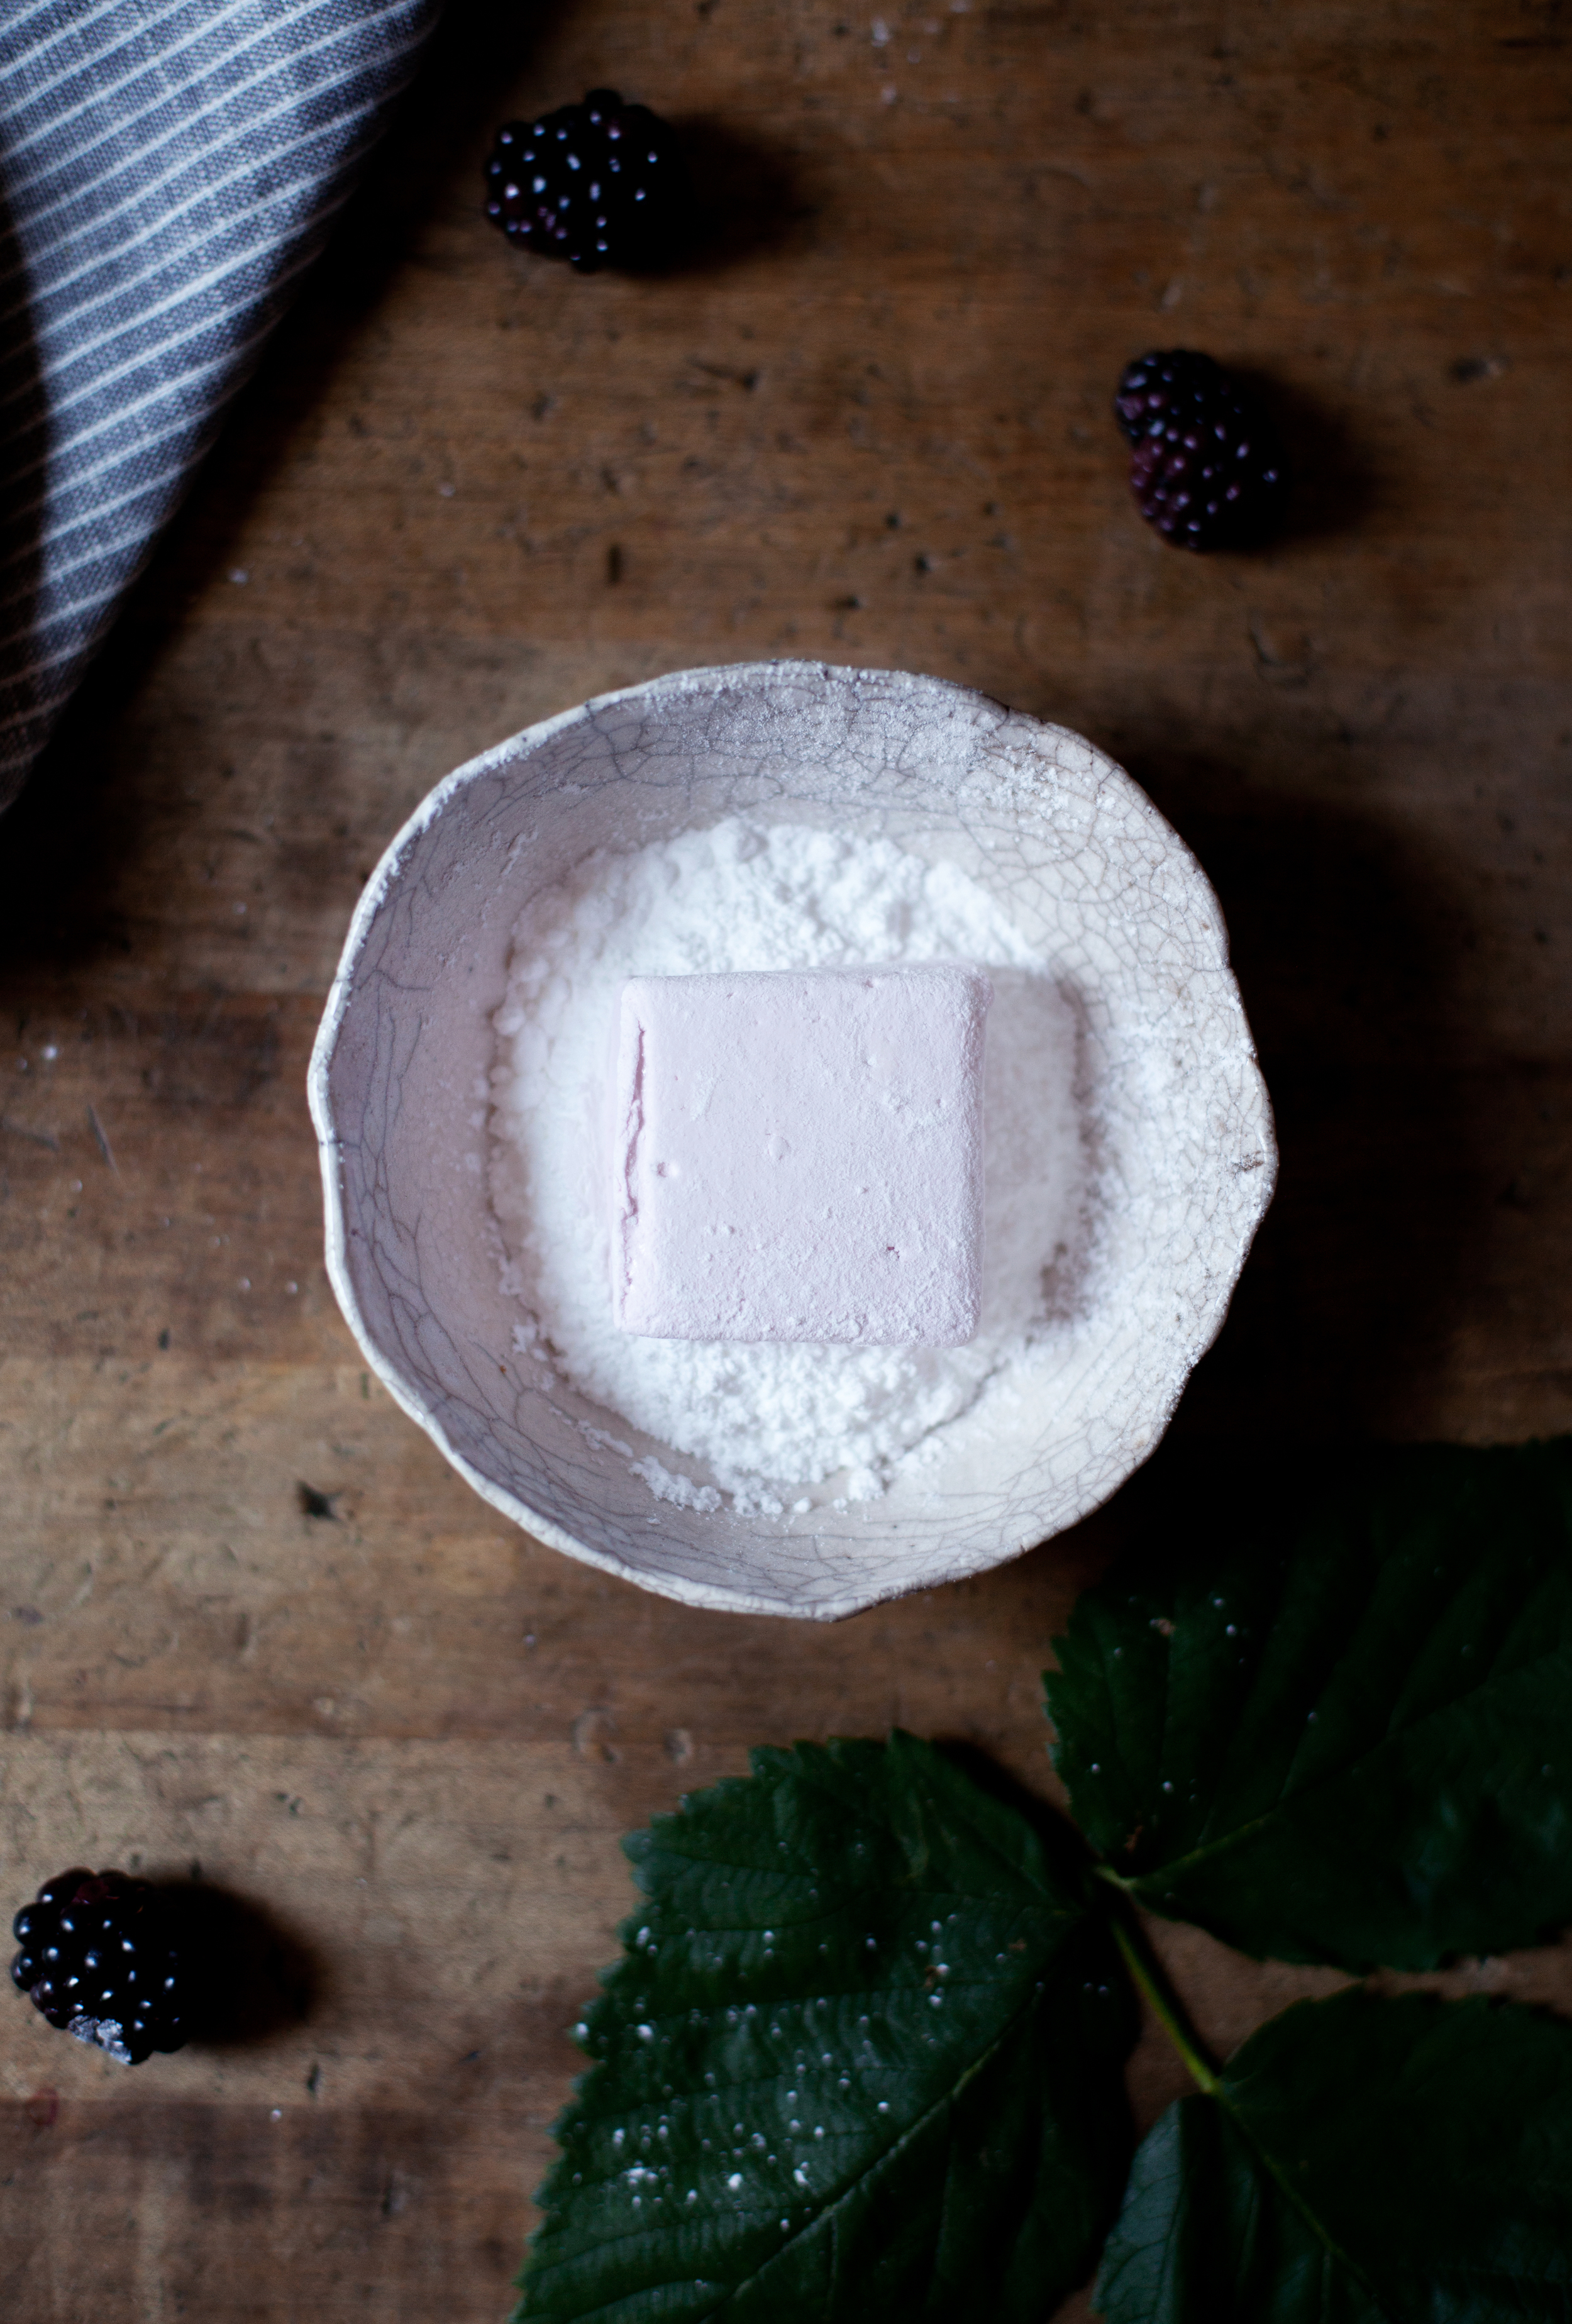
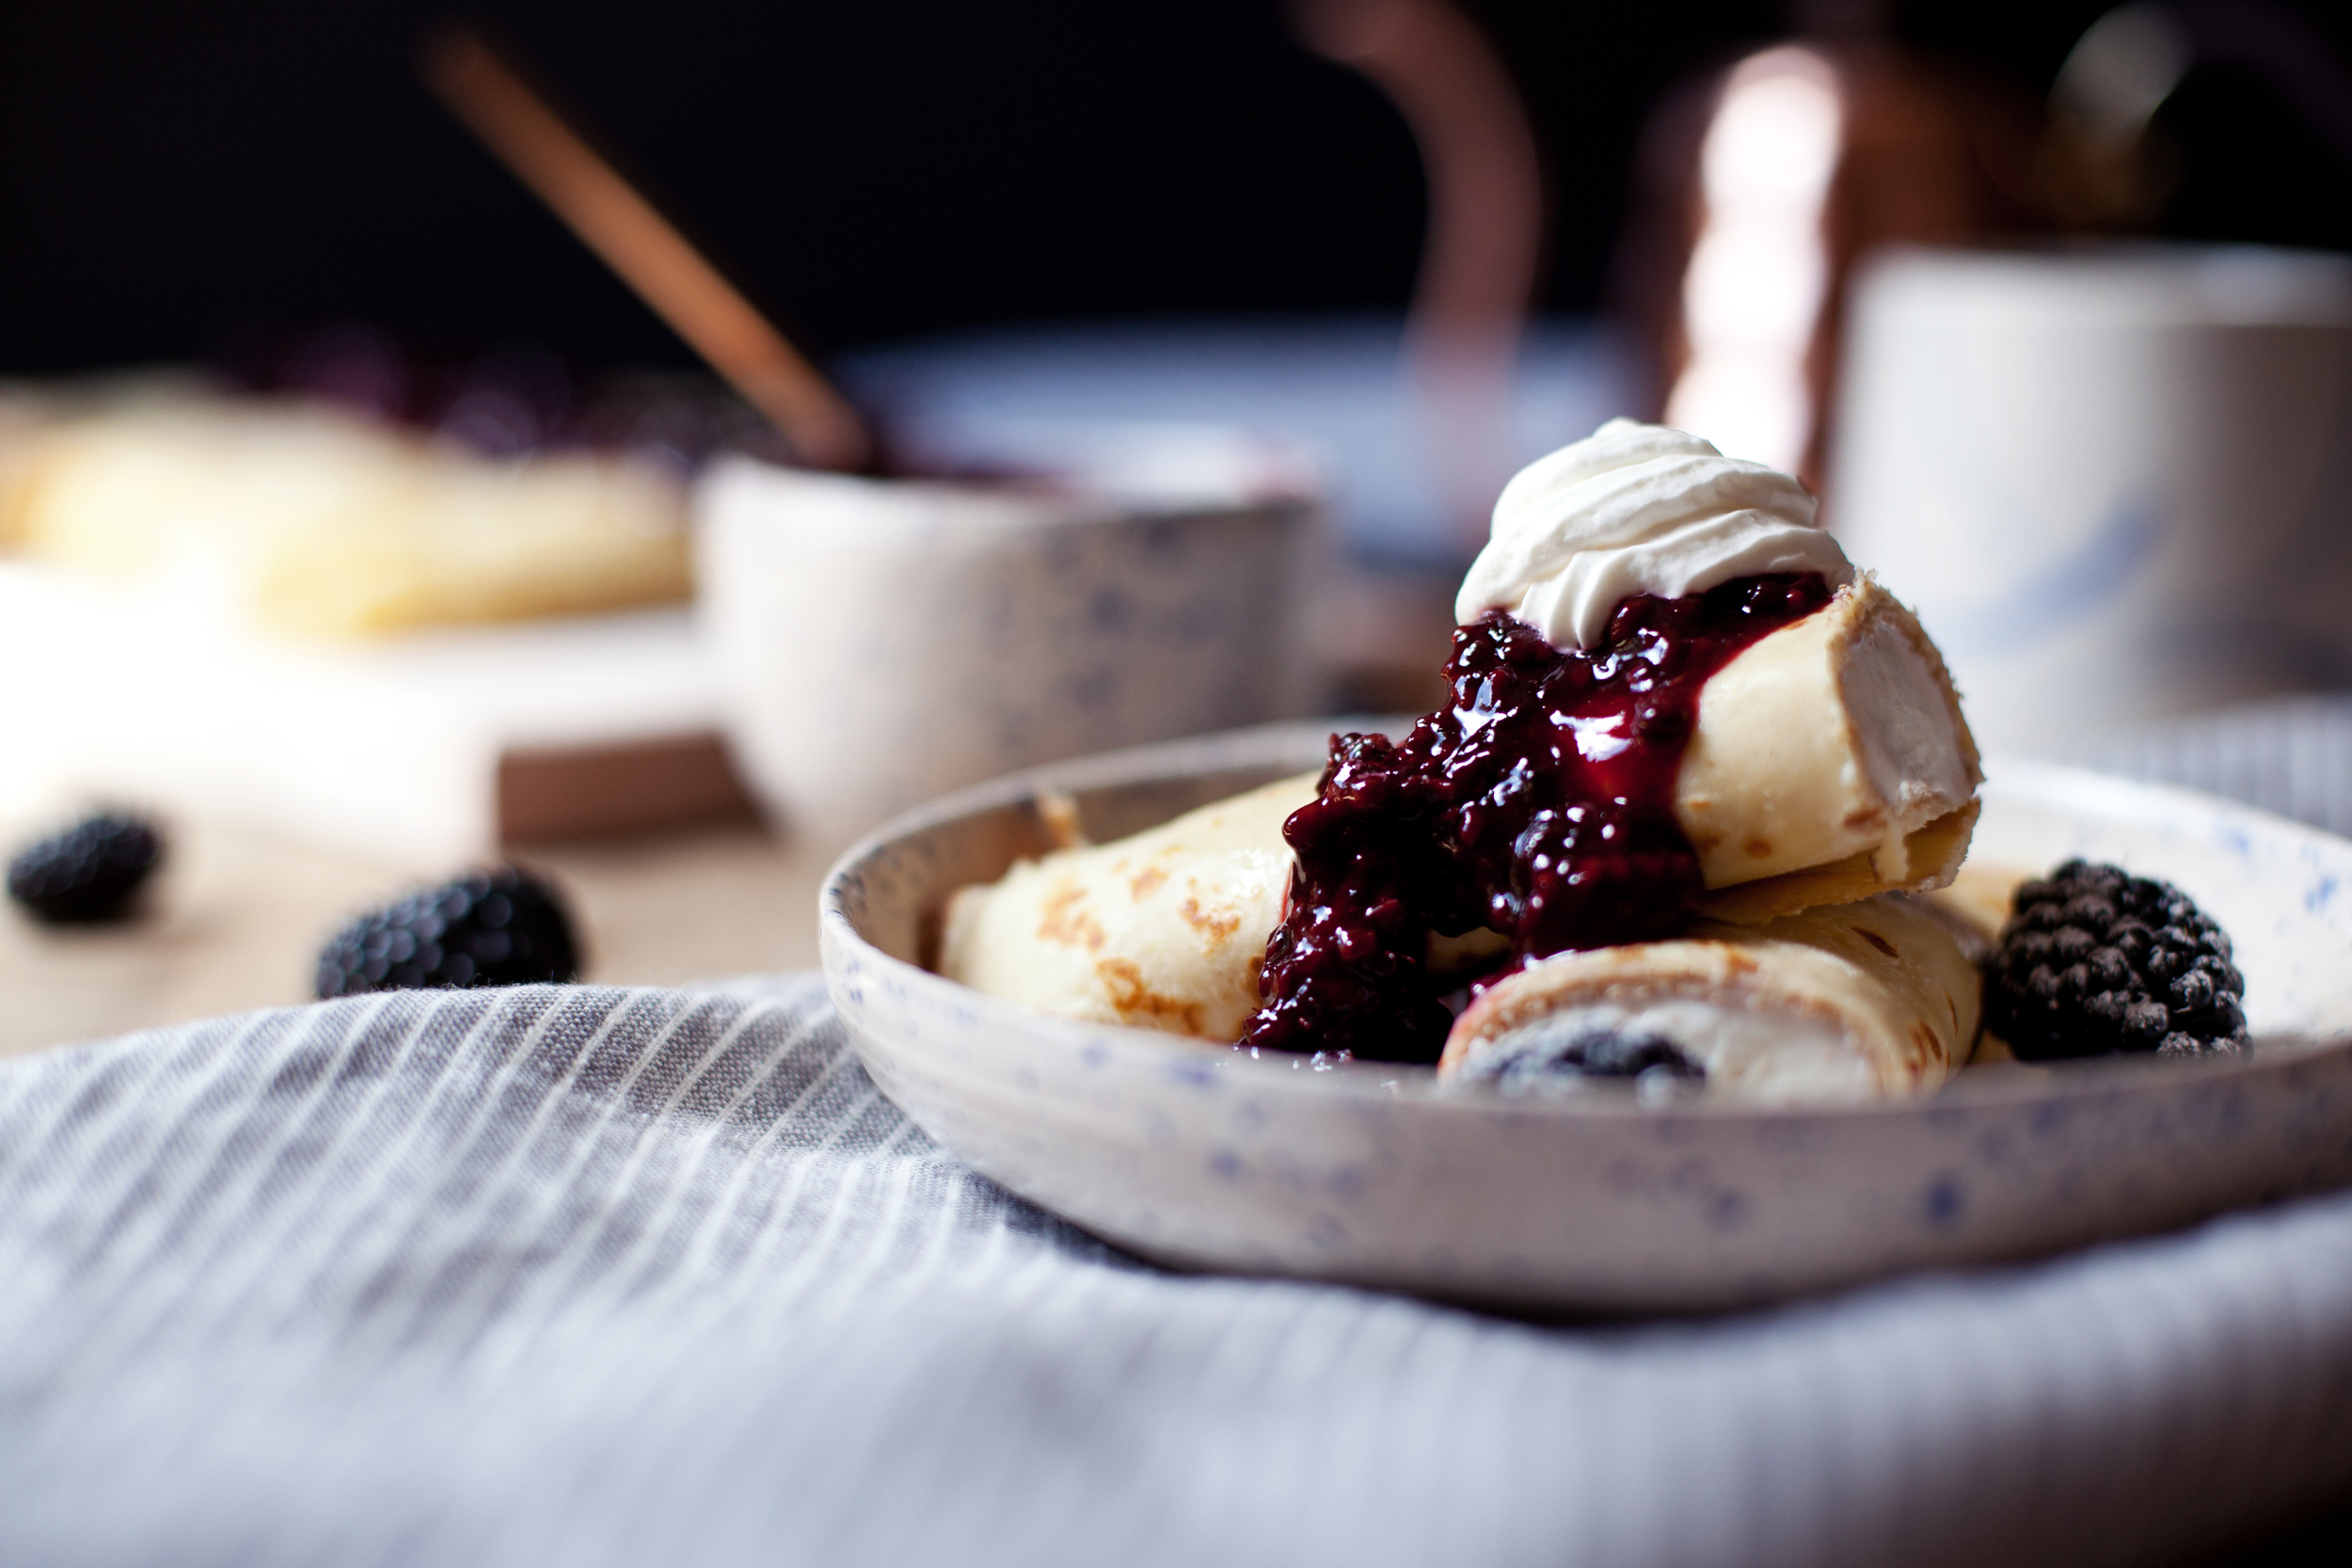
- add a scoop of ice cream to each crepe & roll tightly. the ice cream will dispurse throughout the crepe as you roll.
- place in the freezer for 15 minutes to allow the ice cream to firm back up.
- top with blackberry sauce, powdered sugar & whipped cream.
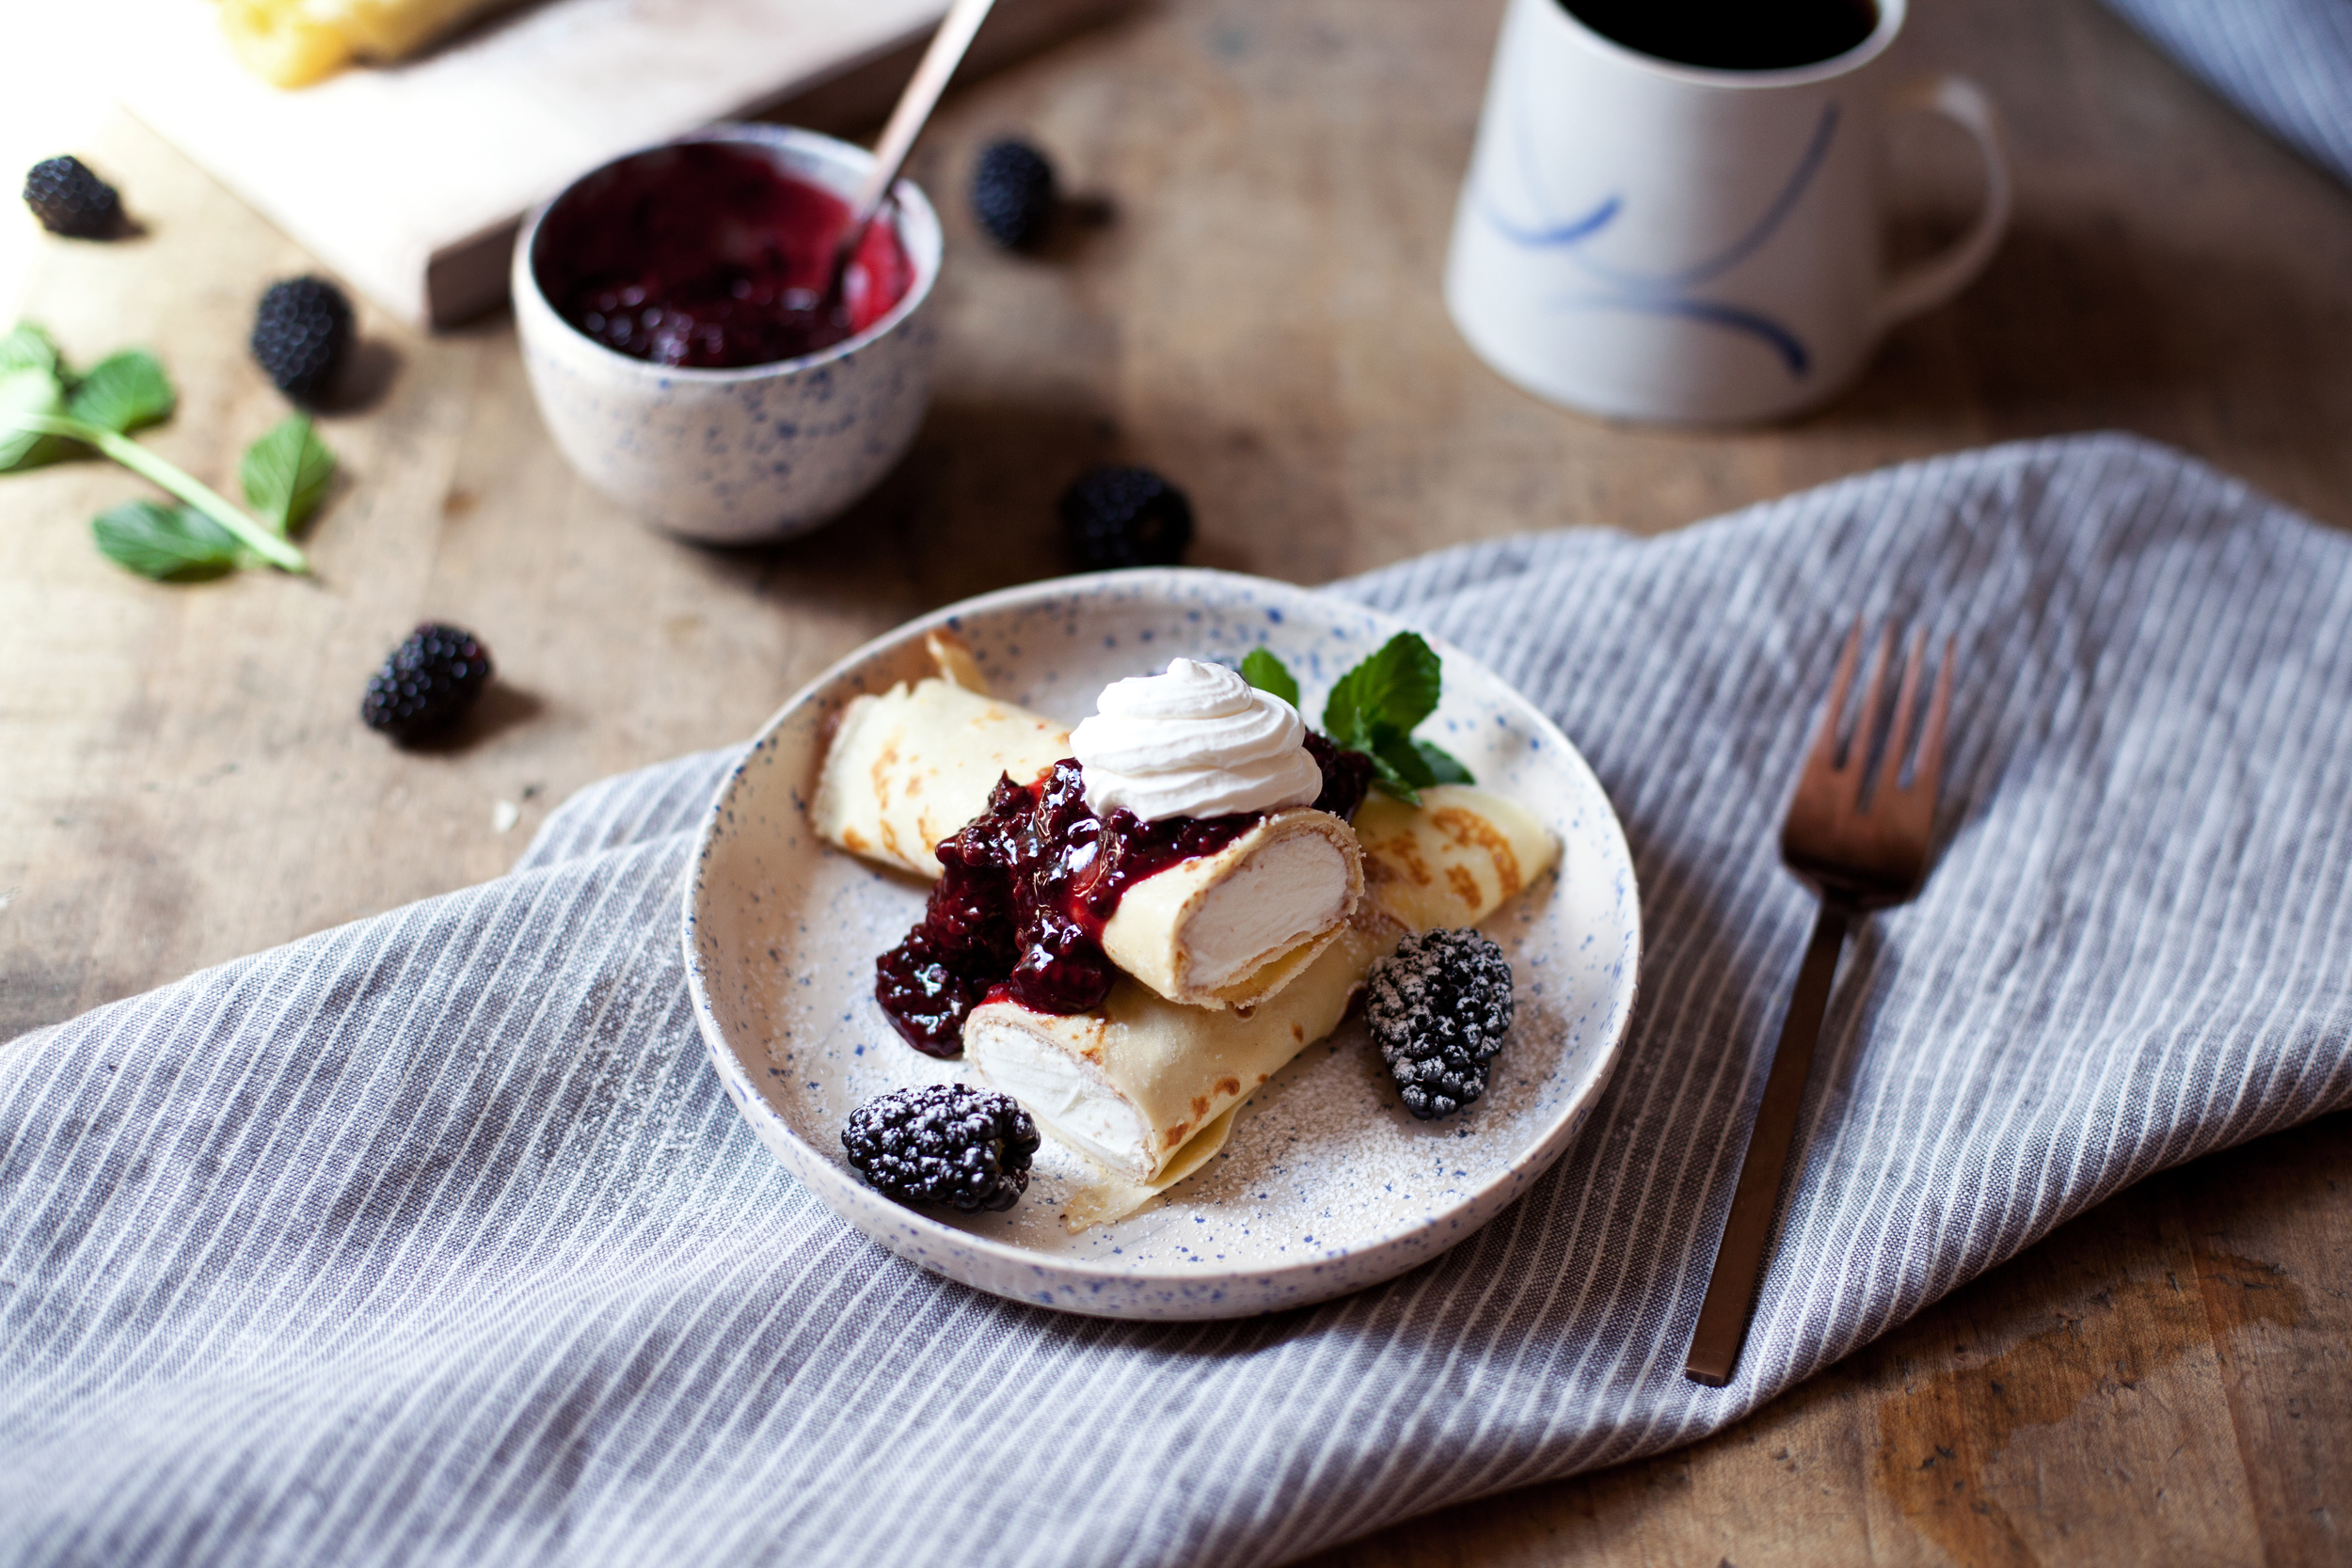
like what you see? get it here. crepe pan | bowl | mug | linens | sweet gum scoop | plate | flatware | copper pan | copper kettle