chocolate halloween mummy cupcakes


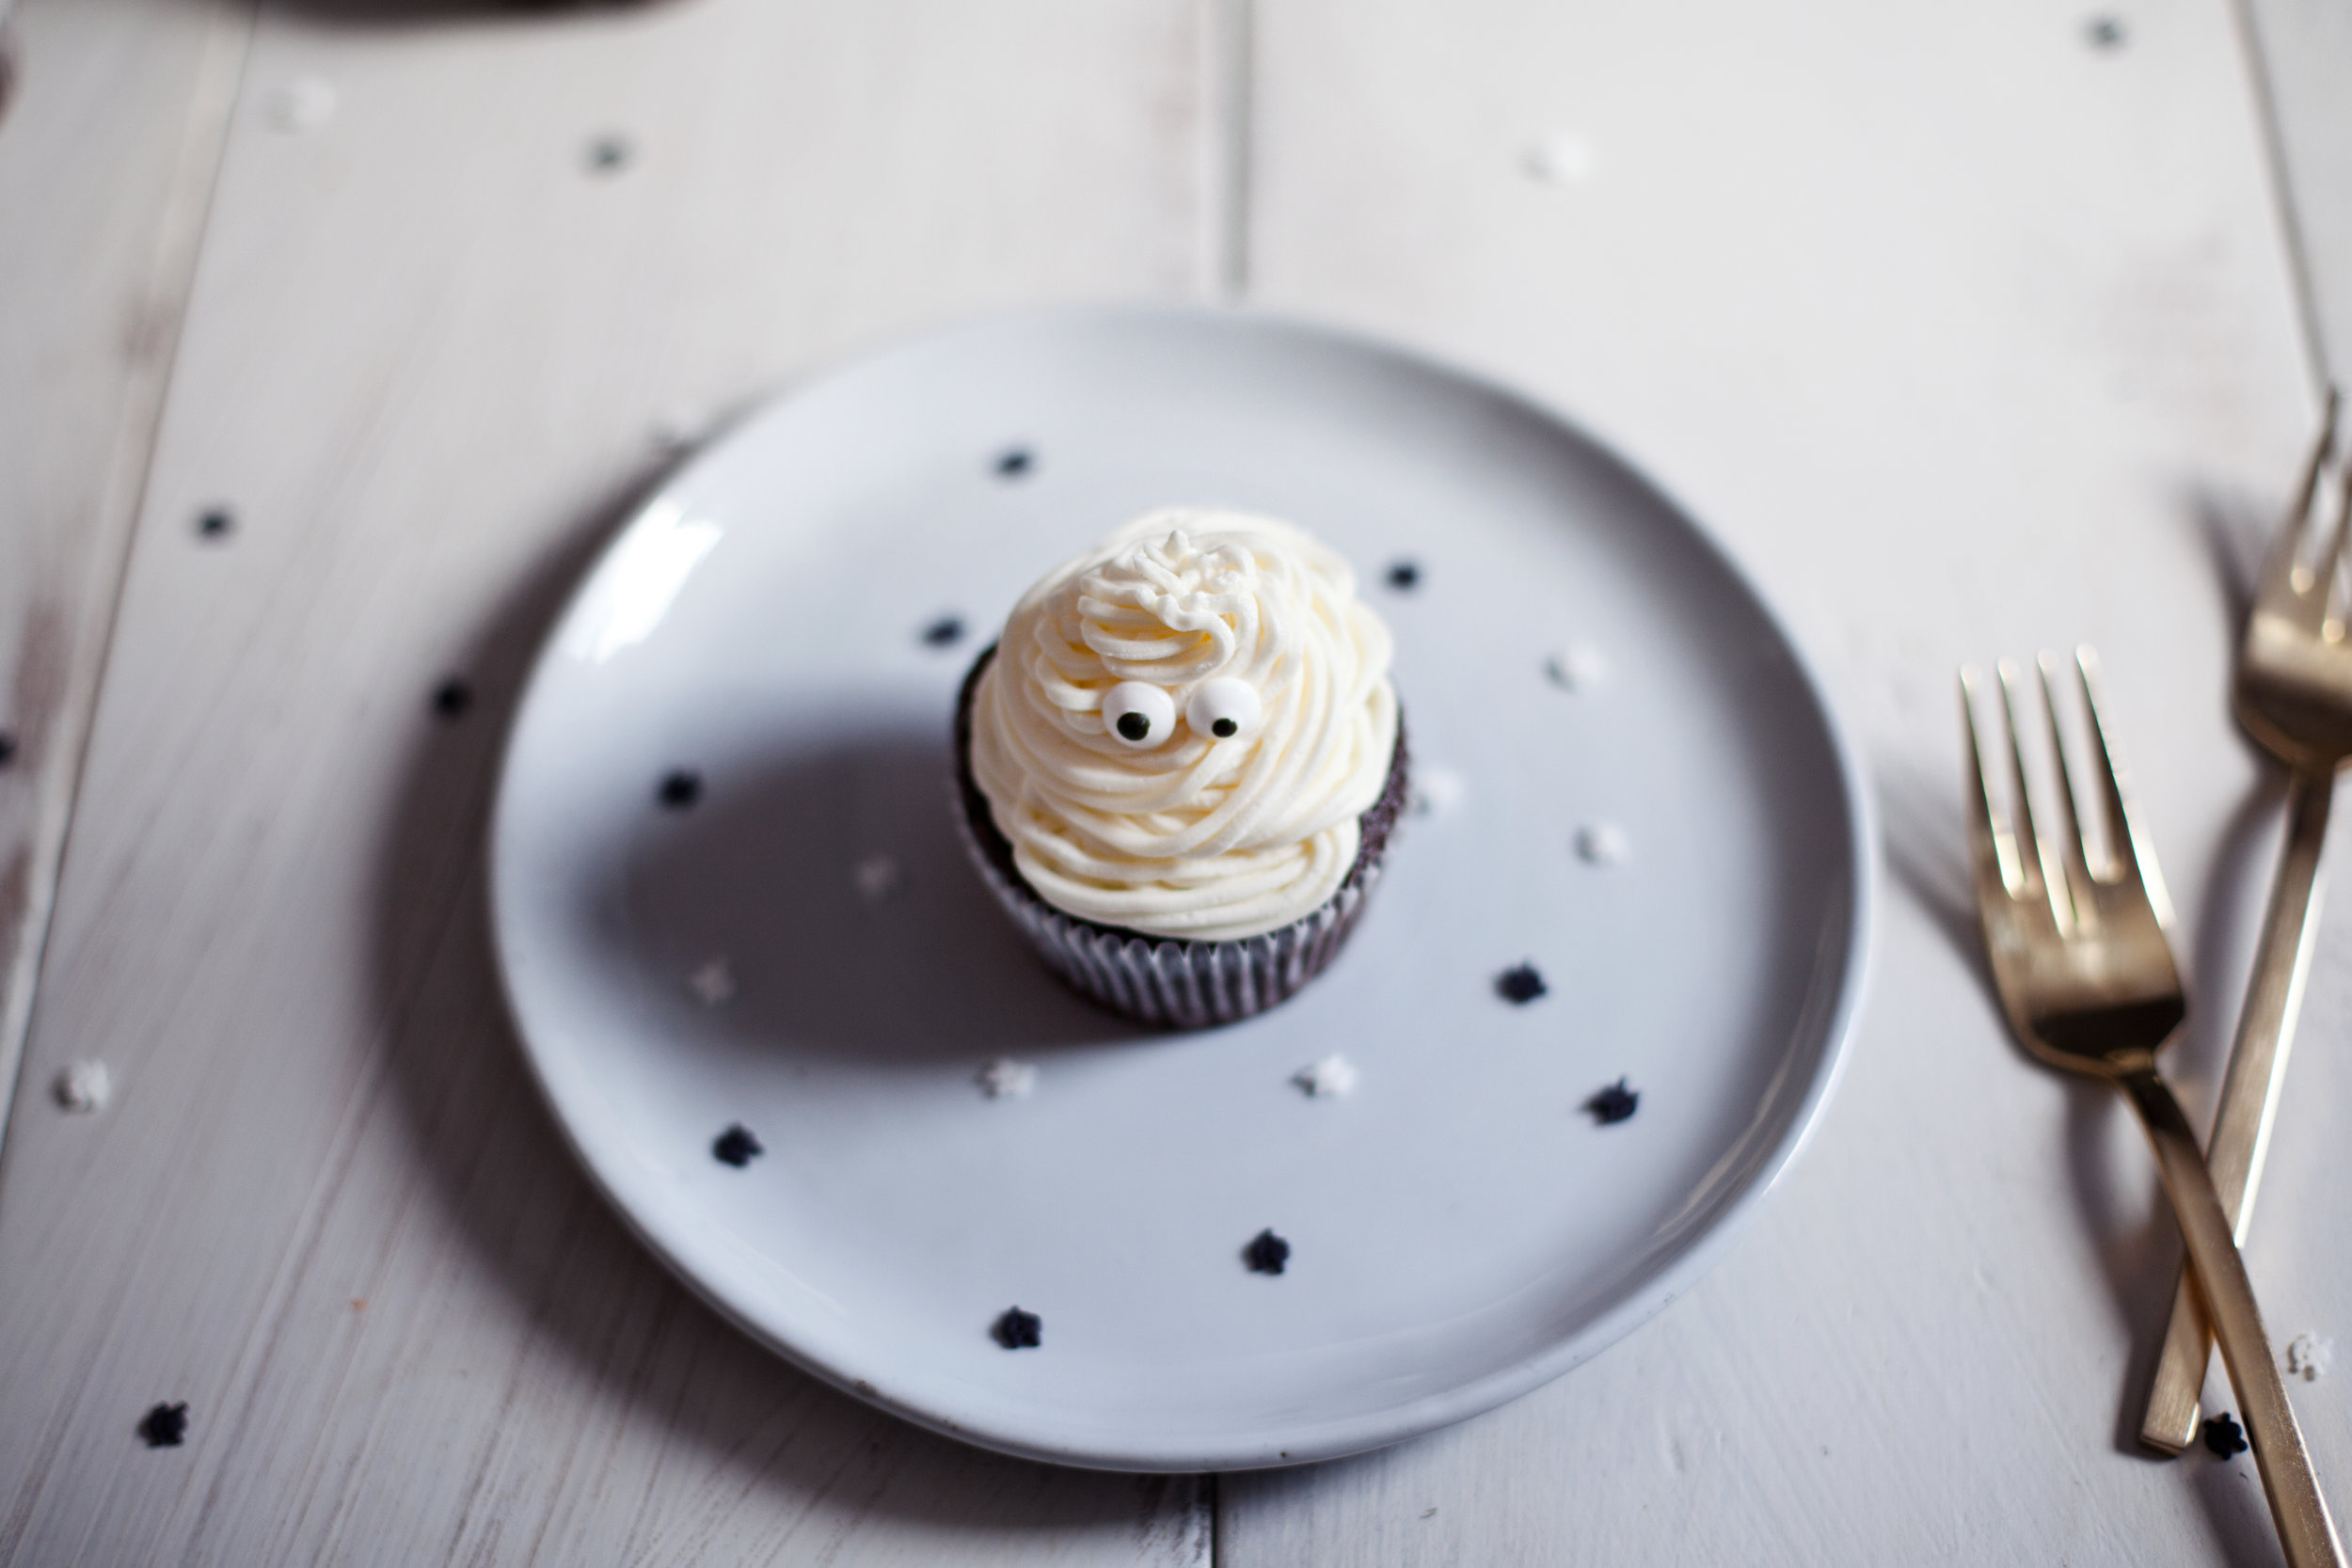
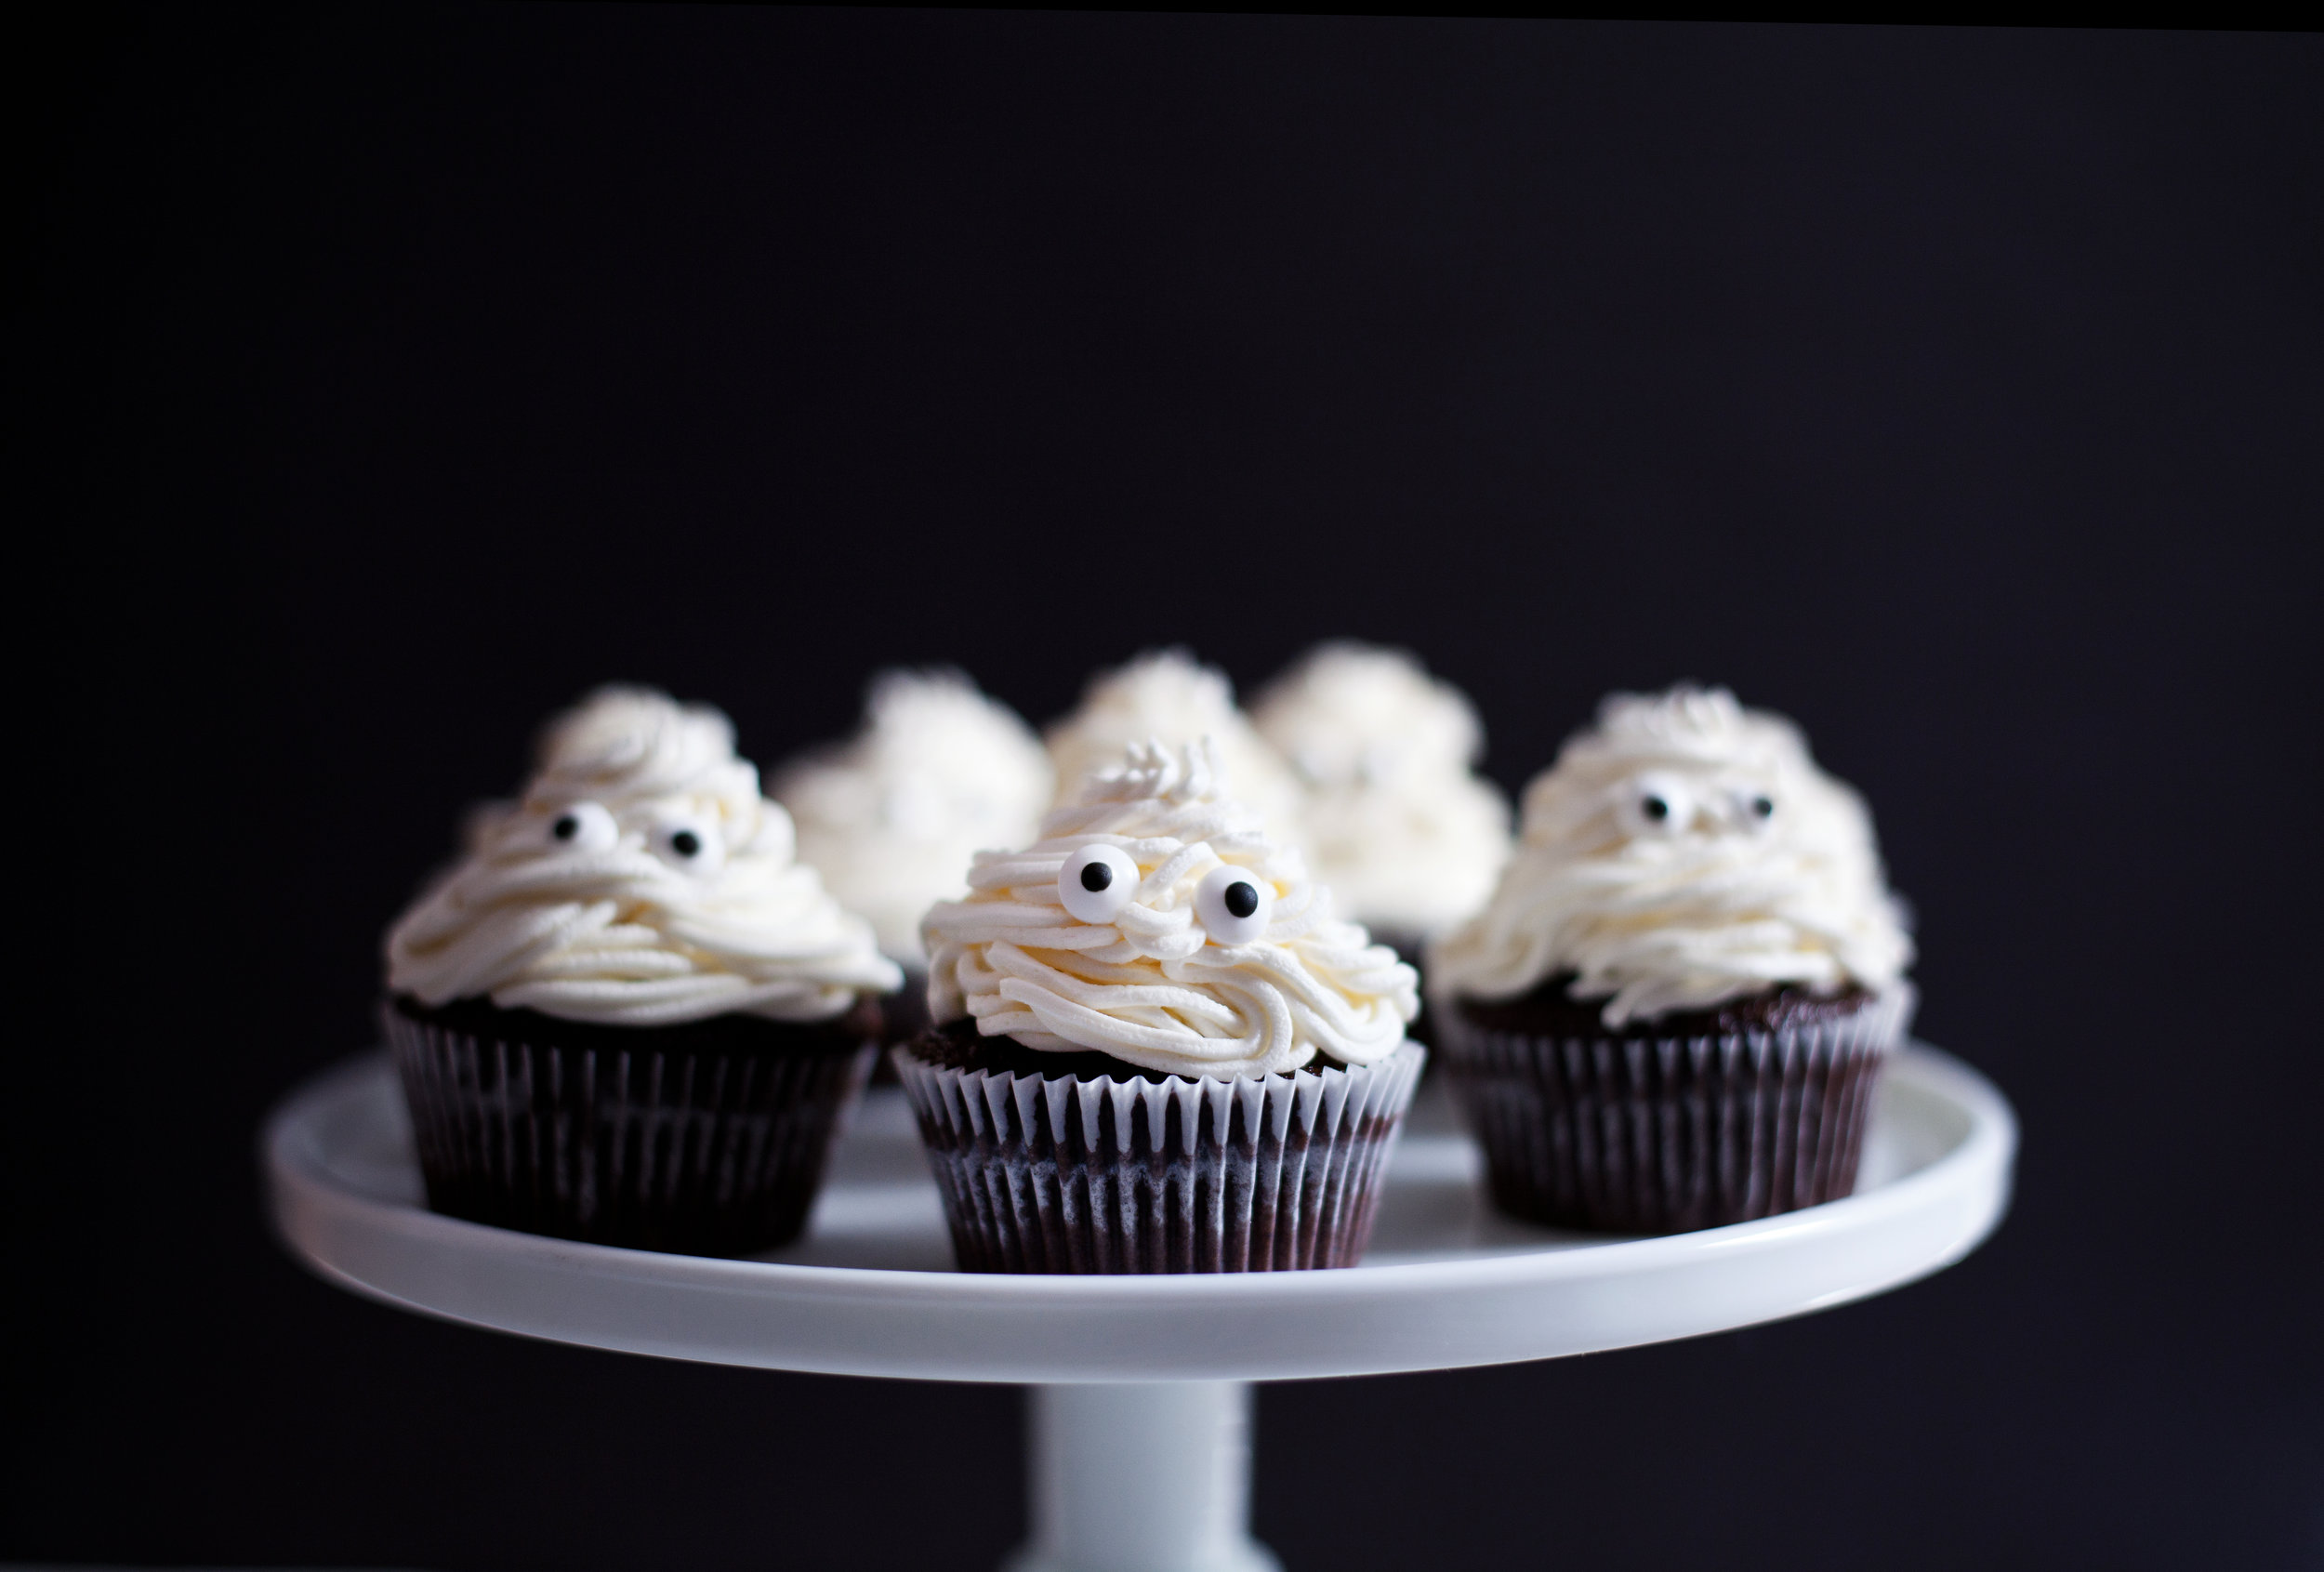
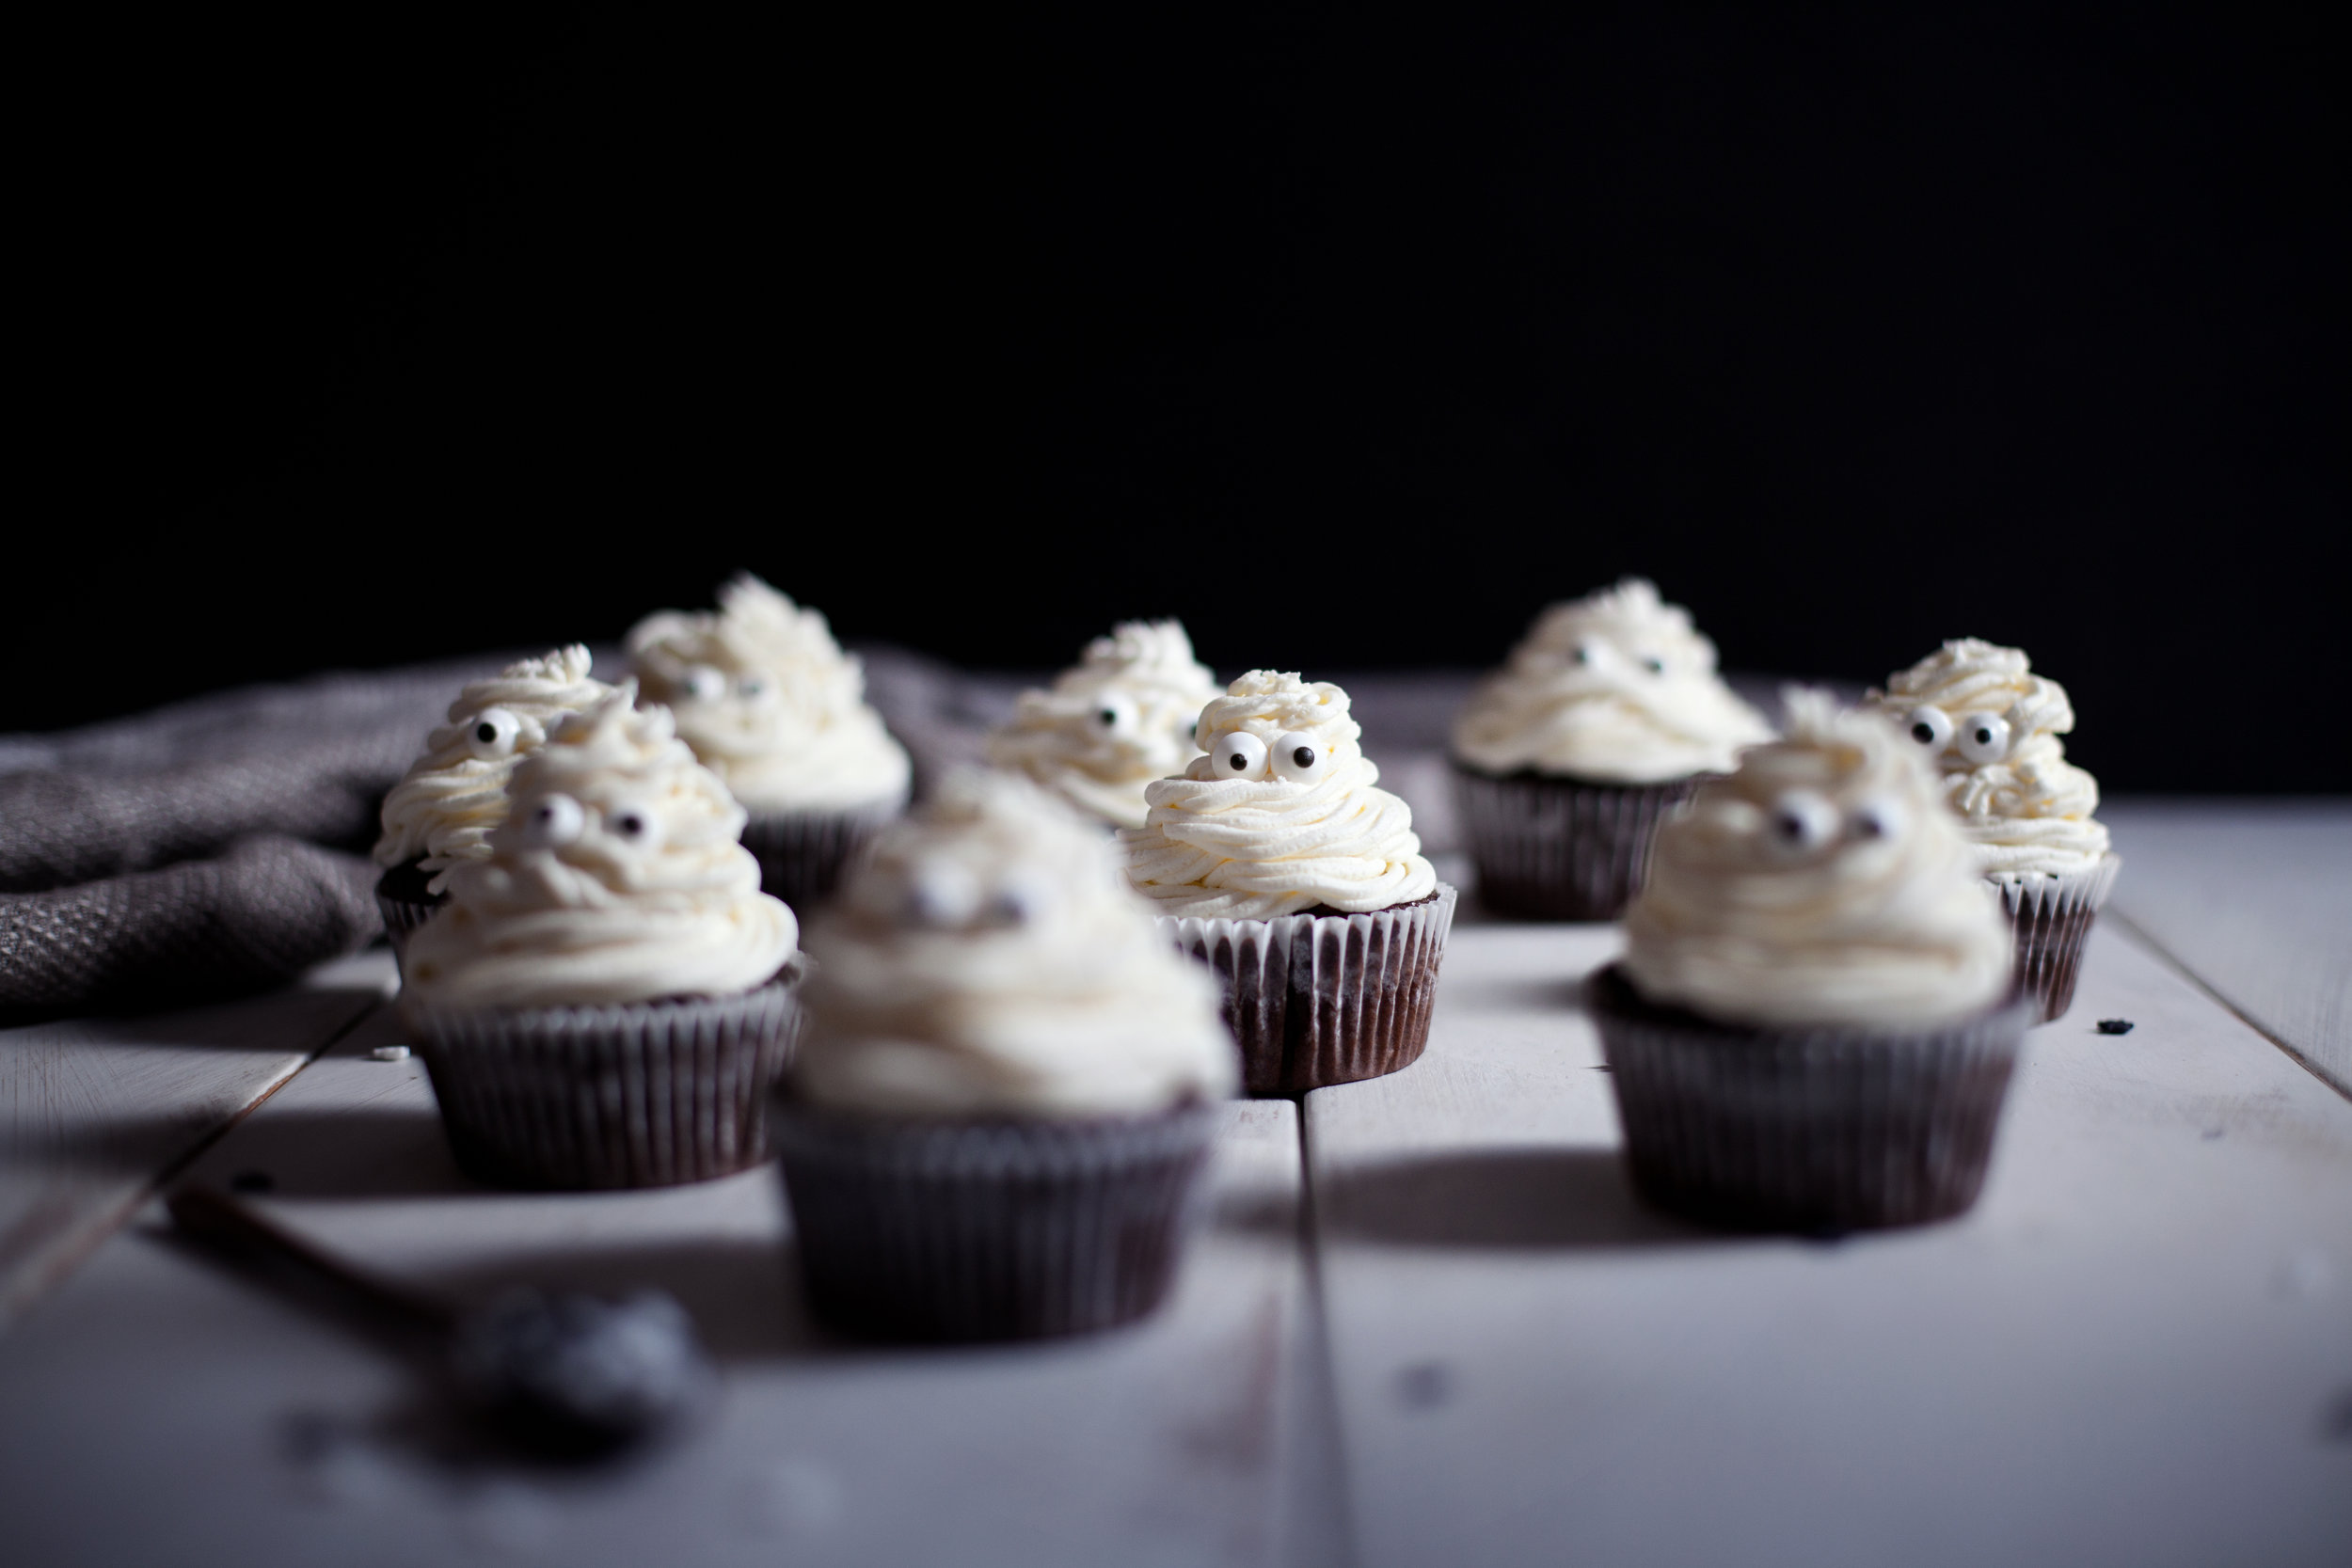
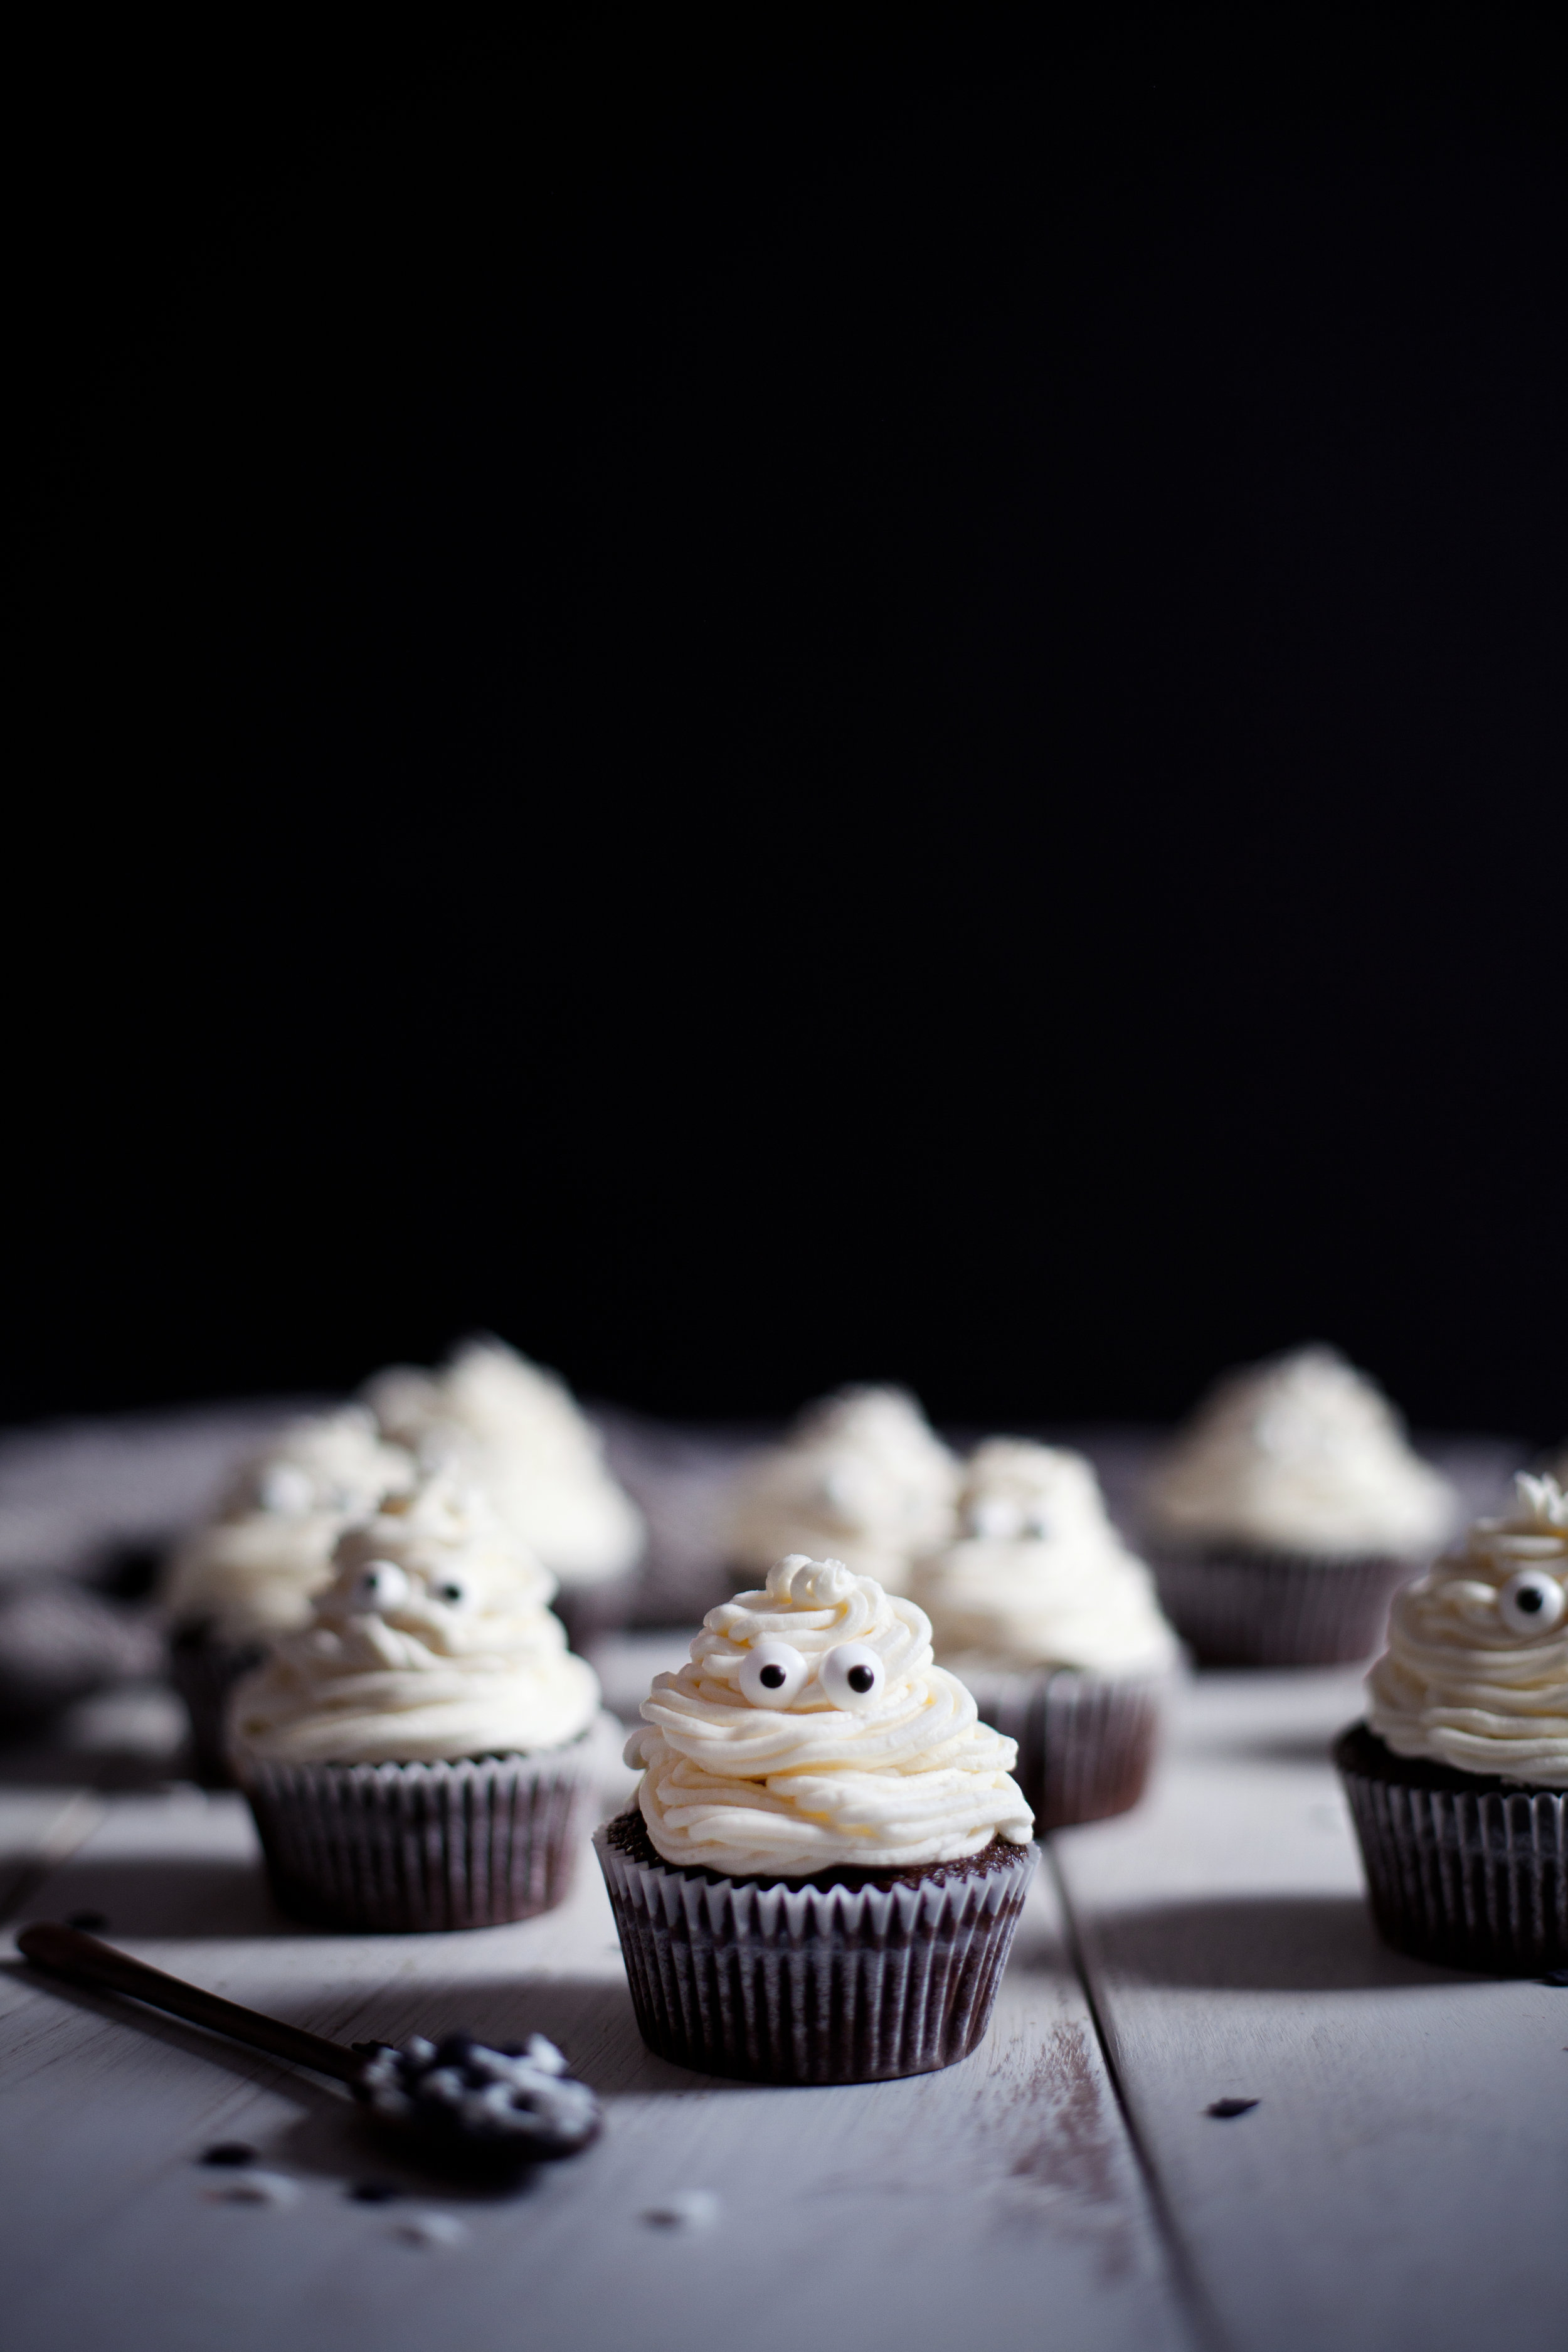
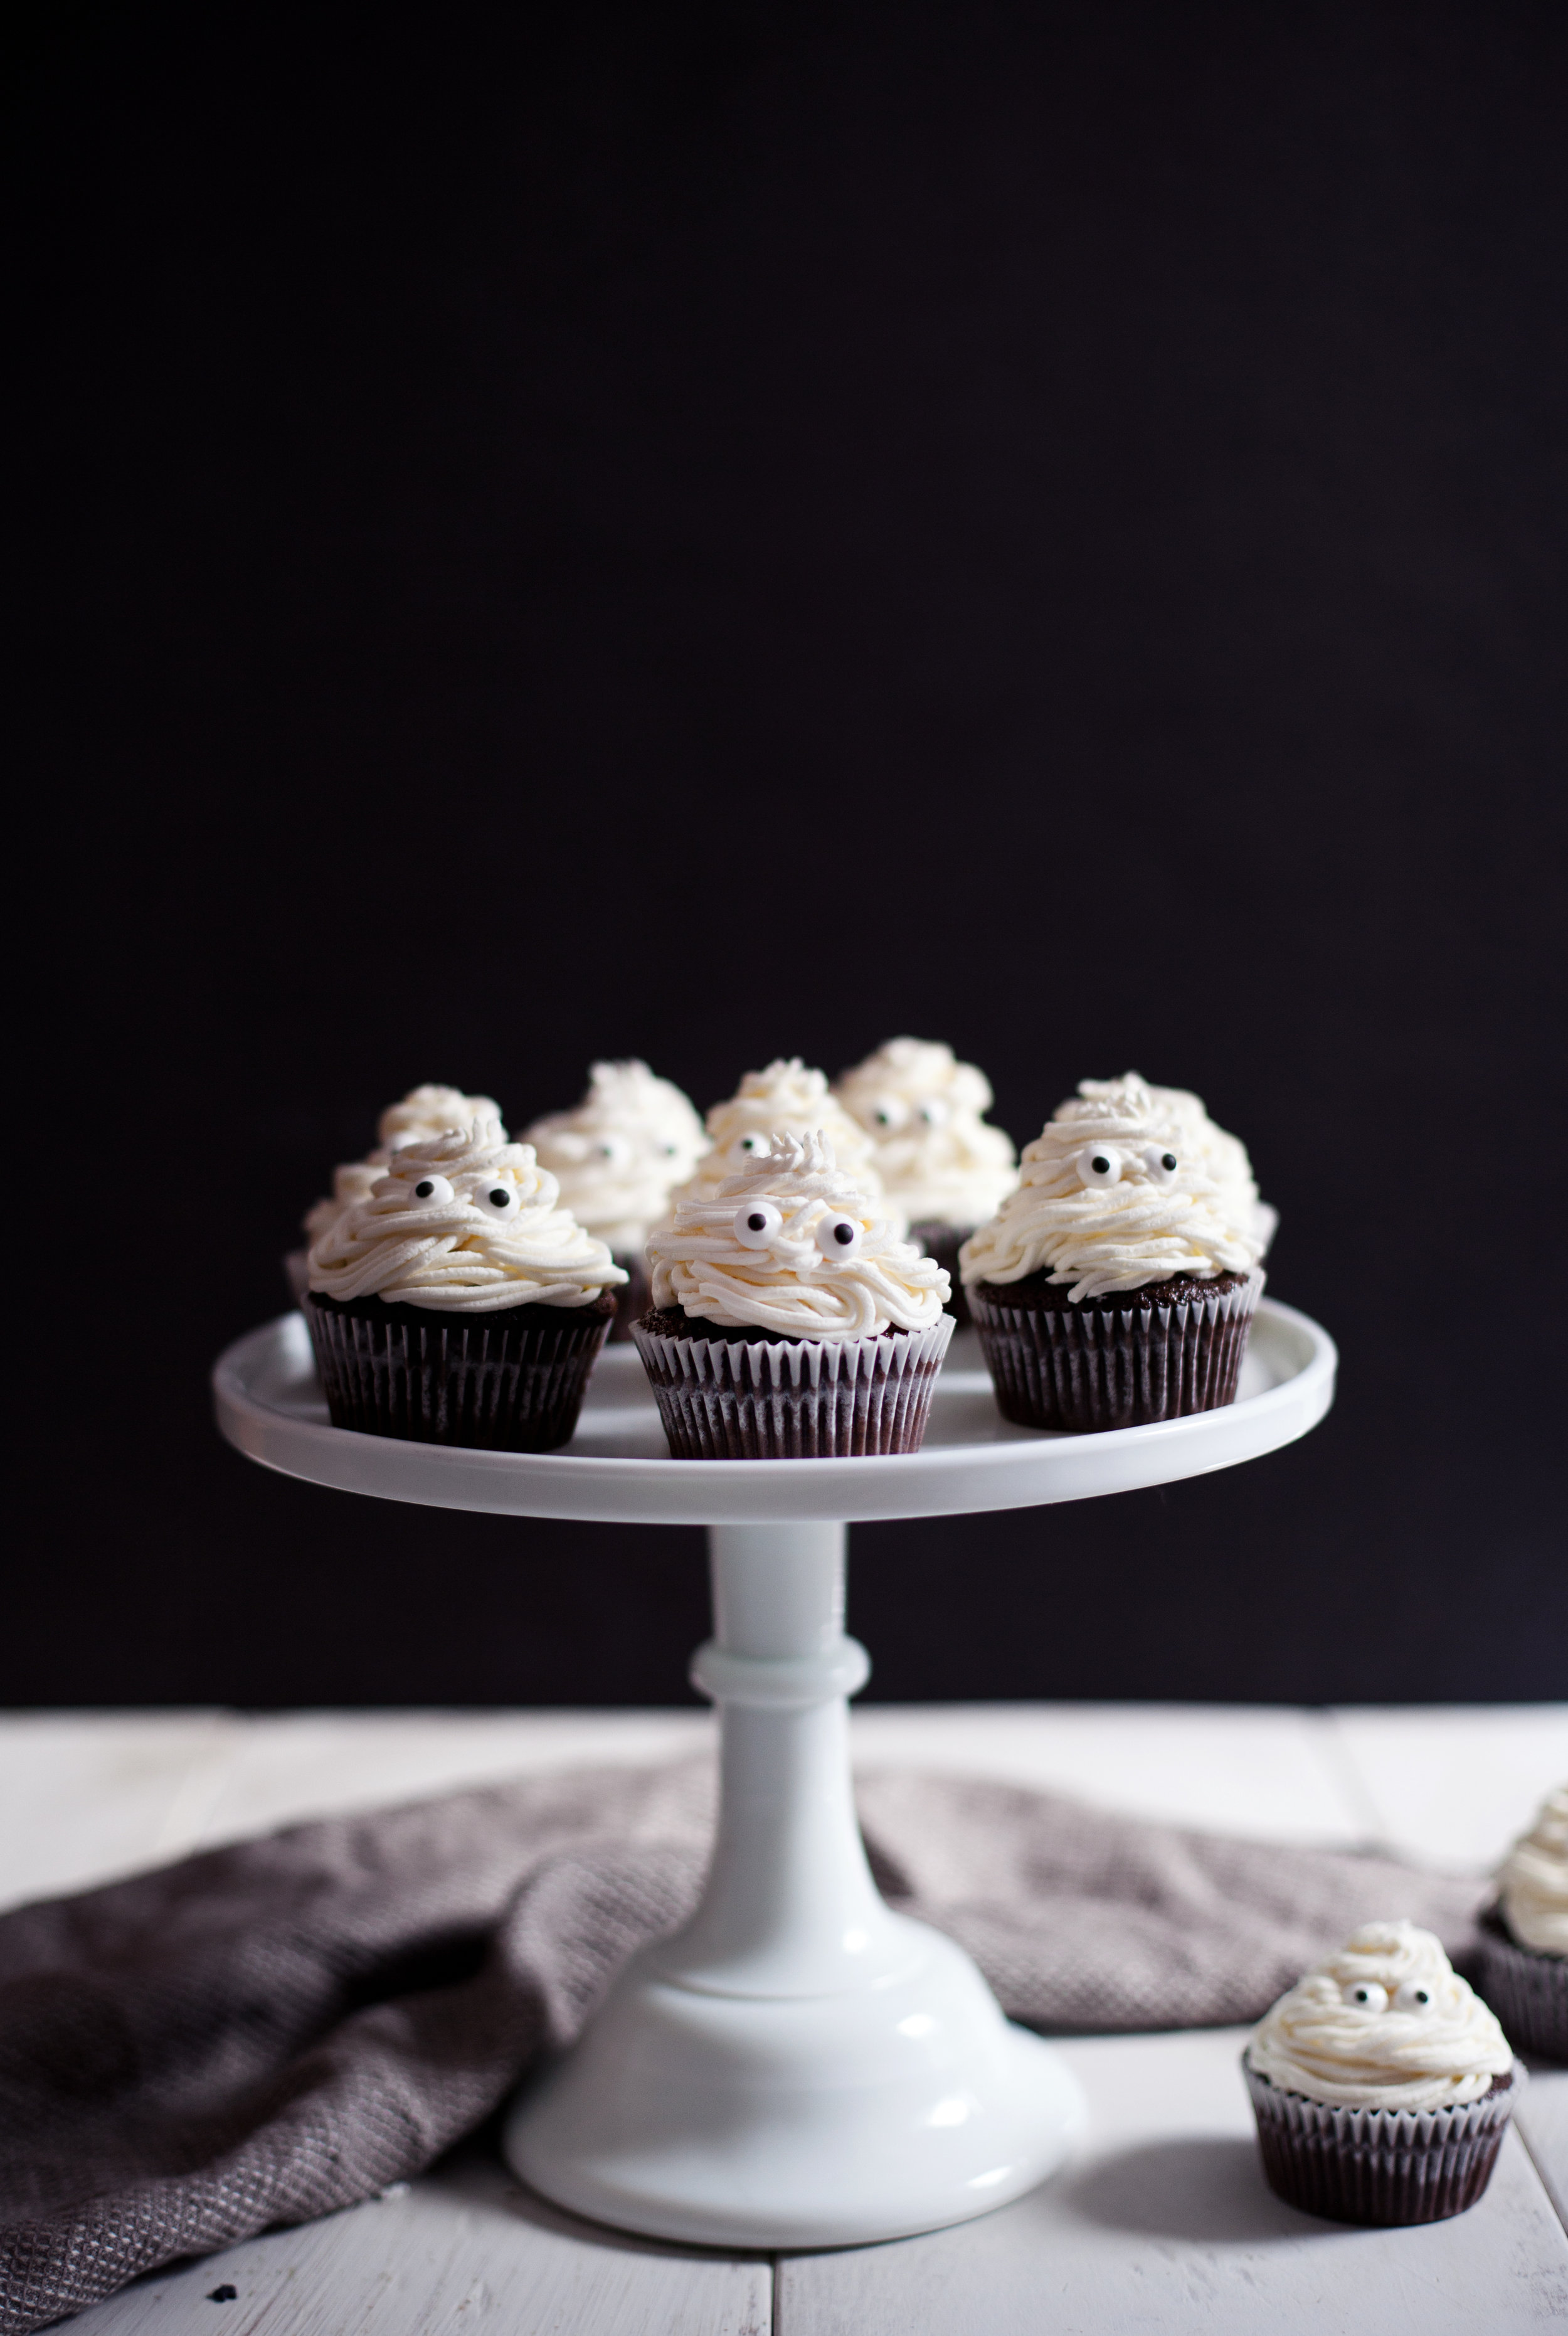
happy hallow's eve!!! because you are never to old to celebrate halloween, i made some chocolate MUMMY cupcakes. maybe i got a little carried away with the stop motion GIF, but i found it pretty damn hilarious to shoot. all it needs is some horror movie music in the background while he gets all eaten up. i don't know if these cupcakes are really considered spooky with those little googly.. instead they are cute little mummies!

what is everyone up to this halloween? tomorrow i will be handing out candy at the new house & dressing up as a witch! super original, i know.. i think this is the fifth time i have dressed up as a witch in all my halloween years. i thought handing out candy to the kids in the neighbourhood would be a great way to meet everyone & so i don't eat all the candy before it gets to the children i made these cupcakes to snack on! they will probably be finished by tonight though, lets be real. they are my simple one bowl chocolate cake recipe scaled down to a dozen cupcakes & a simple vanilla buttercream frosting. i used the wilton piping tip #233 to create the textured mummy look. this is the tip that is usually used for grass & fur, but i think it worked perfectly here! just pipe as you would a regular old cupcake.

ingredients

for the chocolate cake

  • 1 cups white sugar
  • 1/2 cup vegetable oil
  • 1 teaspoons pure vanilla extract
  • 1/3 cup dutch dark cocoa powder
  • 1 eggs
  • 1/2 cup whole milk
  • 1 cups flour
  • 1 teaspoons baking soda
  • 1/2 teaspoon salt
  • 1/2 cup boiling water
  • 1/2 cup peanut butter or chocolate chips (optional)

for the buttercream frosting

  • 1 cup unsalted butter, room temperature
  • 2-3 cups powdered sugar, or to taste
  • 1 teaspoon pure vanilla extract
  • 24 wilton googly eyes

directions

  • preheat oven to 350 degrees.
  • in a mixing bowl add raw sugar, oil vanilla, eggs & almond milk. stir until well combined.
  • sift in cocoa powder, flour, salt and baking soda until just blended.
  • slowly pour in boiling water and stir until you have a silky looking cake batter.
  • fold in peanut butter or chocolate chips if using.
  • evenly divide between 12 lined cupcake tins.
  • bake for 15-20 minutes, or until cupcakes bounce back to touch. let cool completely before frosting.

for the buttercream frosting

  • in the bowl of a stand mixer add the butter, sugar & vanilla. beat until light & fluffy.
  • place frosting into piping bag using the wilton #233. pipe like you would a normal cupcake & add two edible googly eyes onto each cupcake.

cheddar apple pie + MIGHTYFIX OFFER


it is finally time for that apple pie i have been promising you guys all month long! this time i mixed things up a bit by adding some freshly grated old cheddar cheese into the pie dough & on top because the two flavours go hand in hand (& cheese literally makes everything better). BUT before i get into the details of this pie i wanted to let you know about a special promotion that mightyfix is offering for my modest marce readers! this month only, mightyfix is offering the bee's wax wraps for only $3 for the first month after signing up for the mightyfix! it includes both a medium & large sheet of bee's wrap & retails for over $18 after shipping. the promo code for the bee's wrap is MODESTBEESWRAPFIX & if you click here the promo code will be placed directly into your cart. shipping is free & you can add any other items they carry to ship free too!

now i am obsessed with all sorts of aged cheeses. maybe it is the italian in me, but the stinkier the better! the natural bees wrap is favourite way to store cheese so it doesn't dry out & you aren't wasting plastic wrap every time you cut a slice. the natural bee's wrap from mightyfix is made in vermont from organic cotton muslin, beeswax, jojoba oil & tree resin. the combination of ingredients & the infused fabric create a malleable food wrap that can be used again & again. the simple warmth of your hands naturally creates a seal & as the beeswax cools the material stiffens to hold the seal intact. it also has antibacterial qualities that help to keep food fresh! while my favourite thing to use it for is cheese, it is also perfect for baked goods, vegetables & fruit.

over the years i have become all about searching for reusable materials for healthy kitchens because i hate spending extra money on things that end up in the garbage.. plastic wrap, foil, parchment paper, etc. i honestly find this bee's wrap the most genius way to store food & replace those expensive rolls of plastic wrap. it is the same idea as silicon baking mats & never having to buy parchment paper again! to care for it you just wash it in cool water with a touch of soap, let it air dry & store it folded up like a kitchen towel.

now back to that pie! the base of this pie dough would be so good for savoury pies as well, i will definitely be making myself a chicken pot pie very soon. ultimate comfort food. growing up i used to see classmates eat apples & sliced cheddar cheese together. while a completely normal thing to do, i thought it was the weirdest thing ever! now here i am, adding cheese to my pies & wishing i wasn't such a stubborn little kid who missed out.

happy baking! xo

ingredients

for the dough

  • 3 cups all purpose flour, sifted
  • 1/2 teaspoon fine sea salt
  • 3/4 cup unsalted butter, cold and cubed
  • 1/3 cup shortening, cold
  • 1 cup old cheddar cheese, finely grated plus more for topping
  • ½ cup ice water
  • 1 egg, whisked with 1 tablespoon of water for egg wash

for the filling

  • 5 cups sliced apples
  • 3/4 cup raw sugar
  • 1/4 teaspoon ground nutmeg
  • 1 teaspoon pure vanilla extract
  • 1 tablespoon freshly squeezed lemon juice
  • 1 tablespoon cornstarch

directions

for the dough

  • in a large mixing bowl stir together the flour & salt.
  • add the butter & shortening. using your hands or a pastry cutter, work in the solids until a pea-sized crumb mixture is formed.
  • sprinkle in the one cup of cheese & toss to combined.
  • add the ice water 1-2 tablespoons at a time until the mixture begins to come together. shape into disk, wrap in cling wrap & refrigerate for two hours.

for the filling

  • in a large mixing bowl toss together the apples, sugar, nutmeg, vanilla, lemon juice and cornstarch. set aside while you begin to roll out the dough. drain excess liquids.

for assembly

  • divide the dough into two equal potions; place half back in the fridge until ready to use for the top portion of the pie.
  • roll out the remaining dough to 1/4 inch thick and transfer to pie dish, pressing down & cleaning up the edges.
  • add the filling and evenly distribute throughout the baking dish.
  • using the remaining dough, roll out to 1/4 inch thick and create desired design. i used little pastry cutter leaves & piled them on top.
  • brush with egg wash & top with a little extra grated cheddar cheese. bake at 375 degrees for 45 minutes to 1 hour. if the crust begins to brown too soon, simply cover the top with foil.
  • let cool & set completely before serving.

this post was created in partnership with mightyfix. to get your own set of the mightyfix bees wrap for only $3 use the promo code MODESTBEESWRAPFIX or click the link here for it to be automatically added to your cart. thank you for supporting the brands that keep me doing what i love!

mascarpone pumpkin pie


happy virtual pumpkin party!!!! i think this might be the best day of the year in the food blogging world. all of us food bloggers (okay not ALL, but a lot of us) have come together to blow up the internet with our favourite pumpkin recipes! from sweet to savoury to everything in between, we have you covered. this is my first year to the party & i am bringing this mascarpone pumpkin pie! it is my little twist on the classic pumpkin pie. the mascarpone offers a lighter filling & i topped it with a marscapone whip because if you are splurging on this fancy cheese you might as well go all out. i used my classic crust of half butter + half shortening, but if you wanna keep it simple just use a store bought crust! anyways, enjoy the pumpkin party & check out all the other bloggers creations on sarah's blog cake over steak or aimee's blog twiggstudios. these two girls put together quite the round up this year!

ingredients

for the crust

  • 3 cups all purpose flour
  • 1 tablespoon sugar
  • 1 teaspoon sea salt
  • 3/4 cup unsalted butter, cold & cubed
  • 1/3 cup vegetable shortening, cold
  • 1 teaspoon pure vanilla extract
  • 1/2 cup ice water
  • 1 egg, for egg wash (optional)

for the filling

  • 1 cup fresh pumpkin puree
  • 1 cup turbinado sugar
  • 2 large eggs
  • 1 cup mascarpone cheese
  • 1 teaspoon freshly grated ginger
  • 1/2 teaspoon ground cinnamon
  • 1/4 teaspoon ground nutmeg
  • 1/4 teaspoon ground cloves
  • 1/4 teaspoon salt
  • 1 teaspoon pure vanilla extract

for the whipped cream

  • 2 cups whipping cream, cold
  • 1/4 cup mascarpone cheese
  • 1 tablespoon condensed milk
  • 1 tablespoon sugar
  • 1 teaspoon pure vanilla extract

directions

for the crust

  • using a food processor pulse the flour, salt and sugar. add the cubed butter, shortening and vanilla. pulse until a crumb like mixture forms.
  • add the cold water one tablespoon at a time until the crumbs begin to come together. turn out onto a pastry board and shape dough into a disk. if dough seems wet, add a bit more flour. if the dough seems dry, add a bit more water.
  • wrap in cling wrap and refrigerate for minimum 2 hours.
  • roll out to 1/4 inch thick & line the pie plate.
  • use remaining dough to create crust & top design.
  • place in fridge until filling is ready.

for the filling

  • in a mixing bowl whisk together the pumpkin puree, sugar, eggs & mascarpone cheese until fluffy.
  • stir in the ginger, cinnamon, nutmeg, cloves, salt & vanilla.
  • pour into lined pie dish and bake at 350 degrees for 45 minutes or until the filling has set.
  • let cool before serving.

for the whipped cream

  • in the bowl of a stand mixer with the whisk attachment add the whipped cream. whisk until soft peaks are formed.
  • add the mascarpone cheese, condensed milk, sugar & vanilla. whisk until stiff peaks are formed.
  • add a generous amount to each slice!

happy virtual pumpkin party 2016!!!!