mini strawberry pistachio pavlova


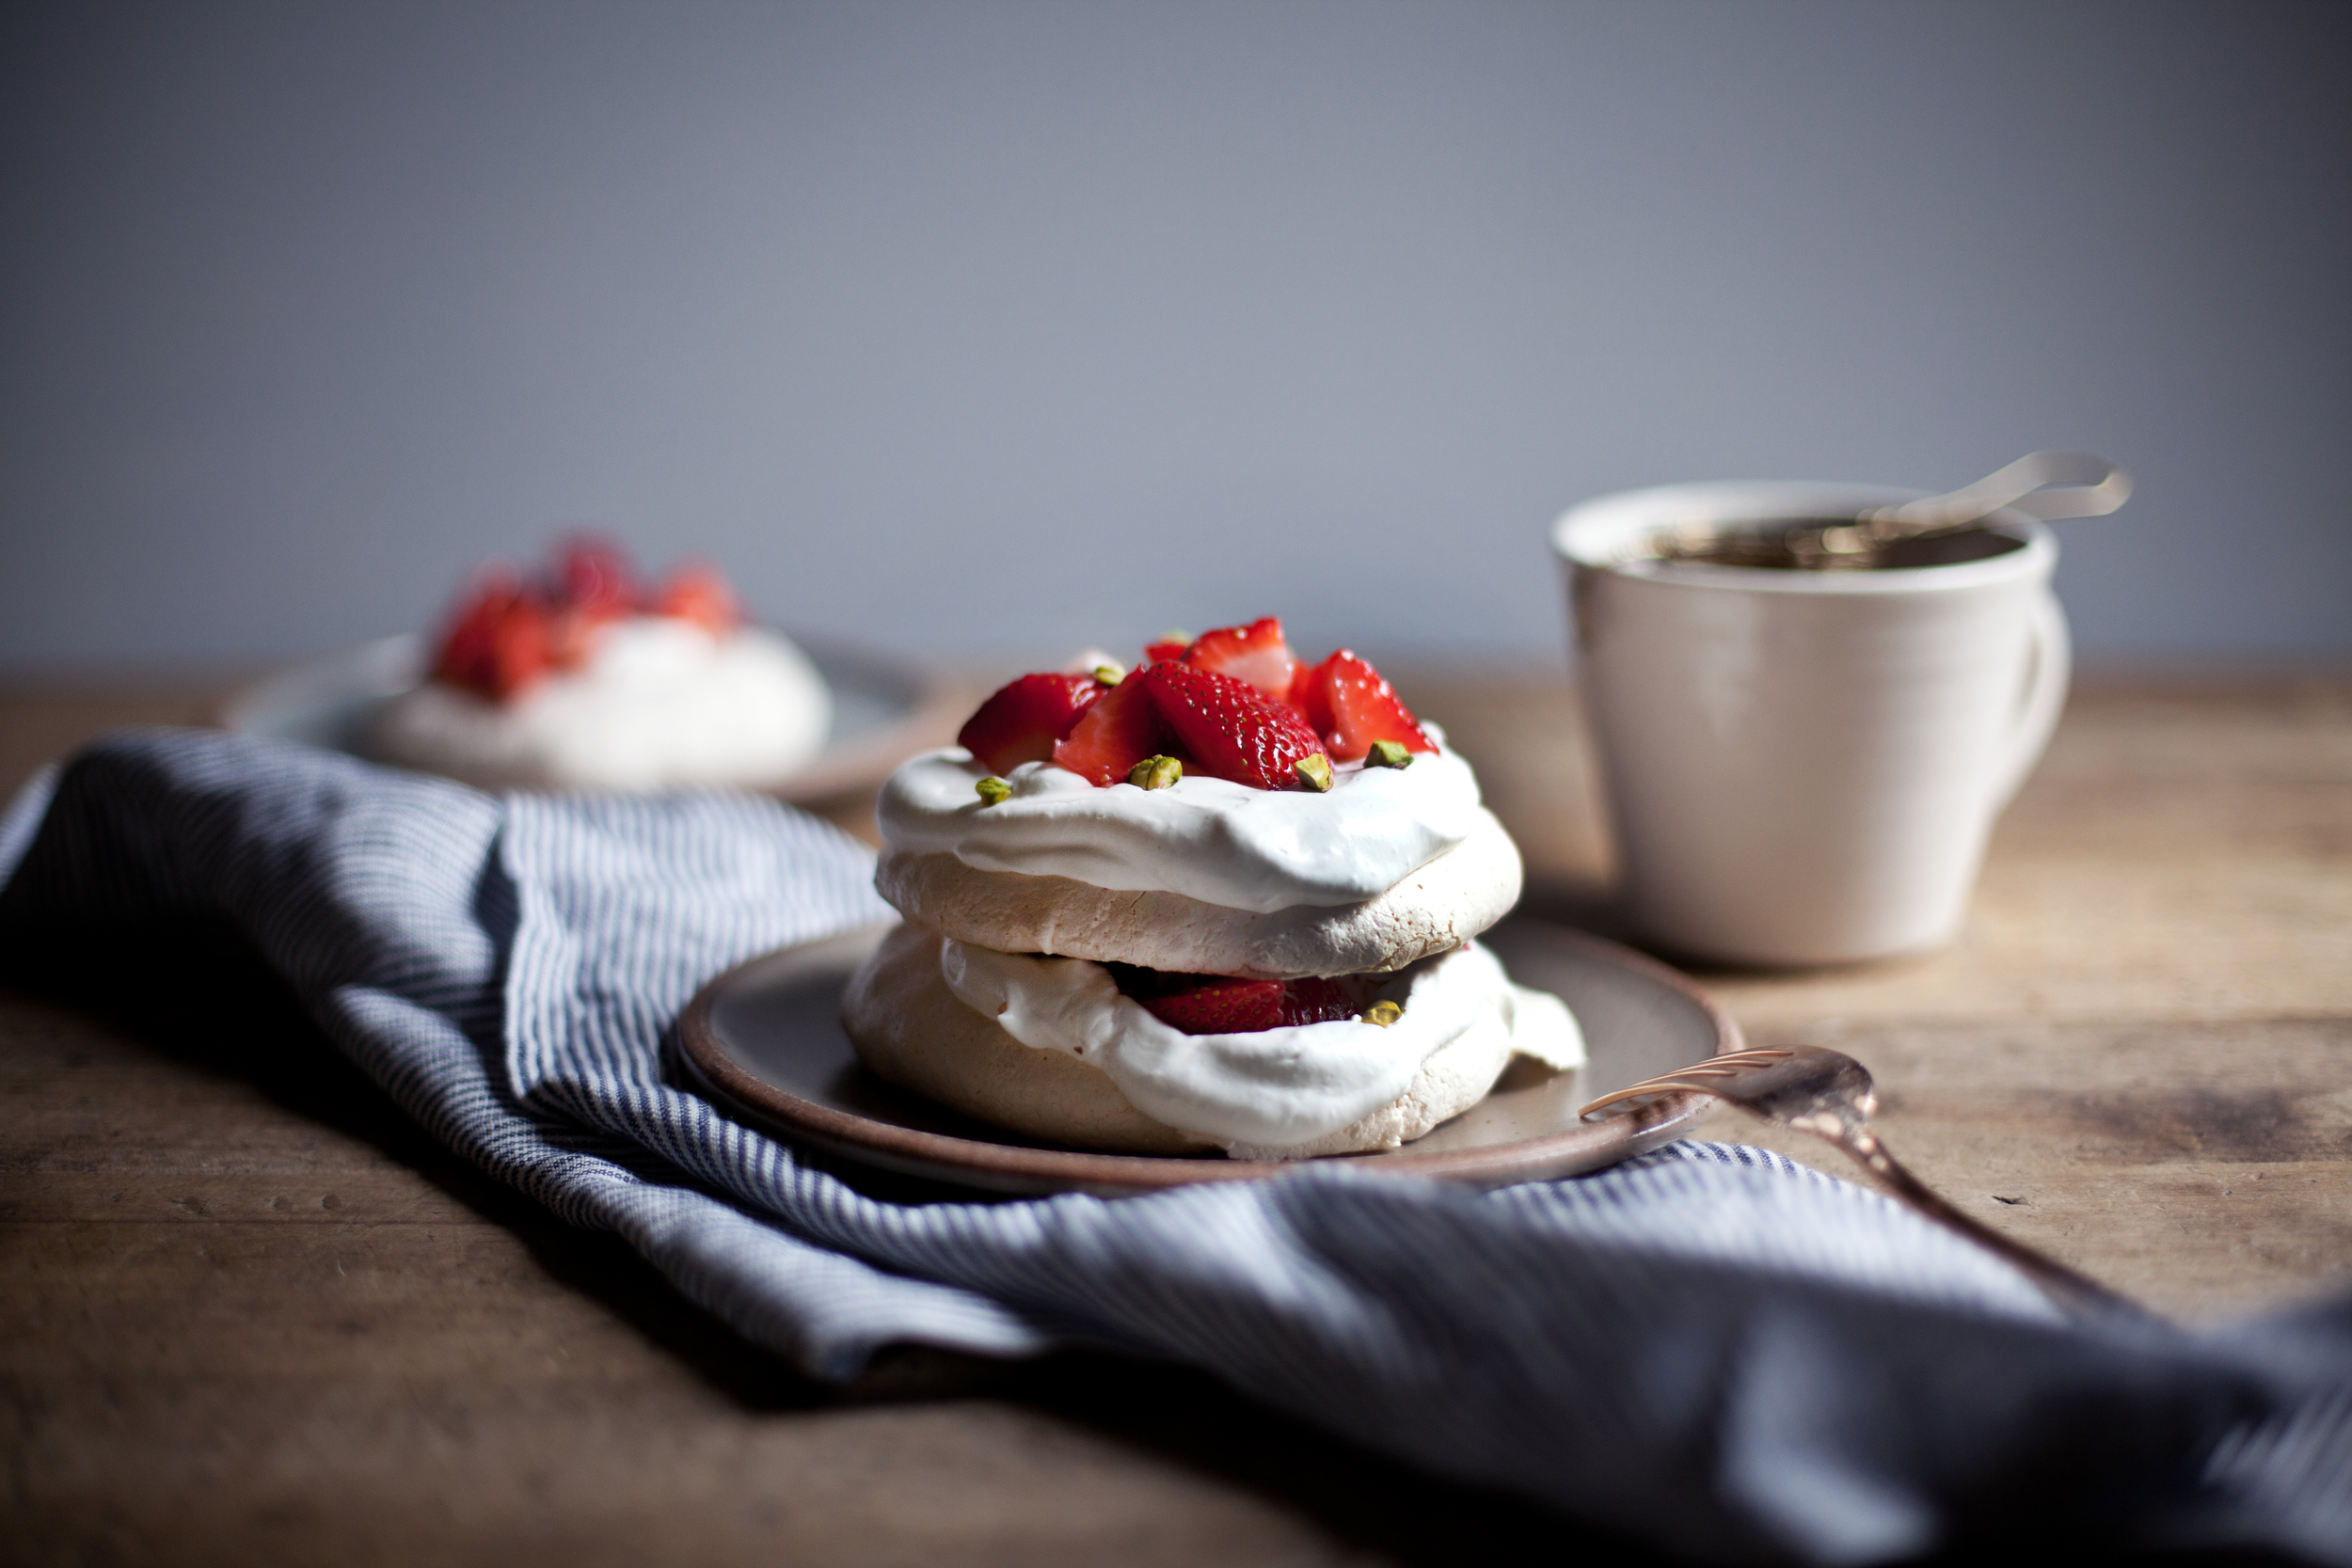
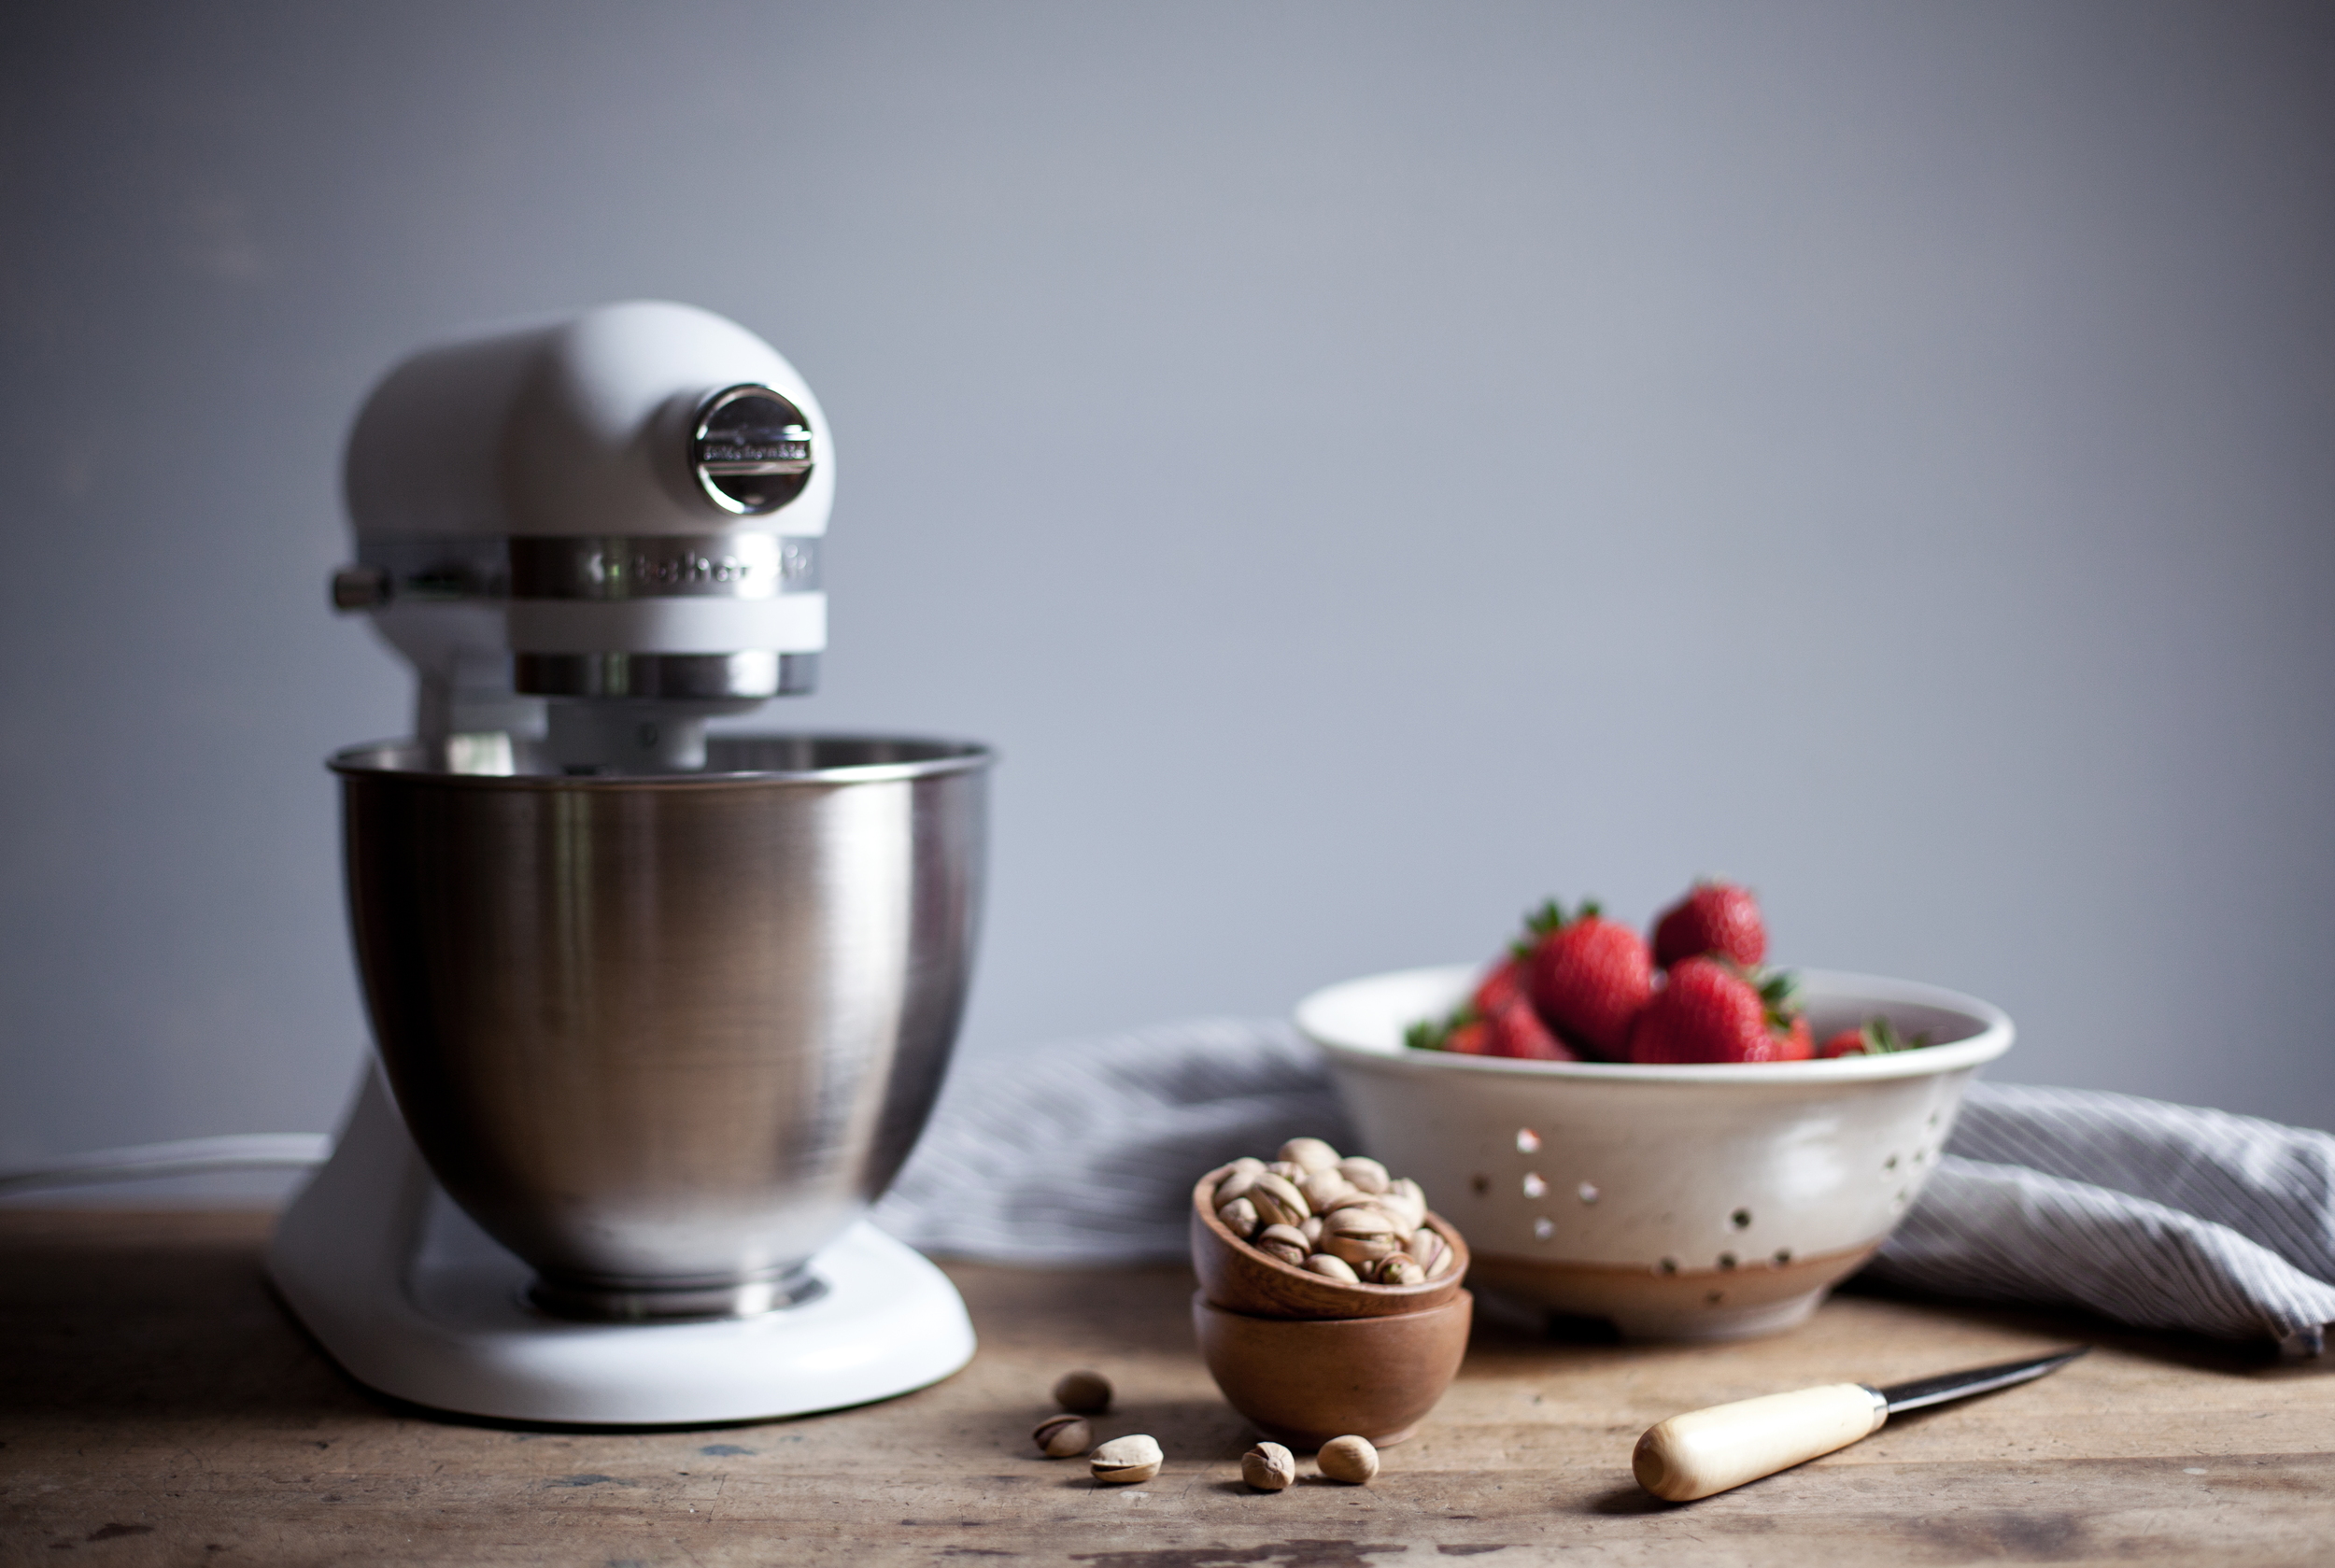
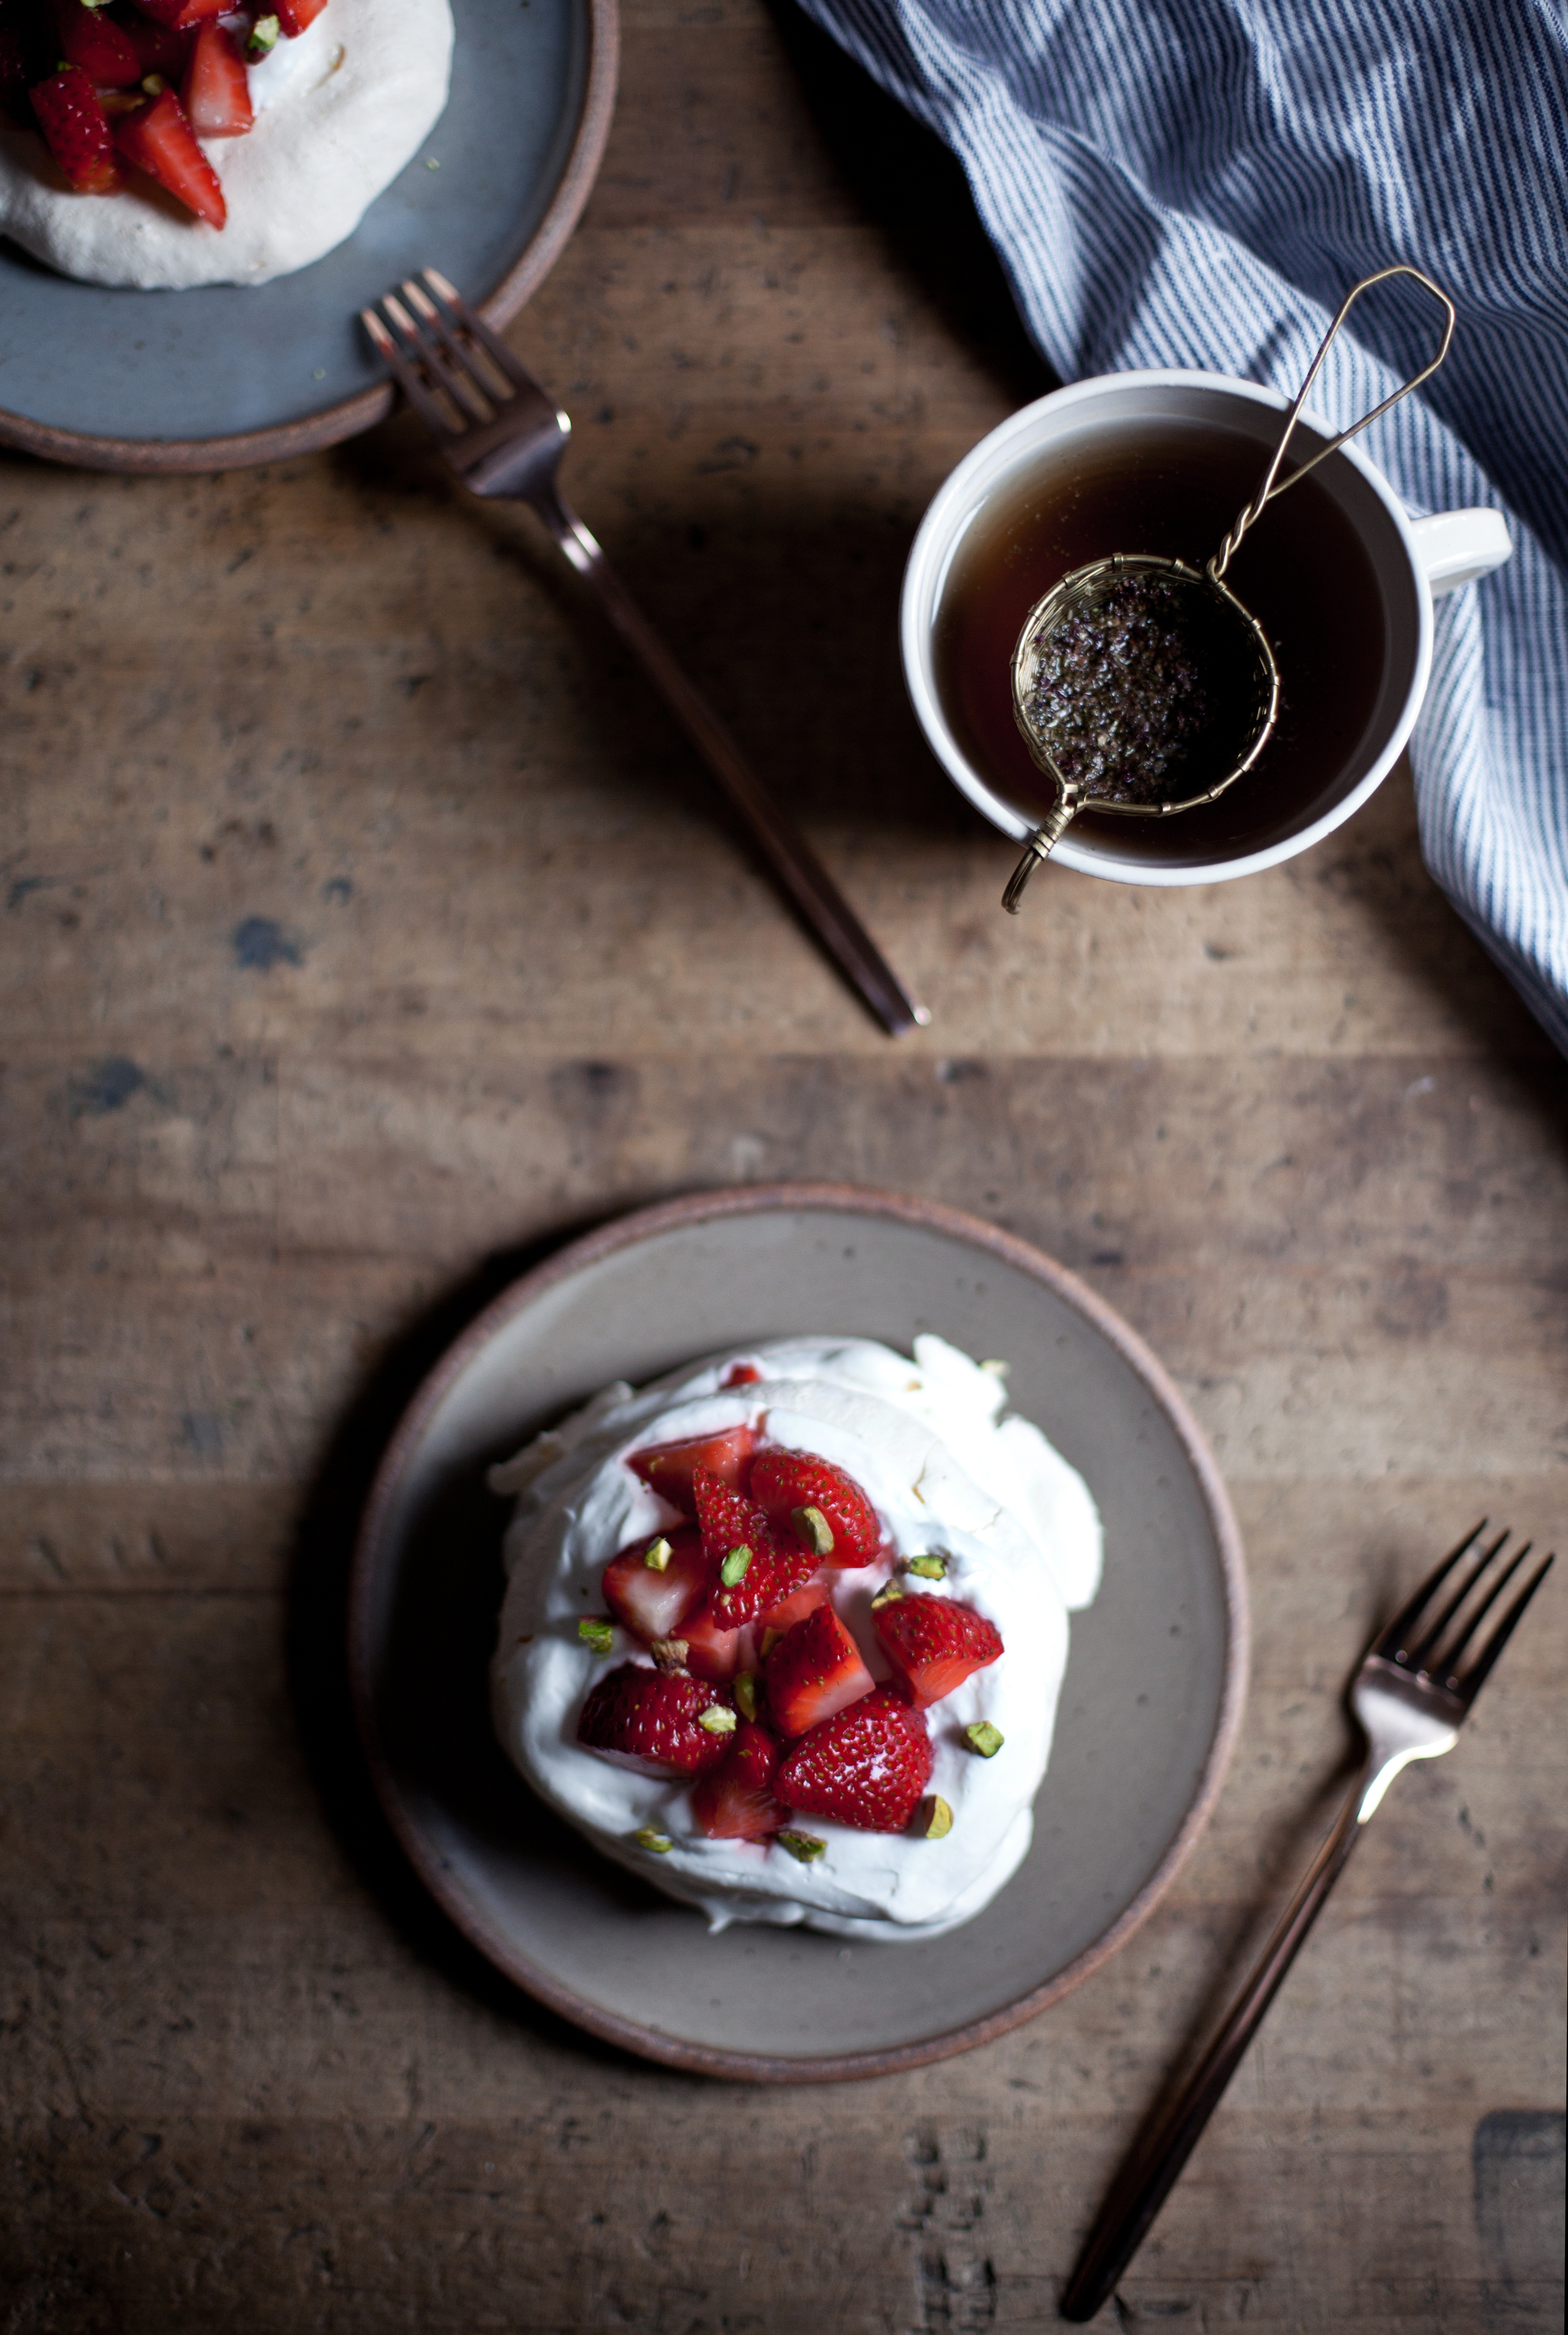
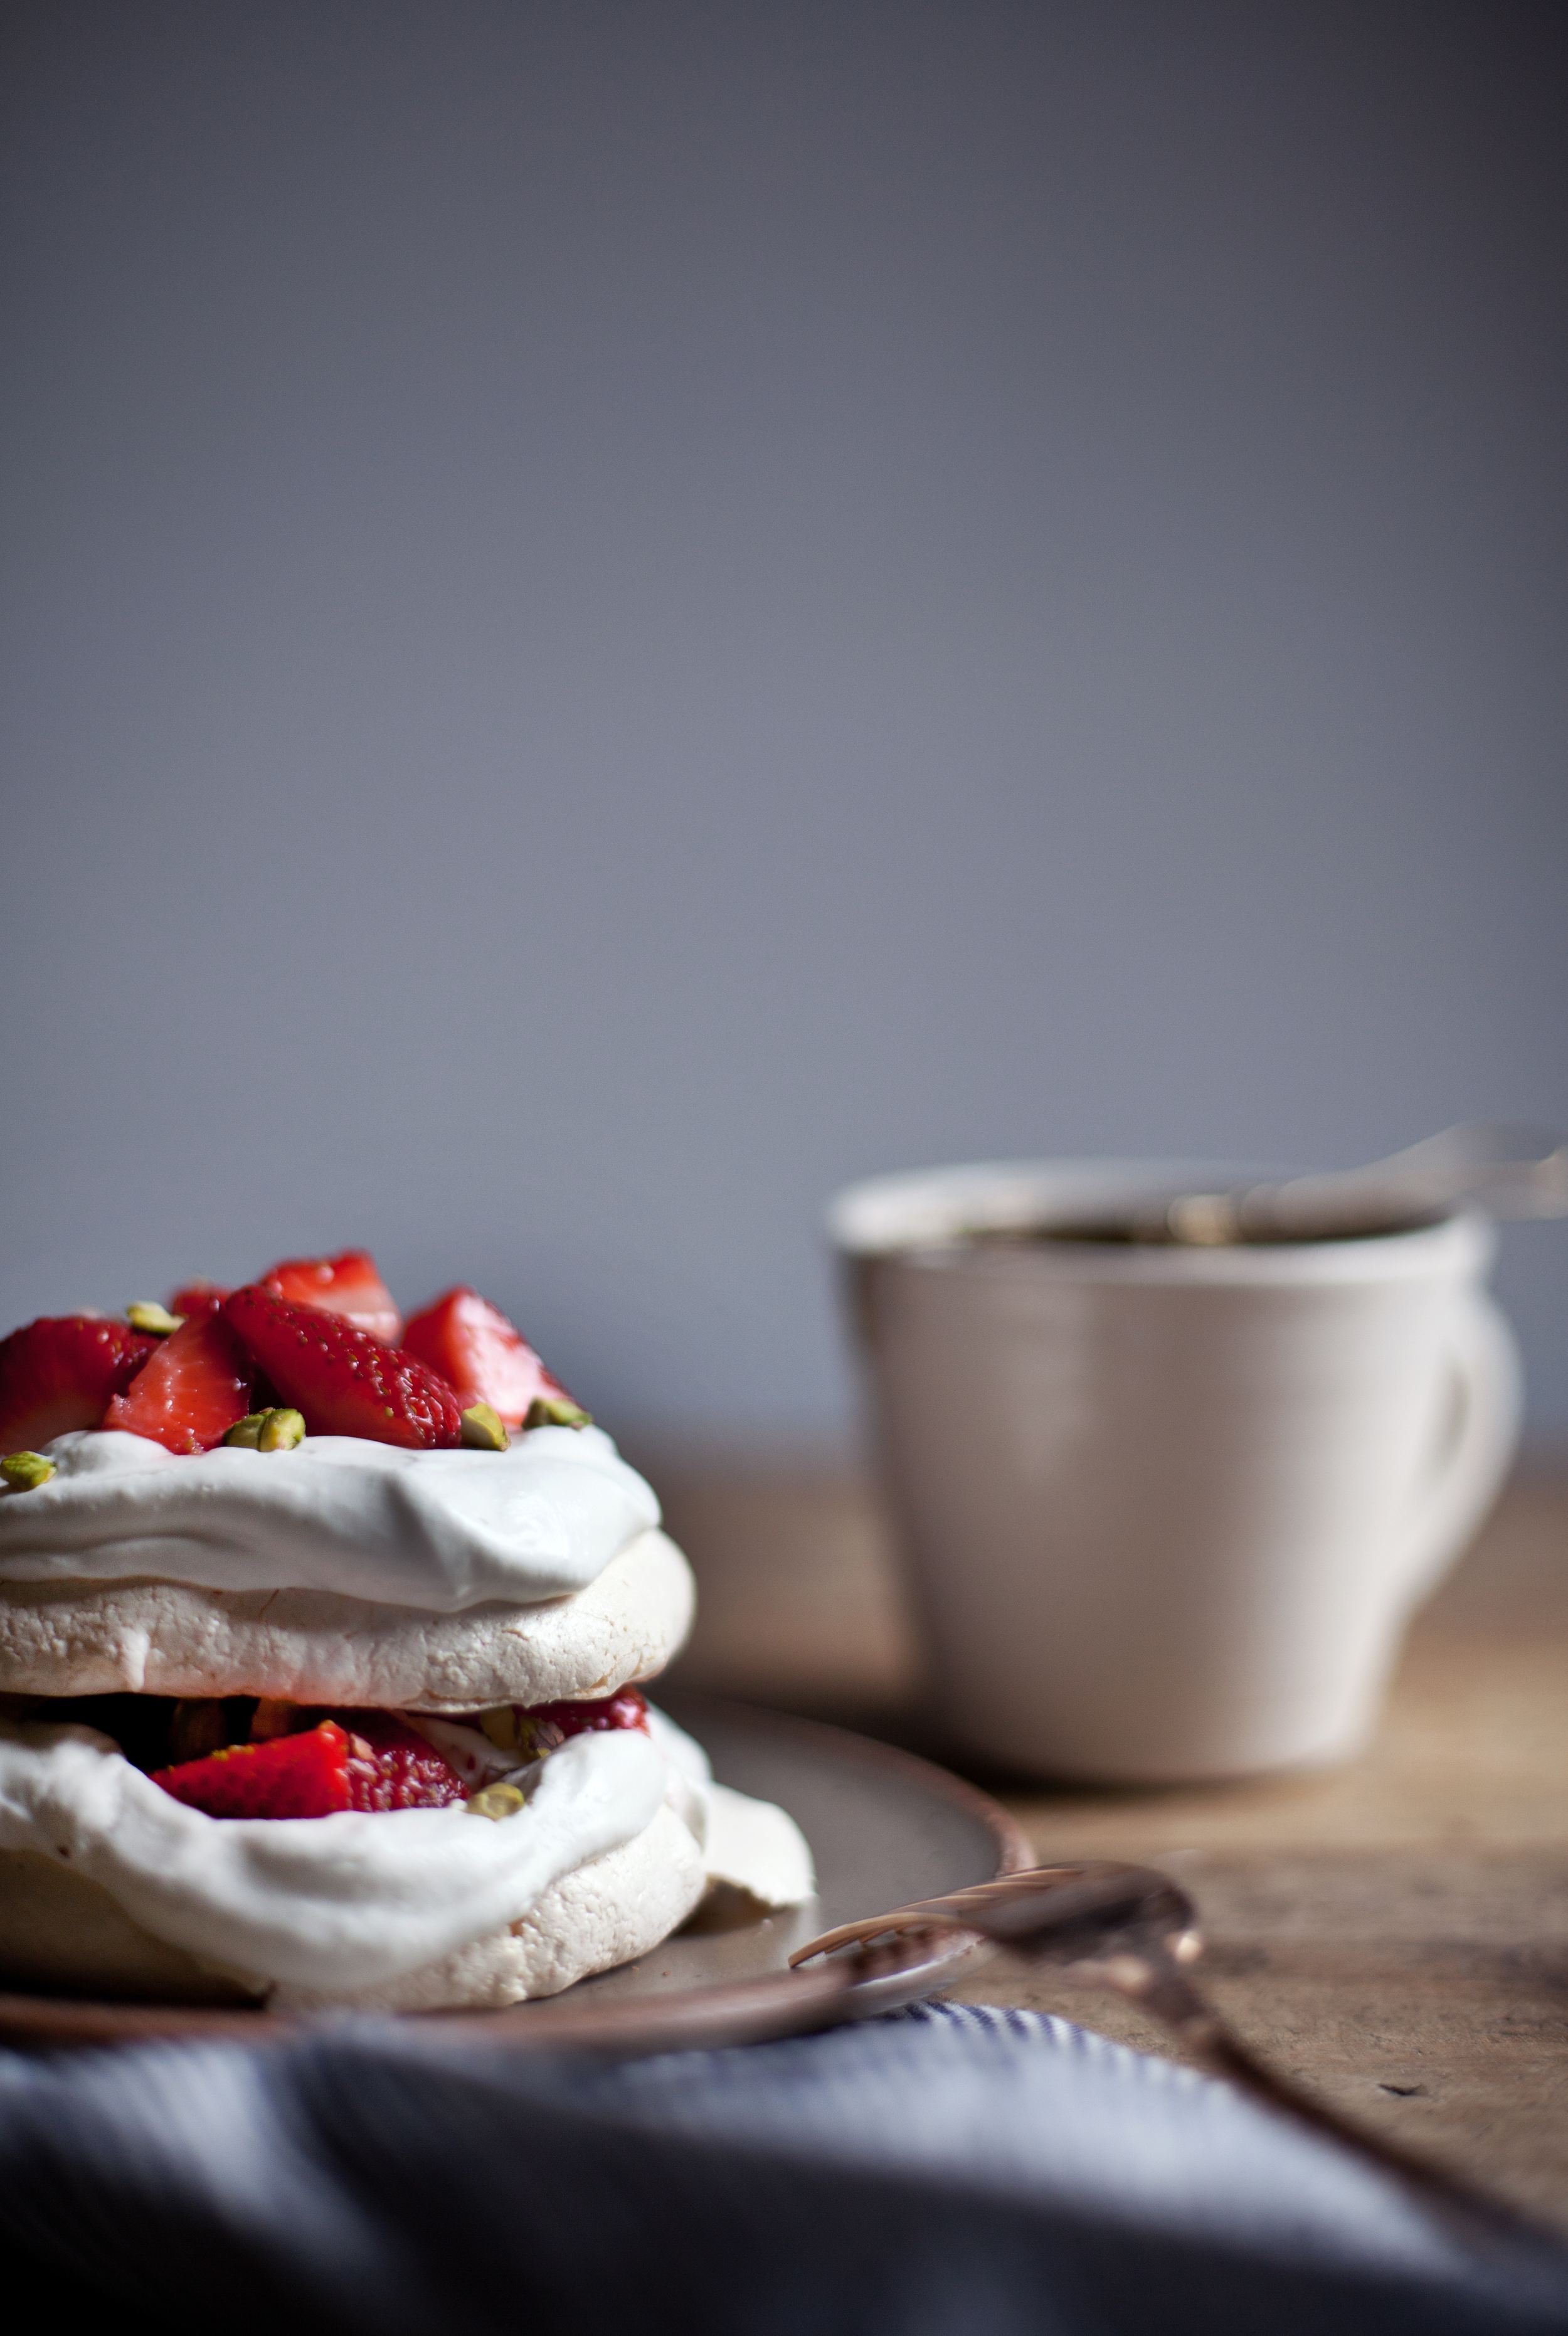
a couple weeks ago i went to the toronto launch party for KitchenAid’s® new KitchenAid® Artisan® Mini Mixer!!! it was so much fun. there was a honeydew infused cocktail to celebrate the latest colour addition to the KitchenAid® family, a mini instant polaroid camera to capture guests mini moments & mini foods galore. the KitchenAid® Artisan® Mini Mixer is a perfect addition to tiny kitchens or small batch families, especially for those city dwellers. the launch party inspired me to create some mini moments of my own starting with this mini strawberry pistachio pavlova. the matte white finish of the mixer compliments the soft, fluffy, cloud like meringue layers. i topped this pavlova with fresh whipped cream, fresh summer strawberries & crunchy pistachios. while pavlova is usually served as one large layered dessert, i decided to scale it down into mini individual portions. this light dessert is a perfect finish to an outdoor summer gathering or barbecue. my family was not familiar with pavlova but they absolutely loved it! oh, they have a LOT of learning to do:)

happy canada day & fourth of july weekend!!!

ingredients

for the pavlova

  • 4 egg whites
  • 1 cup white sugar
  • 1/4 teaspoon cream of tarter or vinegar
  • 1 teaspoon pure vanilla extract
  • 1 teaspoon cornstarch
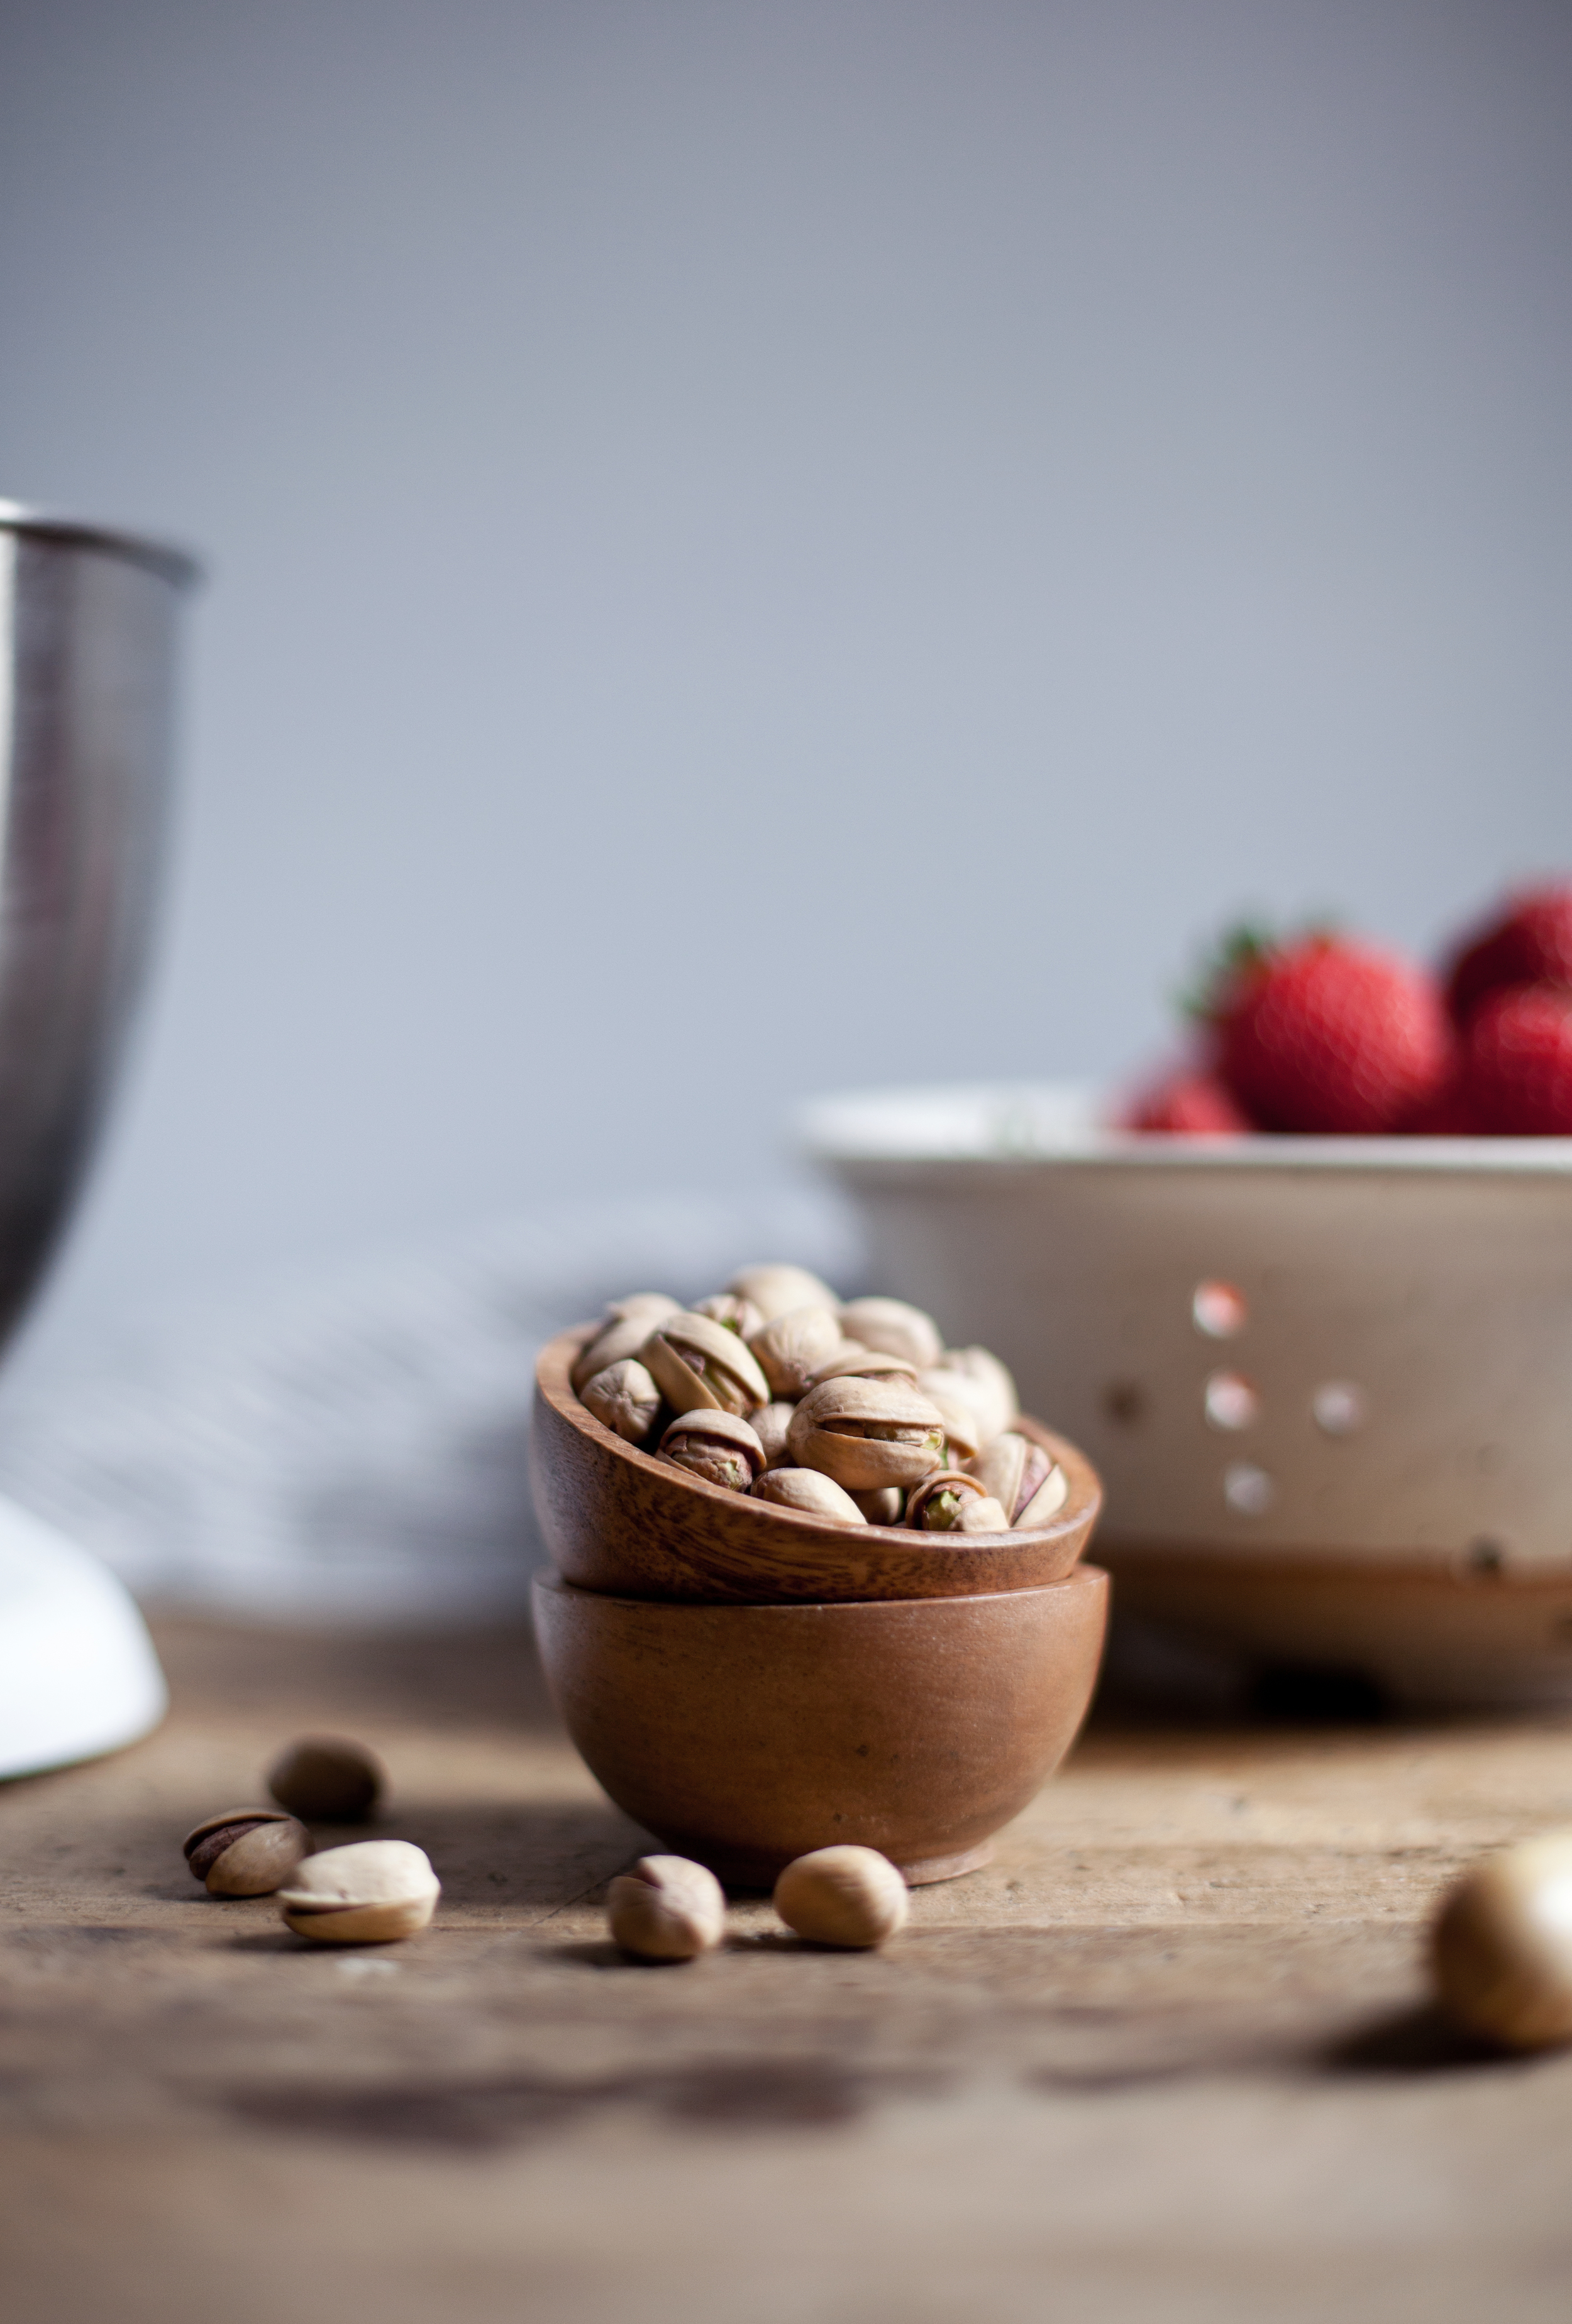
  • 1/2 cup pistachios, chopped

for the pistachio strawberry topping

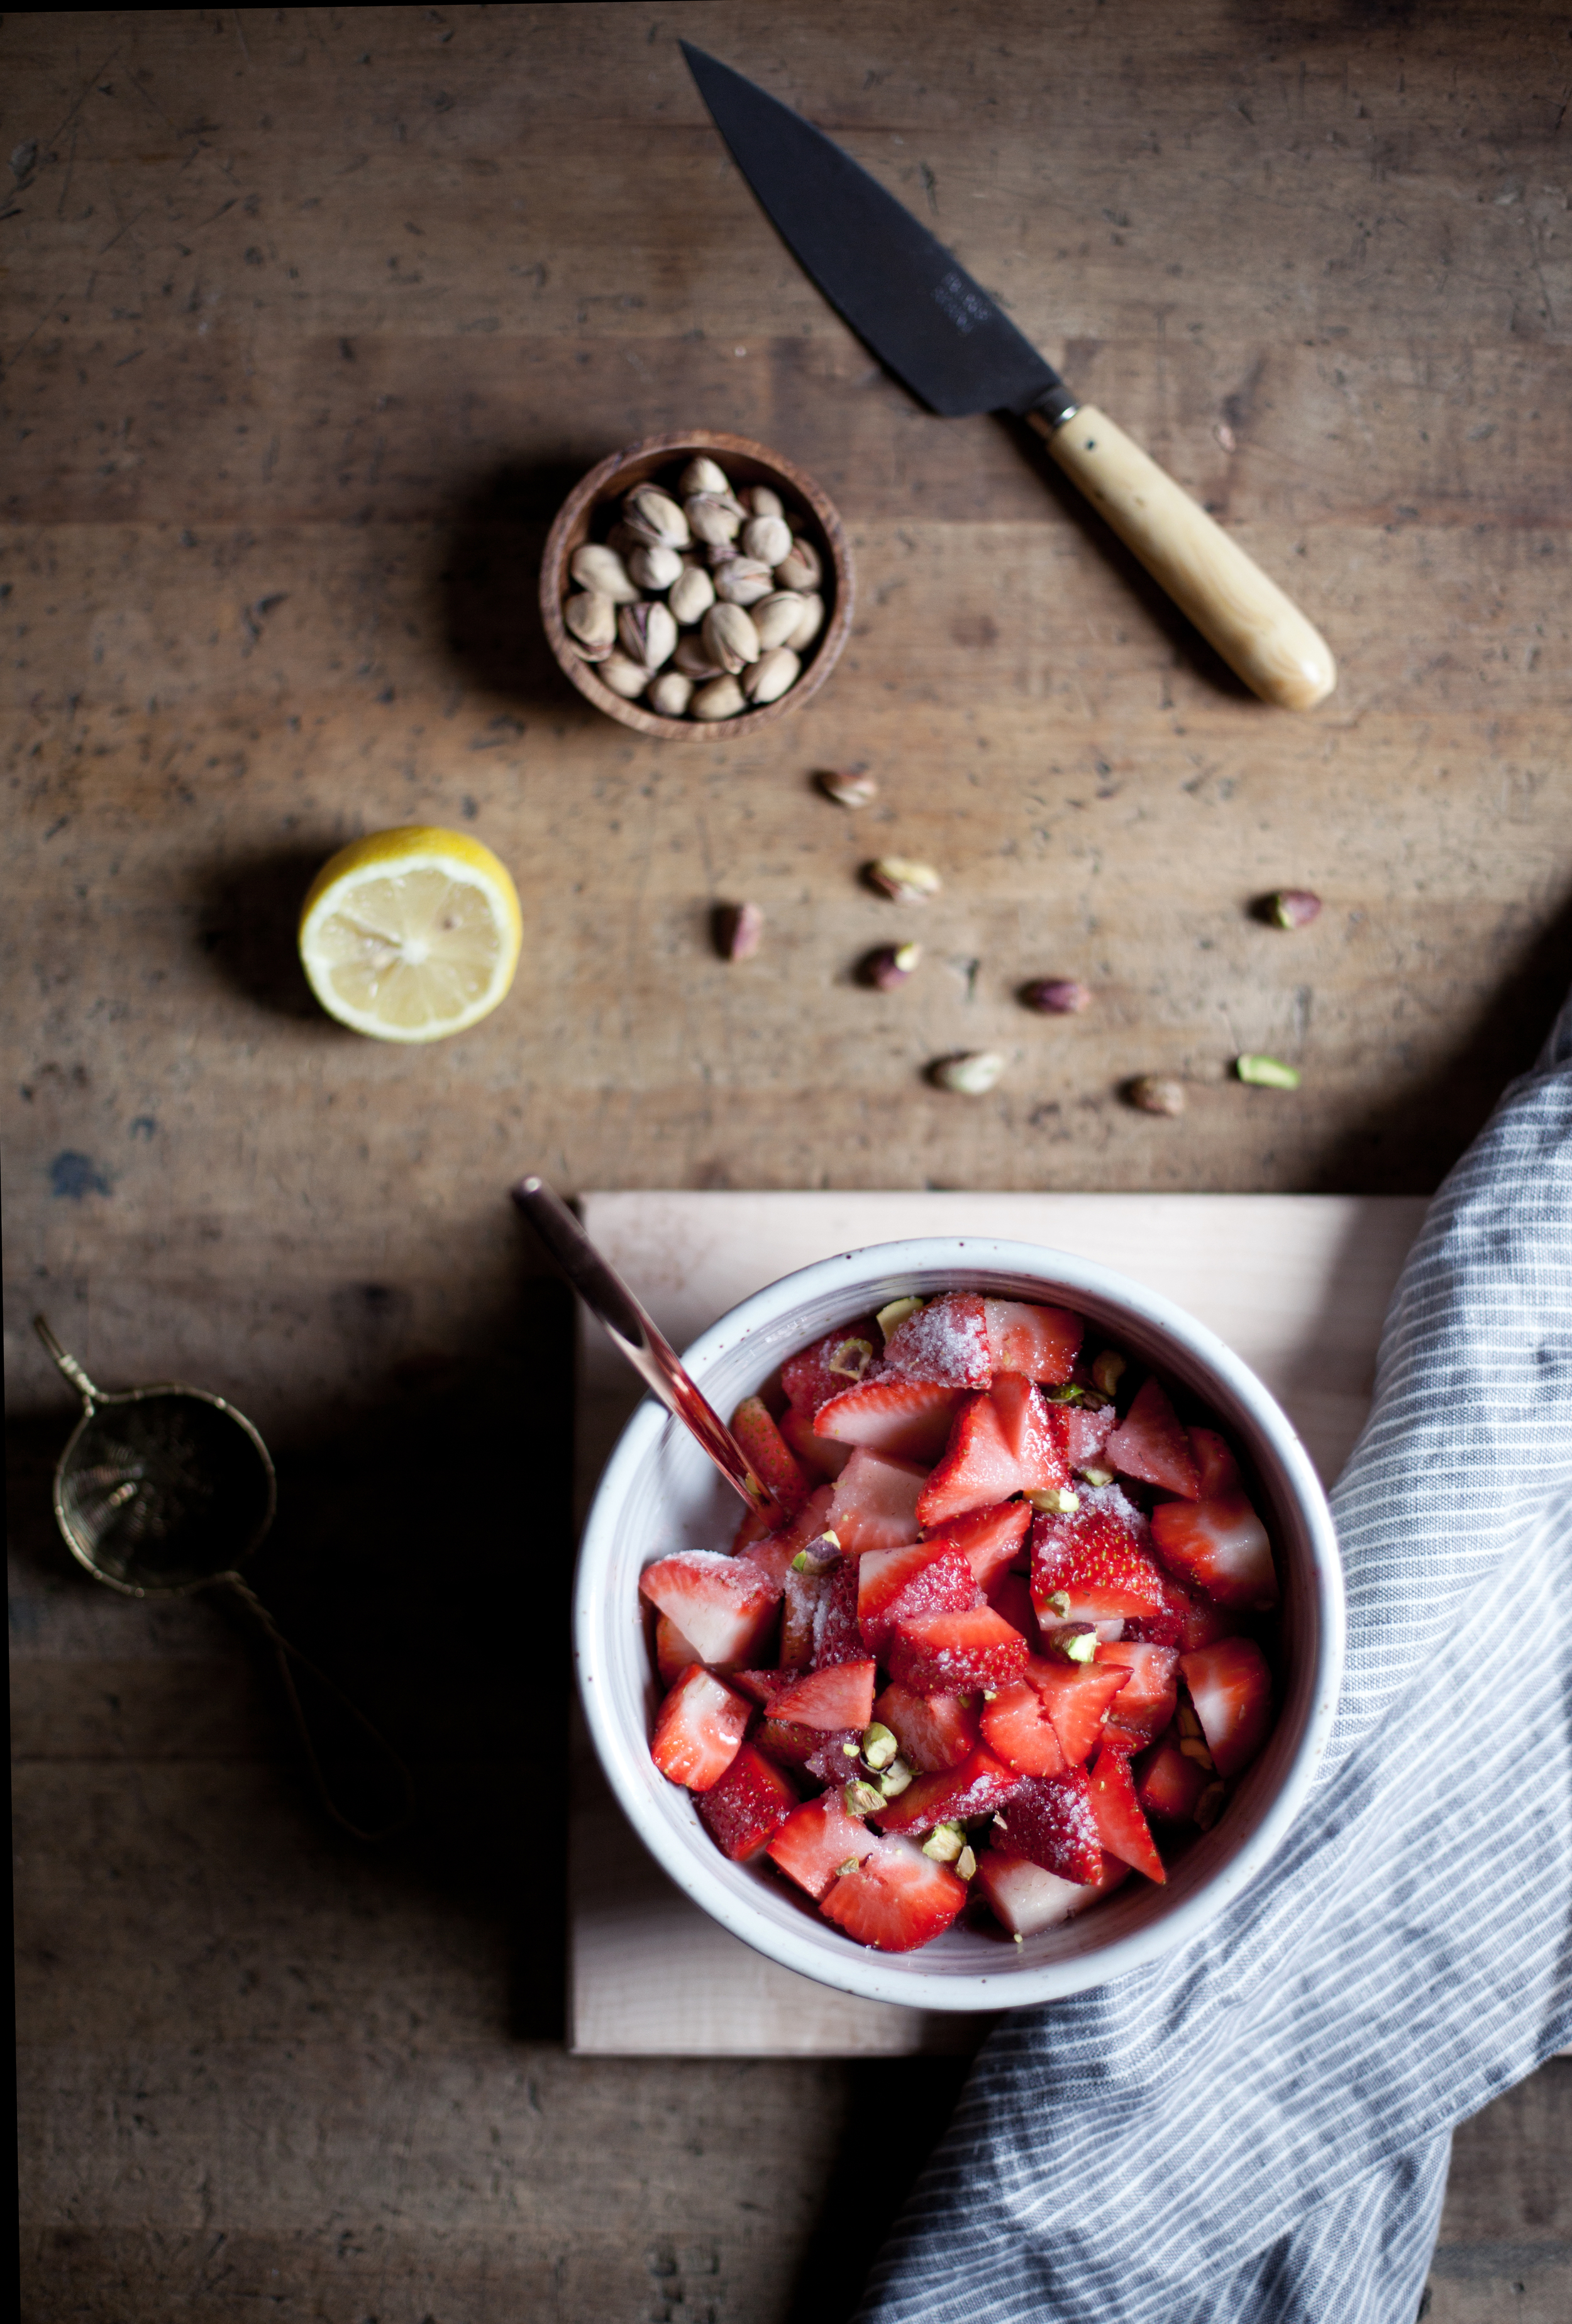
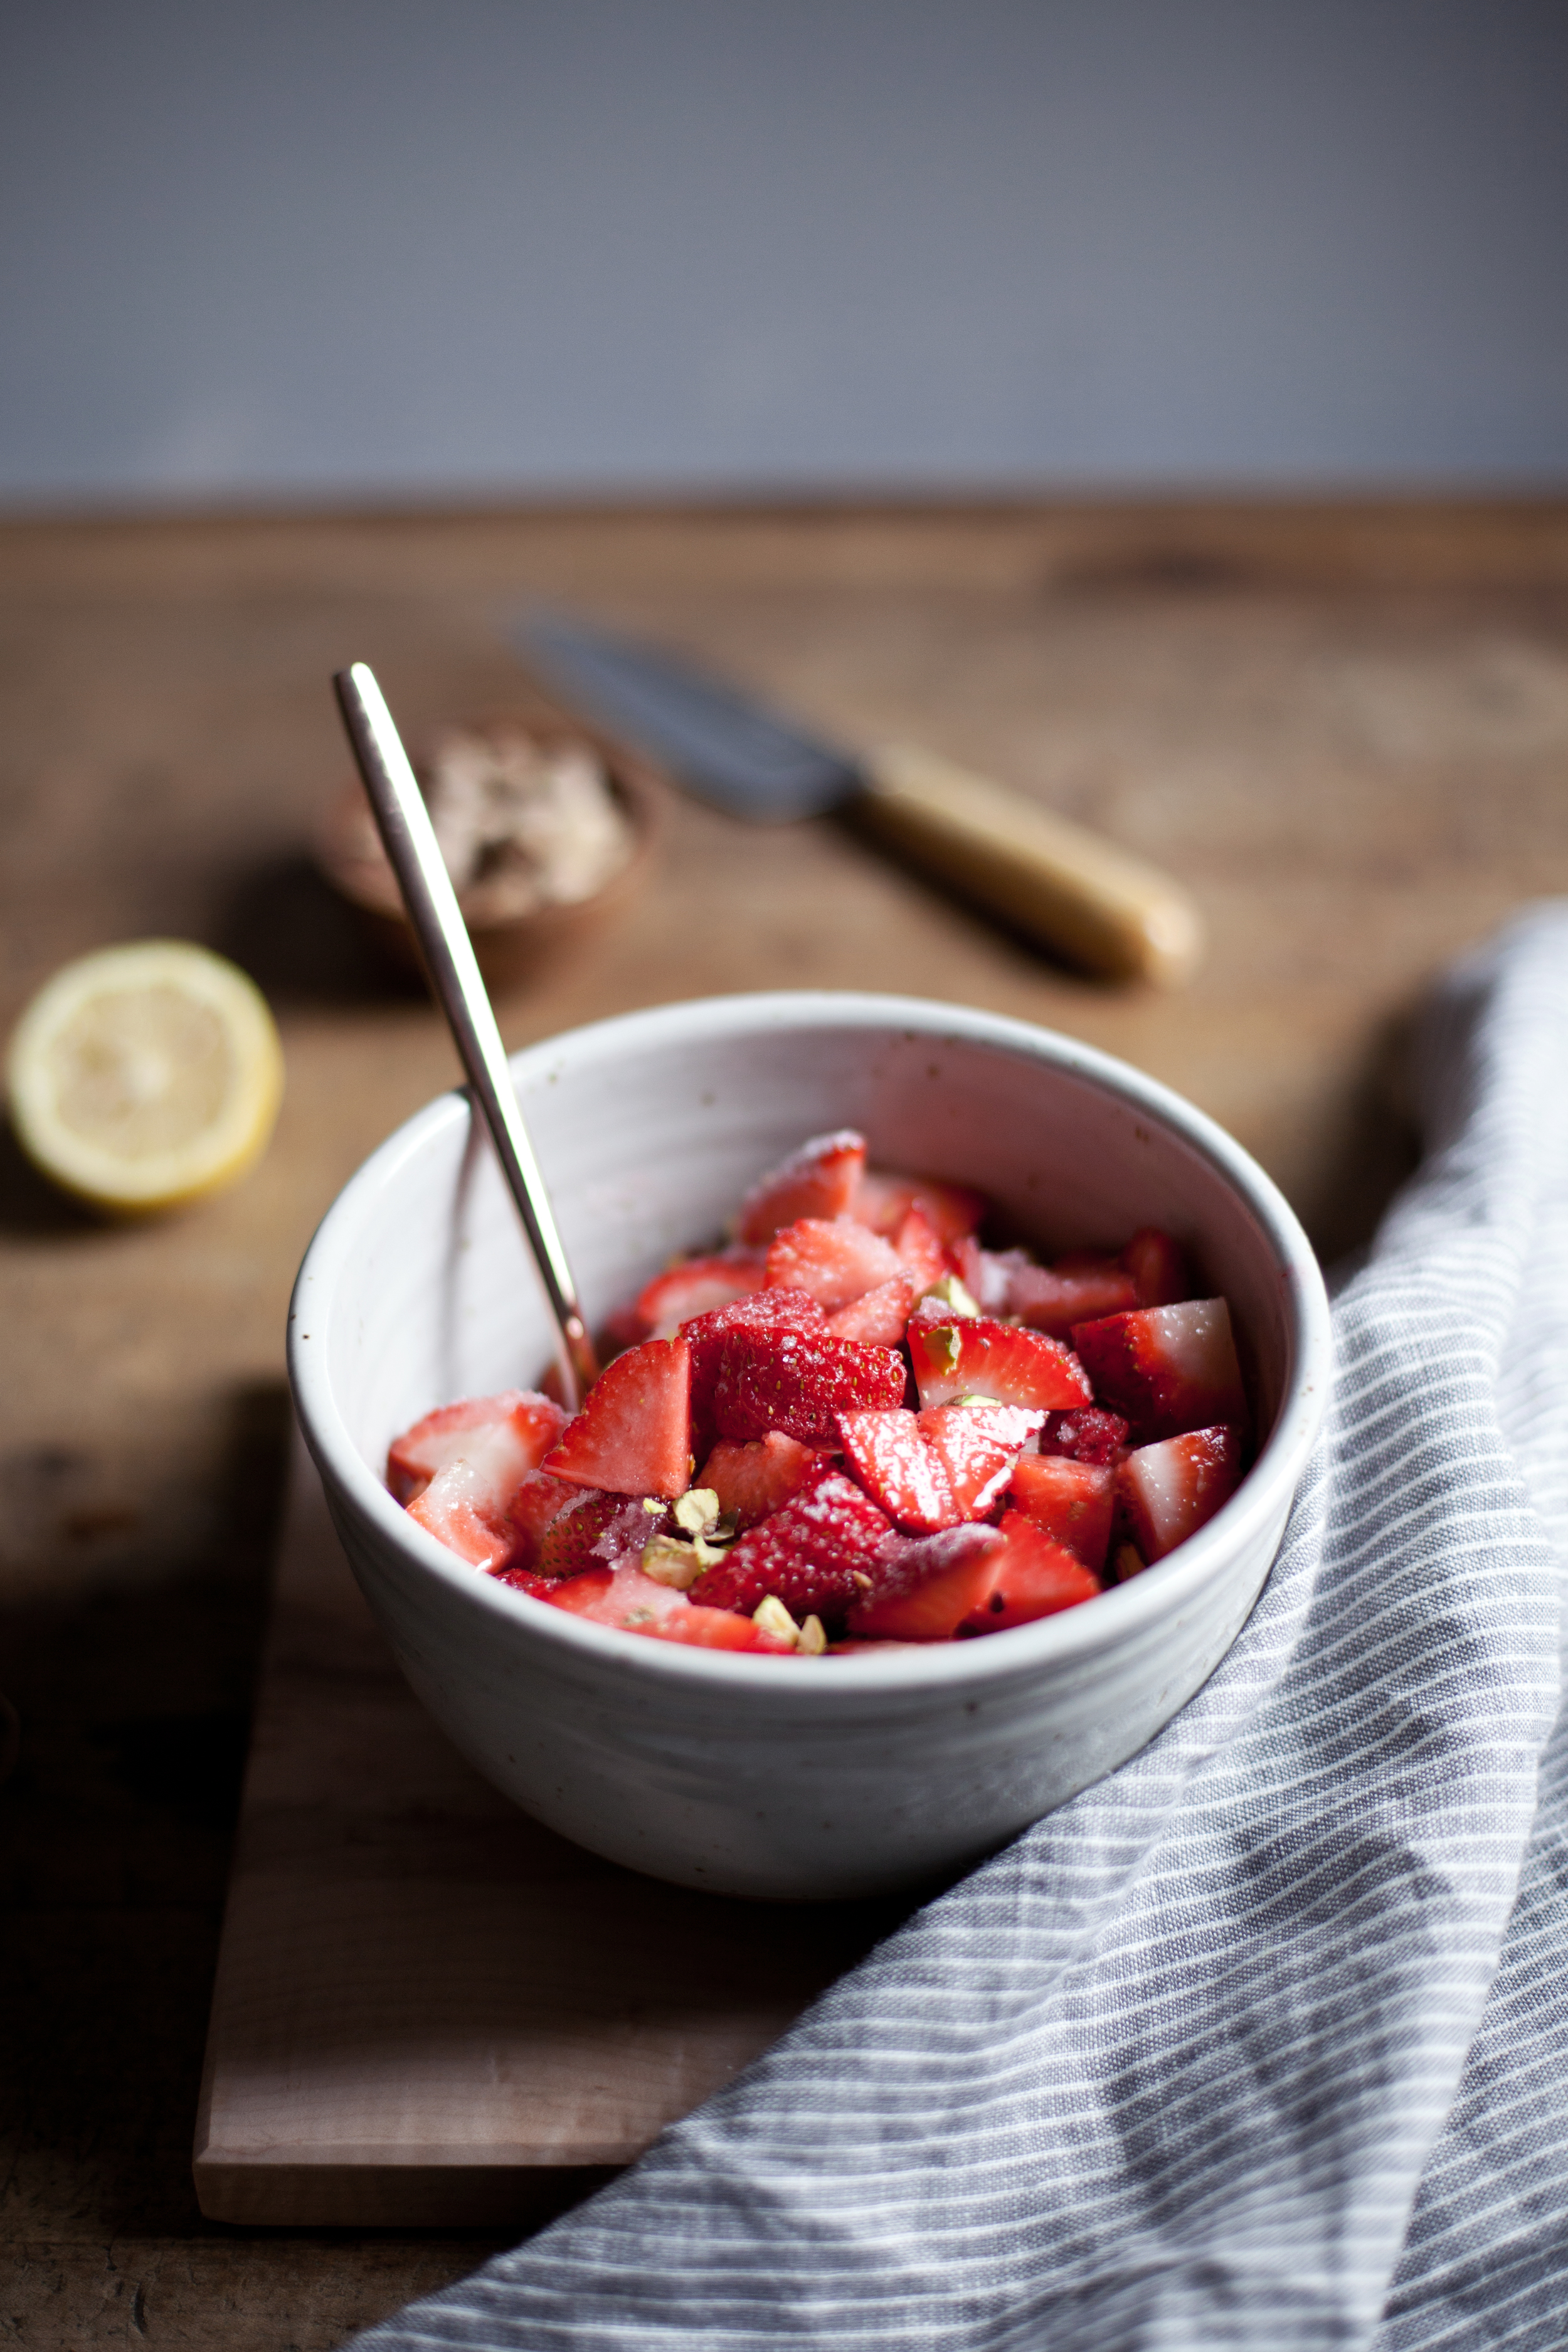
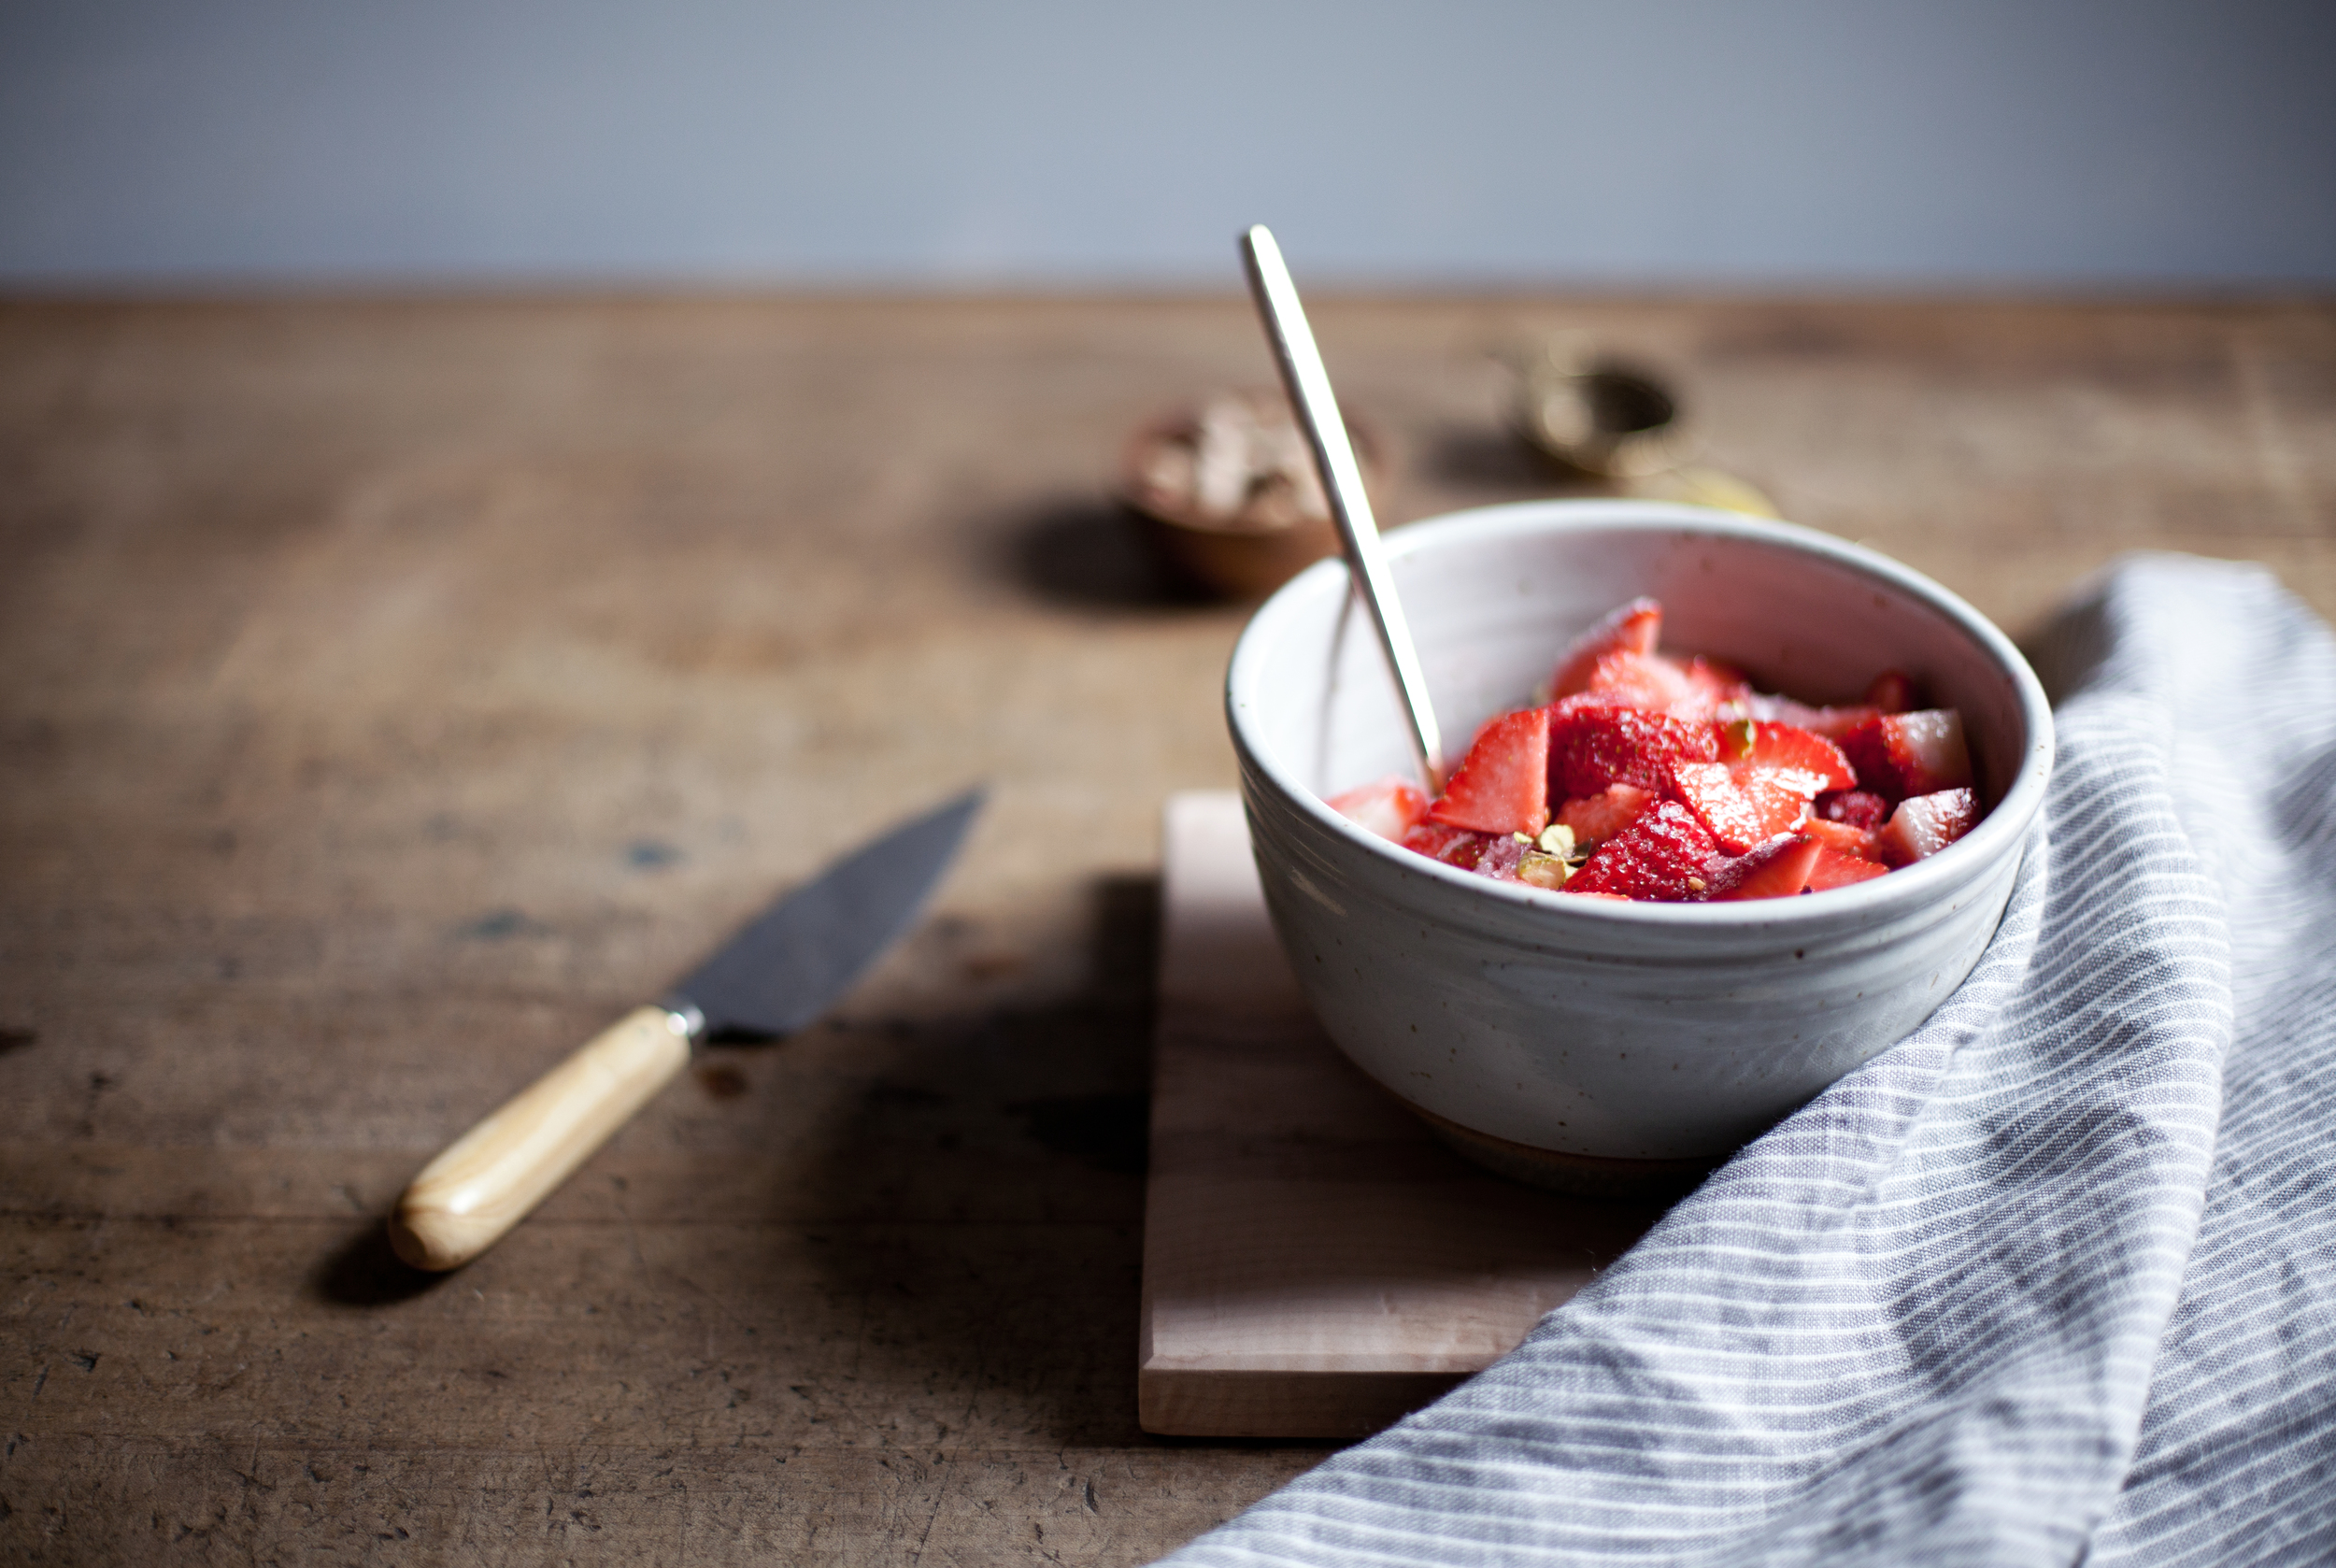
  • 2 cups fresh strawberries, quartered
  • 1/4 cup sugar
  • 1/4 cup pistachios, chopped
  • 1 teaspoon freshly squeezed lemon juice

for the vanilla whipped cream

  • 2 cups whipping cream, cold
  • 2 tablespoons sugar
  • 1 teaspoon pure vanilla extract

directions

  • preheat oven to 225 degrees.
  • in the bowl of the kitchen aid stand mixer fitted with the whisk attachment, whisk egg whites until soft peaks are formed.
  • gradually add sugar, followed by cream of tarter, vanilla extract & cornstarch until egg whites reach stiff peaks. mixture should be smooth & glossy.
  • fold in pistachios carefully, ensuring not to deflate the whites.
  • on a parchment lined baking tray trace out six evenly sized circles (i used a mason jar lid). fill each circle with the meringue & create a small dip in the middle of each.
  • bake for one hour, turn off oven & let the meringues rest in the oven for another hour.
  • while the pavlova bakes, prepare the strawberry mixture & whipped cream.
  • for the strawberry mixture: in a mixing bowl add chopped strawberries, sugar, lemon juice & pistachios. stir & set aside until ready to assemble.
  • for the whipped cream: in the stand mixer fitted with the whisk attachment add the whipping cream. beat until soft peaks are formed. add the sugar & vanilla, beat until stiff peaks are formed. set aside until ready to assemble.
  • when ready to serve, layer pavlova with whipped cream followed by pistachio strawberry topping. sprinkle with additional pistachios if desired.

this post was created in partnership with KitchenAid® in celebration of the new KitchenAid® Artisan® Mini Mixer available now! tag all your mini creations with #minimoments.  

earl grey cake + honey buttercream frosting


happy canada day & happy fourth of july weekend!!!! this might be my favourite cake to date. i was beyond excited with how it turned out. literally jumped for joy haha. not only with the flavour combinations of the earl grey tea + honey, but that grey ombre frosting too. i think i am starting to fall in love with grey frosted cakes. the piped topping looks difficult to create, but it was easy peasy. i used all the left over frosting colours, two piping tips (one small star & one large star) & went piping crazy! you can make any design you like on the top & it will automatically look perfect. for this cake i used a special type of earl grey tea from stash tea. it contains double bergamot, so it has an extra strong flavour which comes through once the cakes are baked. i wonder what else i can infuse this earl grey into, i absolutely LOVE it! anyways, have an amazing long weekend with lots of BBQ, drinks & desserts:) xo

ingredients

for the earl grey cake

for the honey buttercream frosting

  • 1 pound unsalted butter, room temperature
  • 1/3 cup raw honey
  • 3 cups icing sugar, or to taste
  • 1 teaspoon pure vanilla extract

directions

  • preheat oven to 325 degrees.
  • in a saucepan over low heat add the milk & loose leaf tea. let simmer for five minutes to infuse the tea into the milk. do not let the mixture come to a boil. remove from heat & let cool to room temperature. strain out tea.
  • in the bowl of a stand mixer fitted with the paddle attachment cream butter and sugar.
  • add the eggs one at a time, followed by the vanilla extract & oil. mix until light and fluffy.
  • in a separate bowl sift the flour, baking powder, salt & finely ground tea. gradually add to stand mixer at low speed.
  • once flour is JUST combined into the wet ingredients, add the infused milk.
  • evenly distribute batter amongst two greased 8-inch round cake pans.
  • bake each layer for about 18-20 minutes, or until a tooth pick inserted comes out clean.
  • let cakes cool completely before frosting.
  • for the frosting add butter, honey, icing sugar & vanilla in the bowl of a stand mixer and whip until light and fluffy, about 8-10 minutes.
  • frost as desired! i used a touch of black food colouring & turned it into a grey ombre cake.

this post was created in partnership with stash tea. you can find the double bergamot earl grey tea i used here! it has a stronger bergamot flavour then regular earl grey tea which means the tea flavour comes through perfectly in the cake.  

like what you see? get it here. japanese tea pot | twig tea scoop | mug | cake stand | plates | flatware

salted chocolate fudge sauce


now that i have an ice cream maker & can make all sorts of flavours this summer, it only seemed fitting to make a fudge sauce to grace that homemade ice cream with! growing up, a mcdonald's hot fudge sundae after a soccer game was everything. now, here is my grown up version of that same nostalgic sundae adding a touch of sea salt to the mix. because i am older now, adding sea salt makes it seem more sophisticated #adulting. drizzle on homemade vanilla ice cream, your favourite store bought flavour, or let's be real.. just eat it with a spoon because it is that good.

anyways, i am going to keep this one short because i have literally been elbows deep in buttercream this week baking & frosting a ton of cakes. can not wait till you see the one i am posting to the blog next week.. spoiler alert: it is earl grey flavoured, eek!

ingredients

  • 1 cup sugar
  • 1 cup whipping cream
  • 1 tablespoon white corn syrup
  • 1/4 cup unsalted butter
  • 5-6 ounces dark chocolate, roughly chopped (i used lindt dark chocolate)
  • 1 teaspoon salt, plus more for serving
  • 1 teaspoon pure vanilla

directions

  • in a saucepan over medium heat add the sugar, cream, corn syrup & butter. cook until sugar fully dissolves, do not let mixture come to a boil.
  • stir in chocolate, salt & vanilla. once chocolate is fully incorporated, remove from heat.
  • strain into a glass jar & refrigerate until ready to use. sauce can be served both hot and cold!
  • sprinkle with a touch of sea salt when serving over vanilla or chocolate ice cream.

like what you see? get it here. copper saucepan | salt jar | linen | flatware | bowl