lemon + thyme souffle


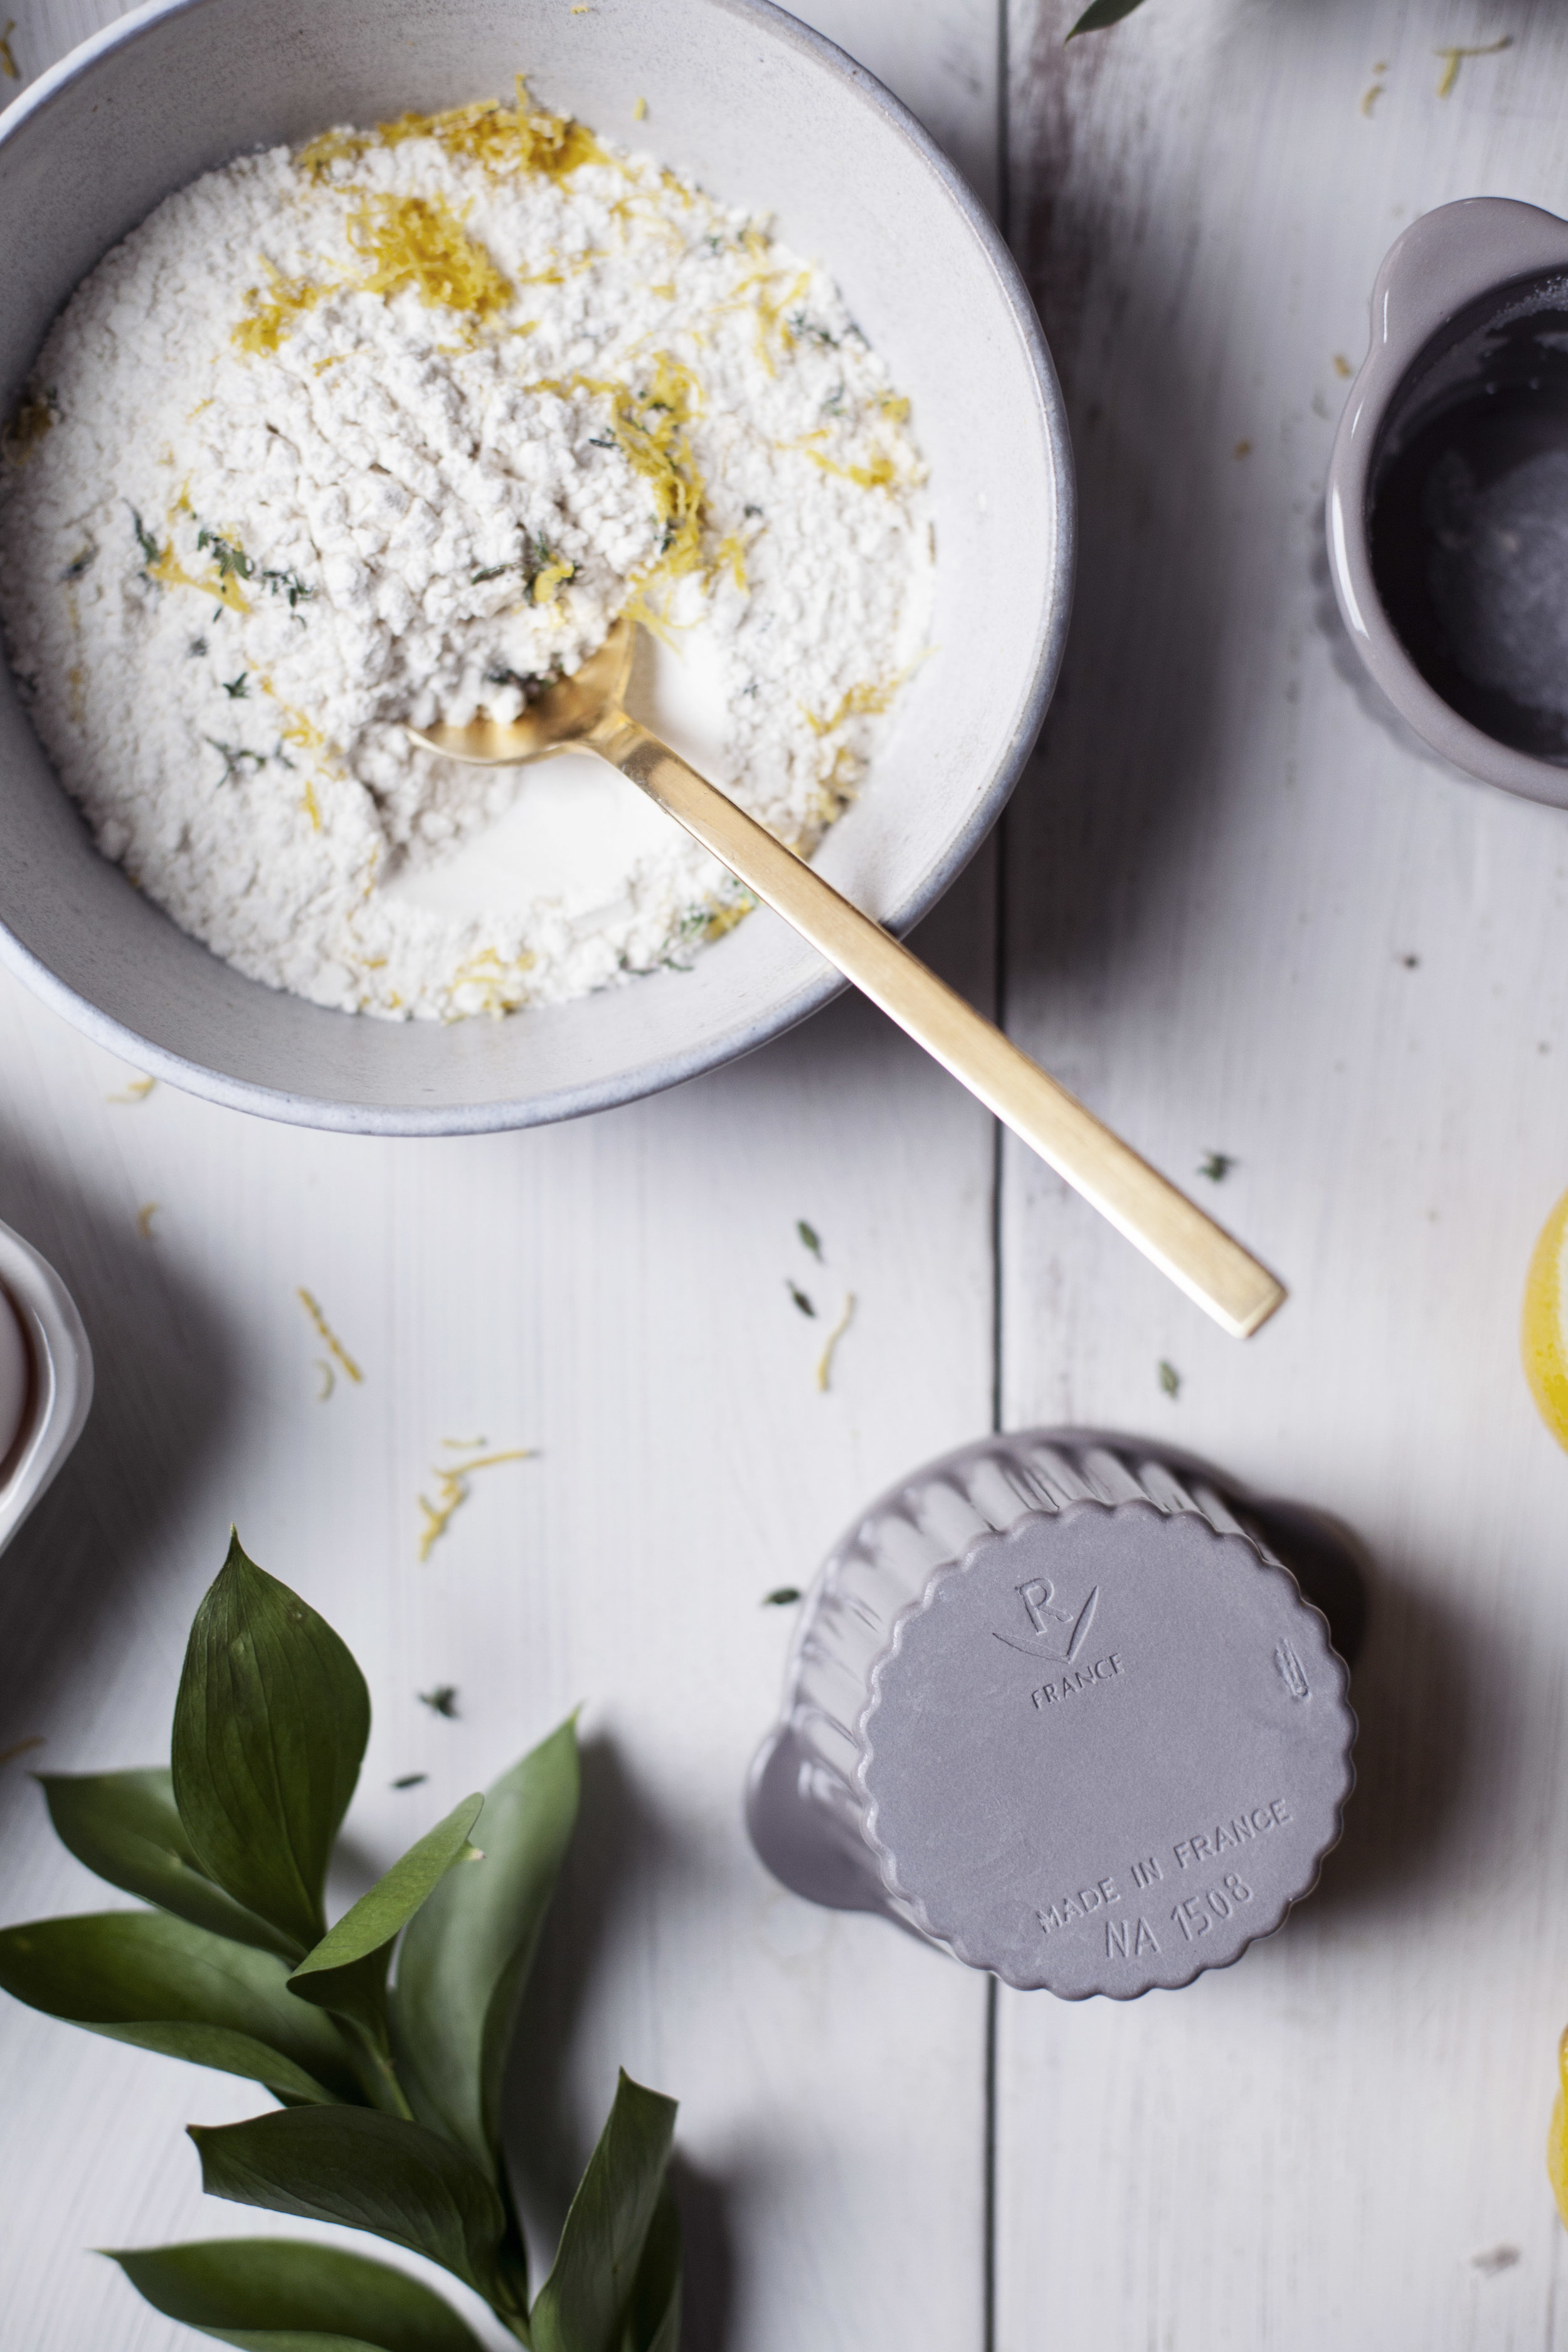
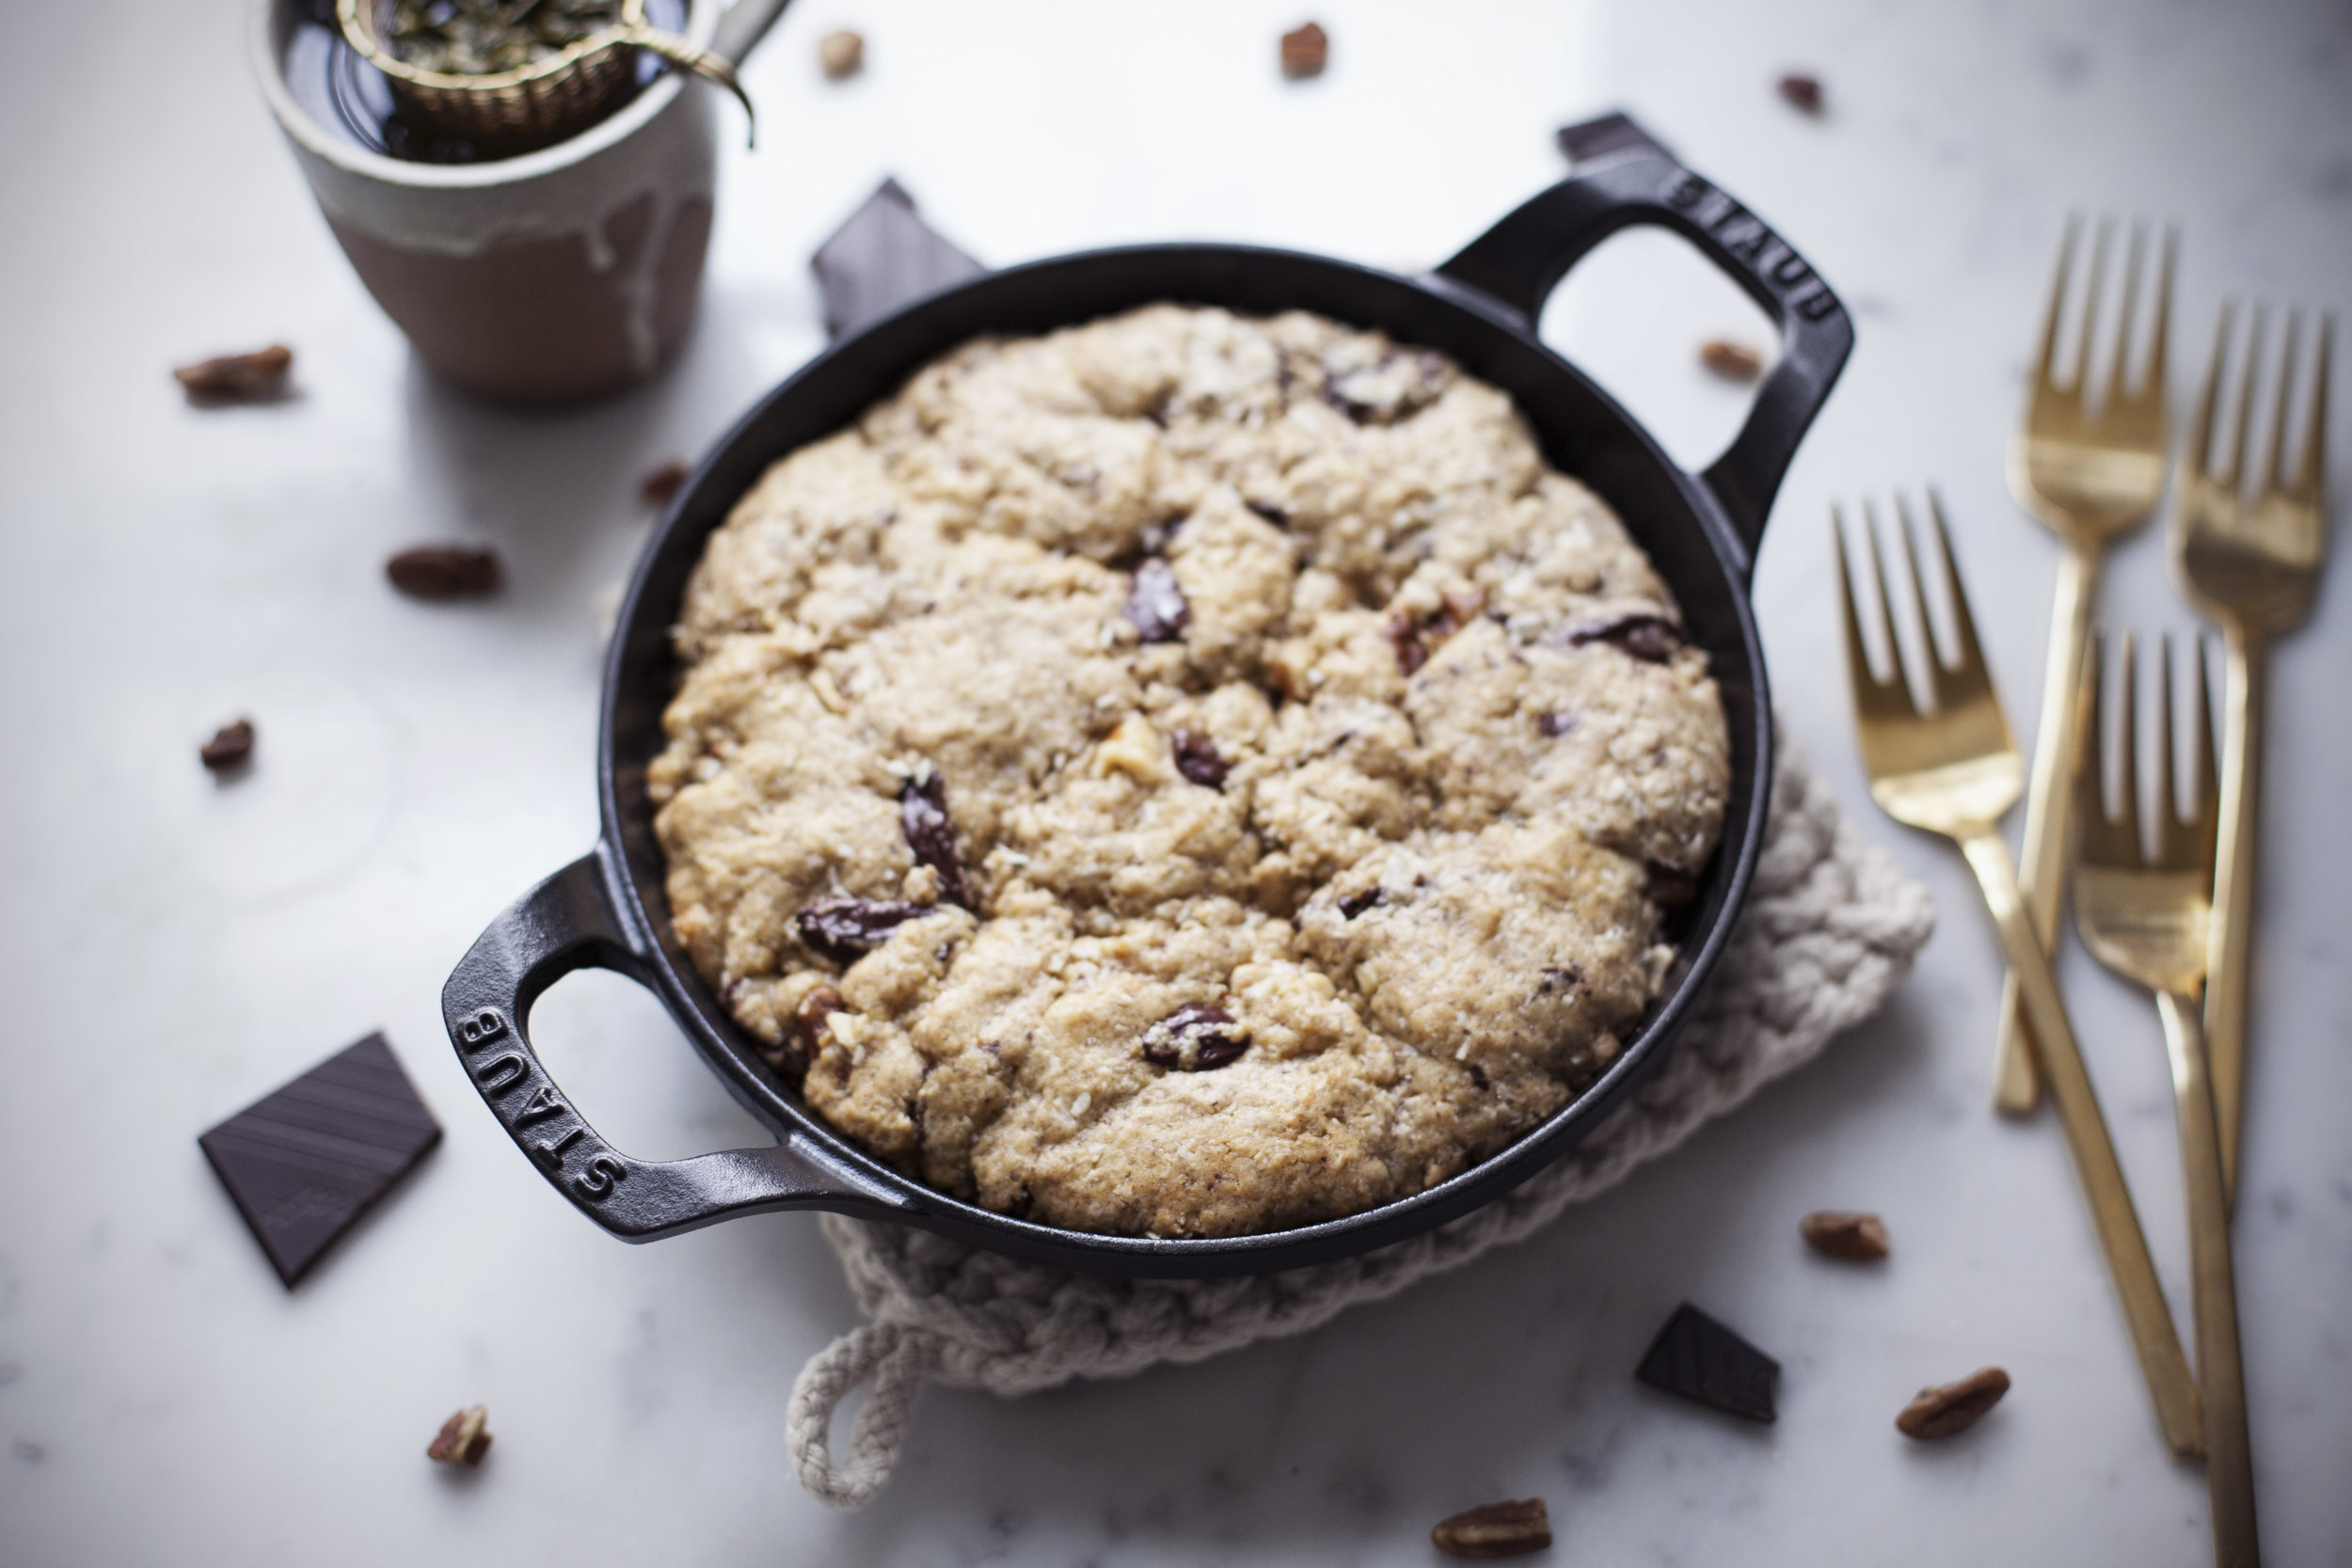
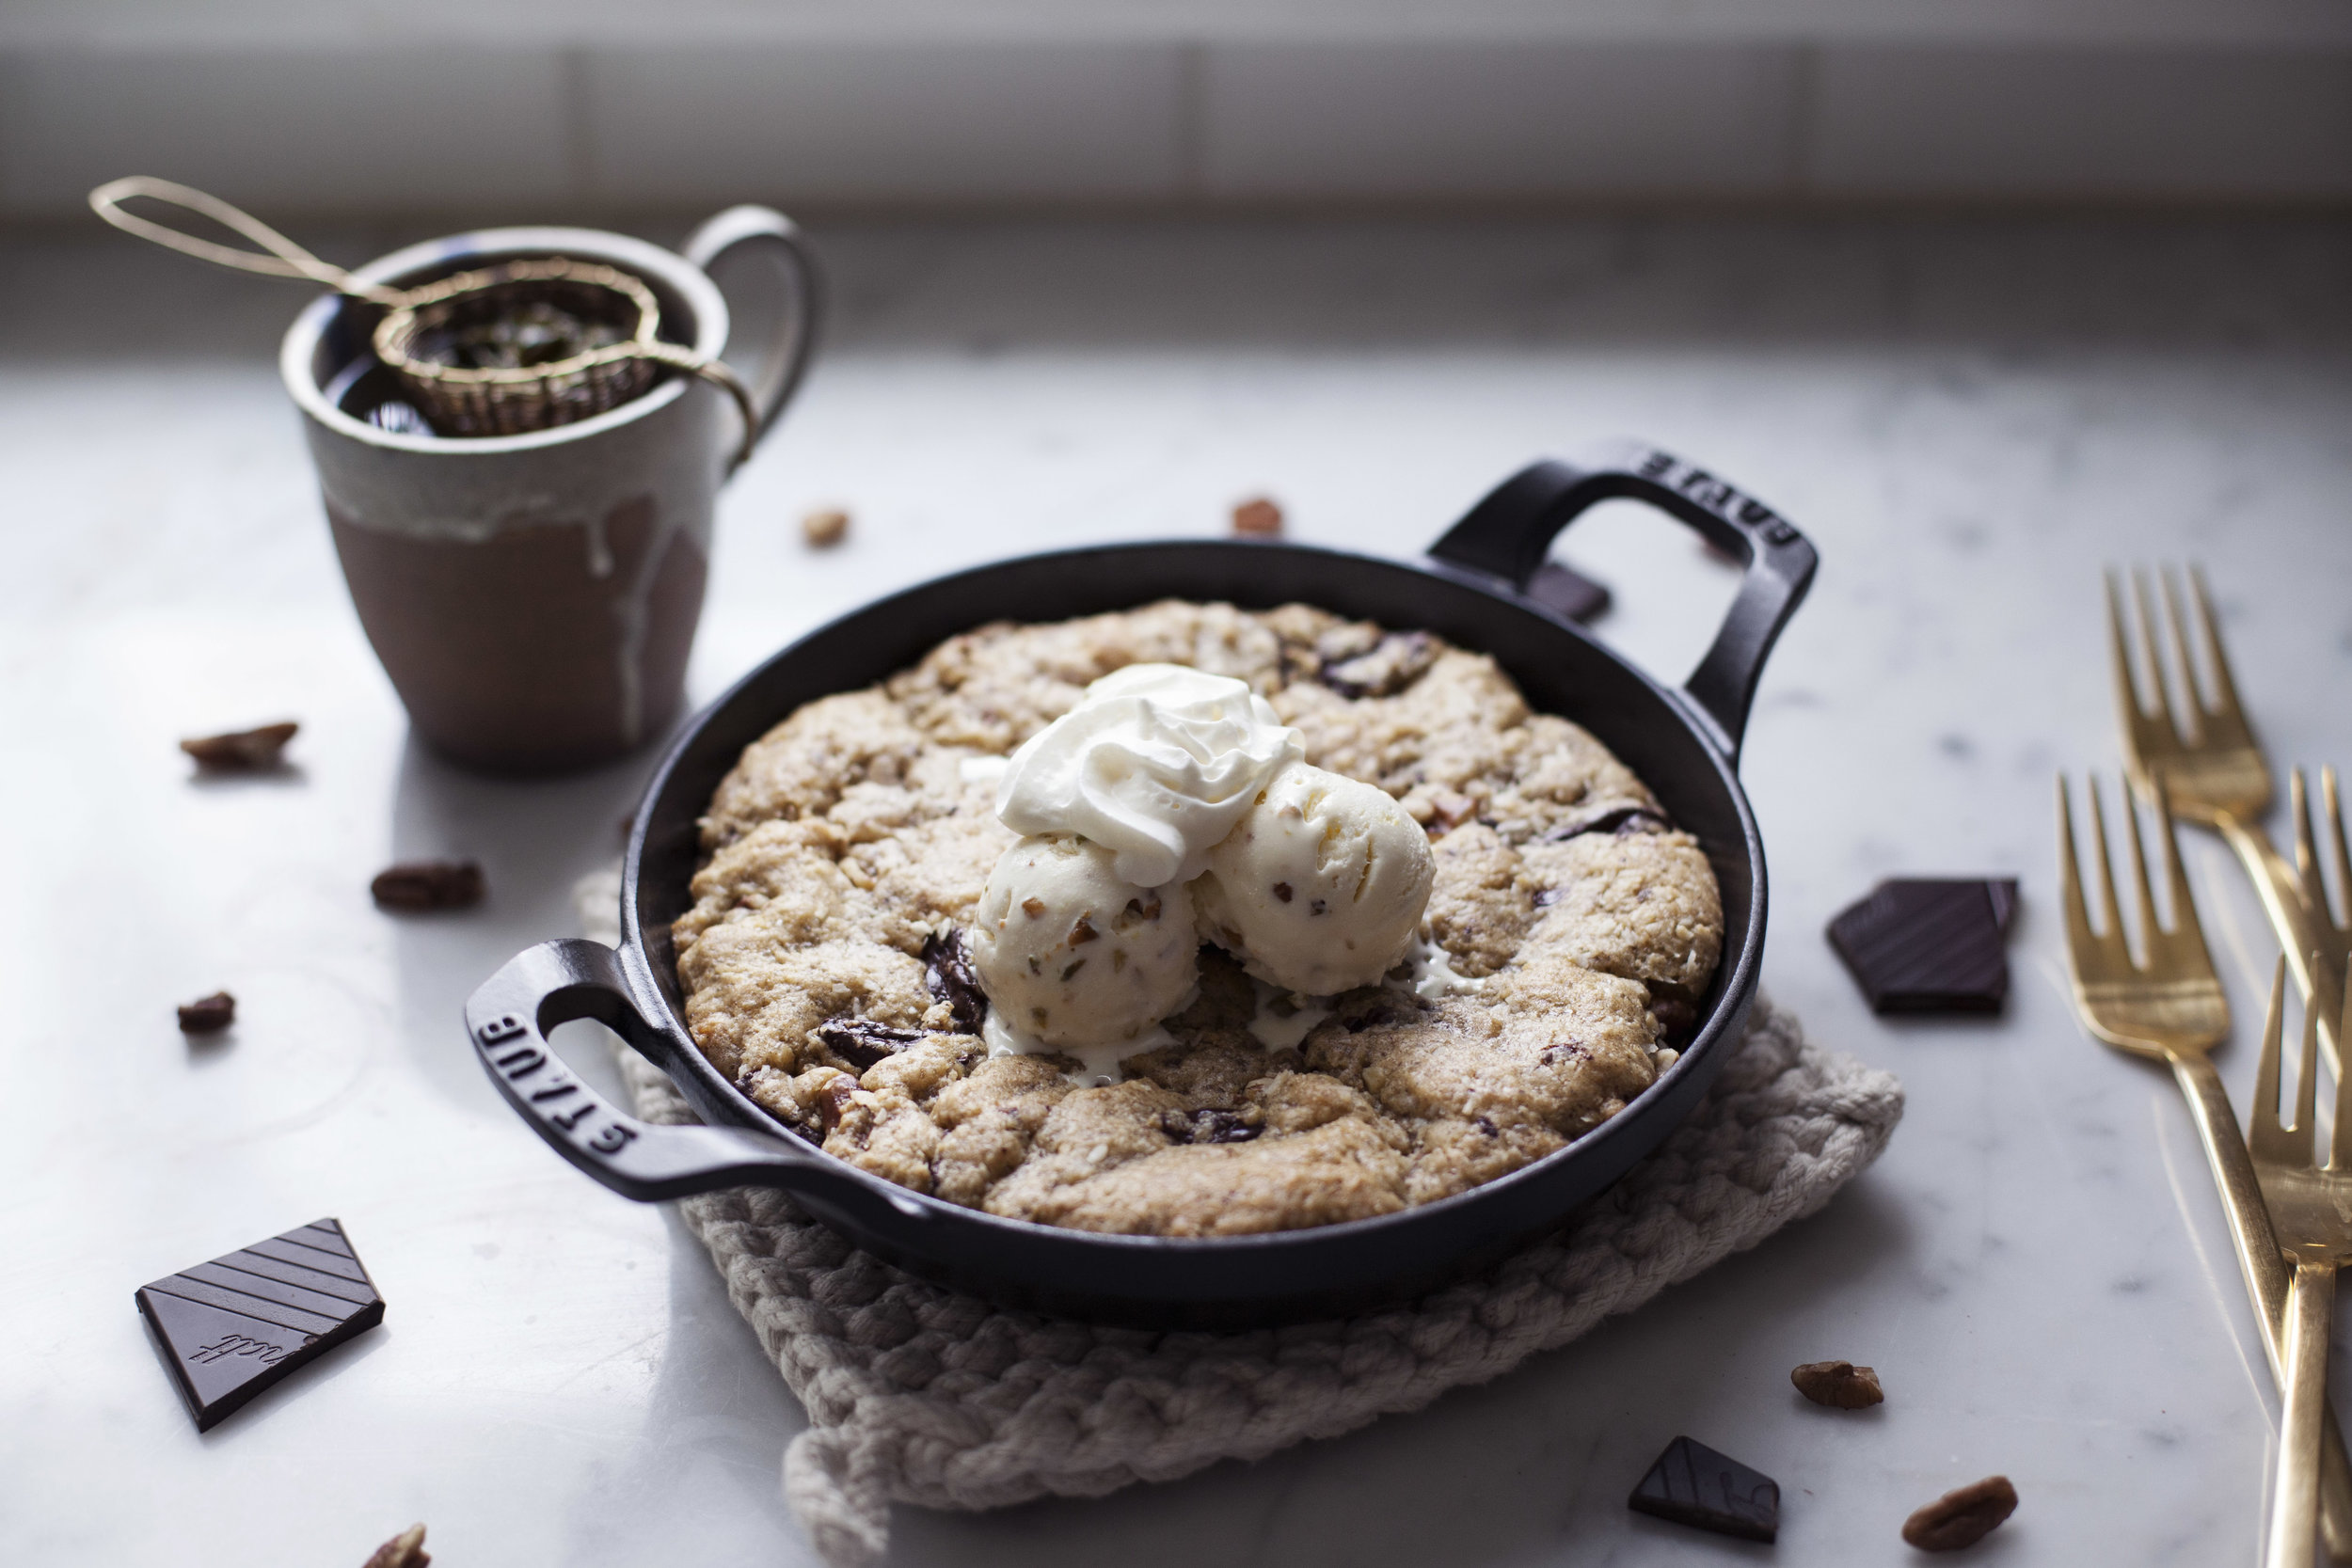
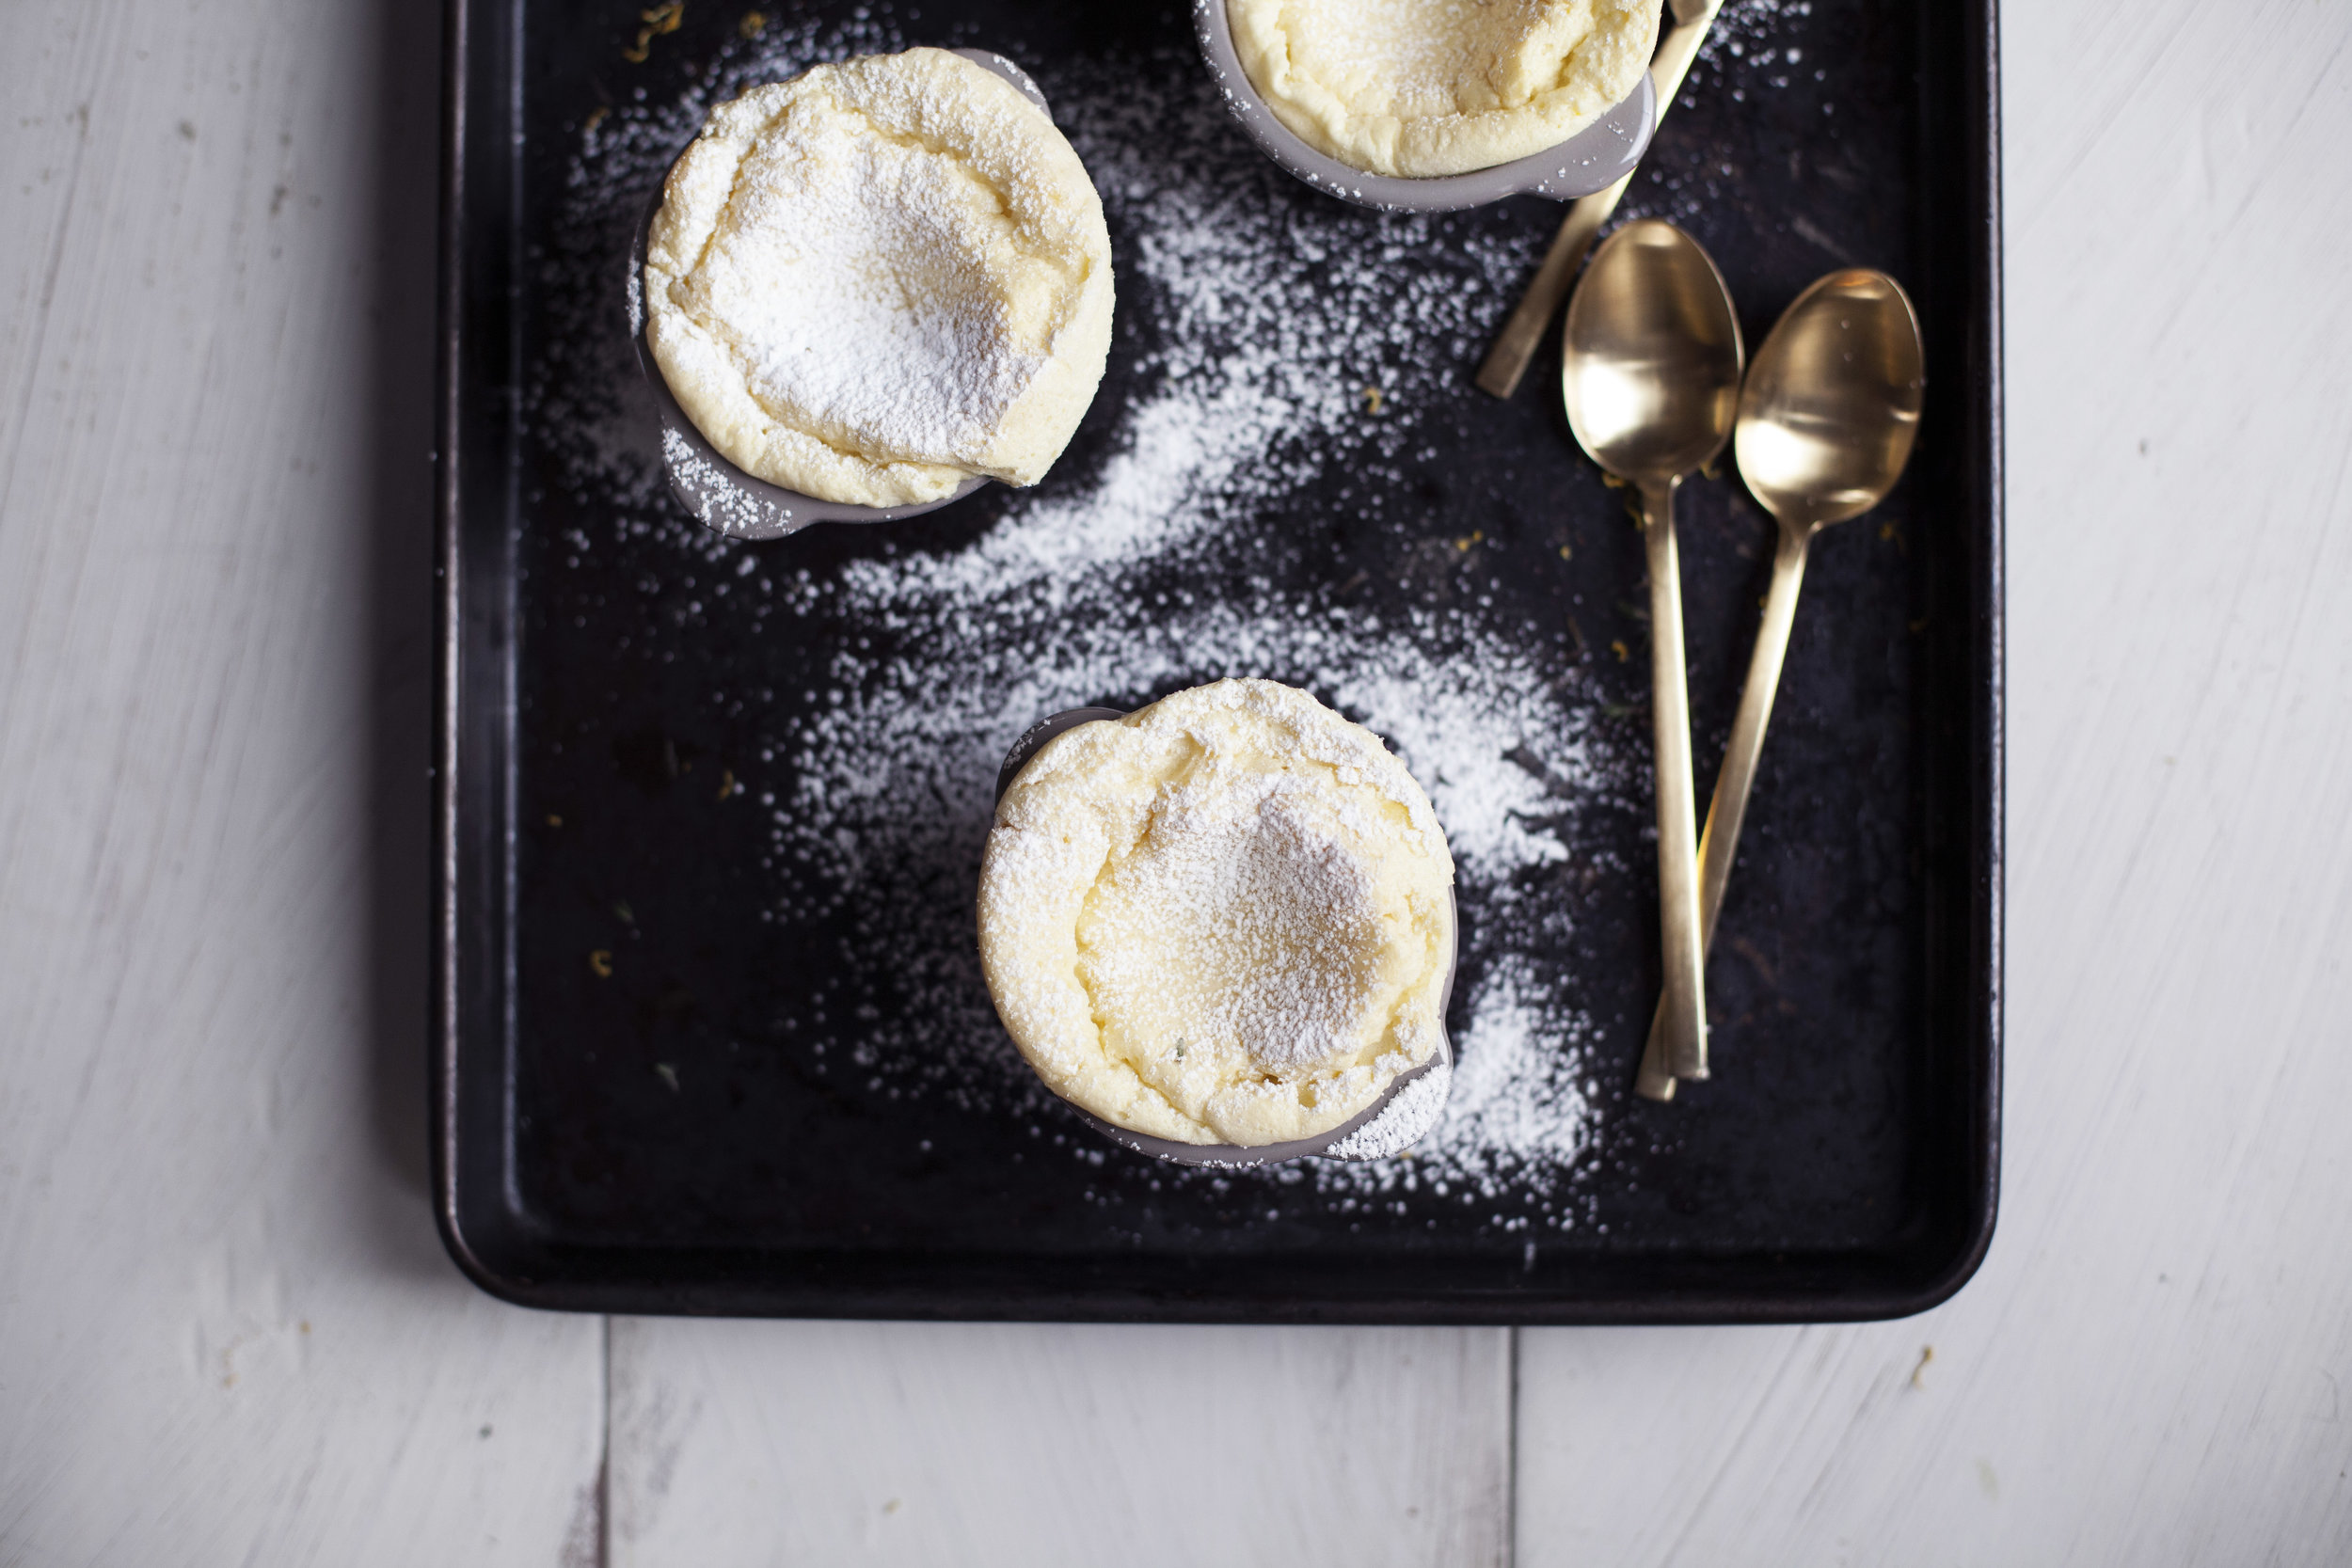
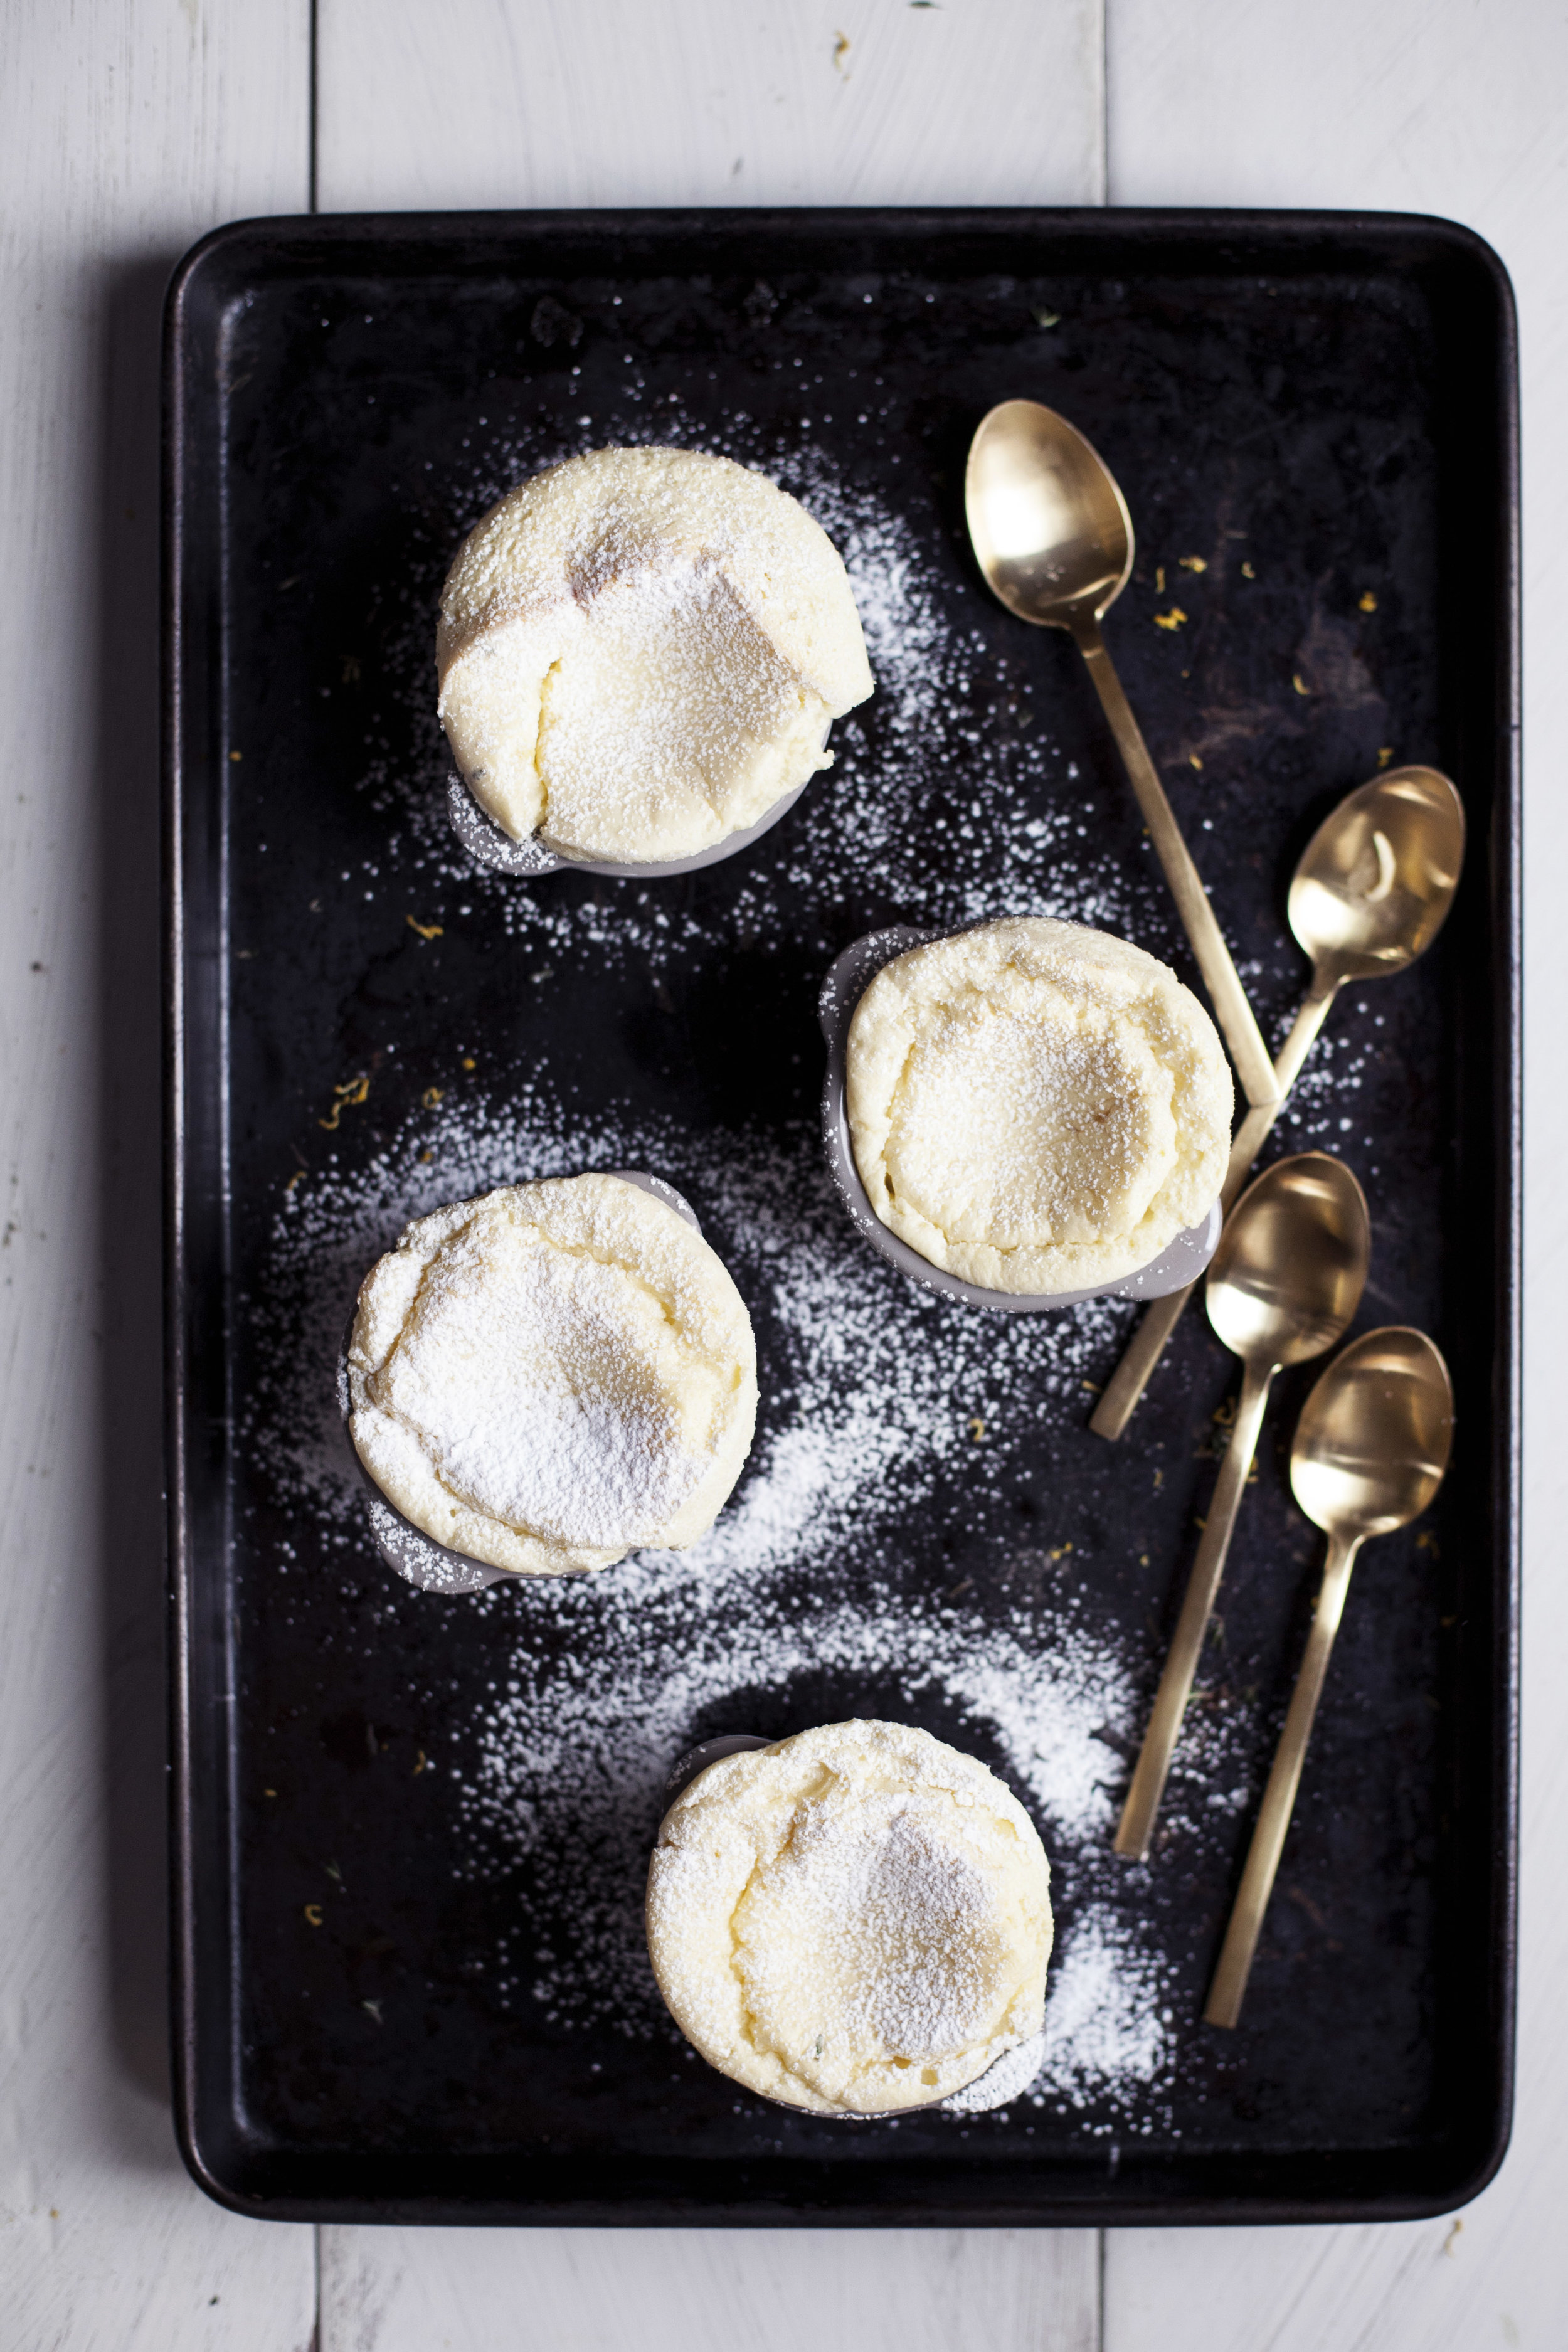
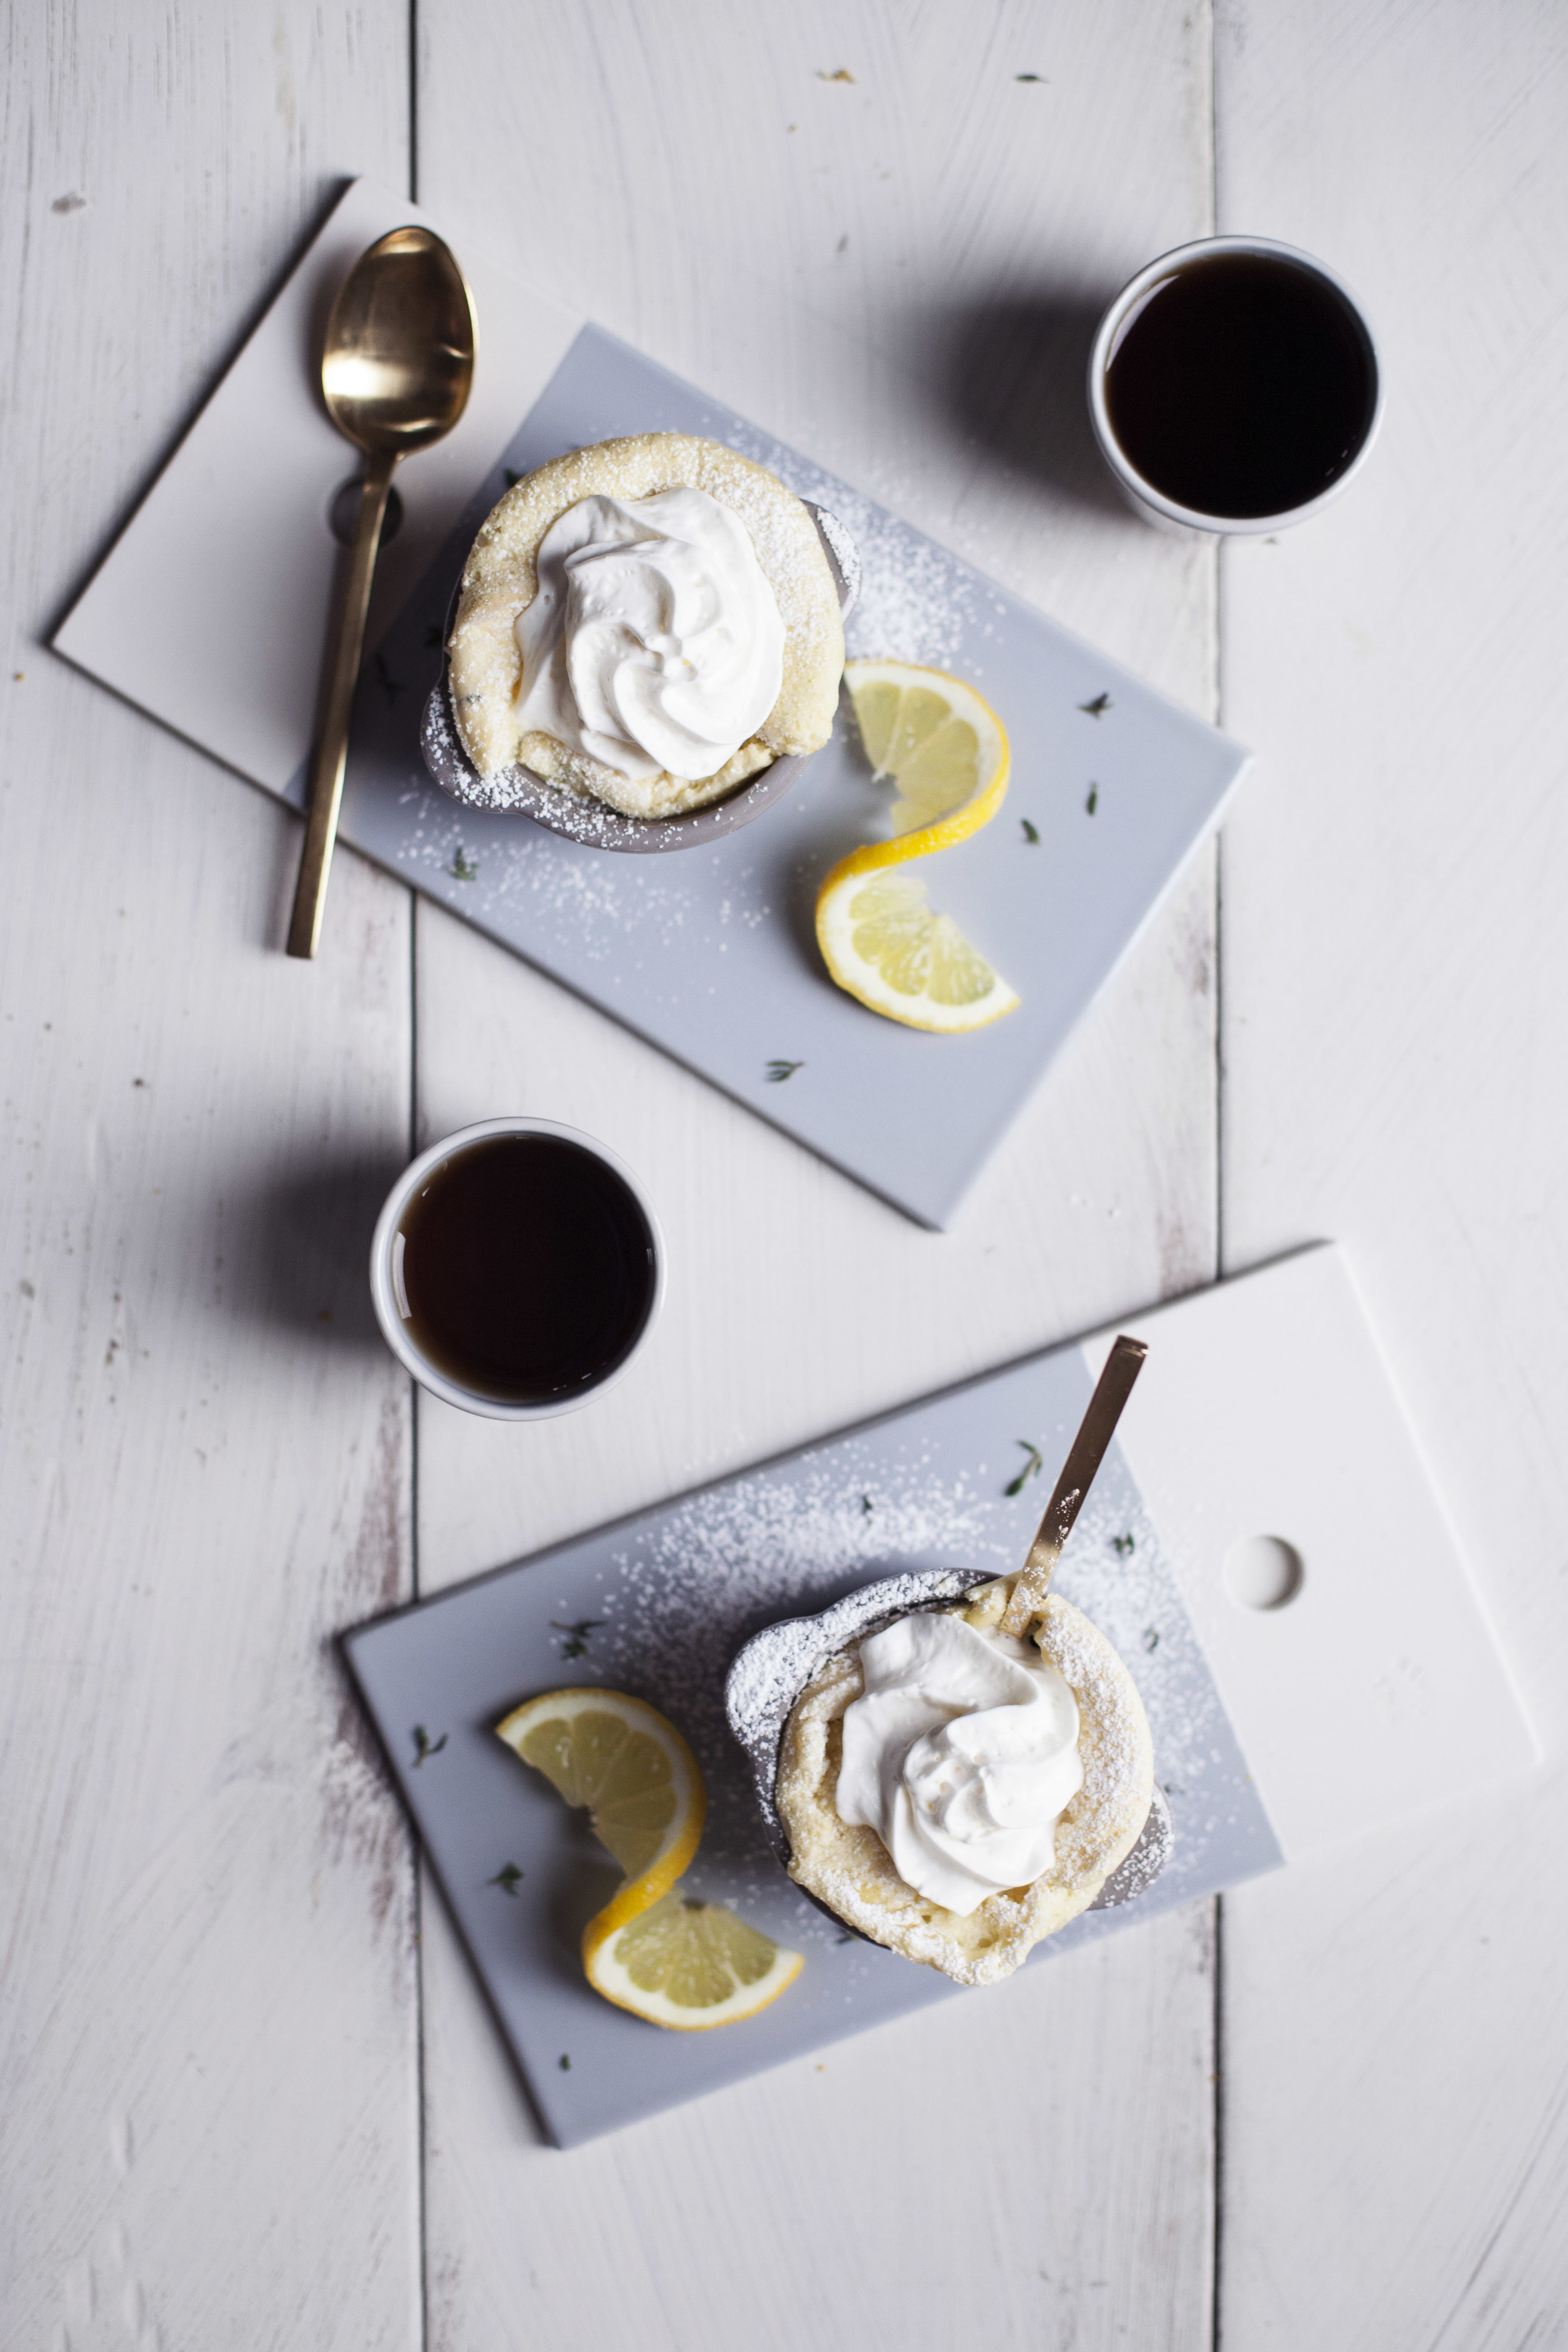
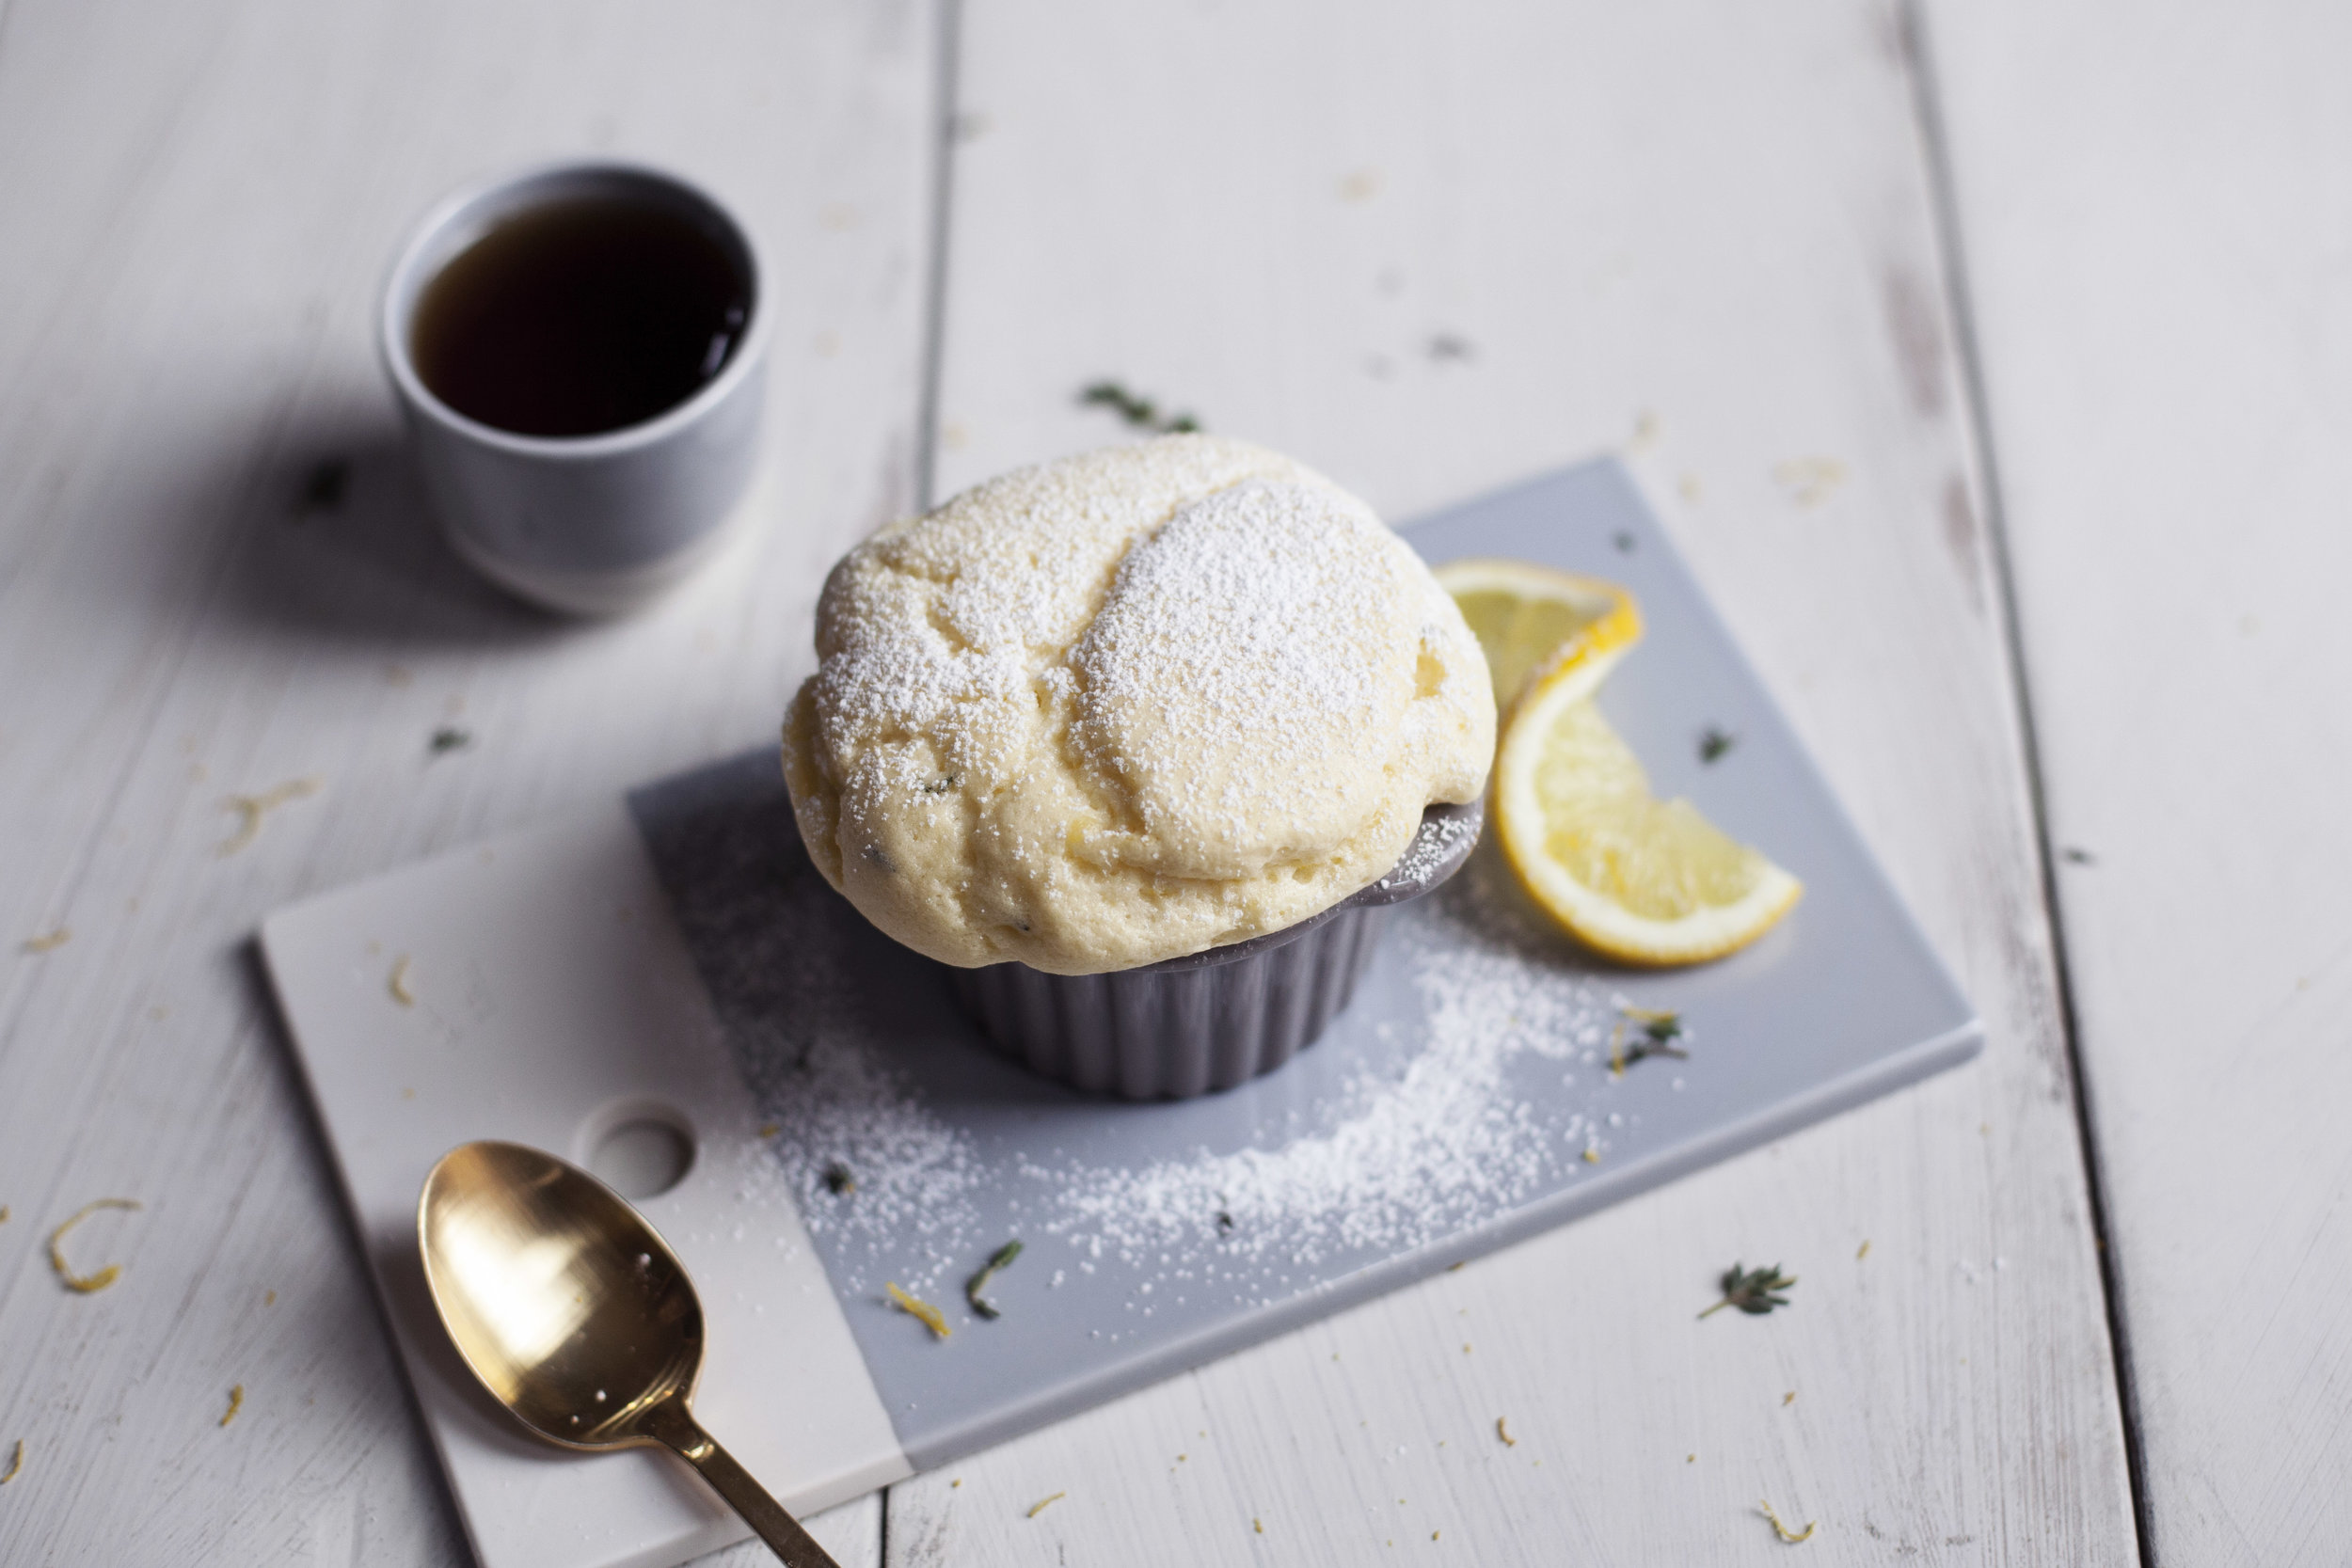
i FINALLY made a souffle! i don't know what i was so scared of all this time (well the obvious.. the souffles not rising) but after making these lemon + thyme souffles that fear is ALL gone. they were super simple to execute as long as you follow the directions step by step. the most important part is to not deflate the egg whites when you fold them into the thick batter! if you are intimidated at the thought of a souffle, seriously try this recipe. i promise all your fears will vanish. the lemon & thyme flavour is subtle, but strong enough that i felt topping them with a cream sauce was unnecessary. just a generous dusting of powdered sugar paired with a dollop of fresh whipped cream or a scoop of french vanilla ice cream on the side. i can't wait to try a chocolate souffle next or a savoury cheese one! oh, the possibilities are endless.

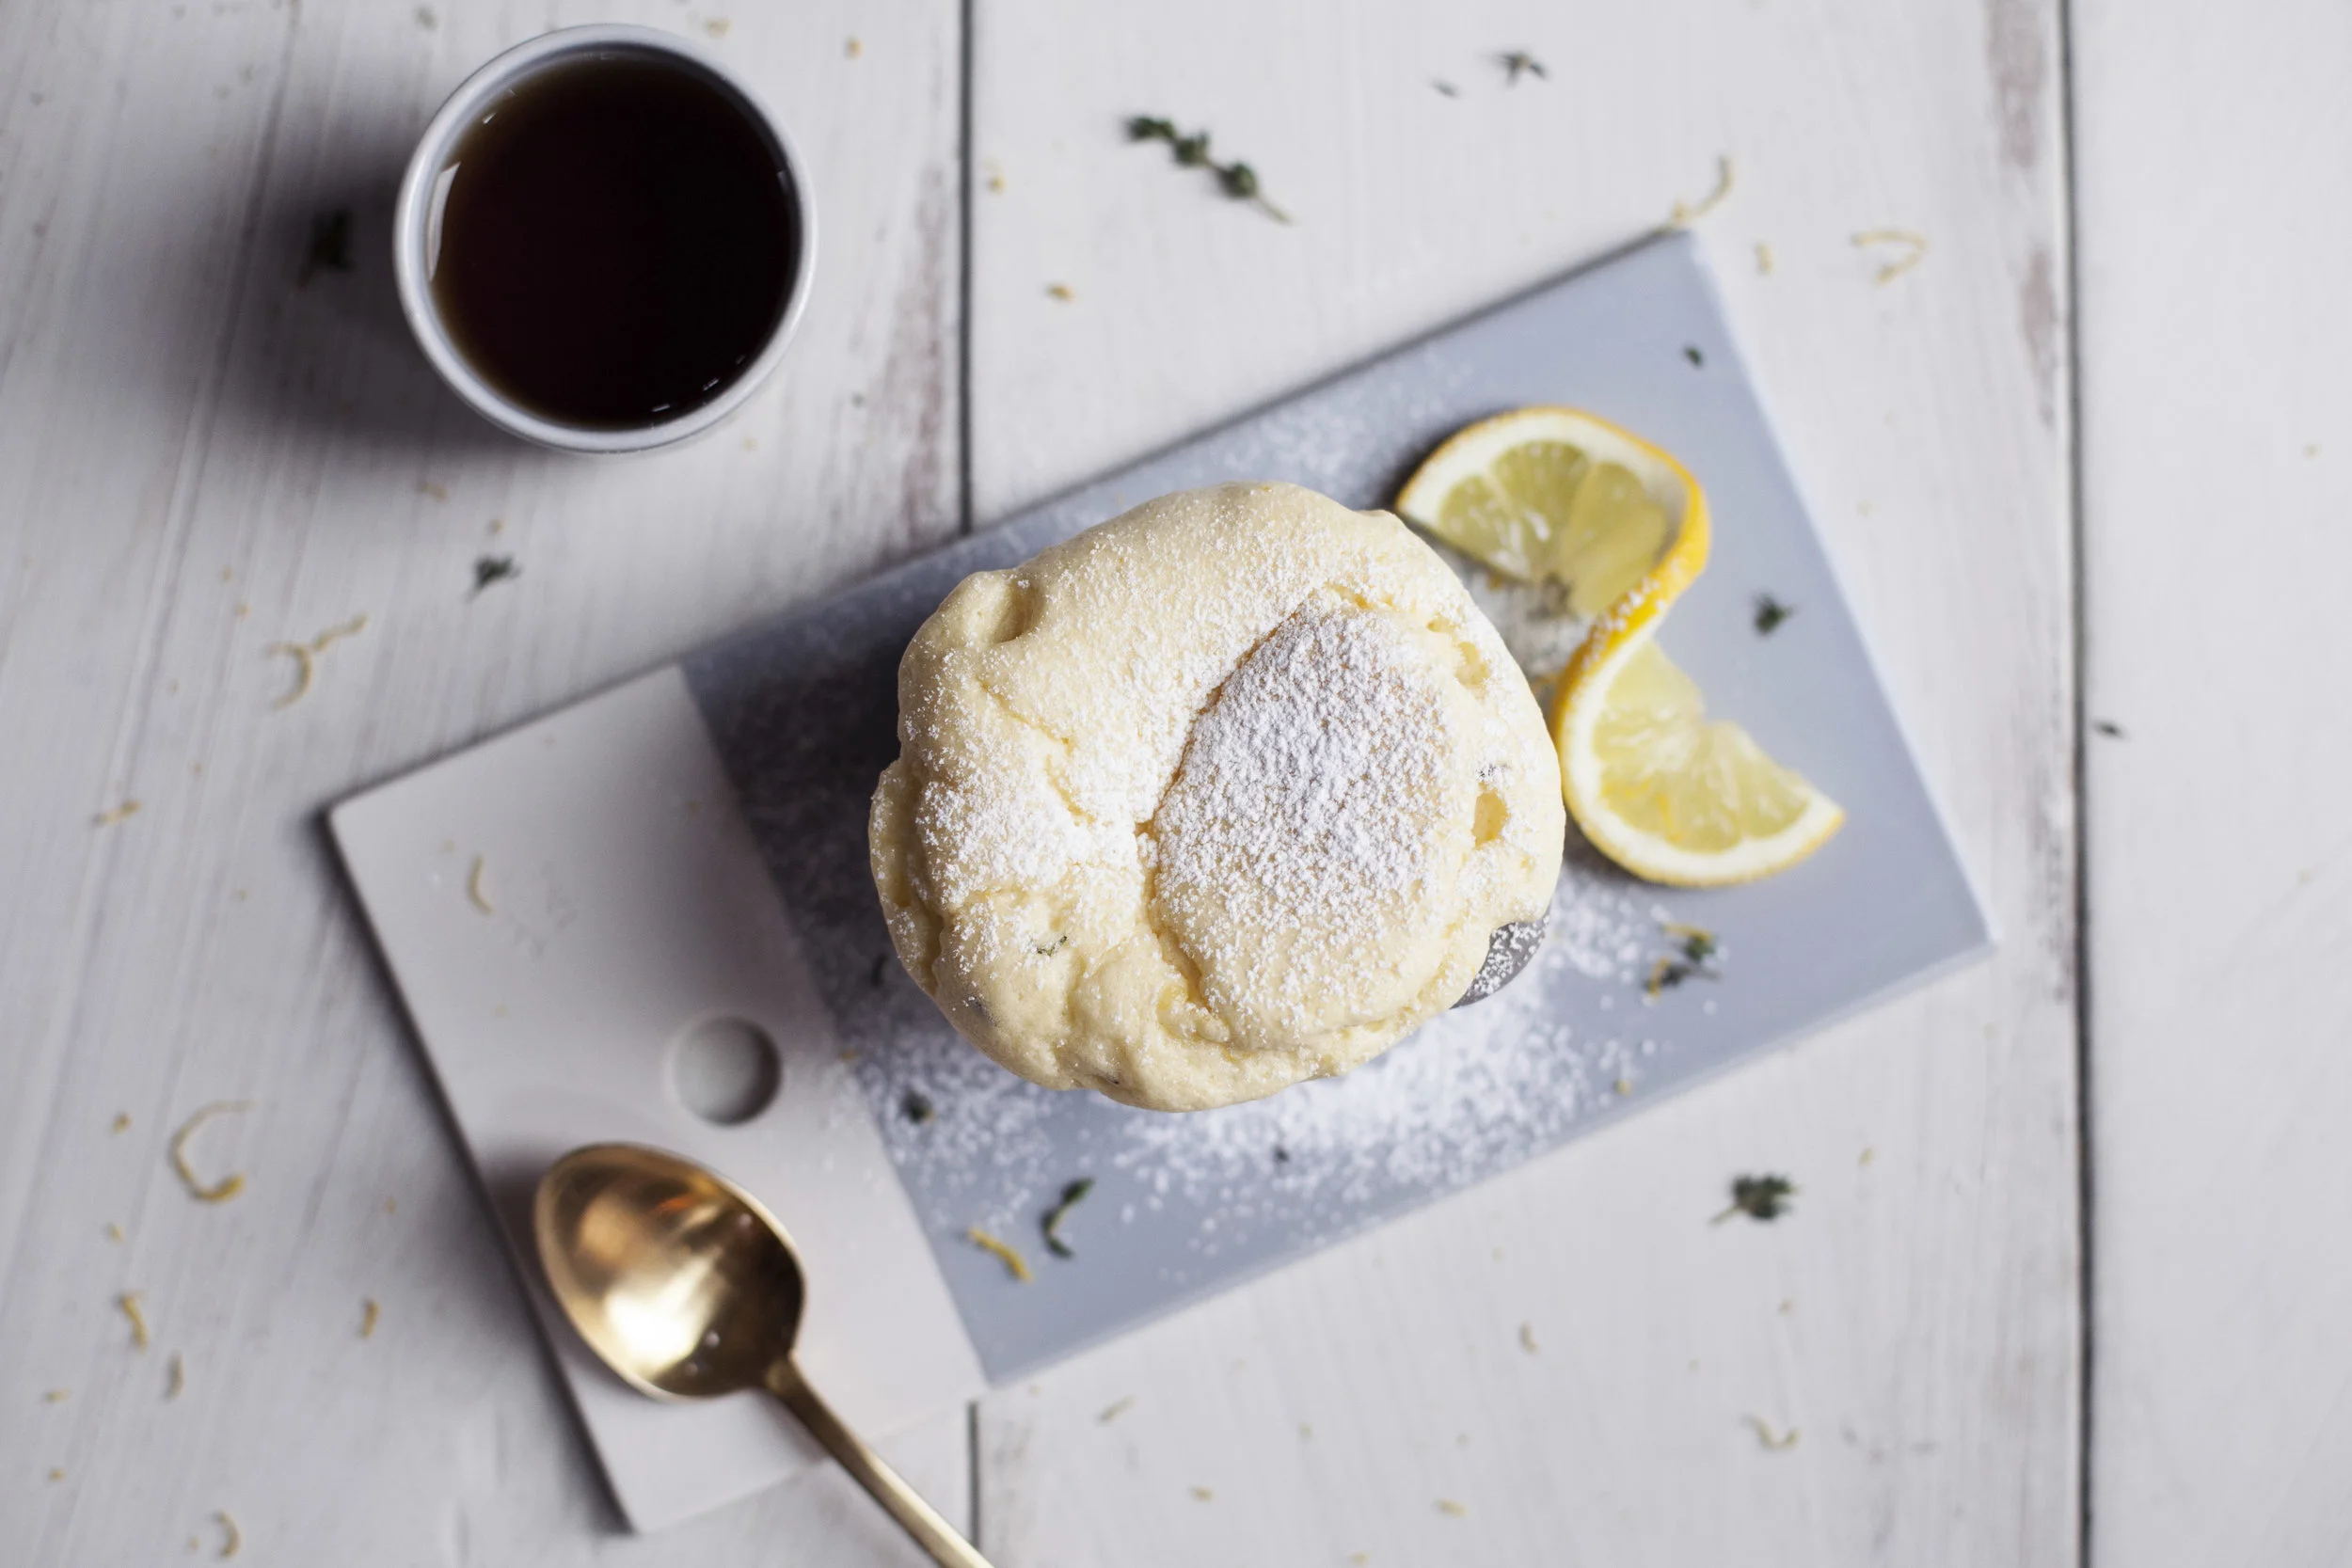
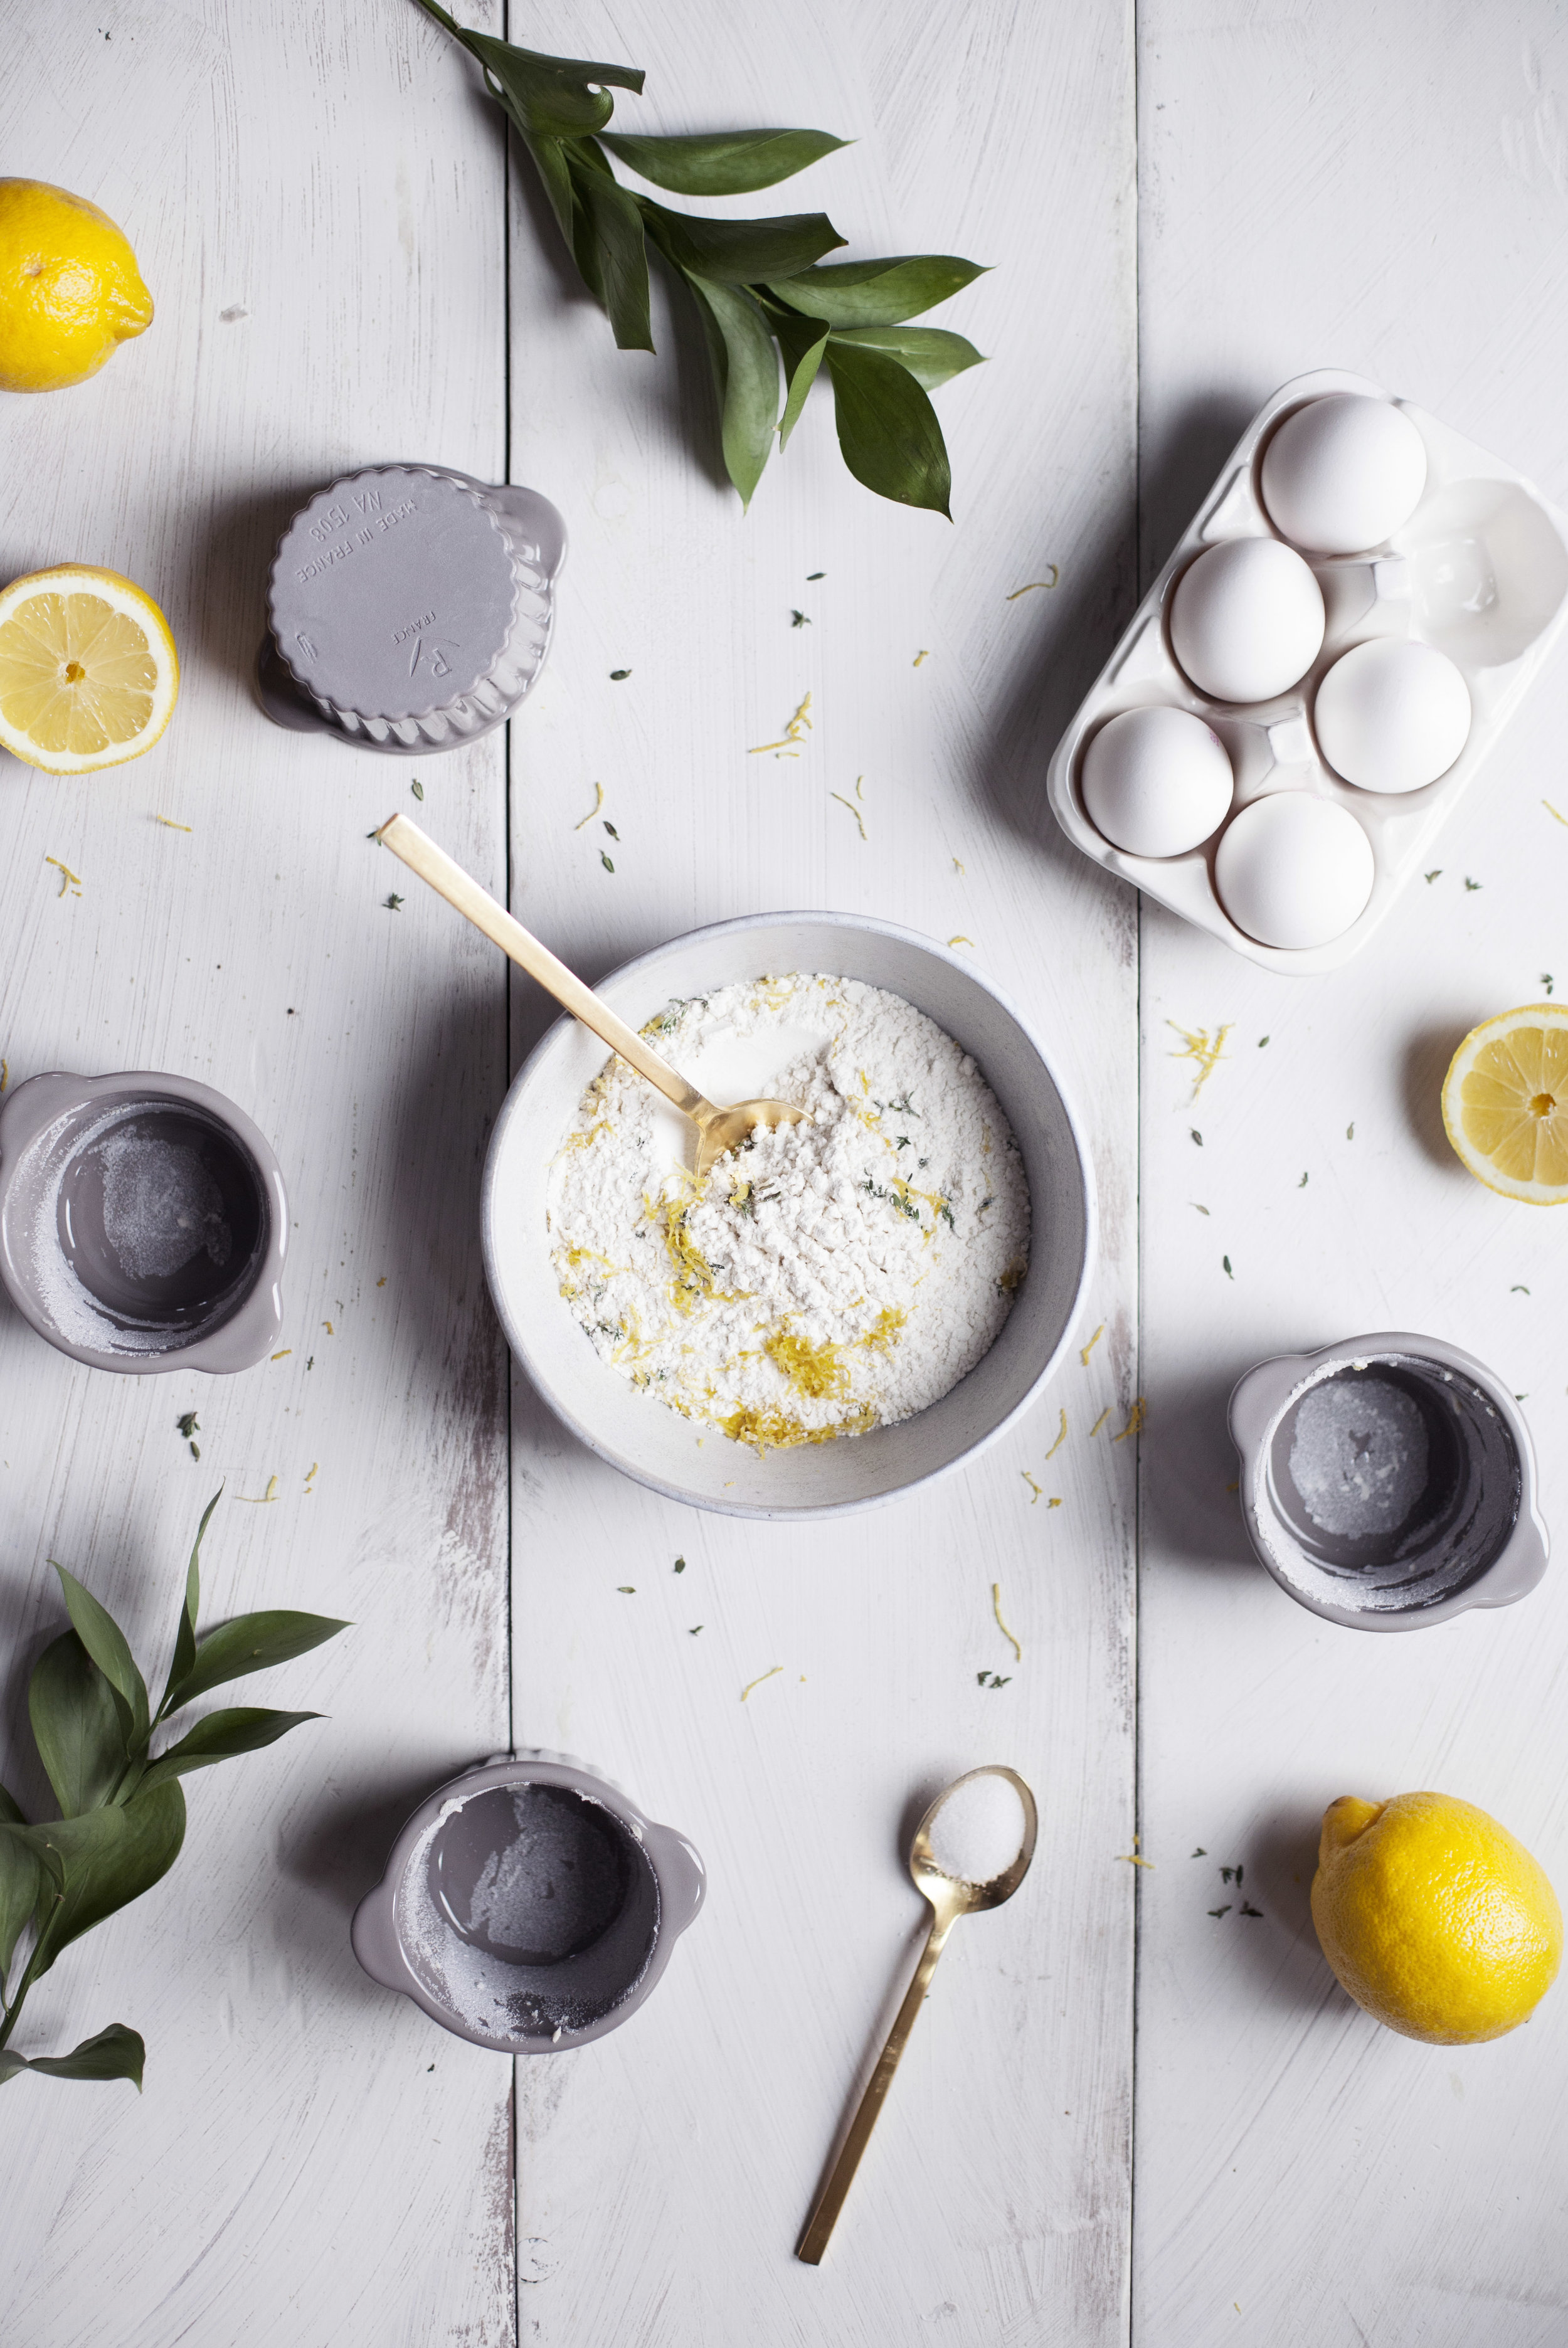
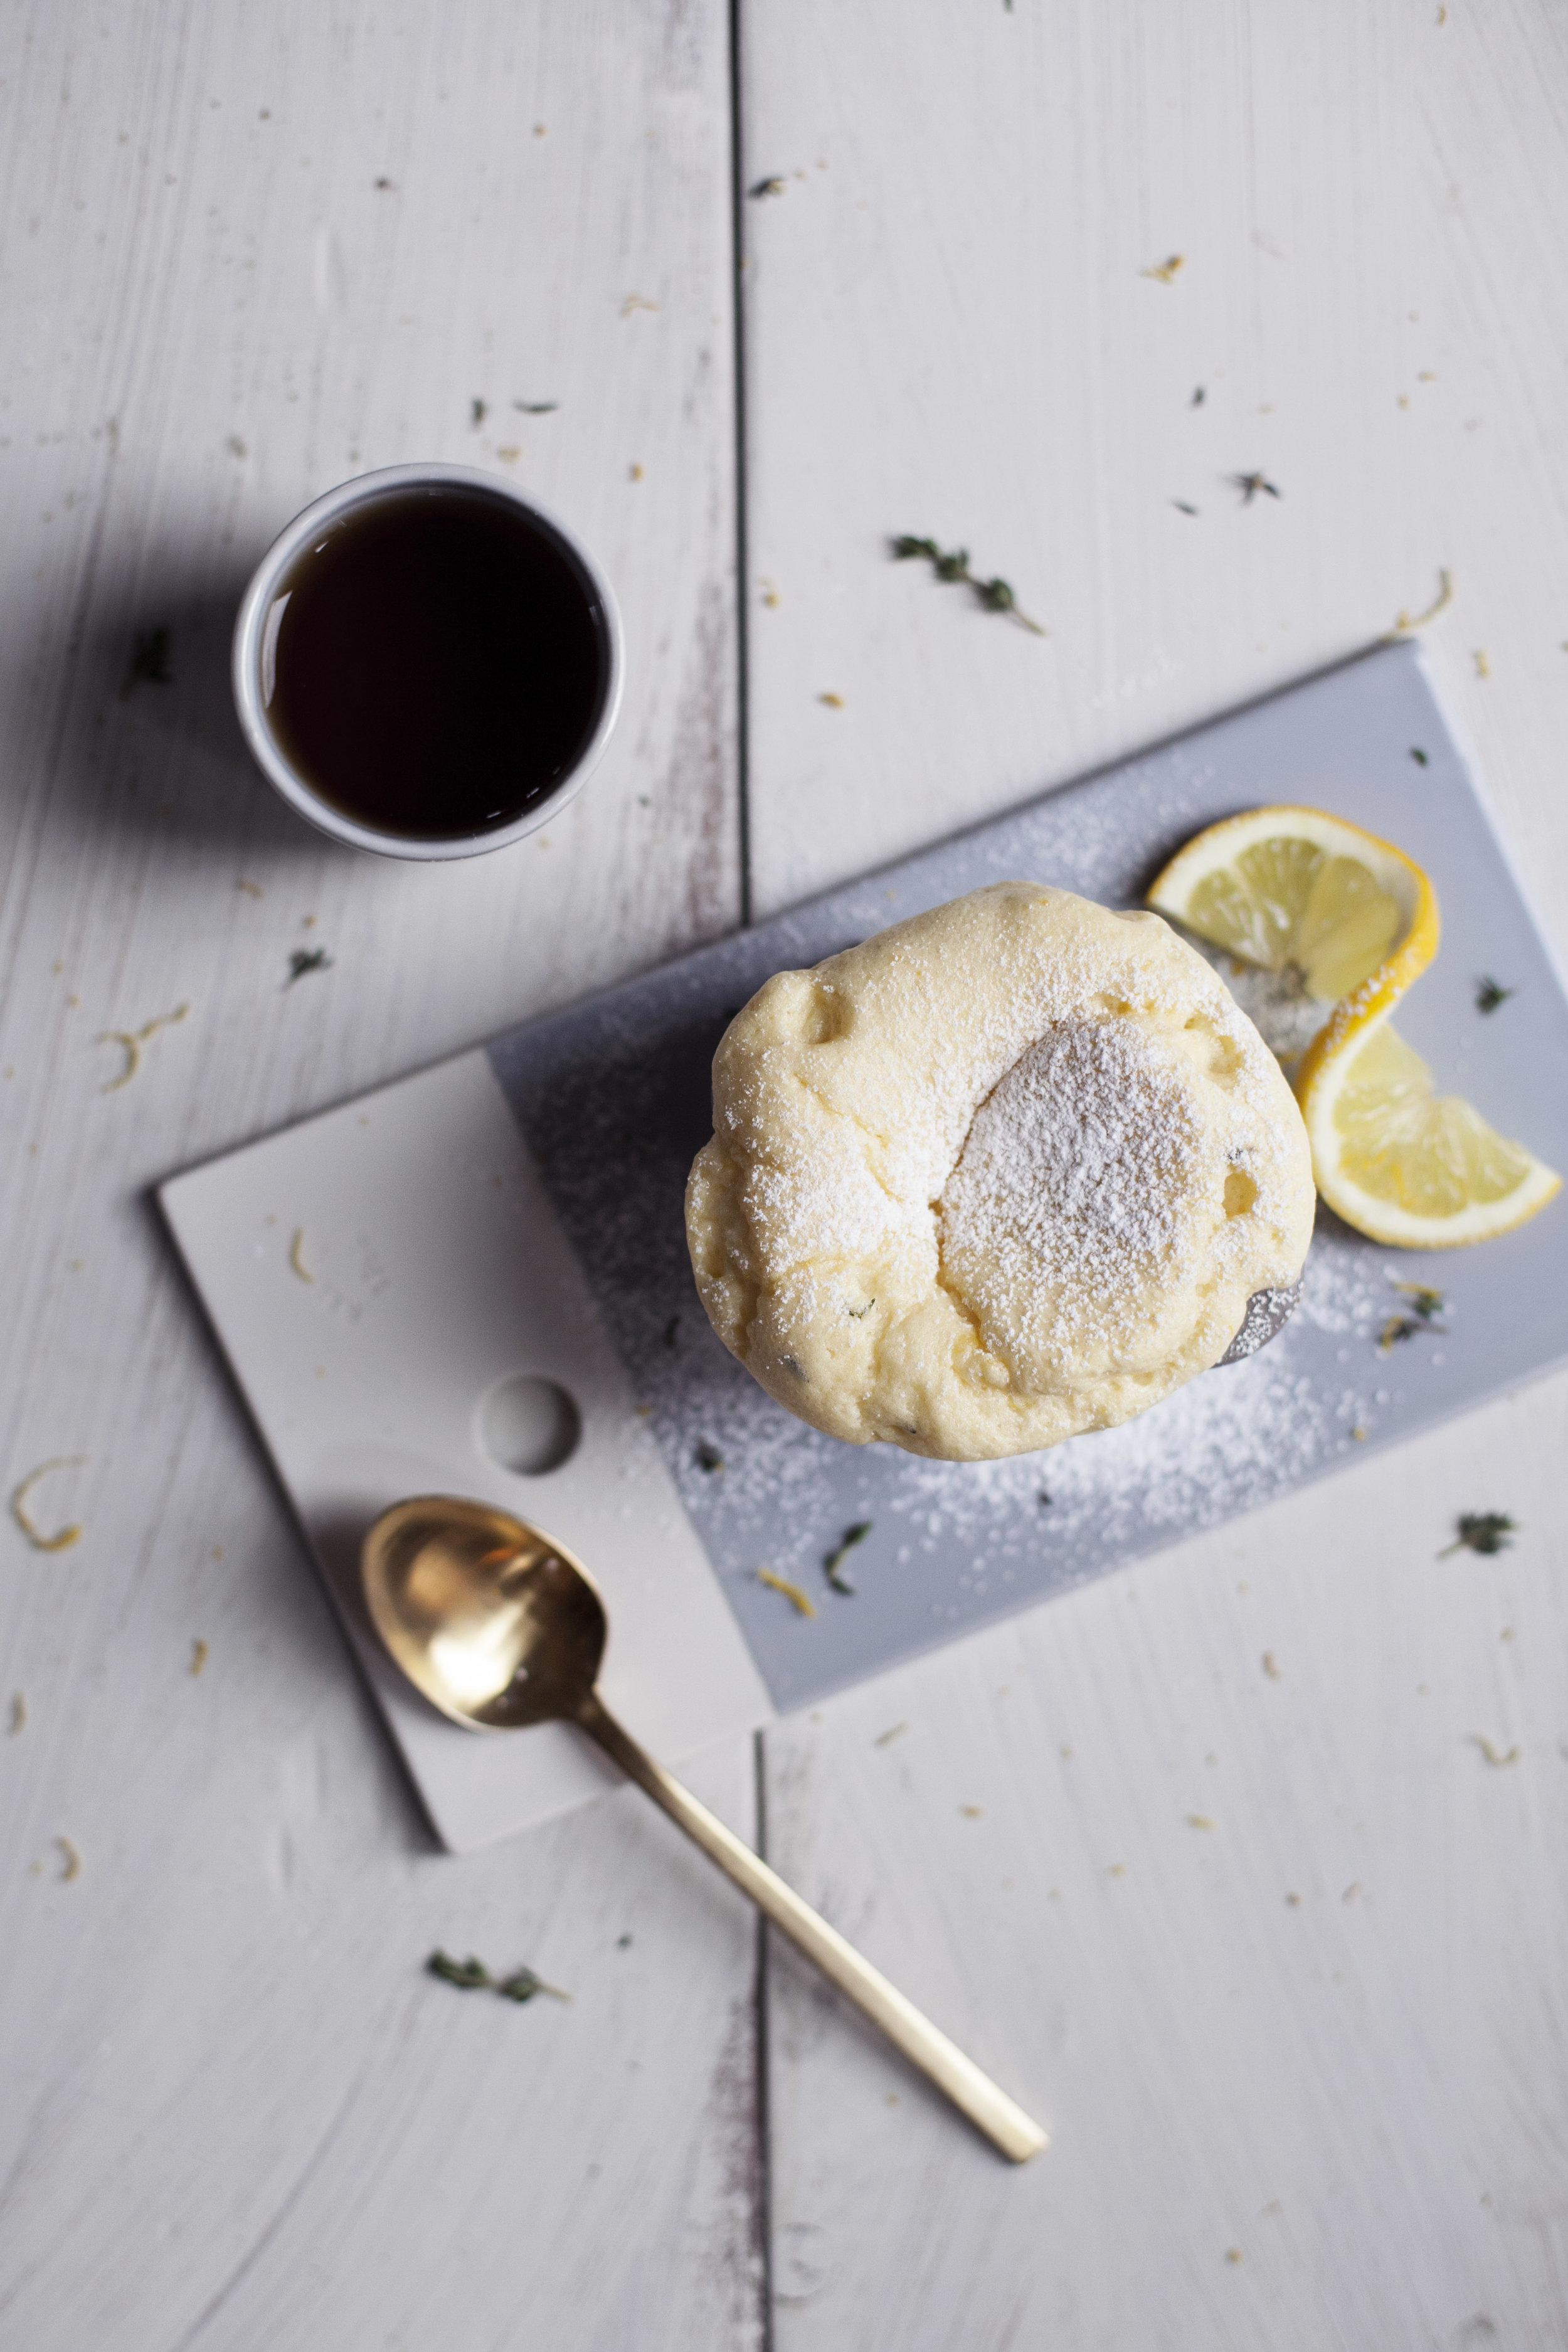
i baked these lemon thyme souffles in the prettiest [made in france] porcelaine ramekins from REVOL 1978. they have a very earthy & natural look to them compared to a classic white ramekin. plus, they look great on the open shelving we installed this weekend (i will be showing those off very soon). they were also the perfect size to make individual souffles in because i'm sure you know by now i love serving everything in mini or individual portions! they present so much better this way. i served them on REVOL's colour lab gourmet serving board with the matching colour lab cup. the square serving board makes for the perfect dessert or appetizer plate. the colour lab collection comes in all sorts of colours, but it only seemed fitting that i went with grey, right? all of REVOL's kitchenware is made with quality in mind & i just love each piece that i own. remember that gorgeous grey tart pan i made the salted chocolate tart in last summer?

p.s. you can check out REVOL's beautiful selection of kitchenwares here. next on my list is one of those crumbled coffee mugs!

ingredients

  • 1 + 1/4 cup 10% cream, divided
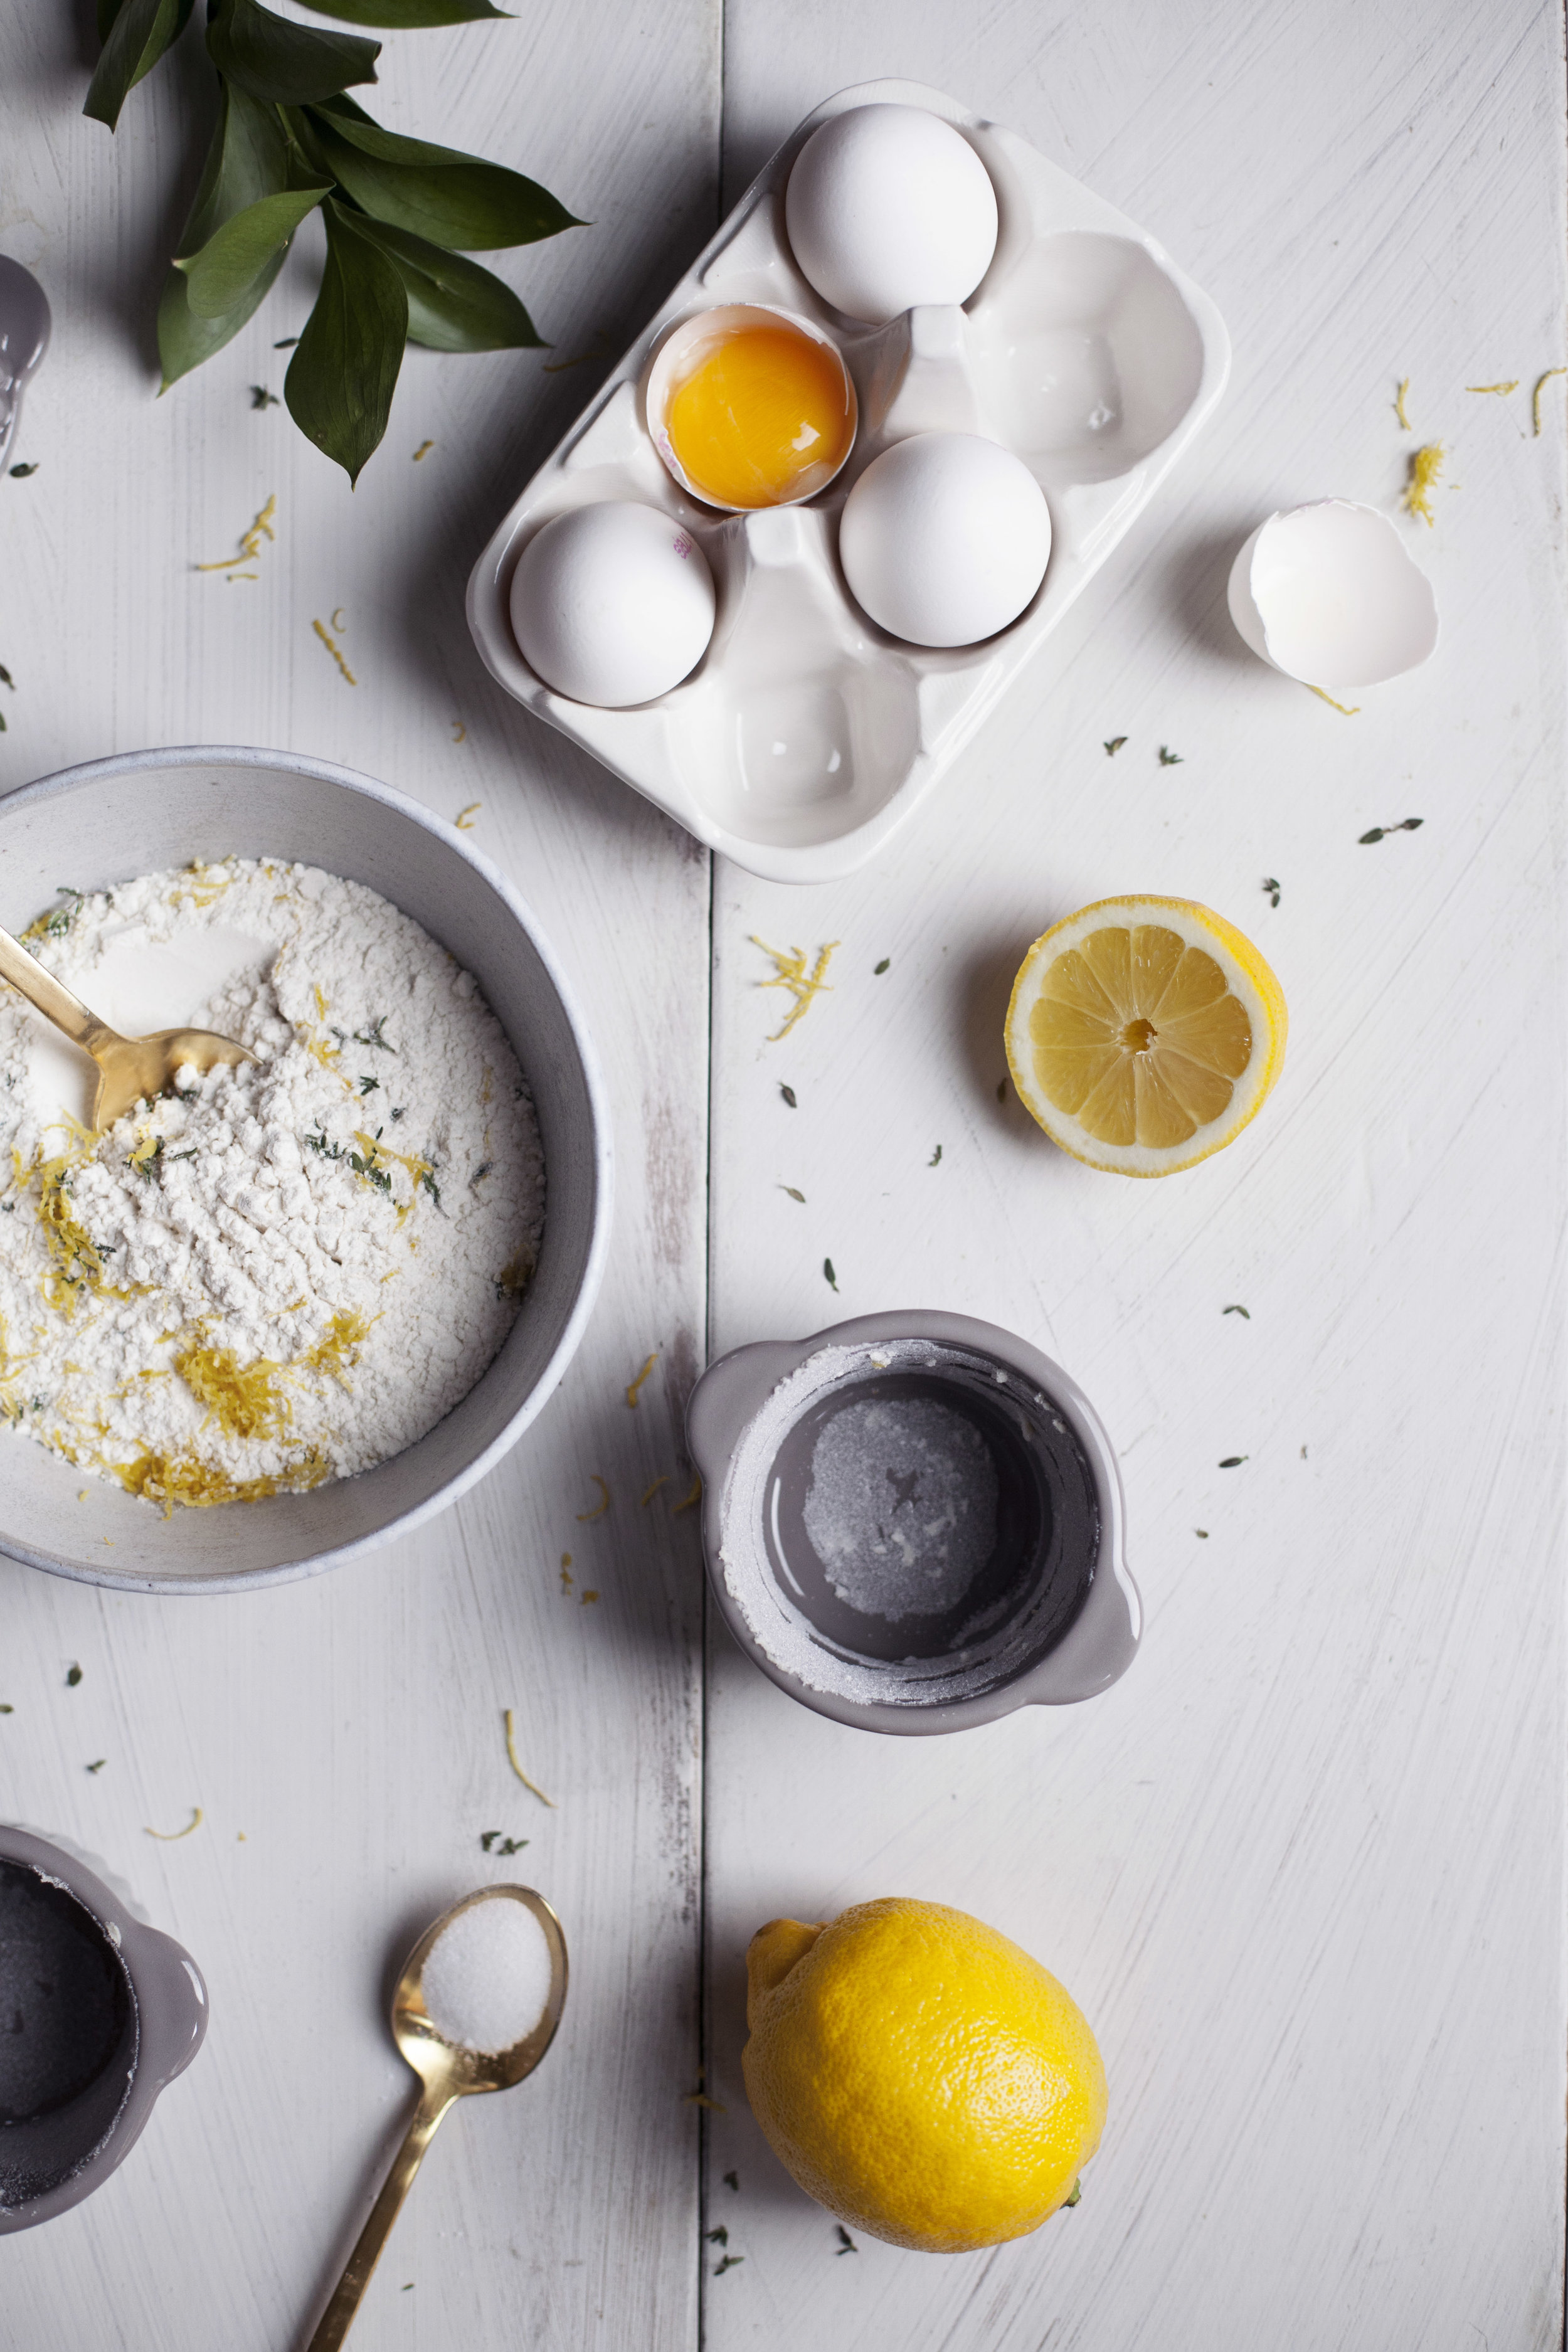
  • 1/3 + 2 tablespoons sugar, divided
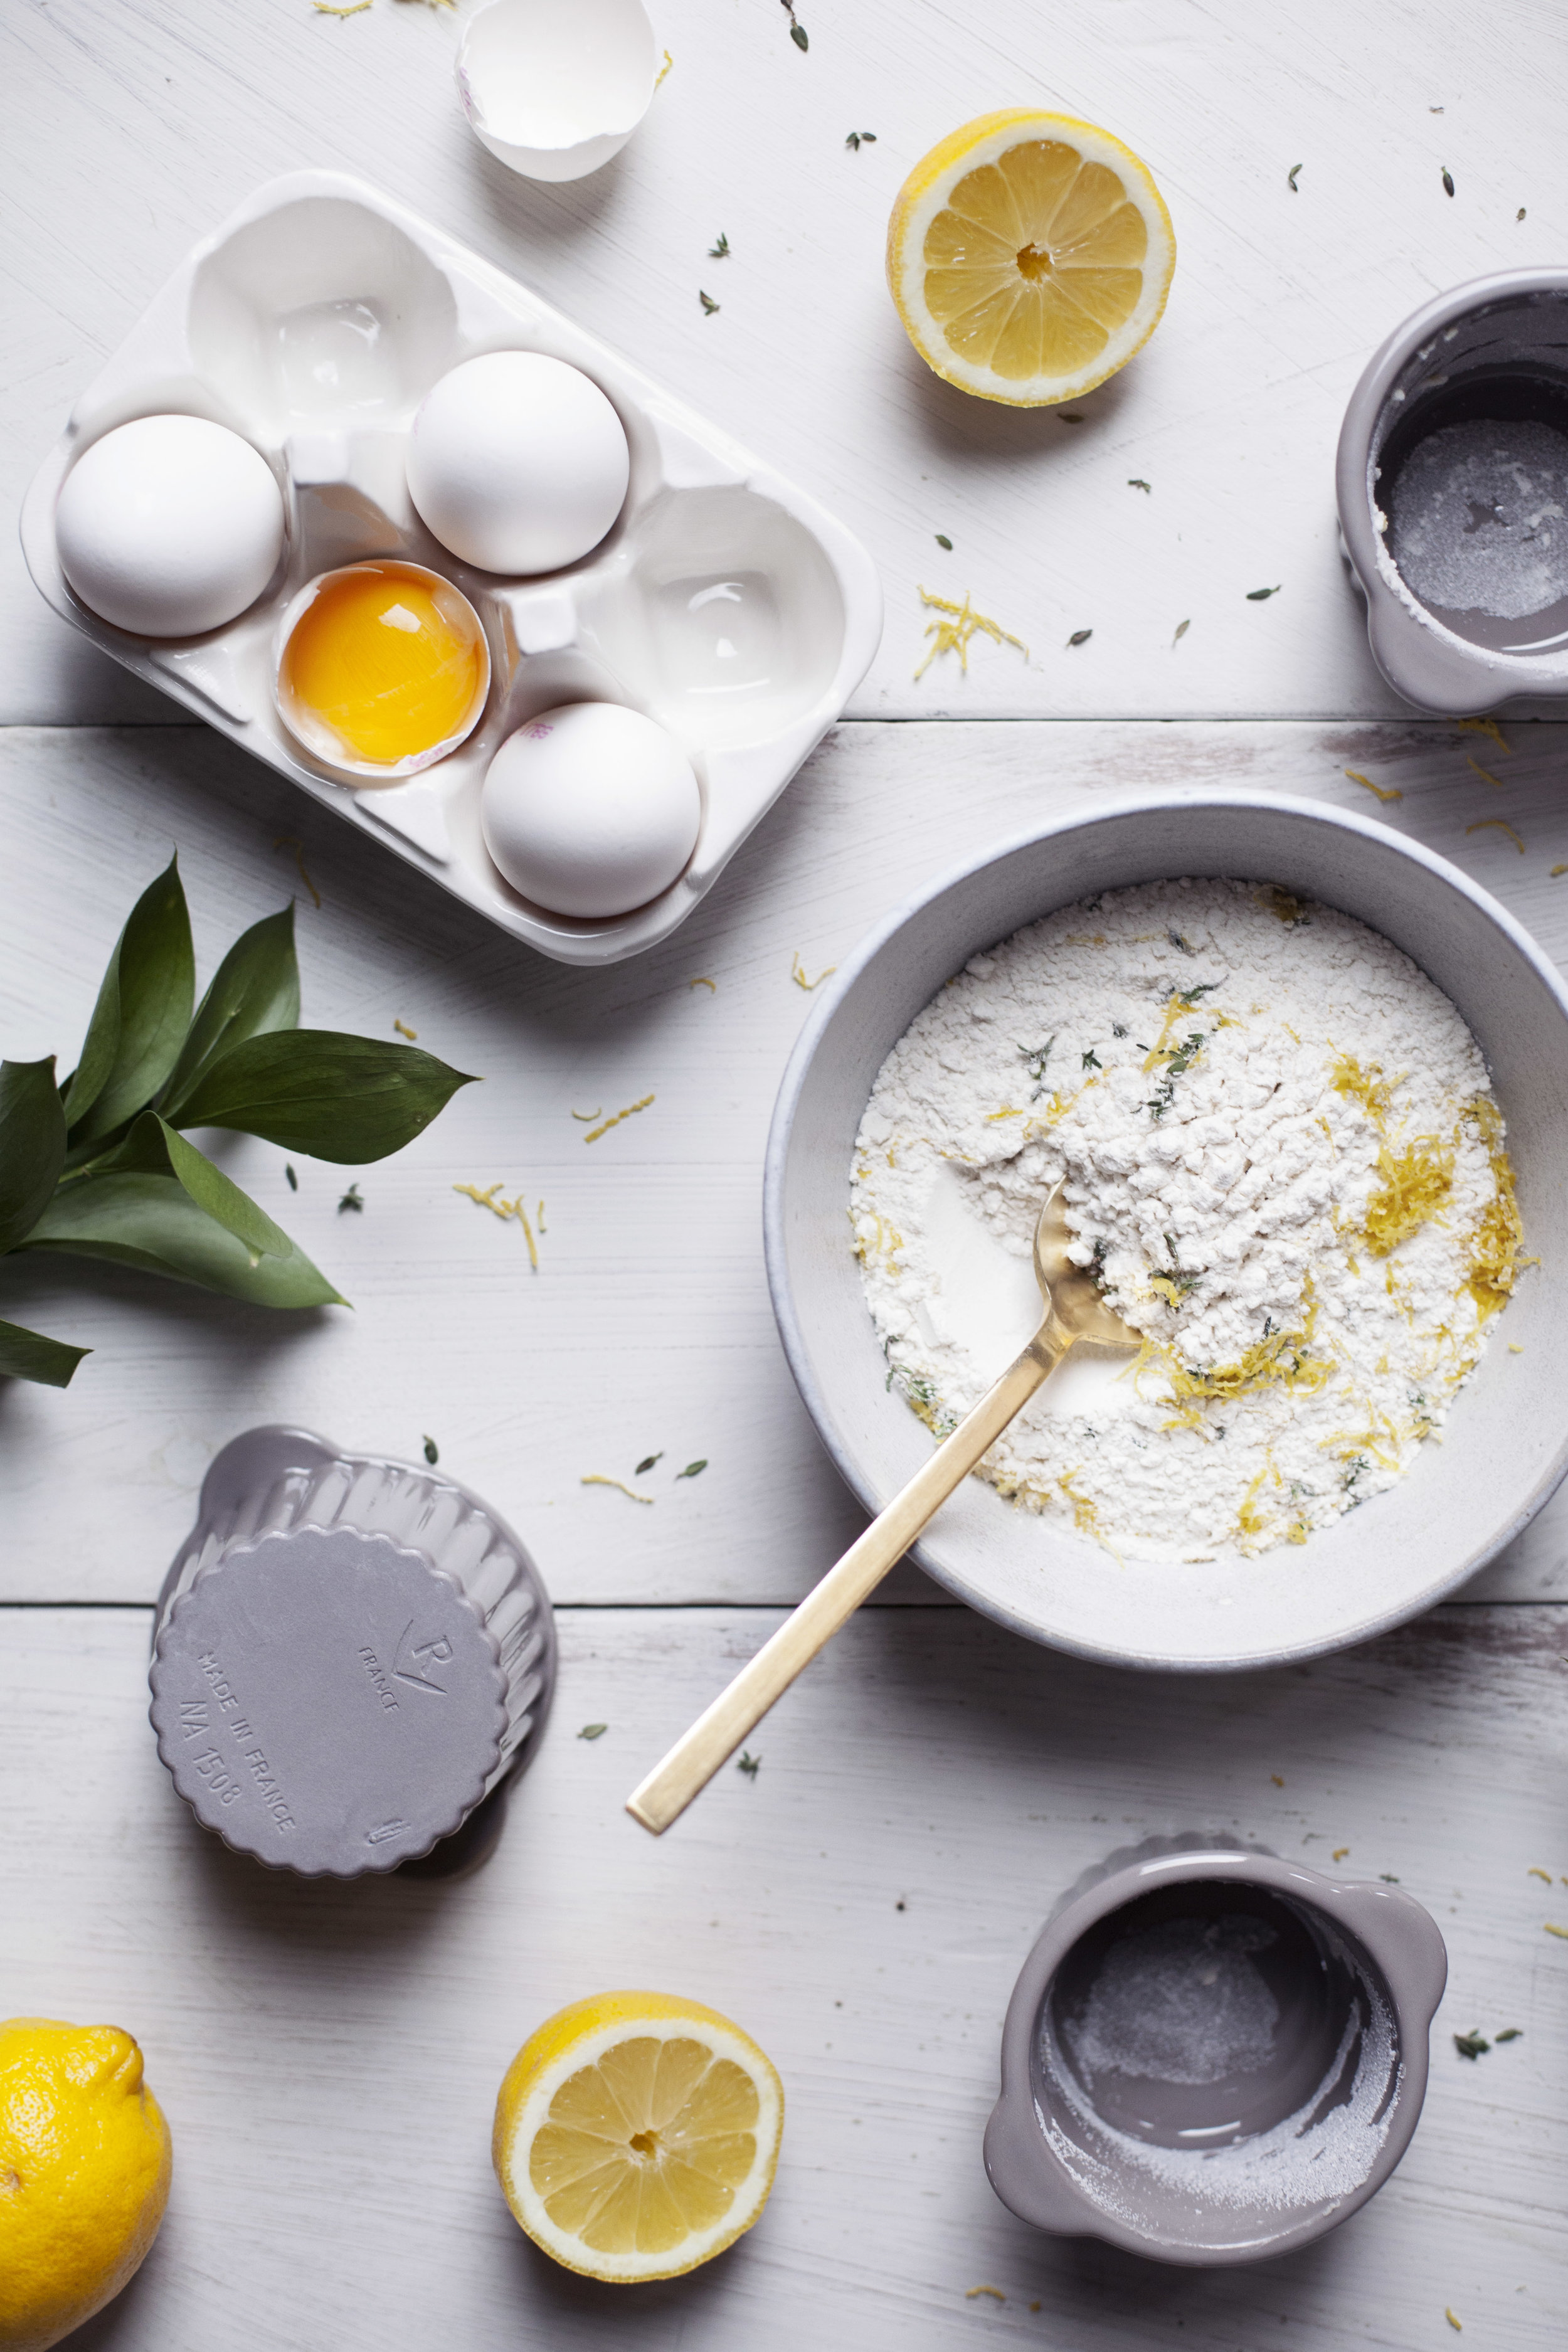
  • 3 egg yolks
  • 1/3 cup all purpose flour
  • zest from 1 lemon
  • 1 teaspoon thyme, finely chopped
  • 2 tablespoons unsalted butter
  • 1 teaspoon vanilla extract
  • 4 egg whites
  • powdered sugar, for dusting

directions

  • preheat oven to 350 degrees. butter & sugar each ramekin.
  • in a saucepot over low heat add 1 cup of cream. bring to a low simmer.
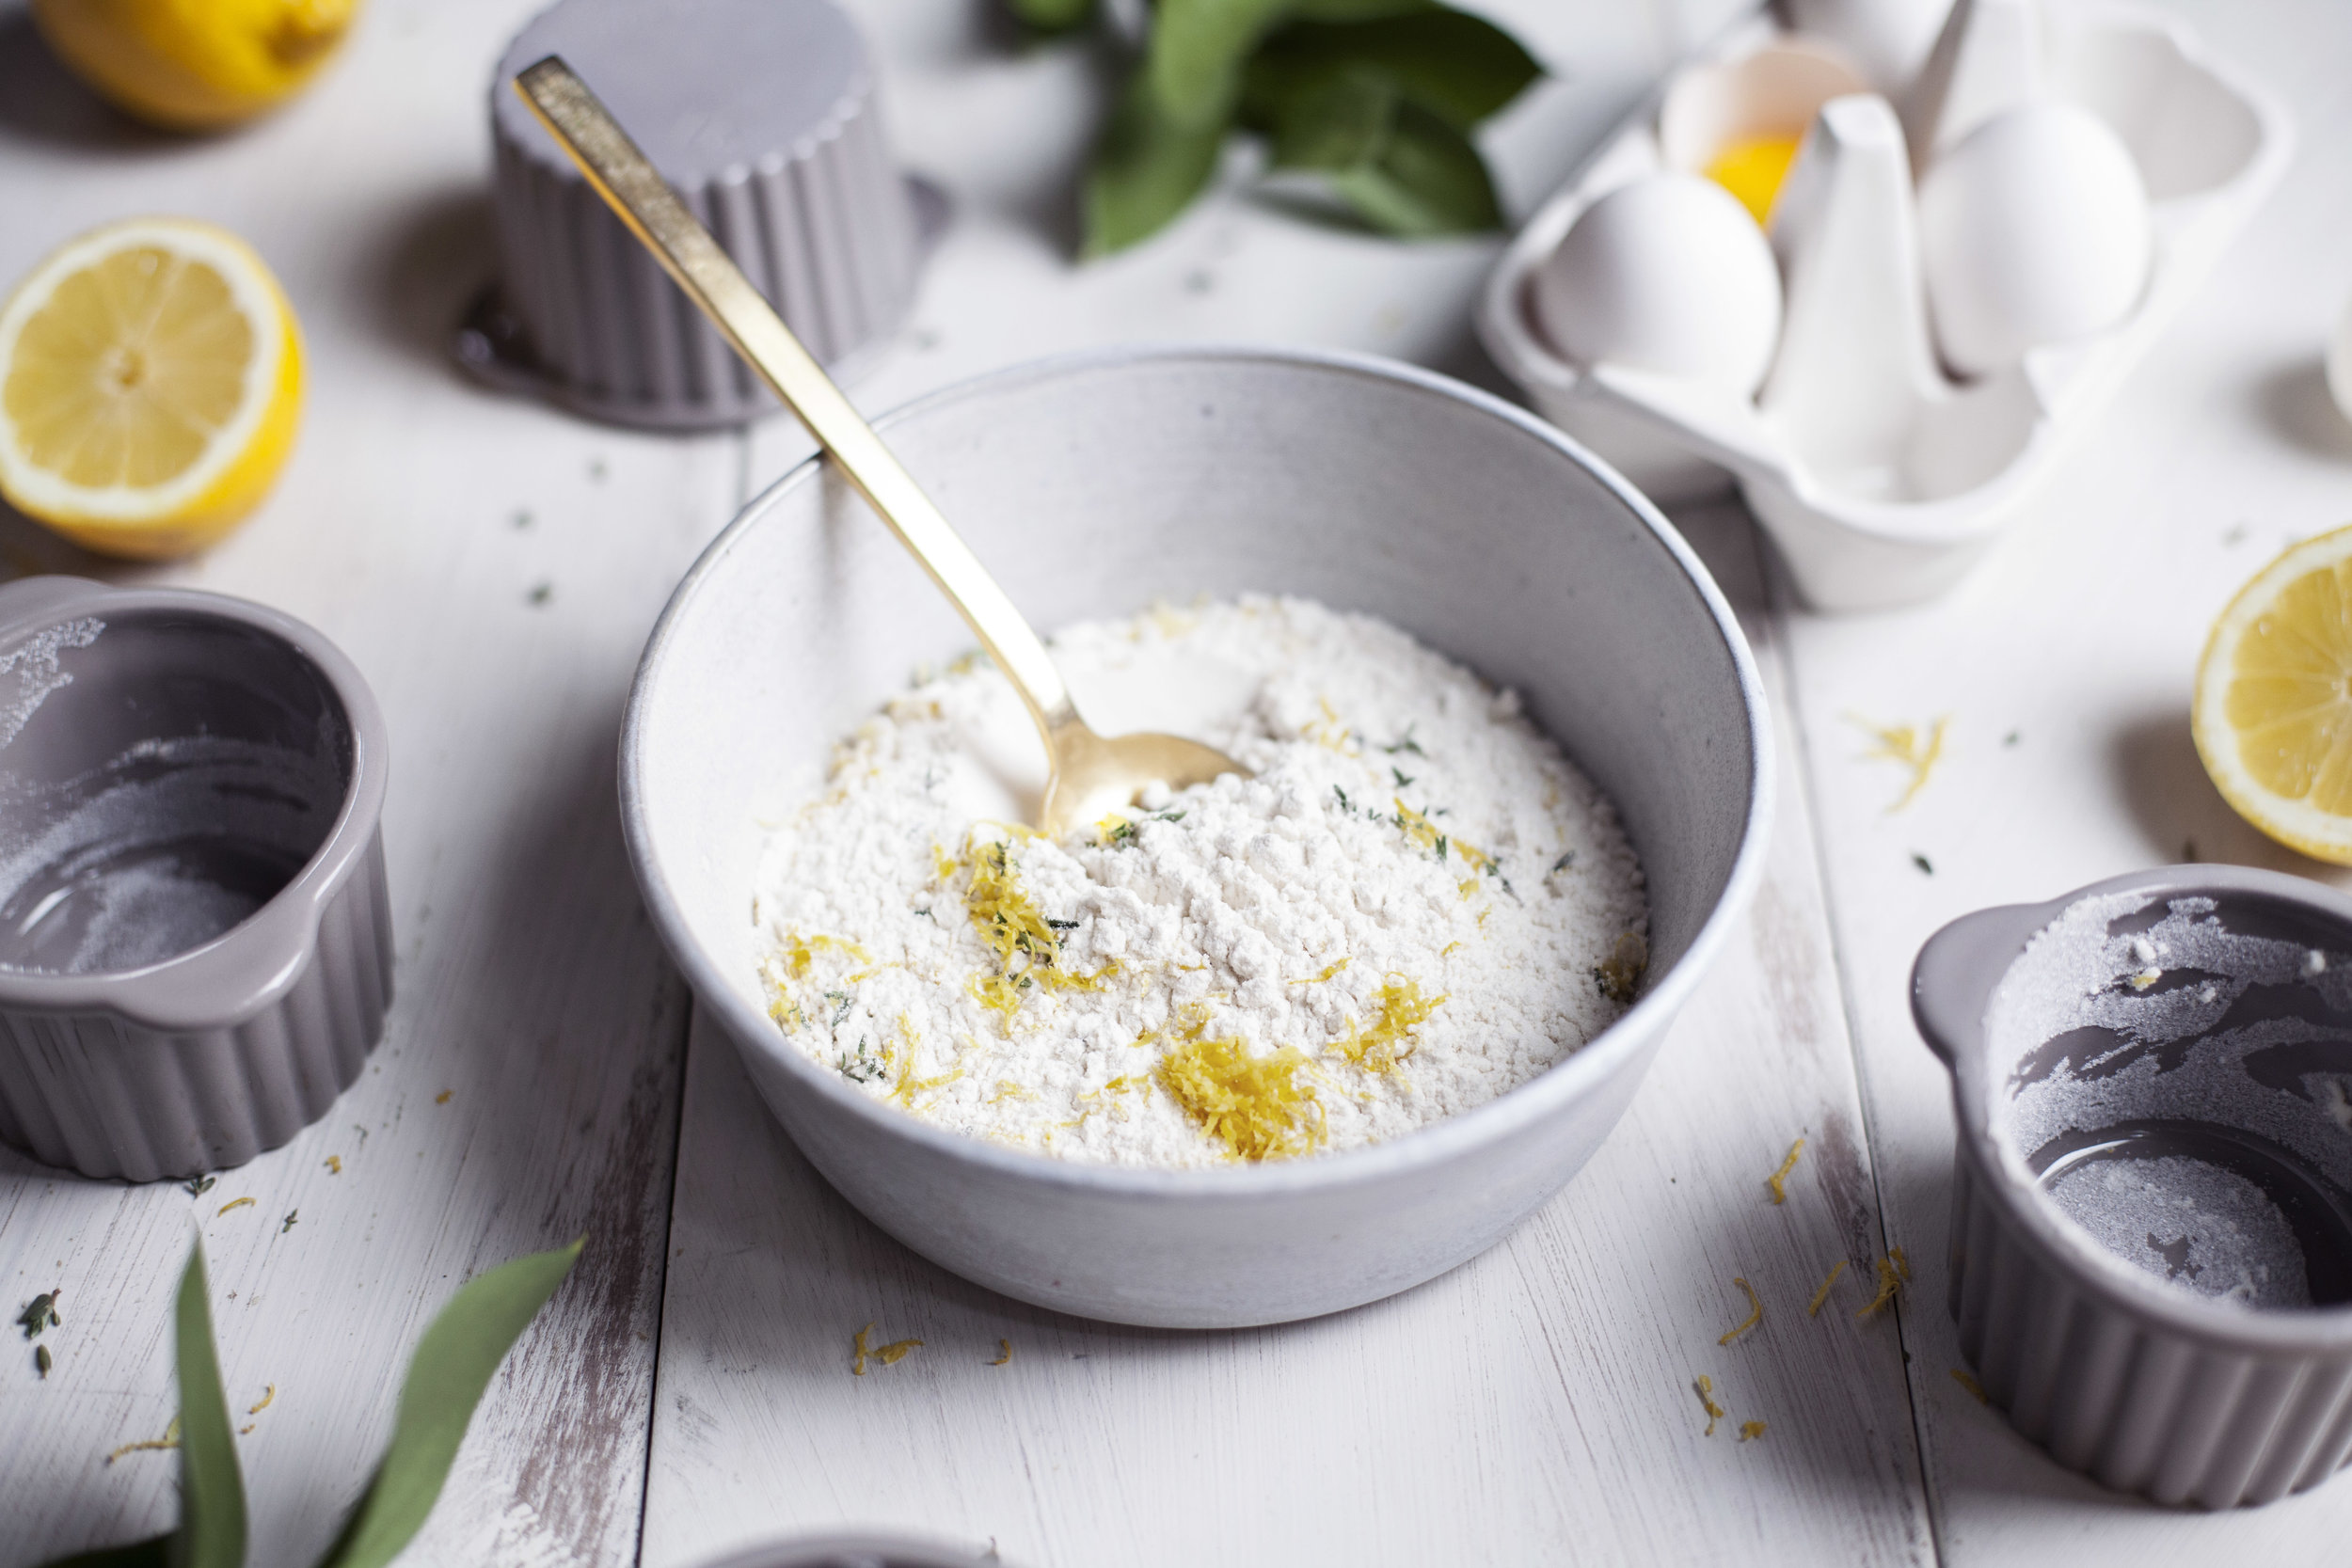
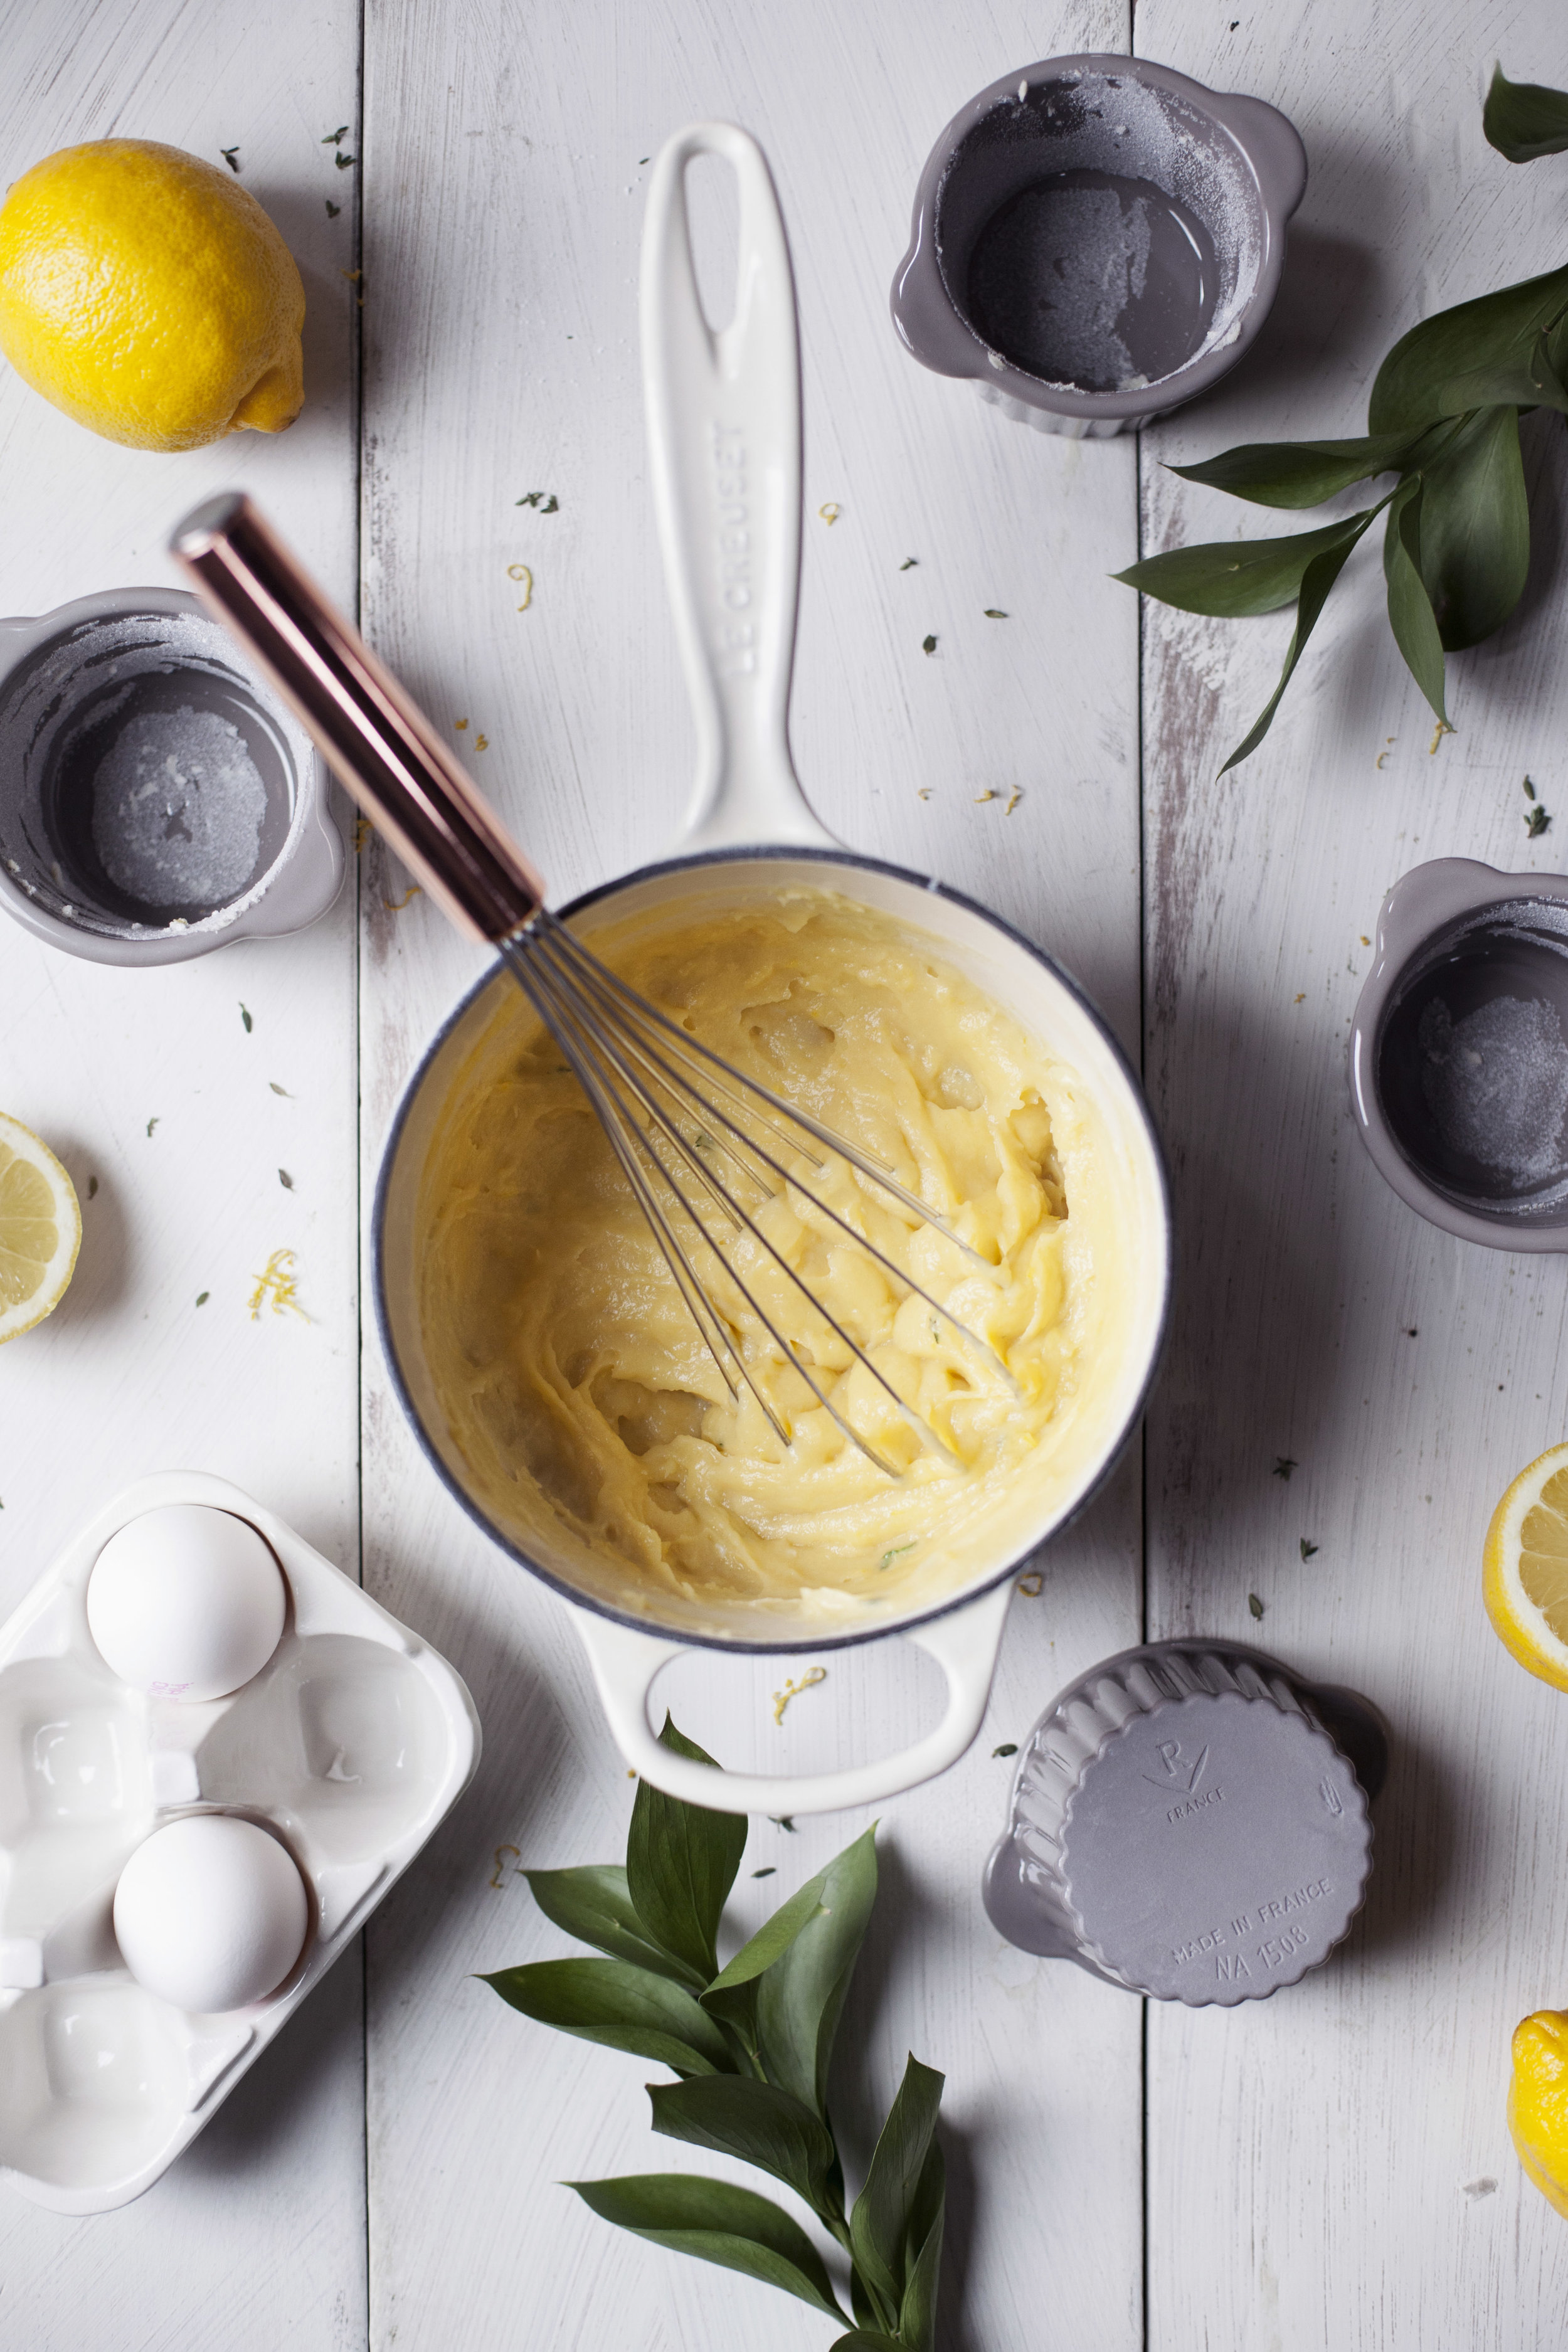
  • in a mixing bowl whisk remaining cream, 1/3 cup sugar, egg yolks, flour, lemon zest & thyme.
  • temper in mixture to the heated cream & place back on the stove top. whisk constantly until mixture thickens, about 60 seconds. remove from heat, stir in butter & vanilla. let cool while you prepare the egg whites.
  • whisk egg whites to a soft peak. add remaining 2 tablespoons of sugar and whisk to a stiff peak.
  • gently fold (do not stir) in egg whites to the cooled batter.
  • divide evenly between the six ramekins & bake for 20 minutes. or until the souffles puff.
  • dust with powdered sugar & serve immediately.

this post was created in partnership with REVOL USA. they create the most gorgeous porcelain bakeware in all my favouite matte white + grey tones. you can find REVOL on facebook,instagram youtube. thank you for supporting the brands that allow me to do what i love most. 

kitchen sink skillet cookie


hi friends! this week has been crazy busy with work so i am going to keep this post short & sweet. introducing: the kitchen sink skillet cookie. justin & i made this a couple weeks ago when we wanted to make something other then chocolate chip cookies. we ended up throwing just about everything we had in the pantry into the dough & the end result tasted so good i had to share it on the blog! yes.. this was a late night creation. we included dark chocolate, coconut & pecans, but seriously add in whatever combination you think will taste good. whatever tasty ingredients you have in your pantry! baking it in a skillet (the cutest staub gratin dish) makes for a thick, dense & chewy cookie. now i want ALL my cookies made this way. plus, if you eat the whole thing it only counts as one cookie!

p.s. the gorgeous ceramics you see here are from whiksey & clay! kimmy makes some of the most gorgeous & unique drip ceramics! i highly reccomend you check out her work.

ingredients

  • 1 1/2 cups all purpose flour
  • 1/4 cup buckwheat flour
  • 1/2 teaspoon baking soda
  • 1/2 teaspoon baking powder
  • 3/4 teaspoon sea salt
  • 1/2 cup unsalted butter, softened
  • 1 cup turbinado sugar (i use sugar in the raw)
  • 1 tablespoon molasses
  • 1 egg
  • 1 teaspoon pure vanilla extract
  • 1/2 cup dark chocolate chunks
  • 1/2 cup shredded unsweetened coconut
  • 1/2 cup whole pecans, roughly chopped

directions

  • in a large mixing bowl sift together the all purpose flour, buckwheat flour, baking soda, baking powder & sea salt. set aside.
  • in a separate mixing bowl cream together the butter, sugar & molasses until fluffy. add in the egg & vanilla extract.
  • slowly mix in the dry ingredient mixture until the dough comes together.
  • fold in the chocolate, coconut, pecans & what ever else you want to add to the mix!
  • press into a large skillet & bake at 350 degrees for 15-20 minutes (depending on how cooked you want it).
  • top with ice cream & enjoy straight from the skillet!

like what you see? get it here. staub gratin | mug | bowl | potholder | flatware 

modest master bedroom


yay!!!! it's master bedroom reveal day. i have been dying to show you how it turned out. i gave you a sneak peak in february when i made a valentine's breakfast in bed, but now i can get into ALL the details that make this the most relaxing space. the perfect retreat to lounge in at the end of a long day or long week. i think it is safe to say buddy holly loves it too, but didn't enjoy me taking photos of her during her nap time (a.k.a all day nap time). originally i swore once the new bedding was in & the bedroom was complete, she wouldn't be allowed to sleep with the humans anymore. i wanted to get it fur free! that lasted, hmmm.. maybe two days before i caved & let my snuggle buddy back in the bed. how can you say no to those puppy eyes? anyways, let's dive right into the details of the master bedroom!

step one: the wallpaper & paint

when you move into a new (old) house, you essentially have a blank canvas to work with. the room was painted a dark beige with one wall of panelled wood. i knew i was going to add wallpaper in here, but the only wall that made sense to wallpaper was the one with the wood panels. i contemplated taking it out (crazy, i know), but i figured it would destroy the plaster wall. so we decided to paint it & wallpaper between each panel. it turned out AMAZING! so much more character & detail this way, i can't believe that i wanted to alter this in the first place! for the bedroom wallpaper i went with farrow & ball's aranami in grey. it looks so dreamy. it is a japanese inspired print named after waves, but it reminds me of fluffy clouds. they carry this in a dark blue print that i really want to incorporate SOMEWHERE in the house, i just don't know where! it is justin's favourite design from farrow & ball. the rest of the room i painted in farrow & ball's cornforth white, which isn't actaully white. it is a very light, soft grey that paired perfectly with the wallpaper. they all come from the same colour family, which is what i love about farrow & ball. they use their own paints to create the wallpaper so it is a perfect match everytime! not to mention the old style, chalky finish from the matte paint in estate emulsion finish. for the wood work i chose farrow & ball's wevet, a colour you hear a lot because i did ALL the wood work in wevet. lastly, we refinished all the old doors in medium soft grey which is farrow & ball's mole's breath. i love how all the colours came together in this space.

step two: the fixtures

in the hall way & other bedrooms i chose a very simple school house style semi-flush mount light. for the master bedroom, i wanted something bold. something that would stand out from the other rooms to show that this was the master bedroom. i ended up deciding on this oil rubbed bronze cedar & moss semi-flush mount chandelier from rejuvenation. i love a mix of black & brass accents, i stuck with this mix throughout the whole house as i didn't want to overkill the finishes in brass (hello 80's). i love how the black from rejuvenation's chandelier pulls from the door hardware & plaid wool throw blanket. to add in the brass, i used rejuvenation's fenton coverplates in aged brass. they really pop from the wallpaper & wallpaper as fancy as this deserves nice outlet plates. it is all about the details!

step three: the bedding

the last thing i chose was the bedding set. it is much easier to choose a duvet that will match once the rest of the room is finished! i was convinced i was going to go with grey bedding & keep the space monochromatic, but then i came across rough linen's dusk bedding. it is the softest, most delicate blush pink i have ever seen. i am so happy it went with all the grey tones while still providing a little pop of colour. rough linen's queen bed makeover includes the duvet cover, two shams, top sheet & two pillow cases. it also came with summer duvet which is going to be perfect for those hot summer nights ahead! the thickness of the summer cover is somewhere between a sheet & a duvet. we now have the best sleeps ever all wrapped up in fresh linen.

step four: the furniture

the bedroom set featured is the stria line from west elm. we have had this furniture since toronto, but slowly purchased each piece until we had the full set! it is made of reclaimed railway wood & stained in a warm honey finish. pictured here is the double bed, nightstands & six drawer dresser. they offer this line in a grey finish now too!

step five: the details

some other little details i want to point out include rejuvenation's grey jute rug . it was on sale & cost just over $100. such a steal! the round rose gold mirror is from west elm. the price wasn't exactly a bargain, but nice mirros never are! it is such a pretty focal point to grace our dresser & is worth every penny. lastly, the planter, vase & candle holder in the room are hand made by convivial productions. soon i will be adding fresh ivy to the hanging planter in the window!

hope you enjoyed seeing how the master bedroom turned out! there is also a full article on RUE MAGAZINE which you can check out here.

p.s. below are links to every item featured!

xo