blackberry marshmallows


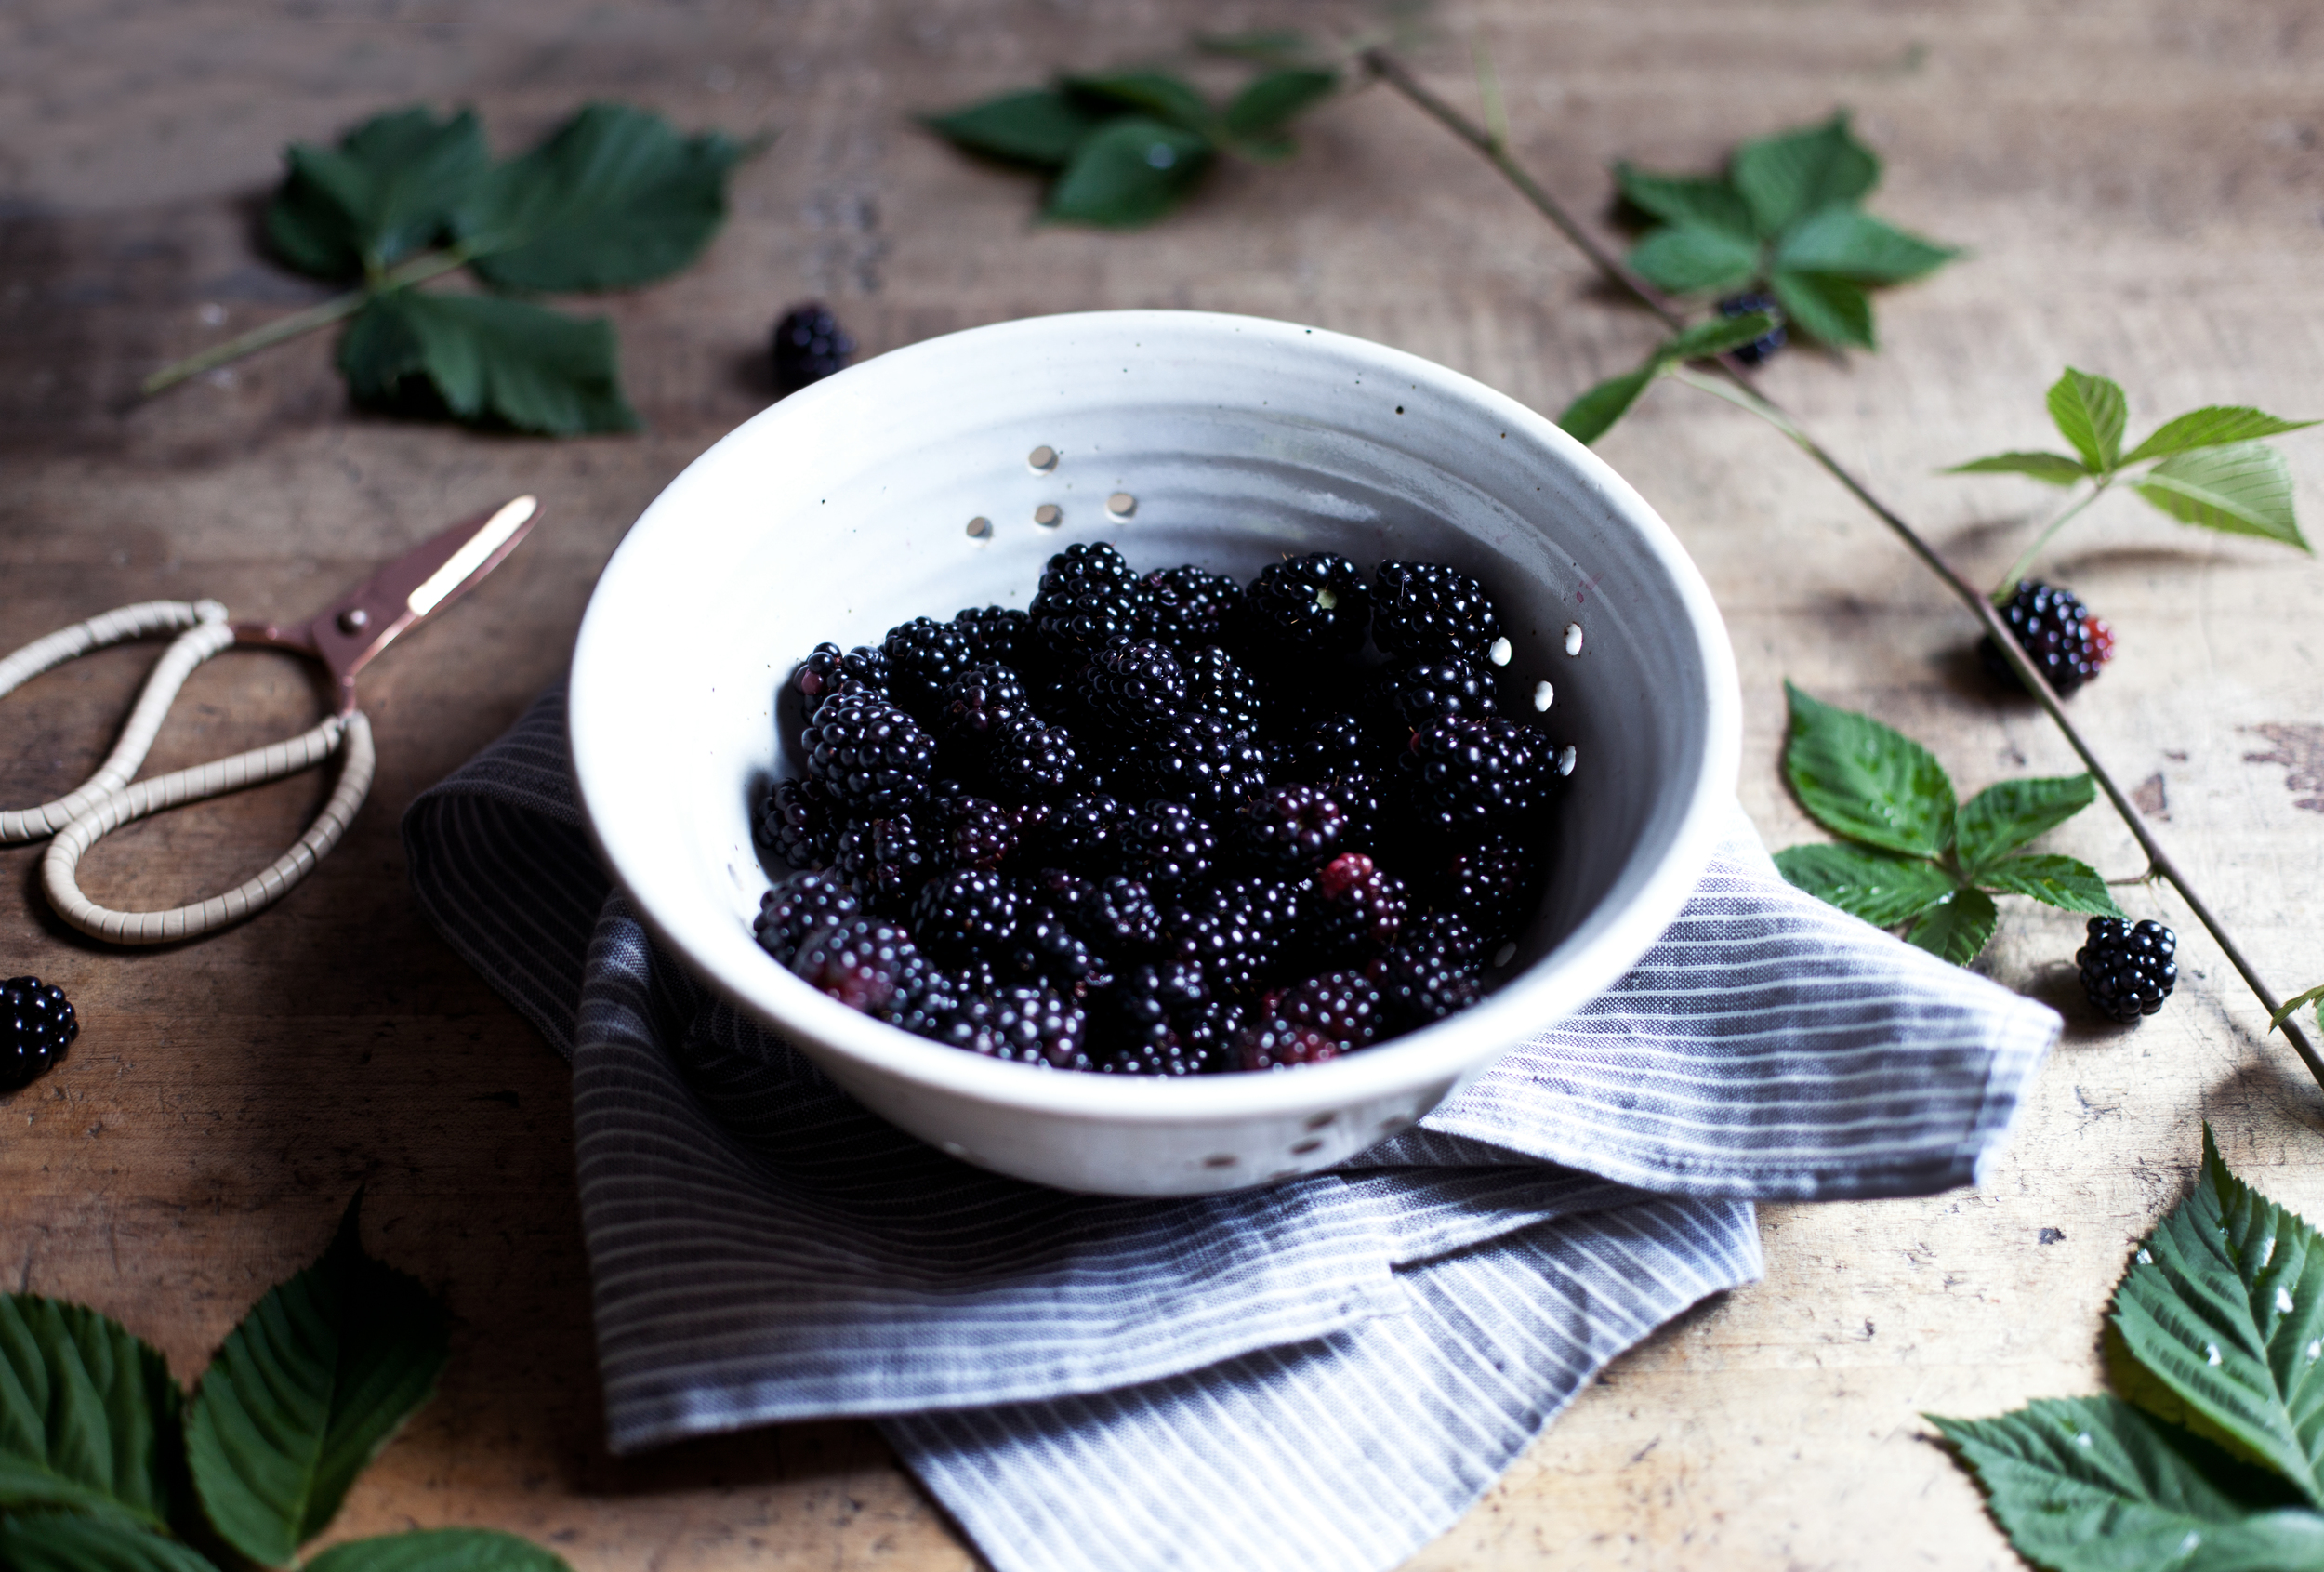
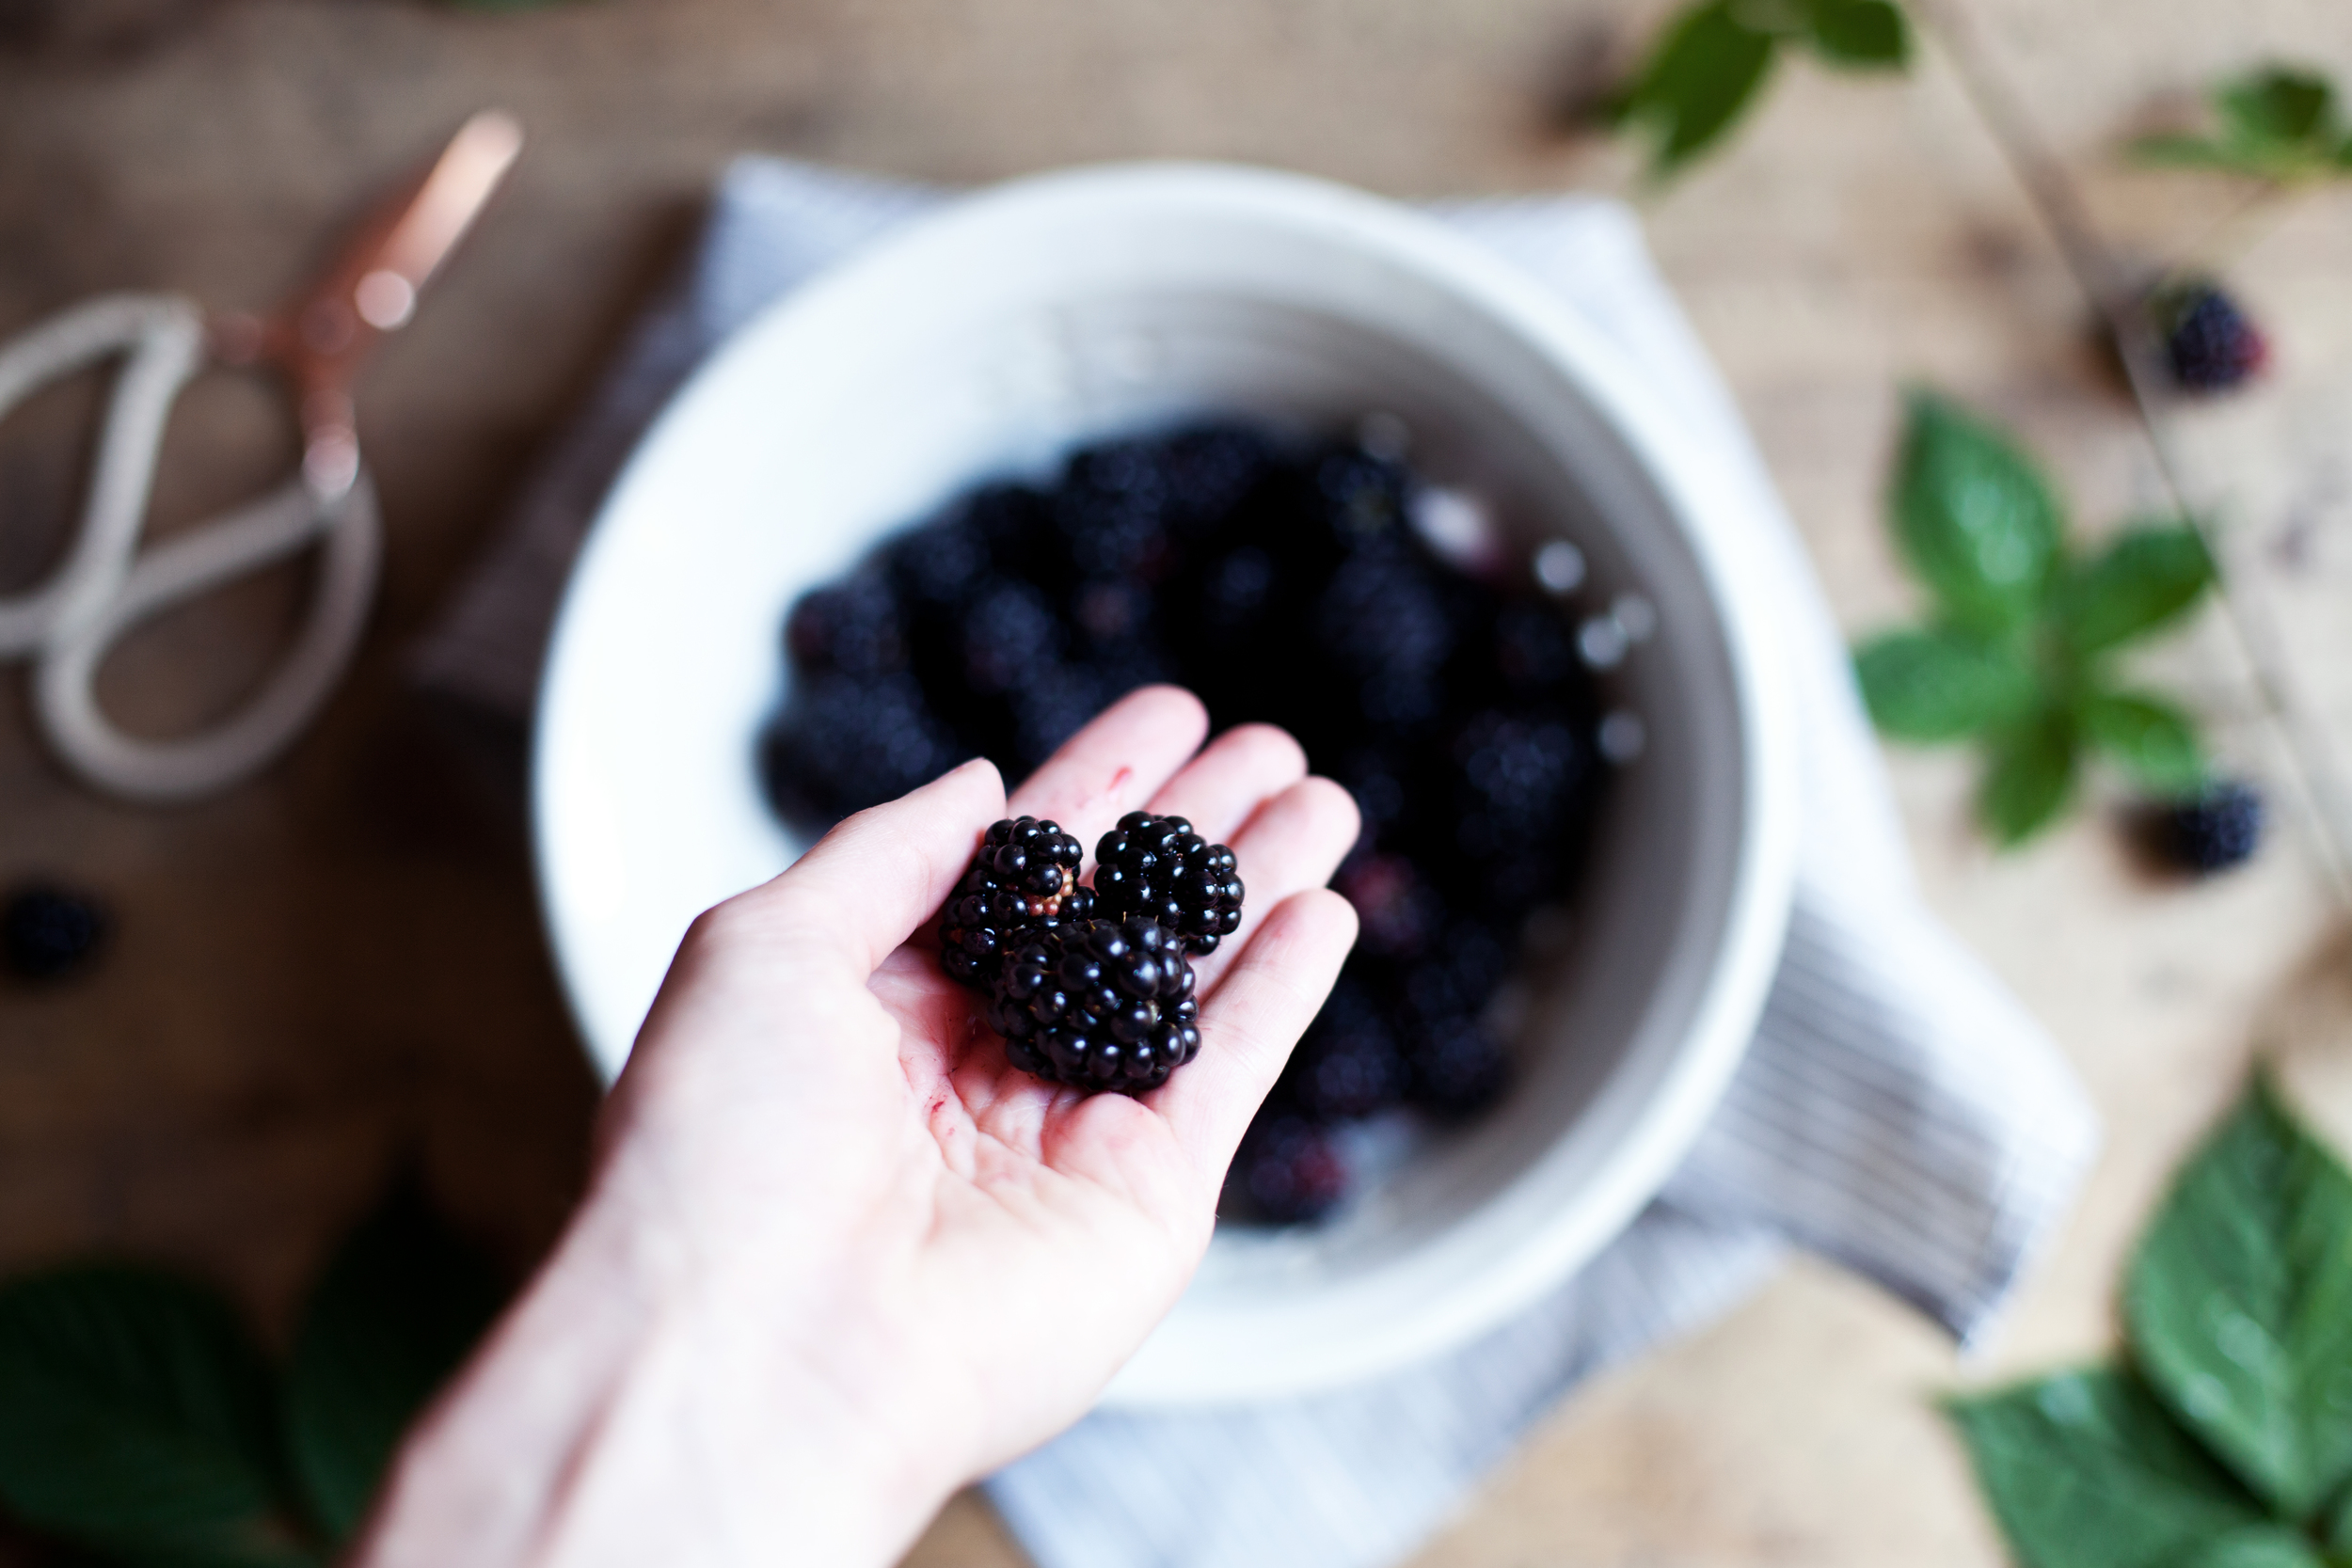
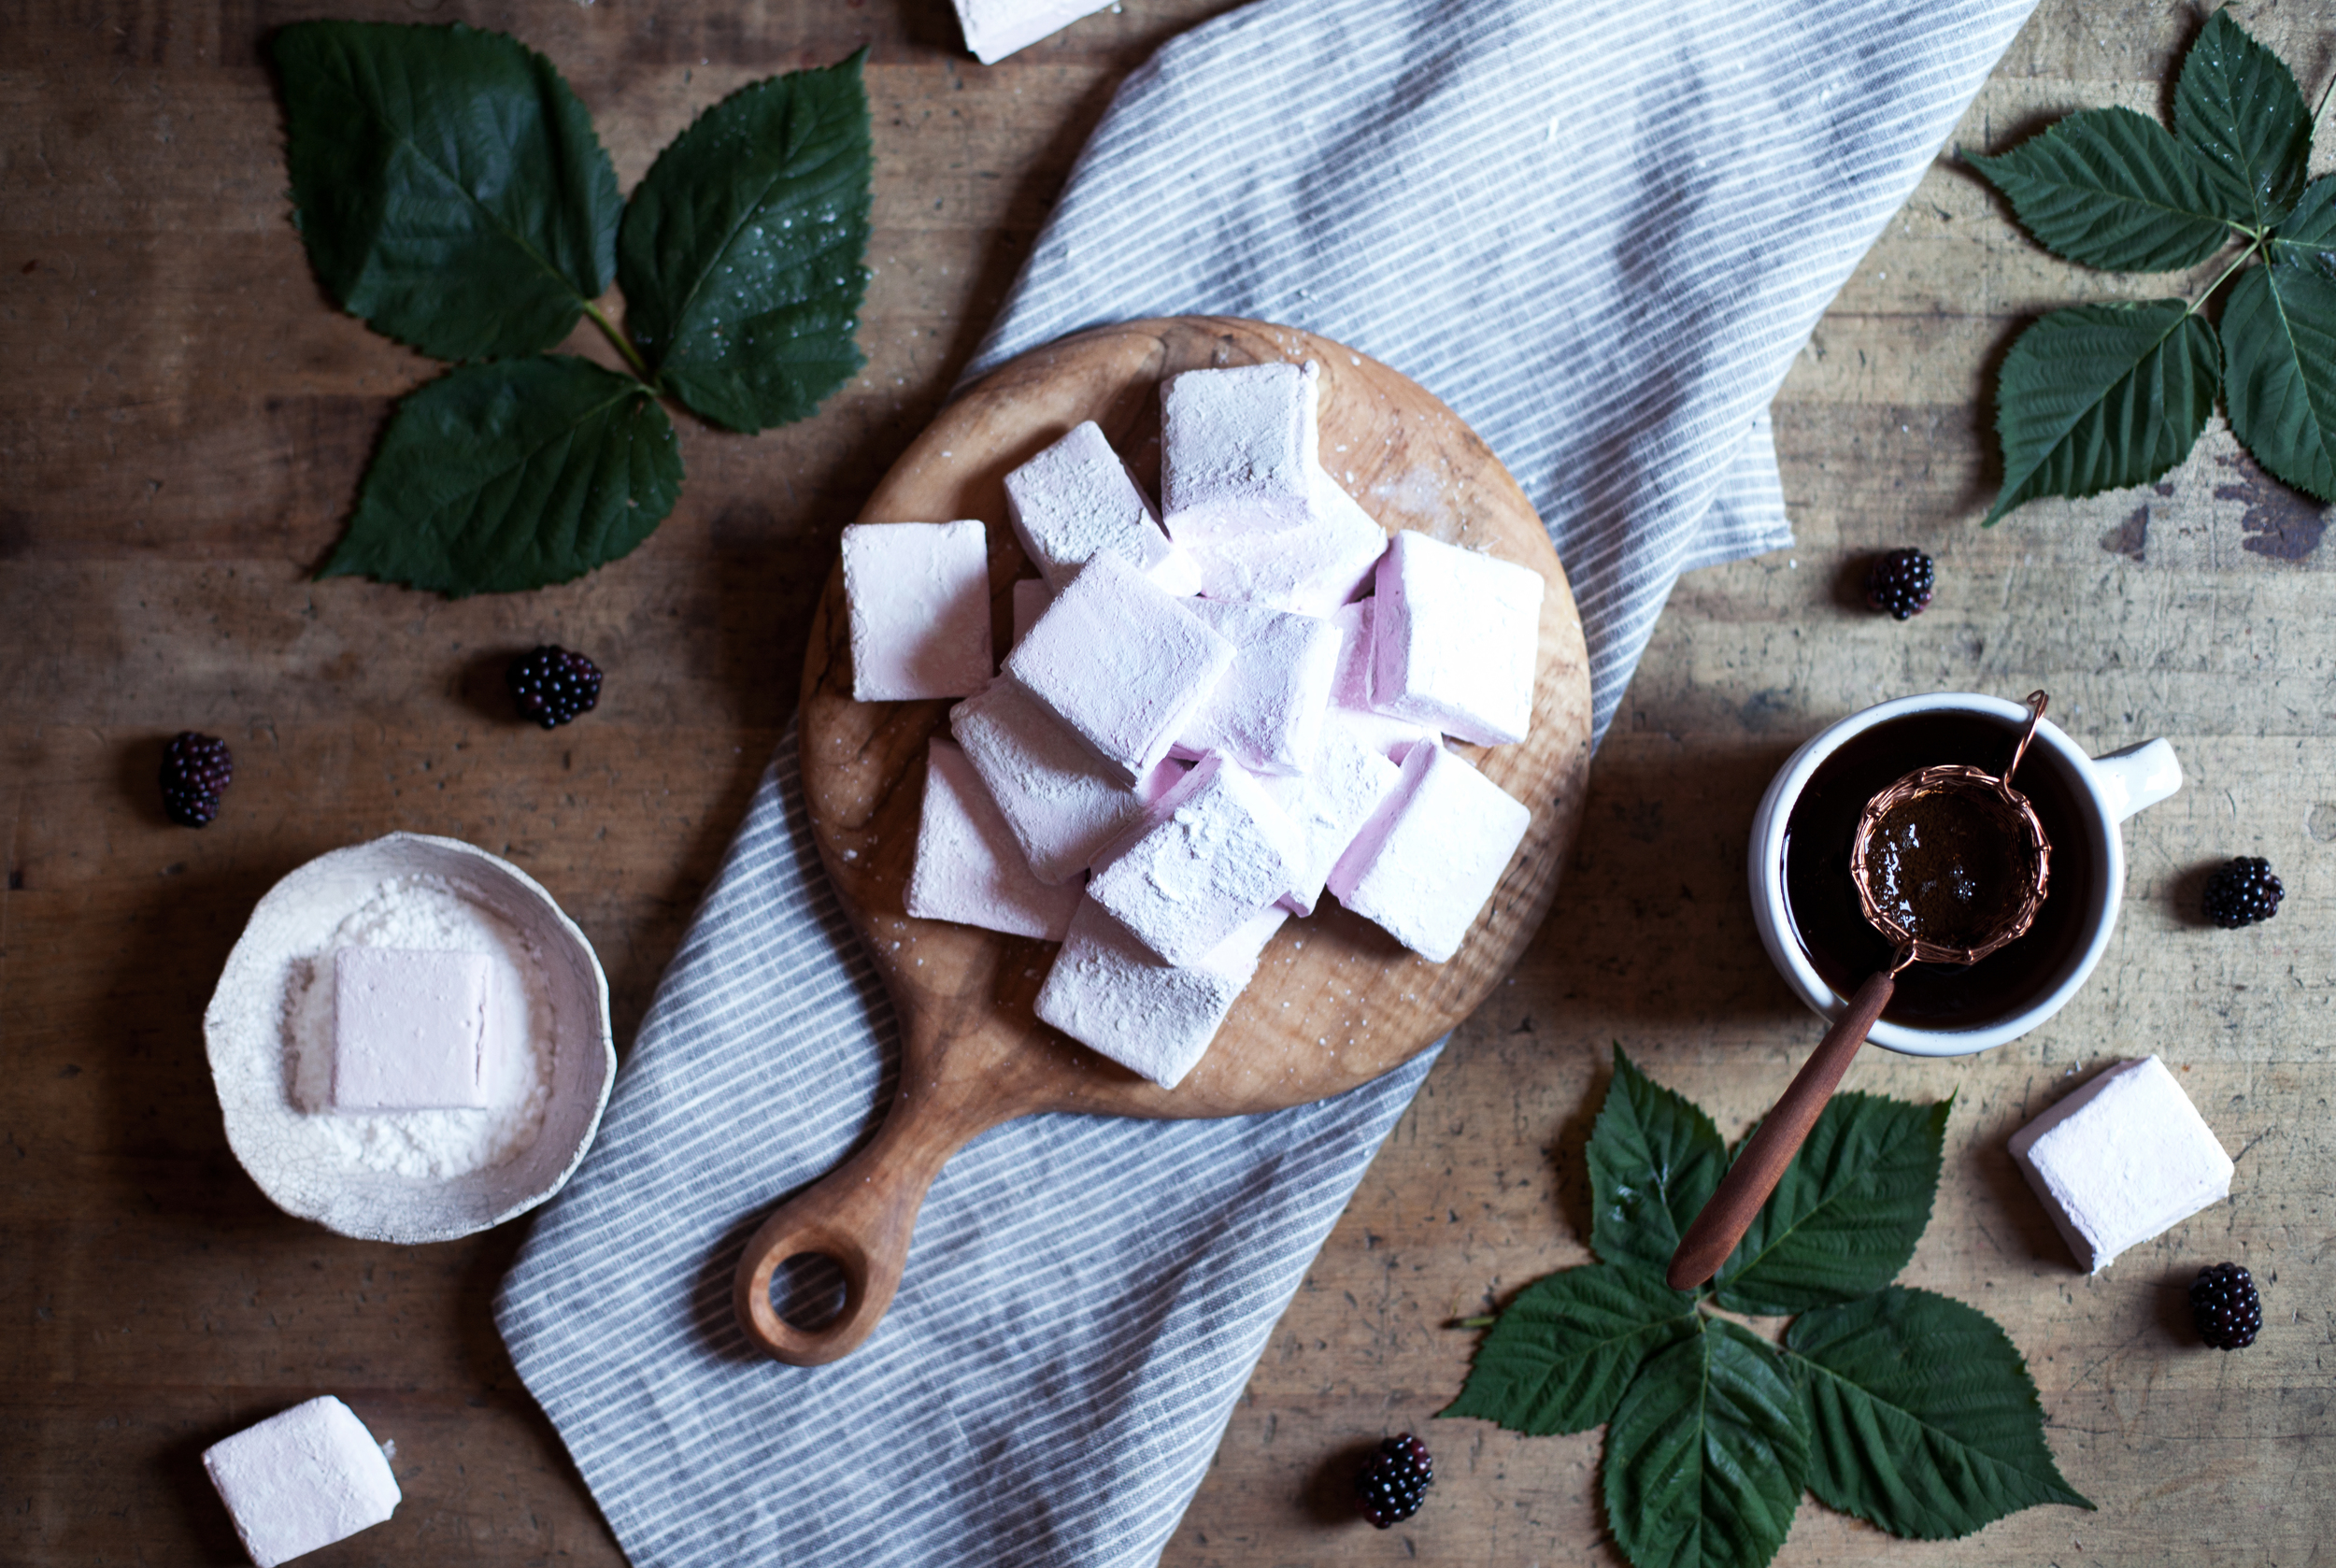
i cannot tell you how much i enjoy having a garden this summer! i do NOT miss my little concrete patio where every herb i tried to grow would die within a week. we are currently in the heart of tomato + blackberry season & each morning i run outside to pick the juicy ripe ones. there are a TON of blackberries on the verge of ripeness that i planned to turn into a jam to last till fall, but i wanted to make something special with them first for the blog. i fell in love with making homemade marshmallows when i whipped up the classic fluffy vanilla ones back in the spring. i can't explain how much better homemade marshmallows are then those nasty store bought ones. i thought it was time to experiment with some fun flavours & blackberries seemed like the perfect start. they give a hint of tartness & turn them into a gorgeous purple pink hue.

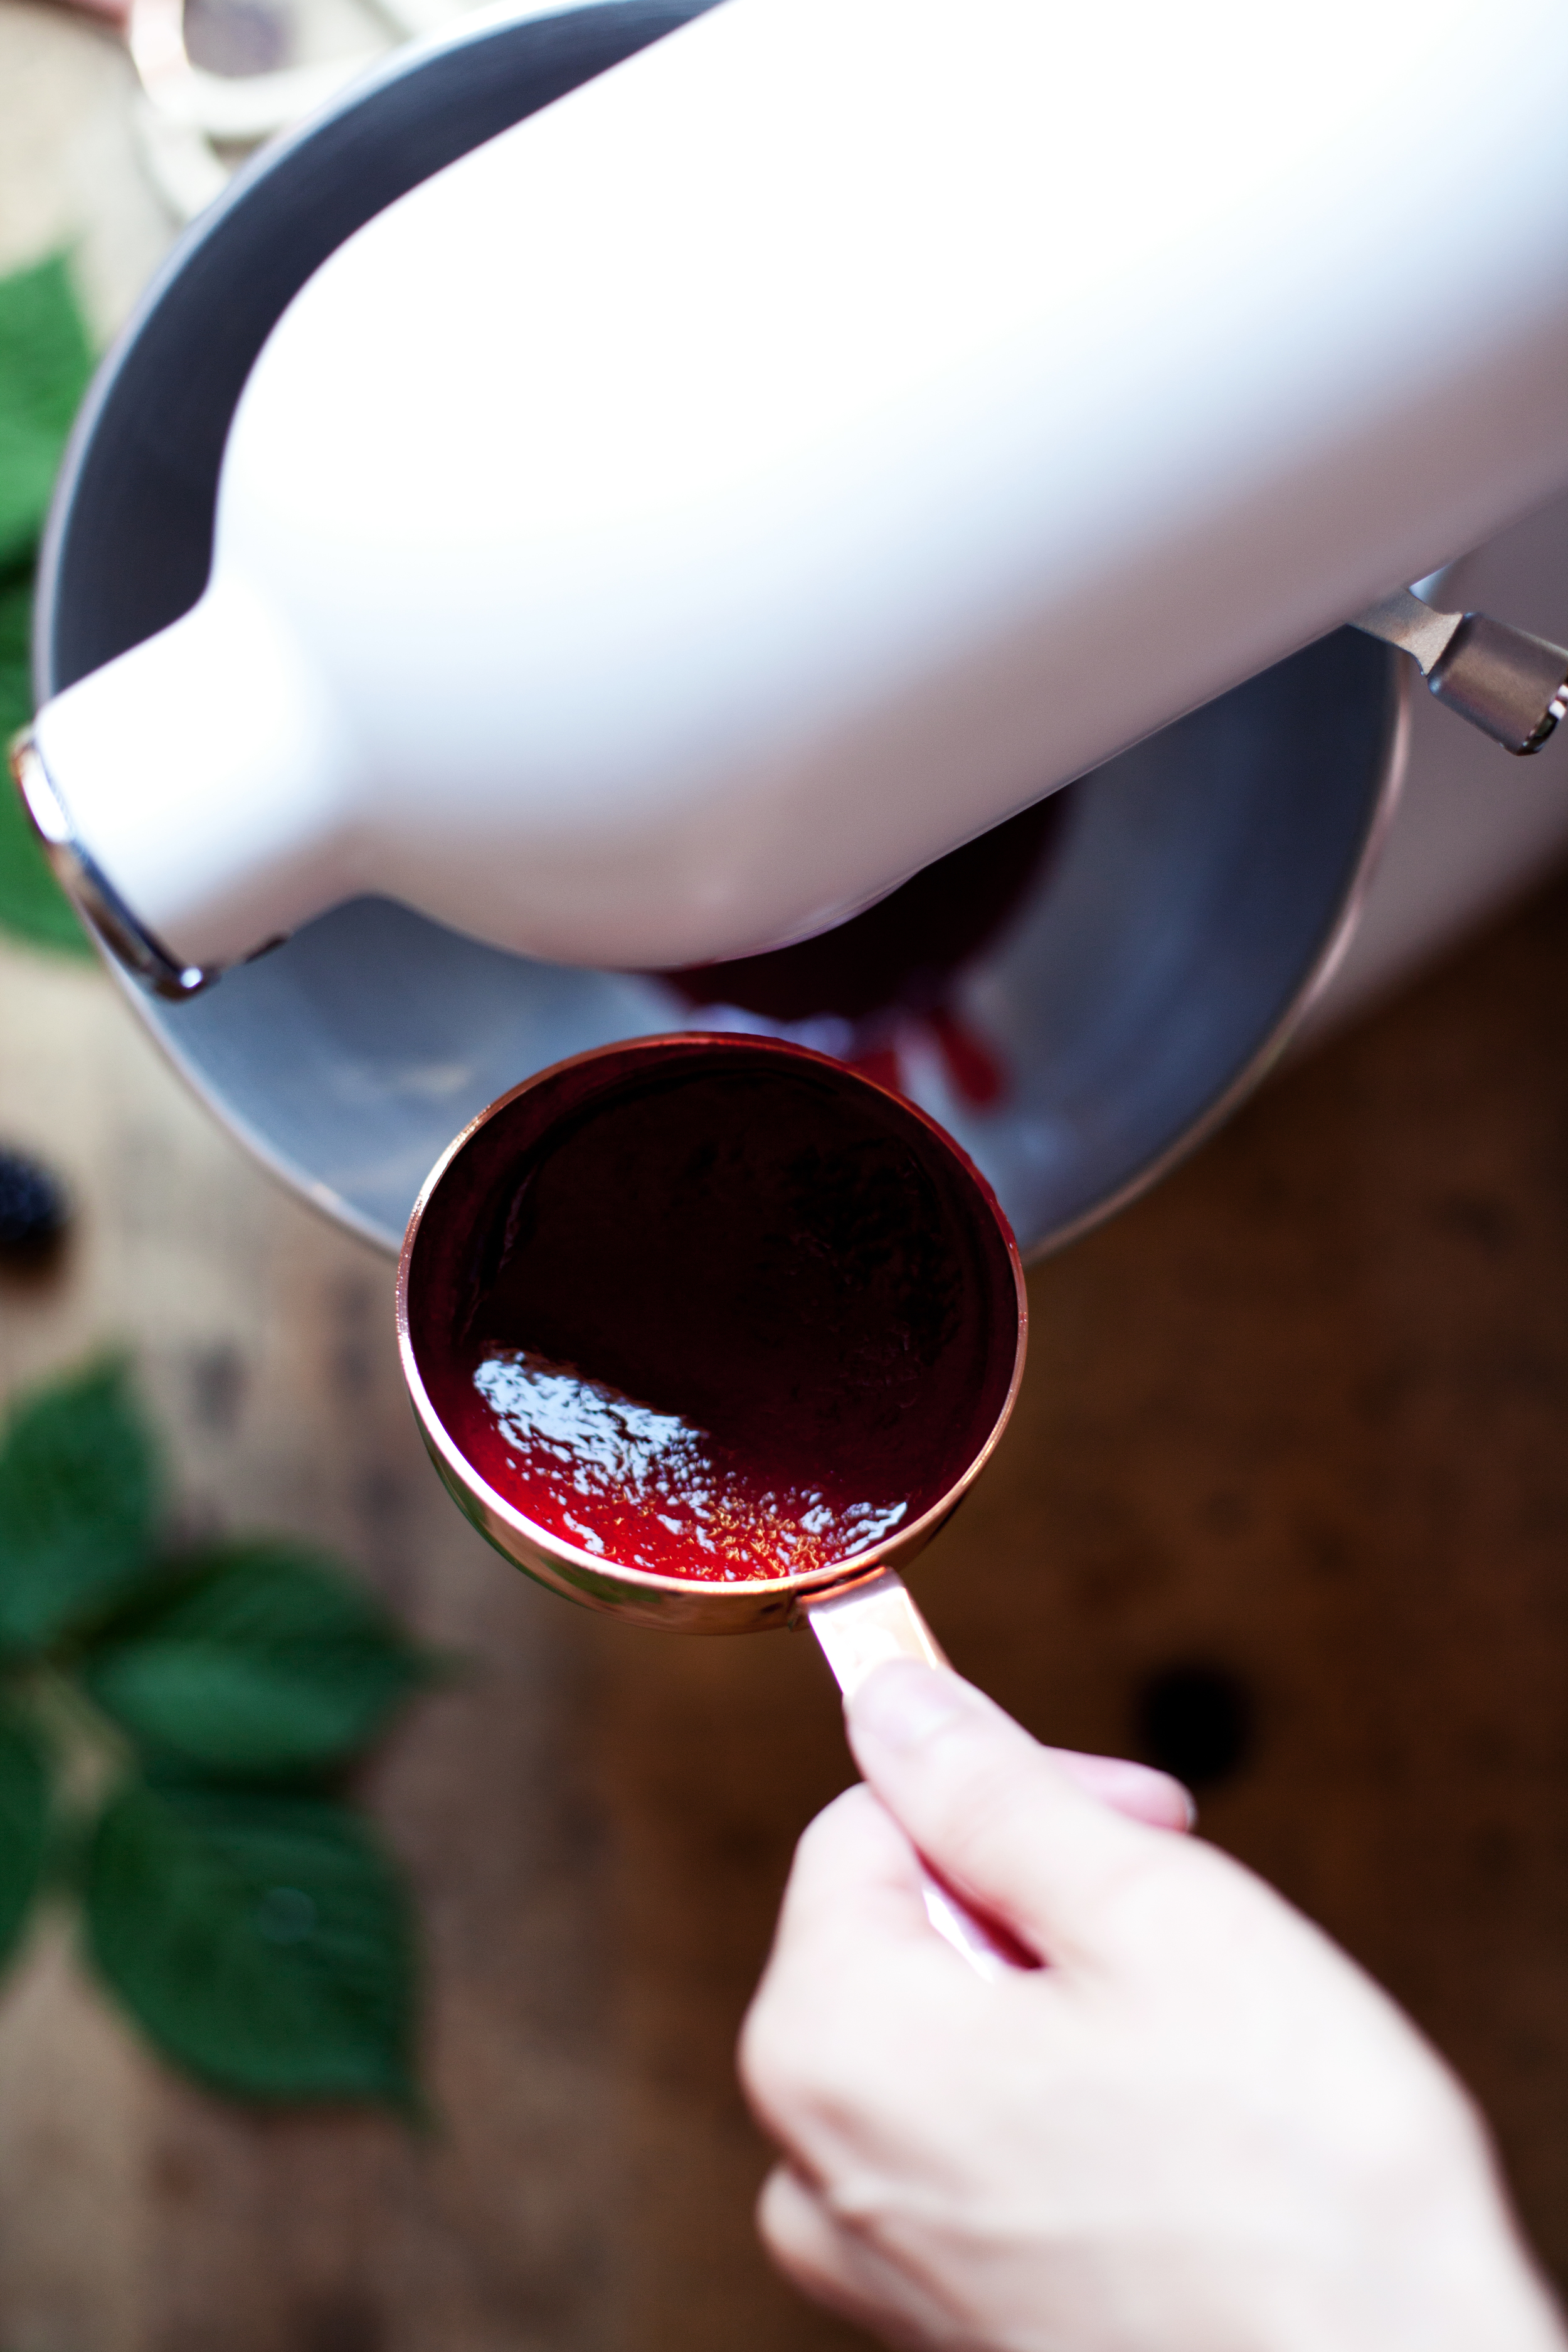
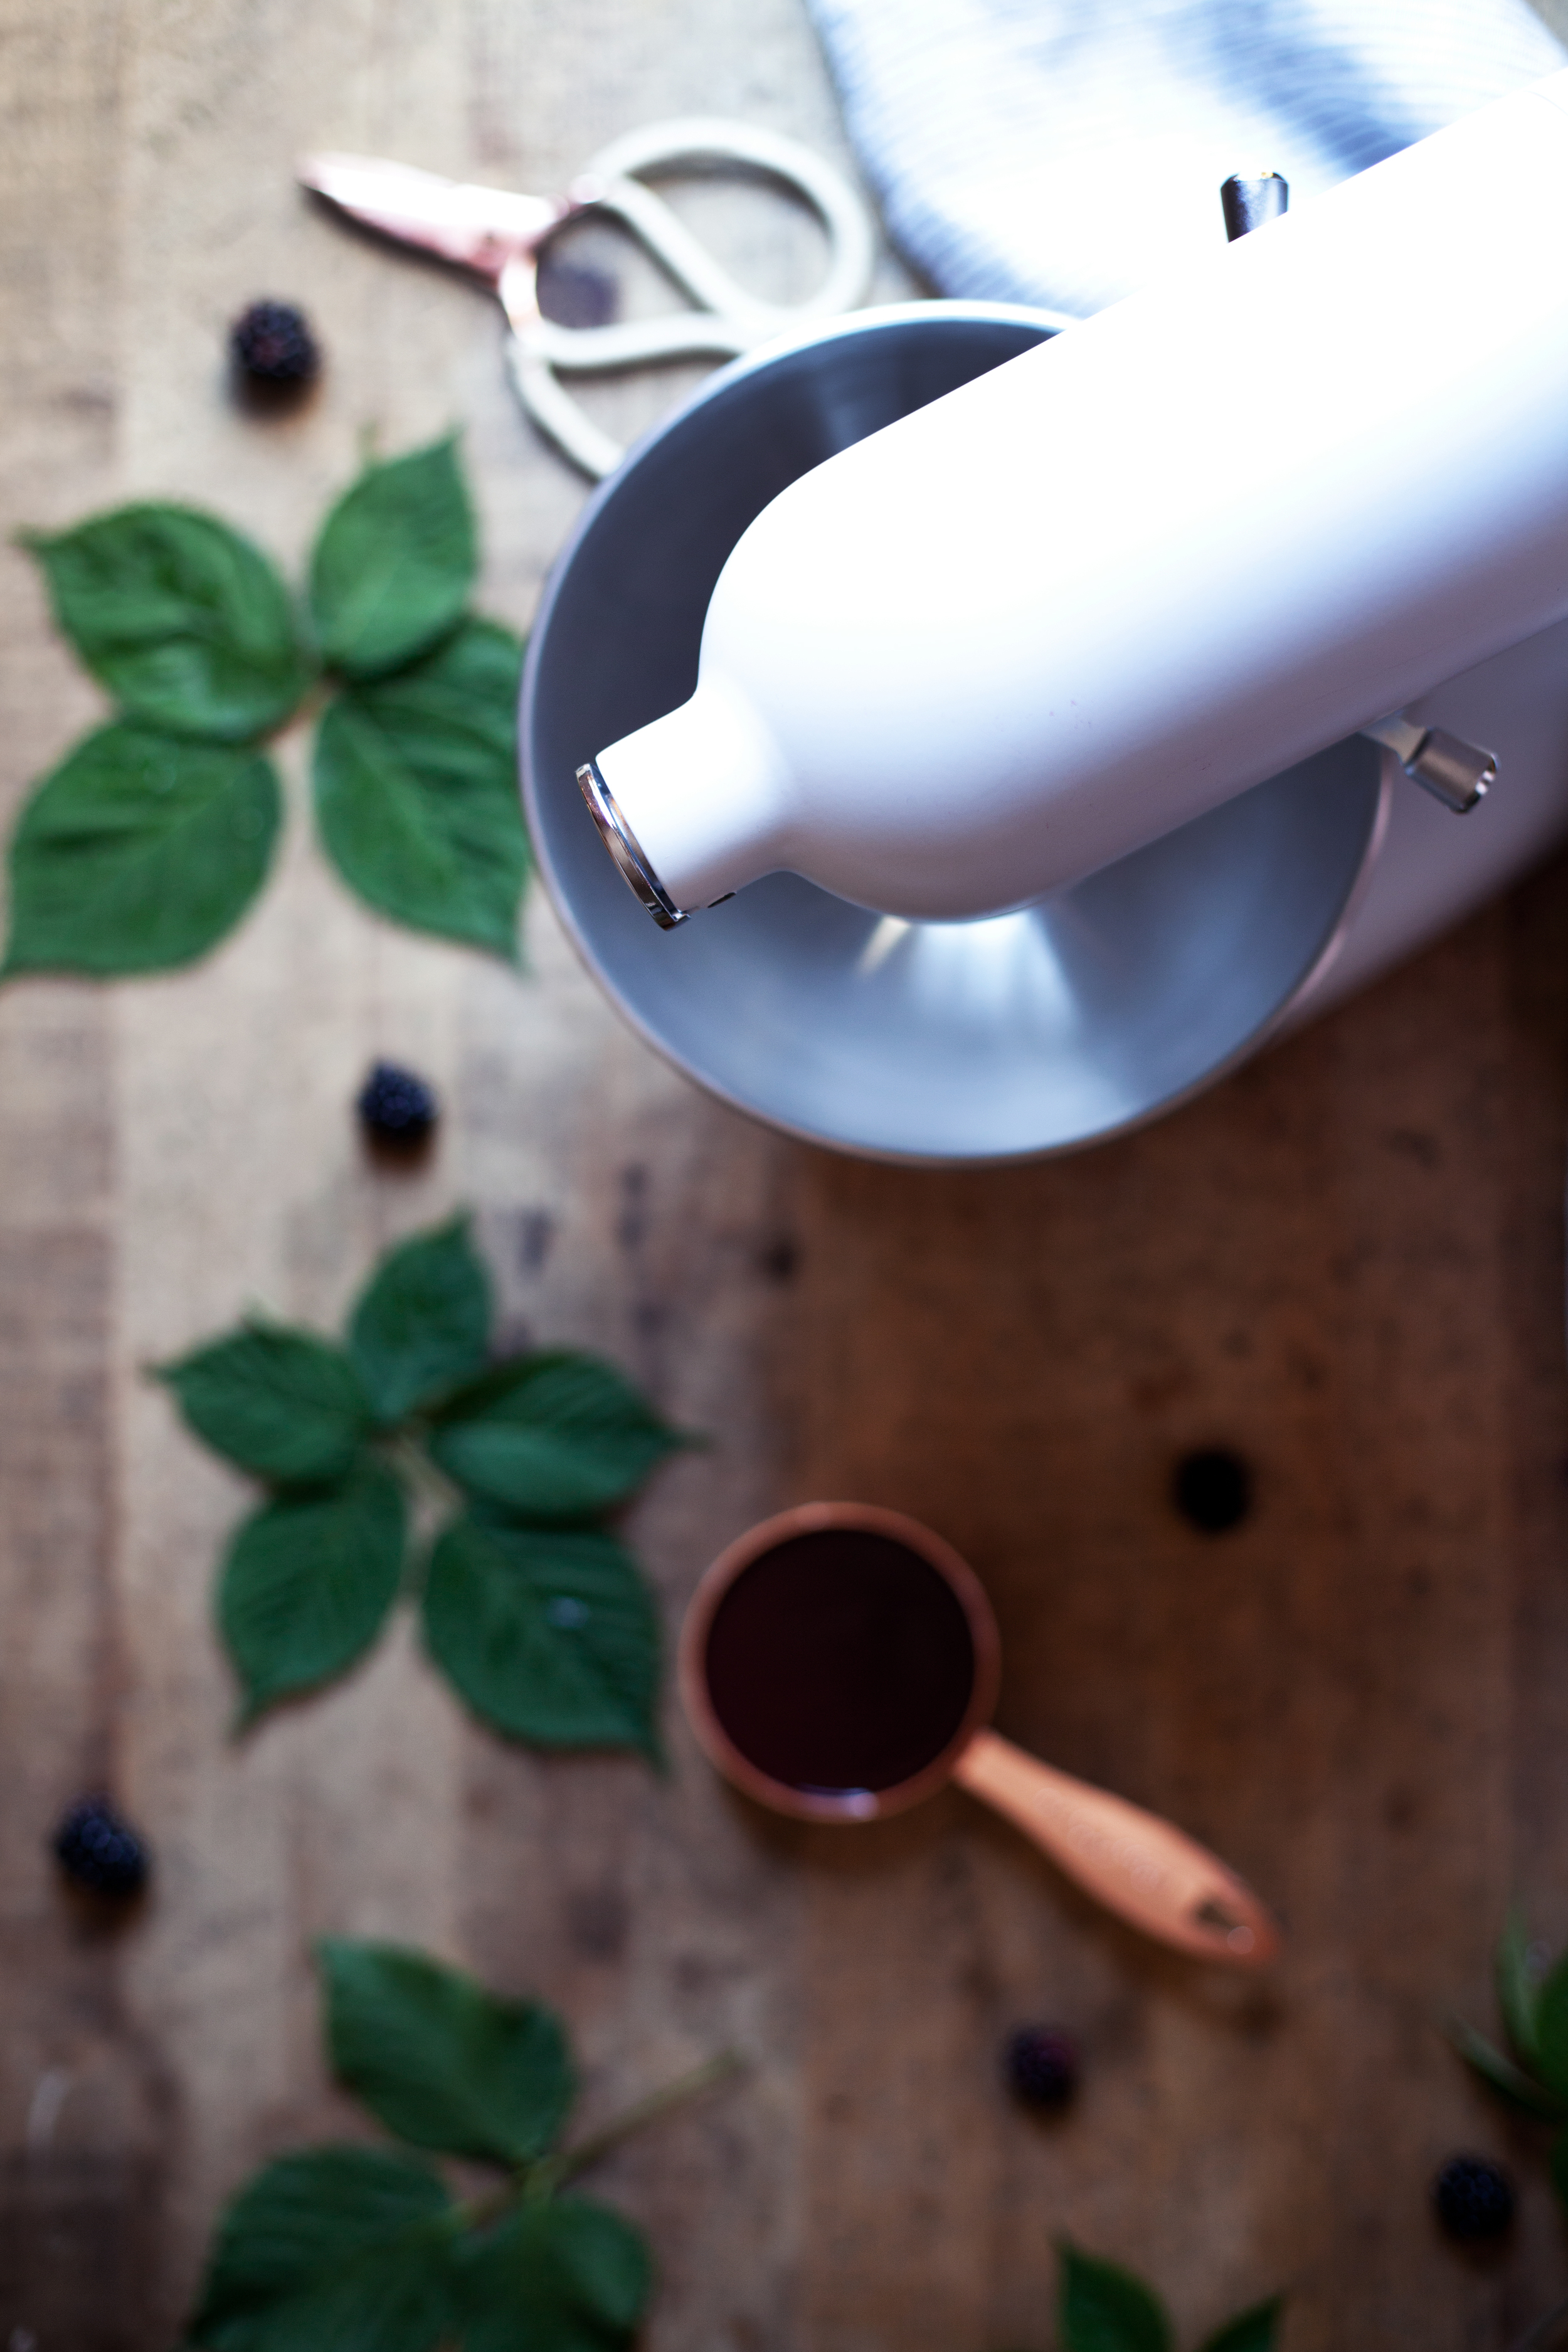
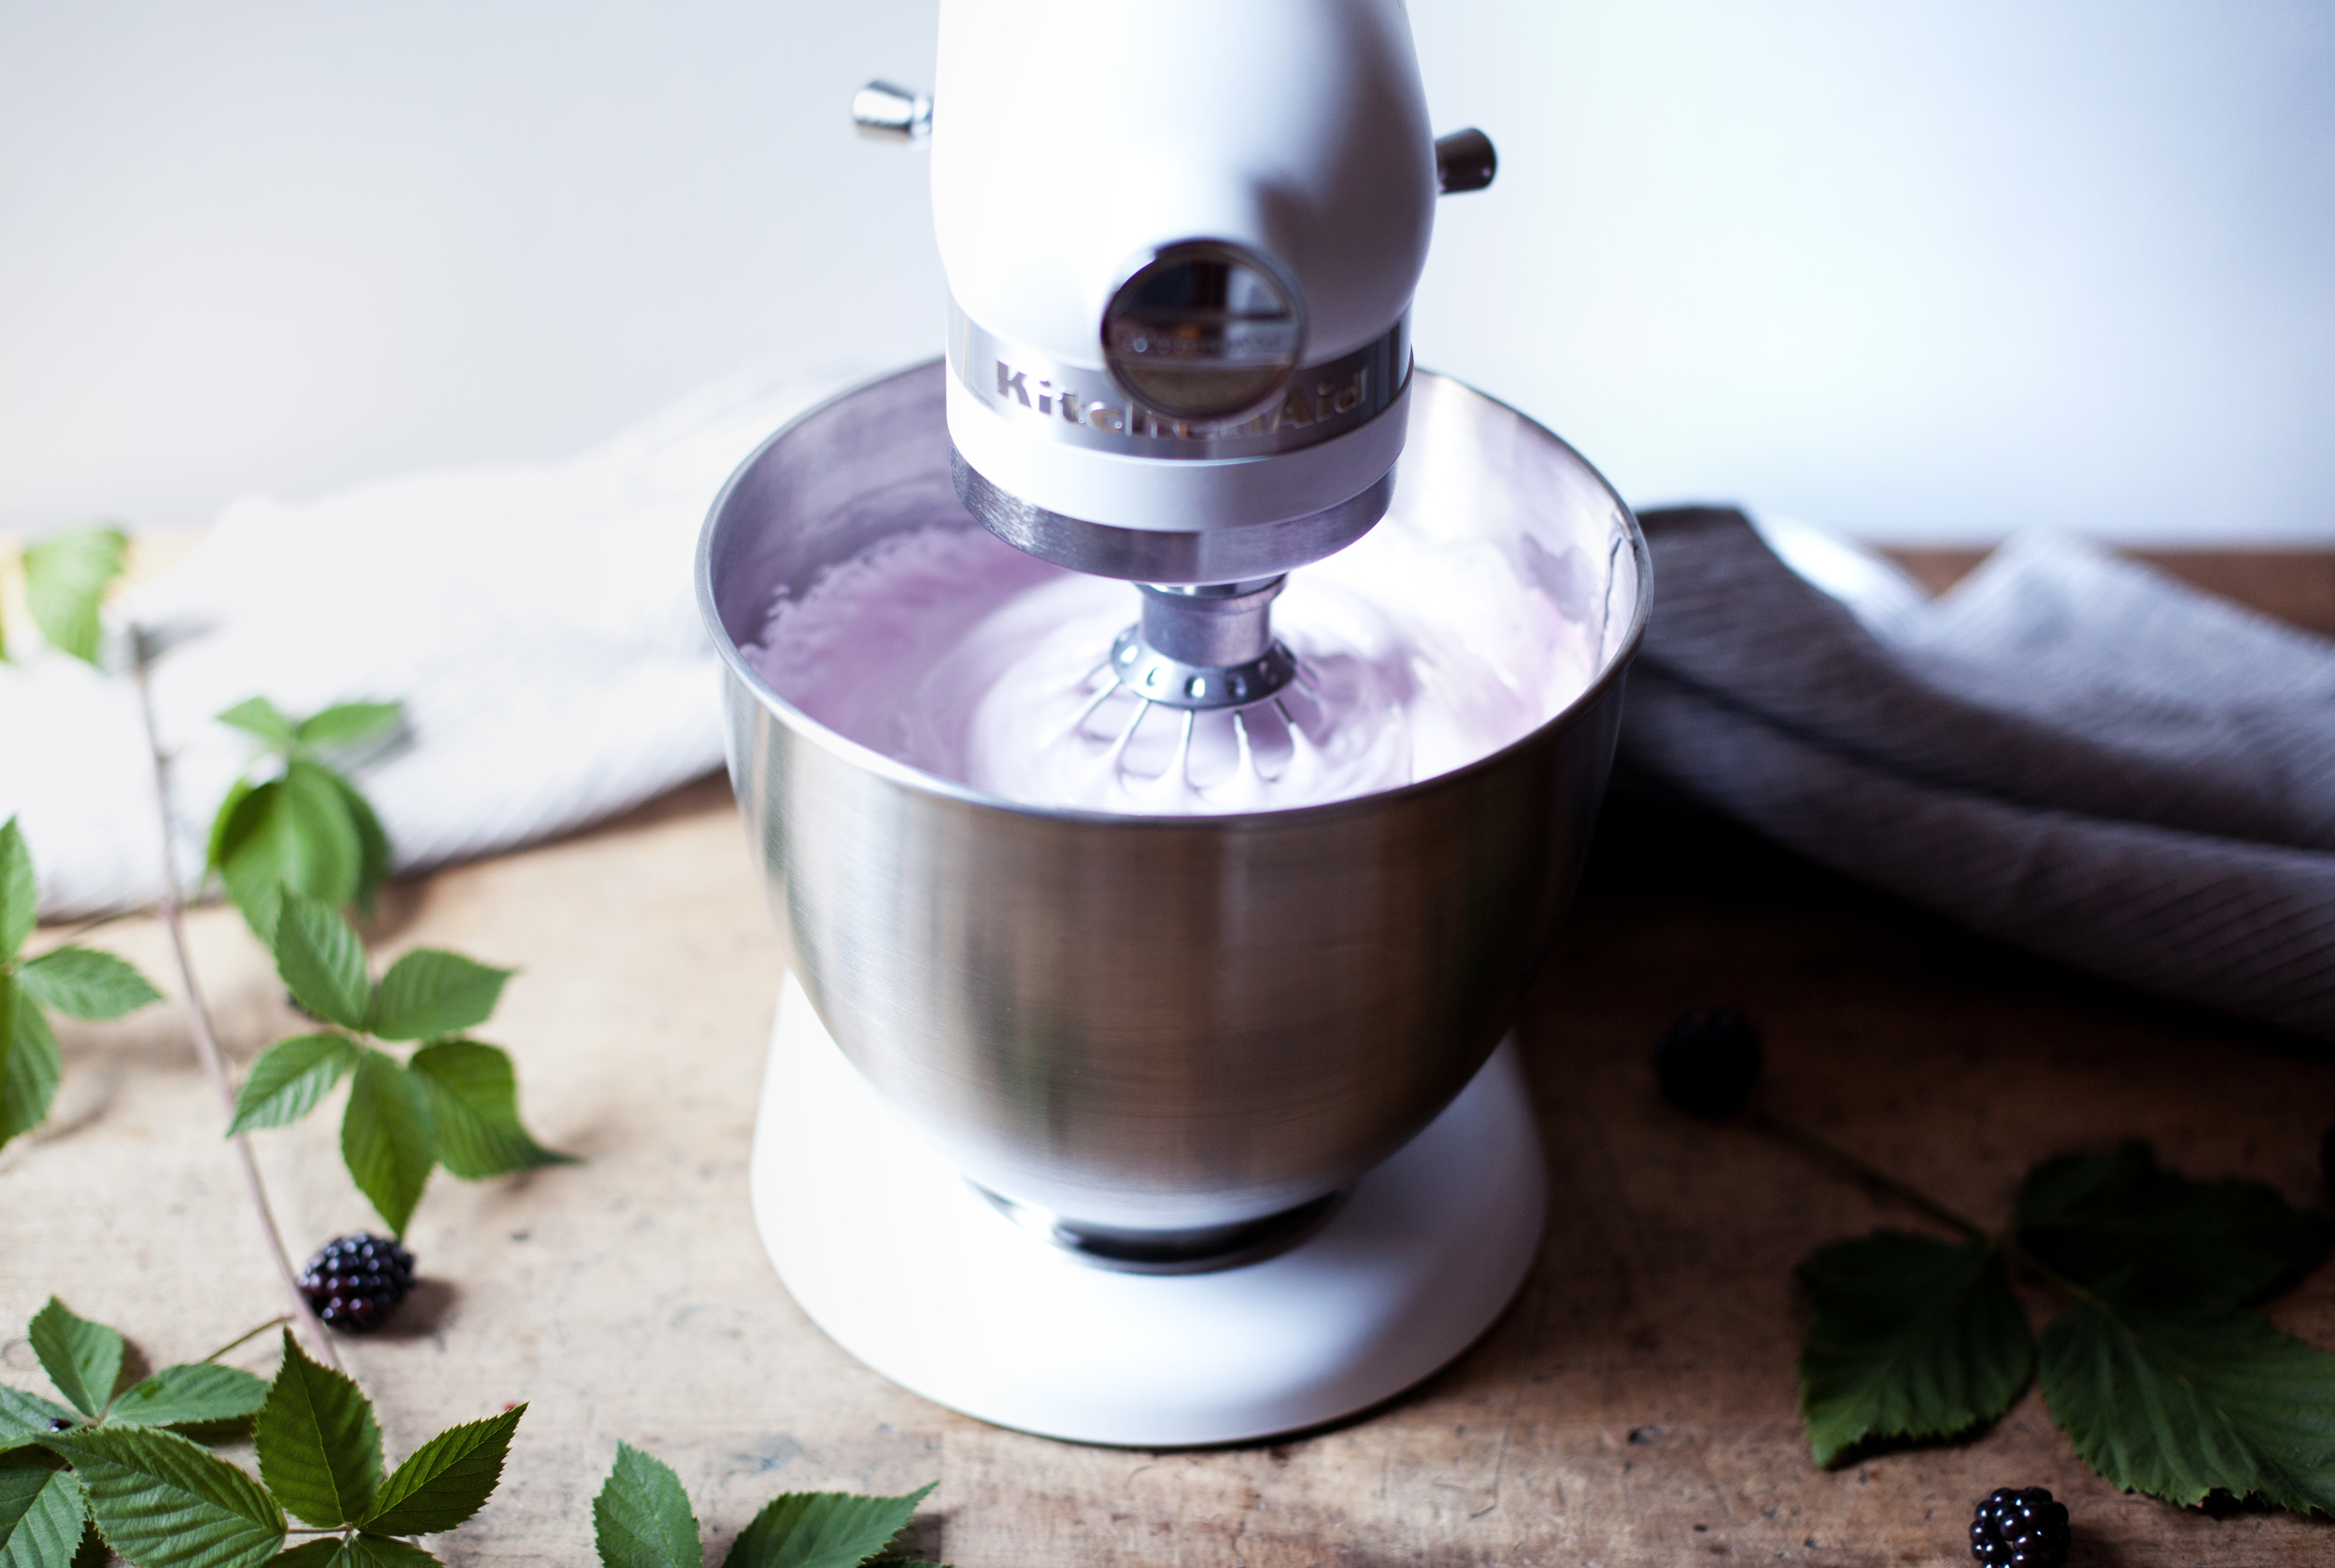
to whip these up i used KitchenAid's new Artisan® Mini Mixer! marshmallows are sure to test out your mixer, as you have to whip them for a long time to get the right consistency (i wouldn't want to whip these by hand!). as you can see, the Mini Mixer held up just as perfectly as its iconic sibling, the KitchenAid® Stand Mixer & is the perfect size to make a batch of marshmallows. the best part is pouring in the boiled sugar mixture & watching it turn from a liquid to a fluffy white right before your eyes!

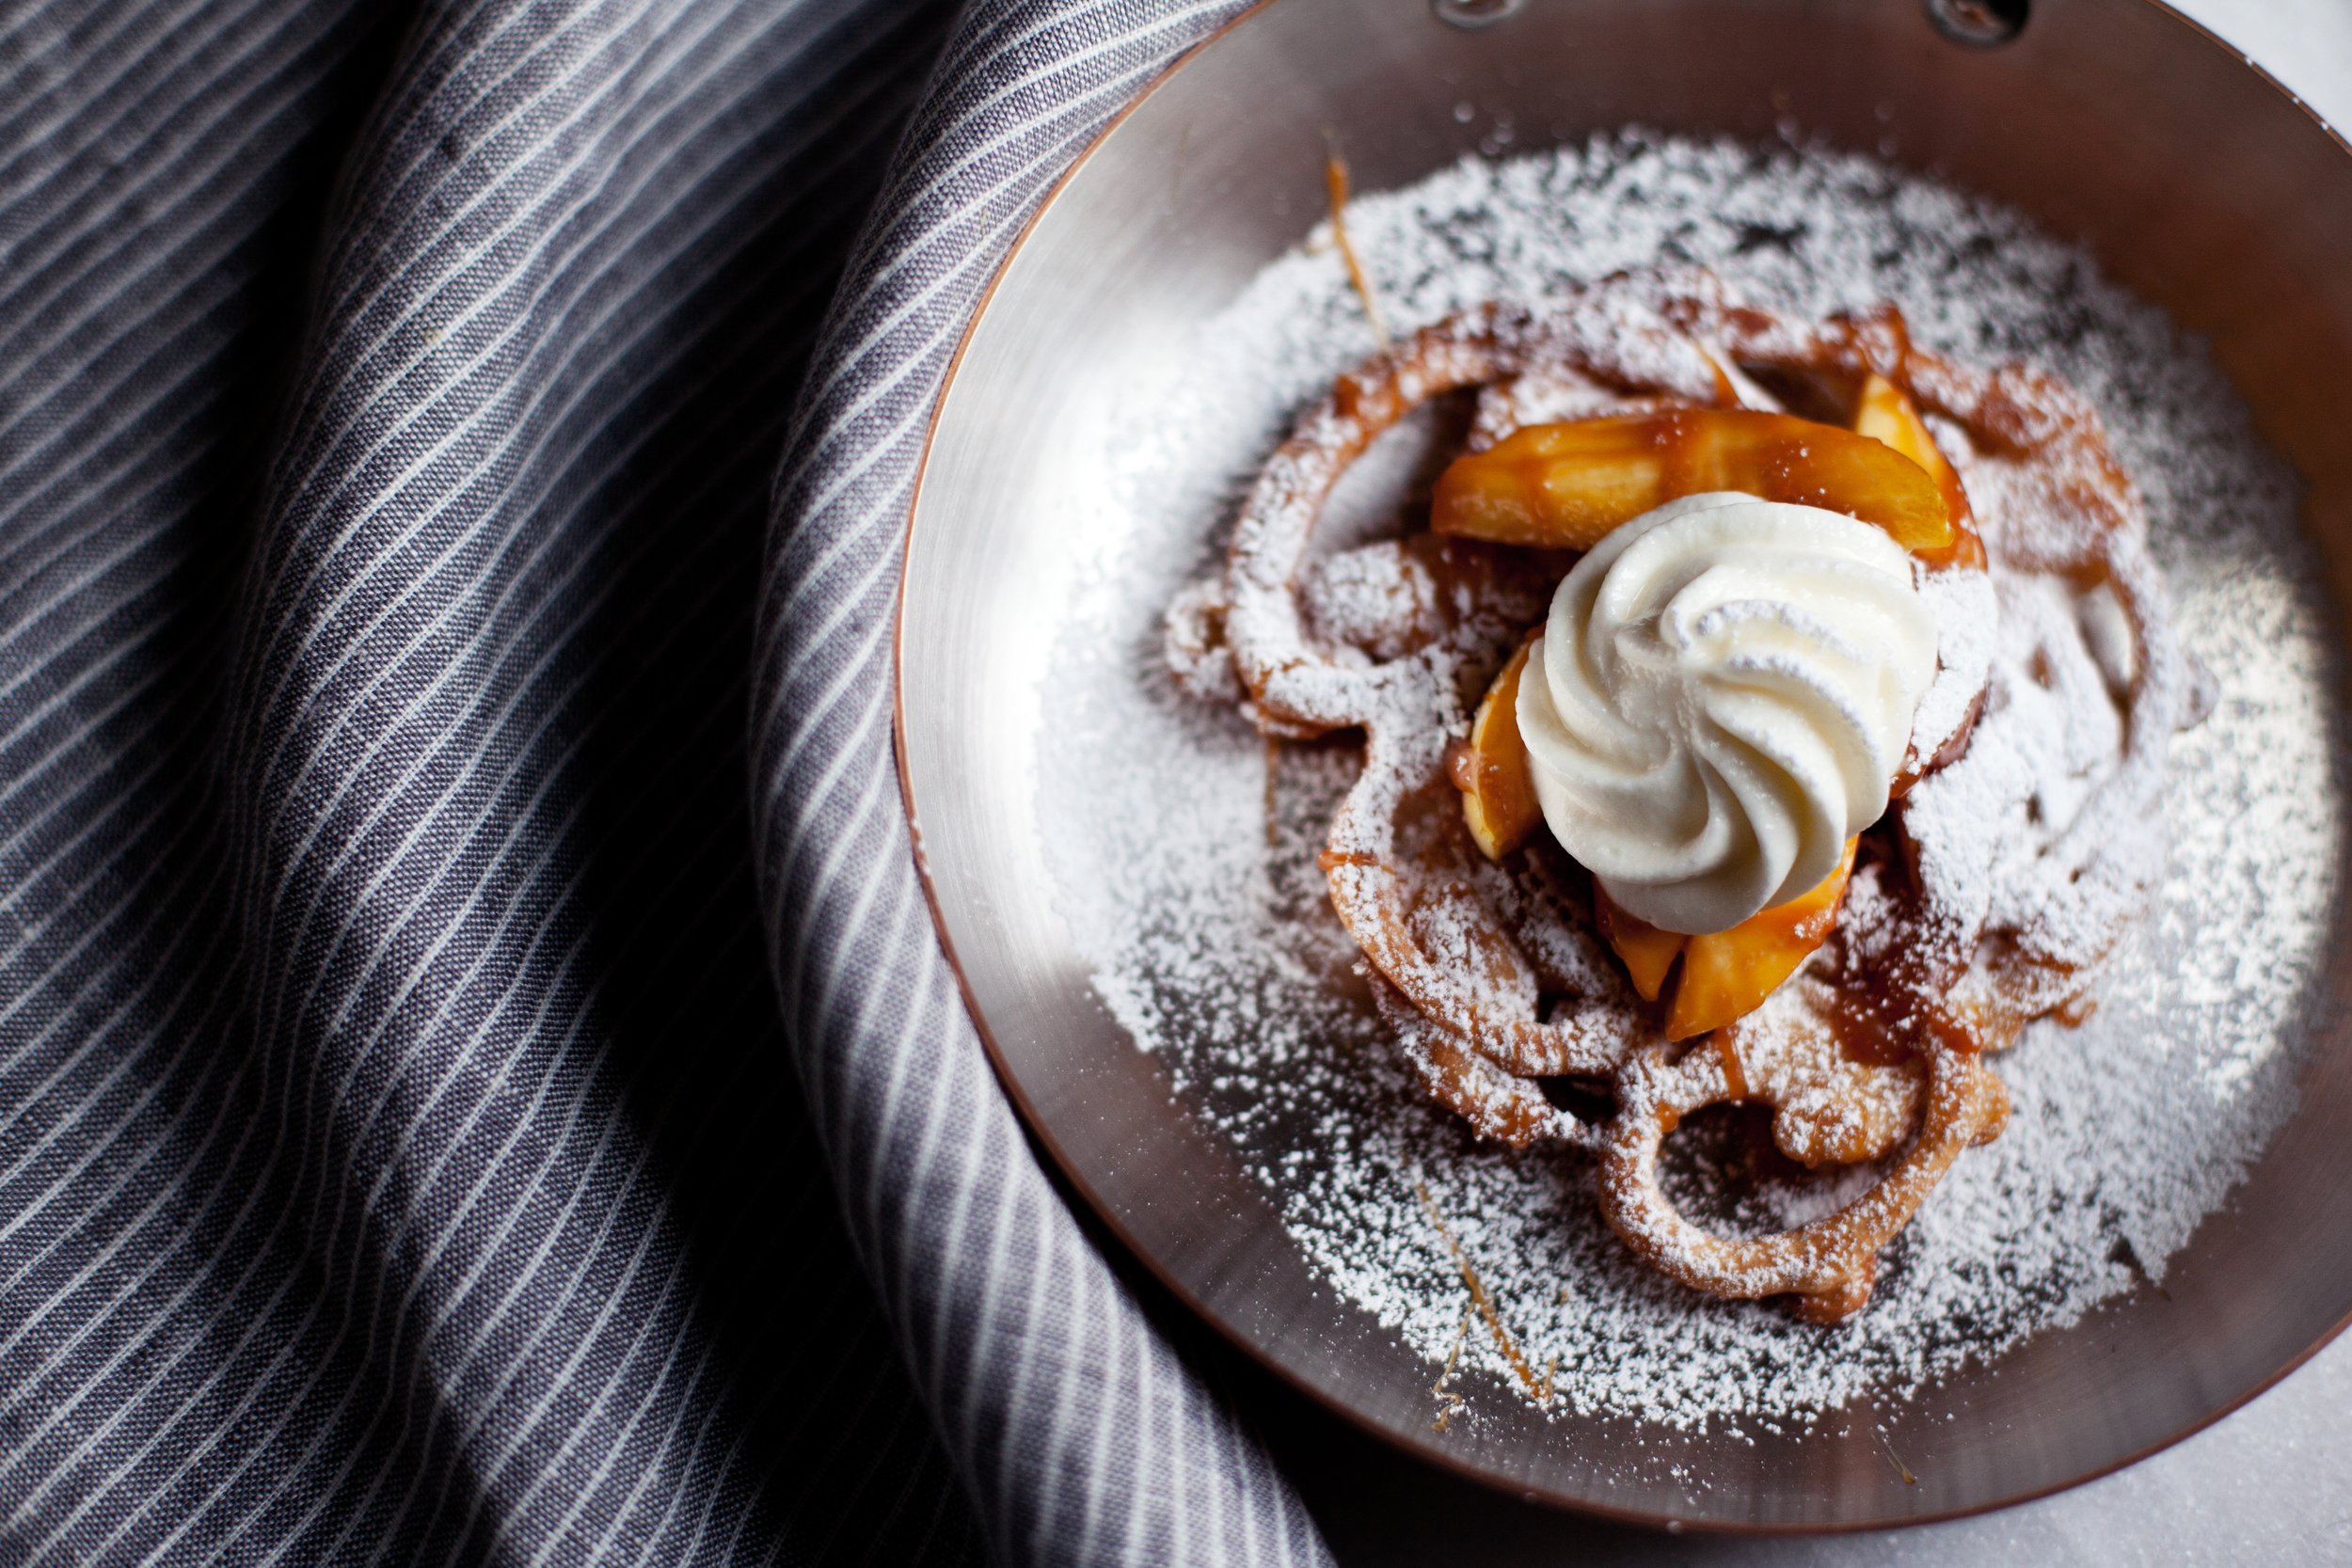
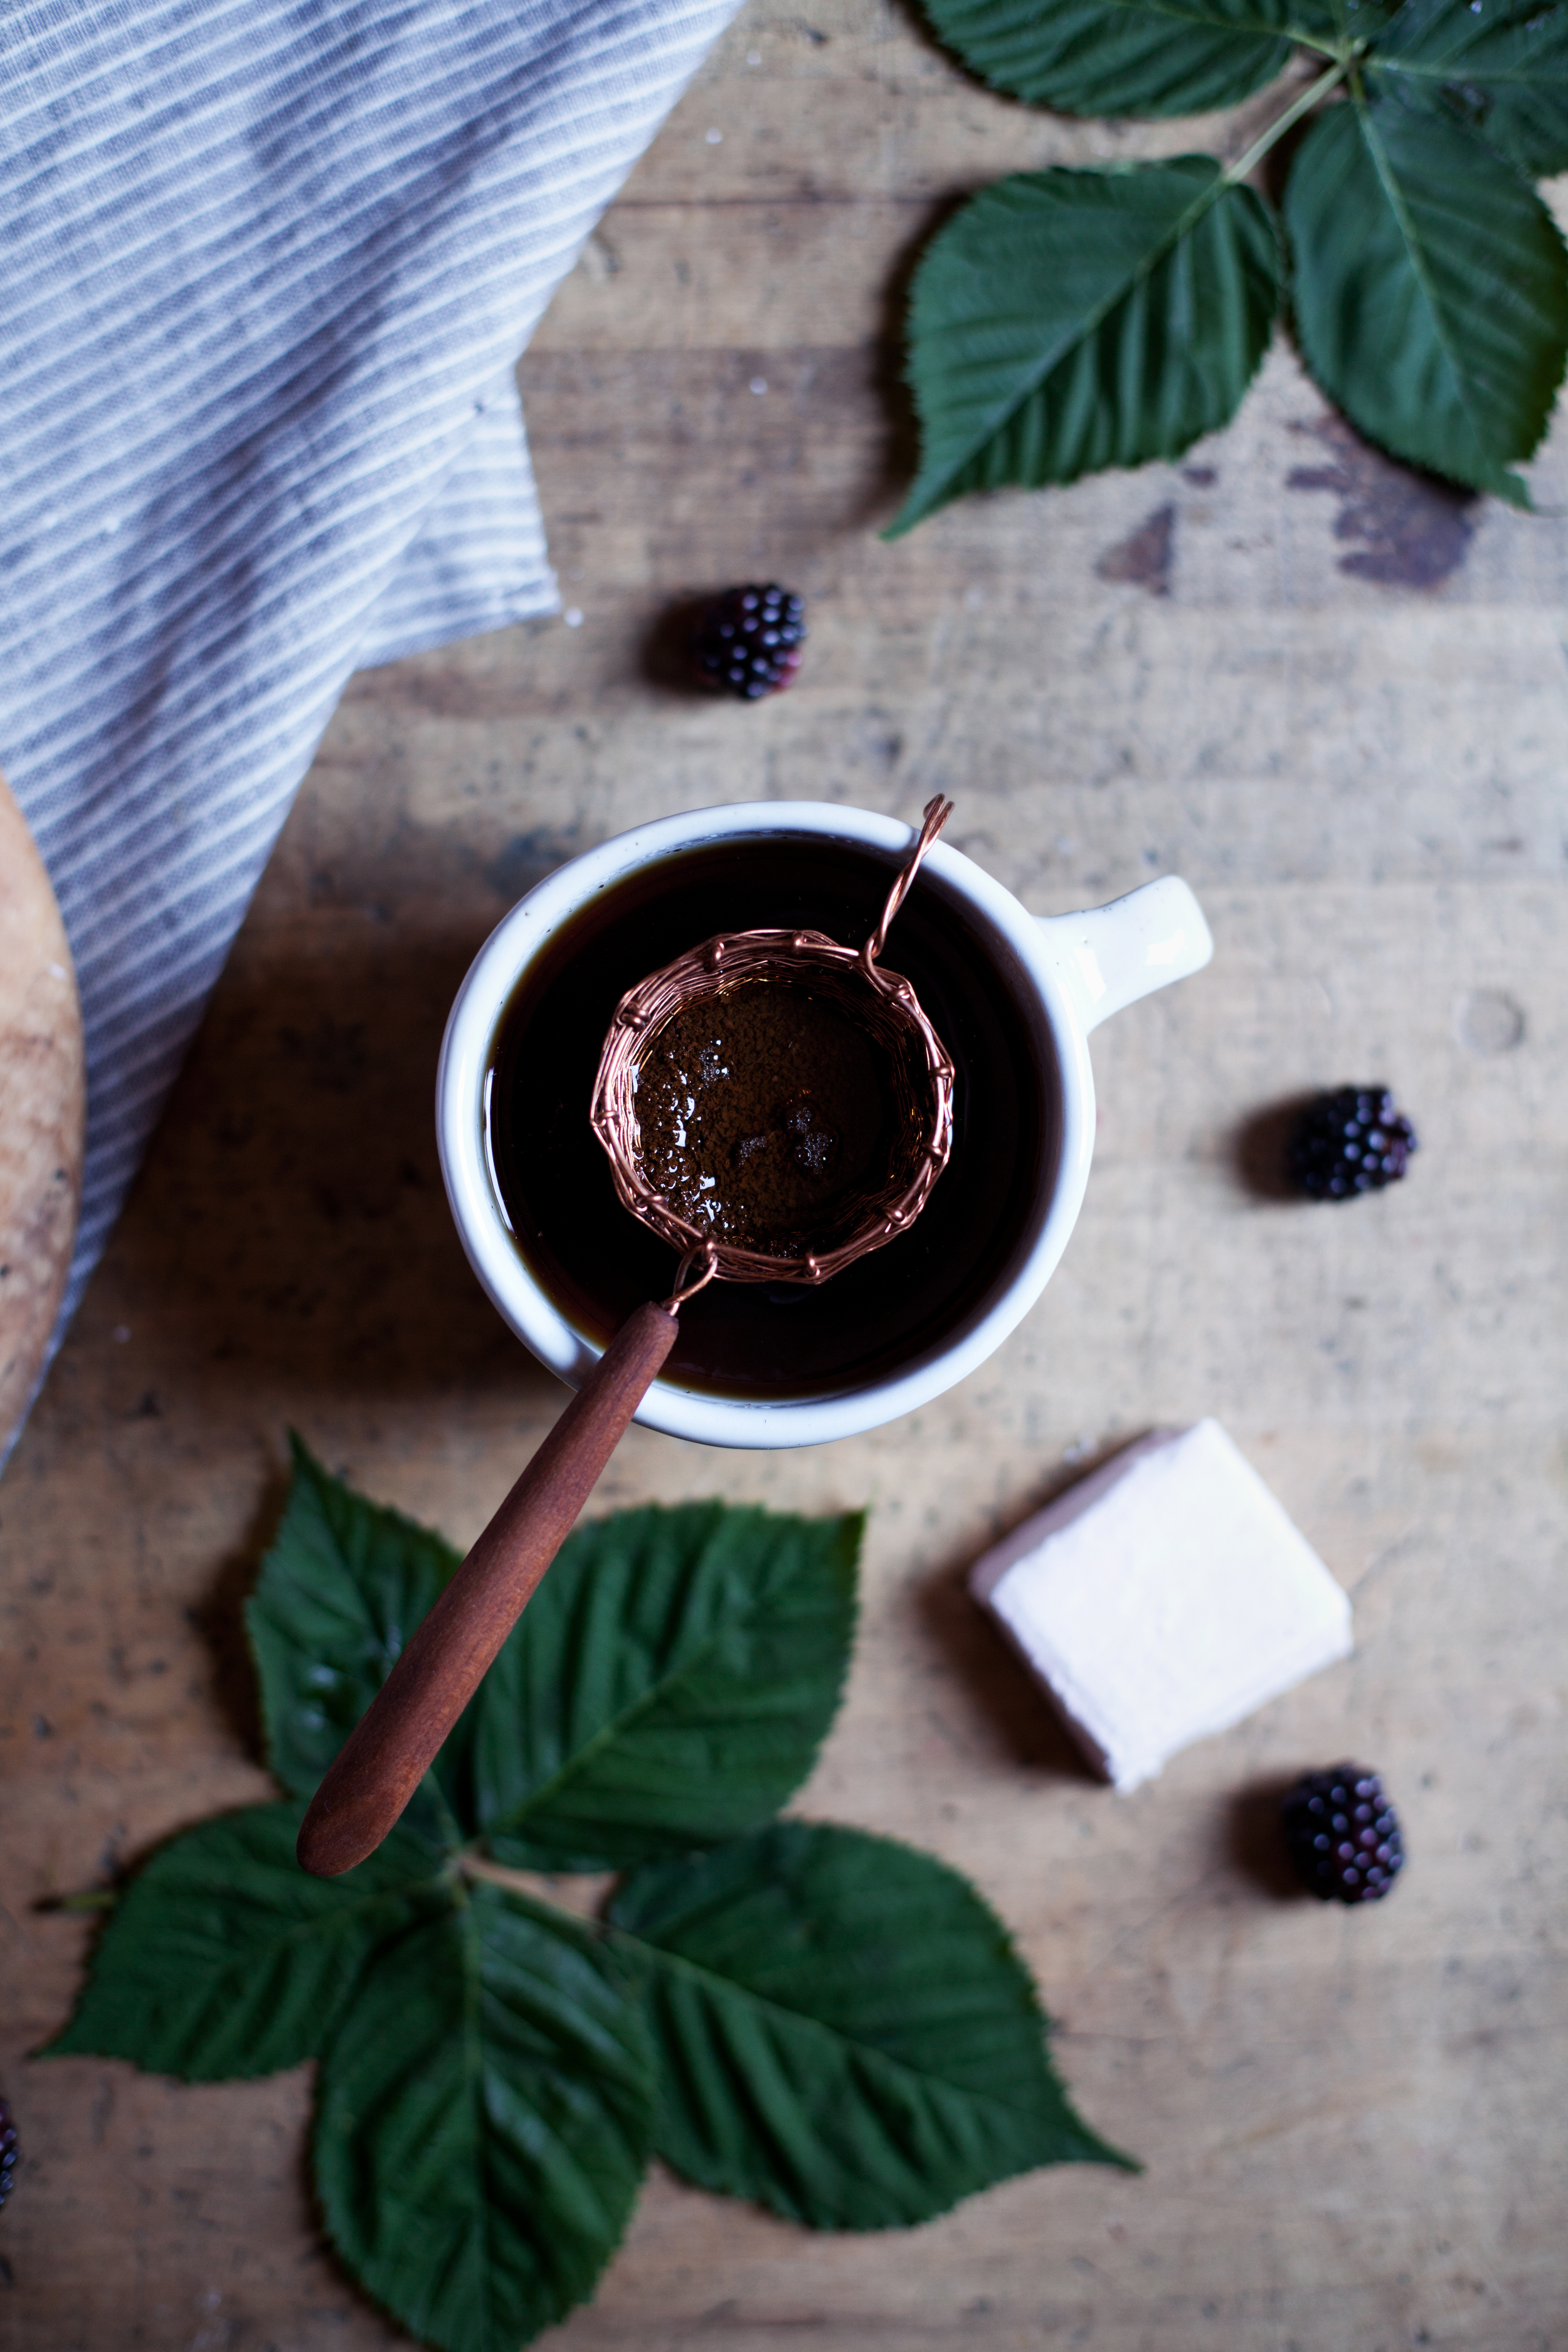
p.s. you can roast these marshmallows over the campfire & pair them with creamy white chocolate + graham cracker for a fancy pant s'more!
ingredients

  • 1/2 cup blackberry puree (2 cups fresh blackberries)
  • 1/2 cup water
  • 3/4 ounces gelatin
  • 2 cups white sugar
  • 2/3 cup white corn syrup
  • 1 pinch salt
  • 1 teaspoon pure vanilla extract
  • 1/2 cup corn starch
  • 1/2 cup powdered sugar

directions

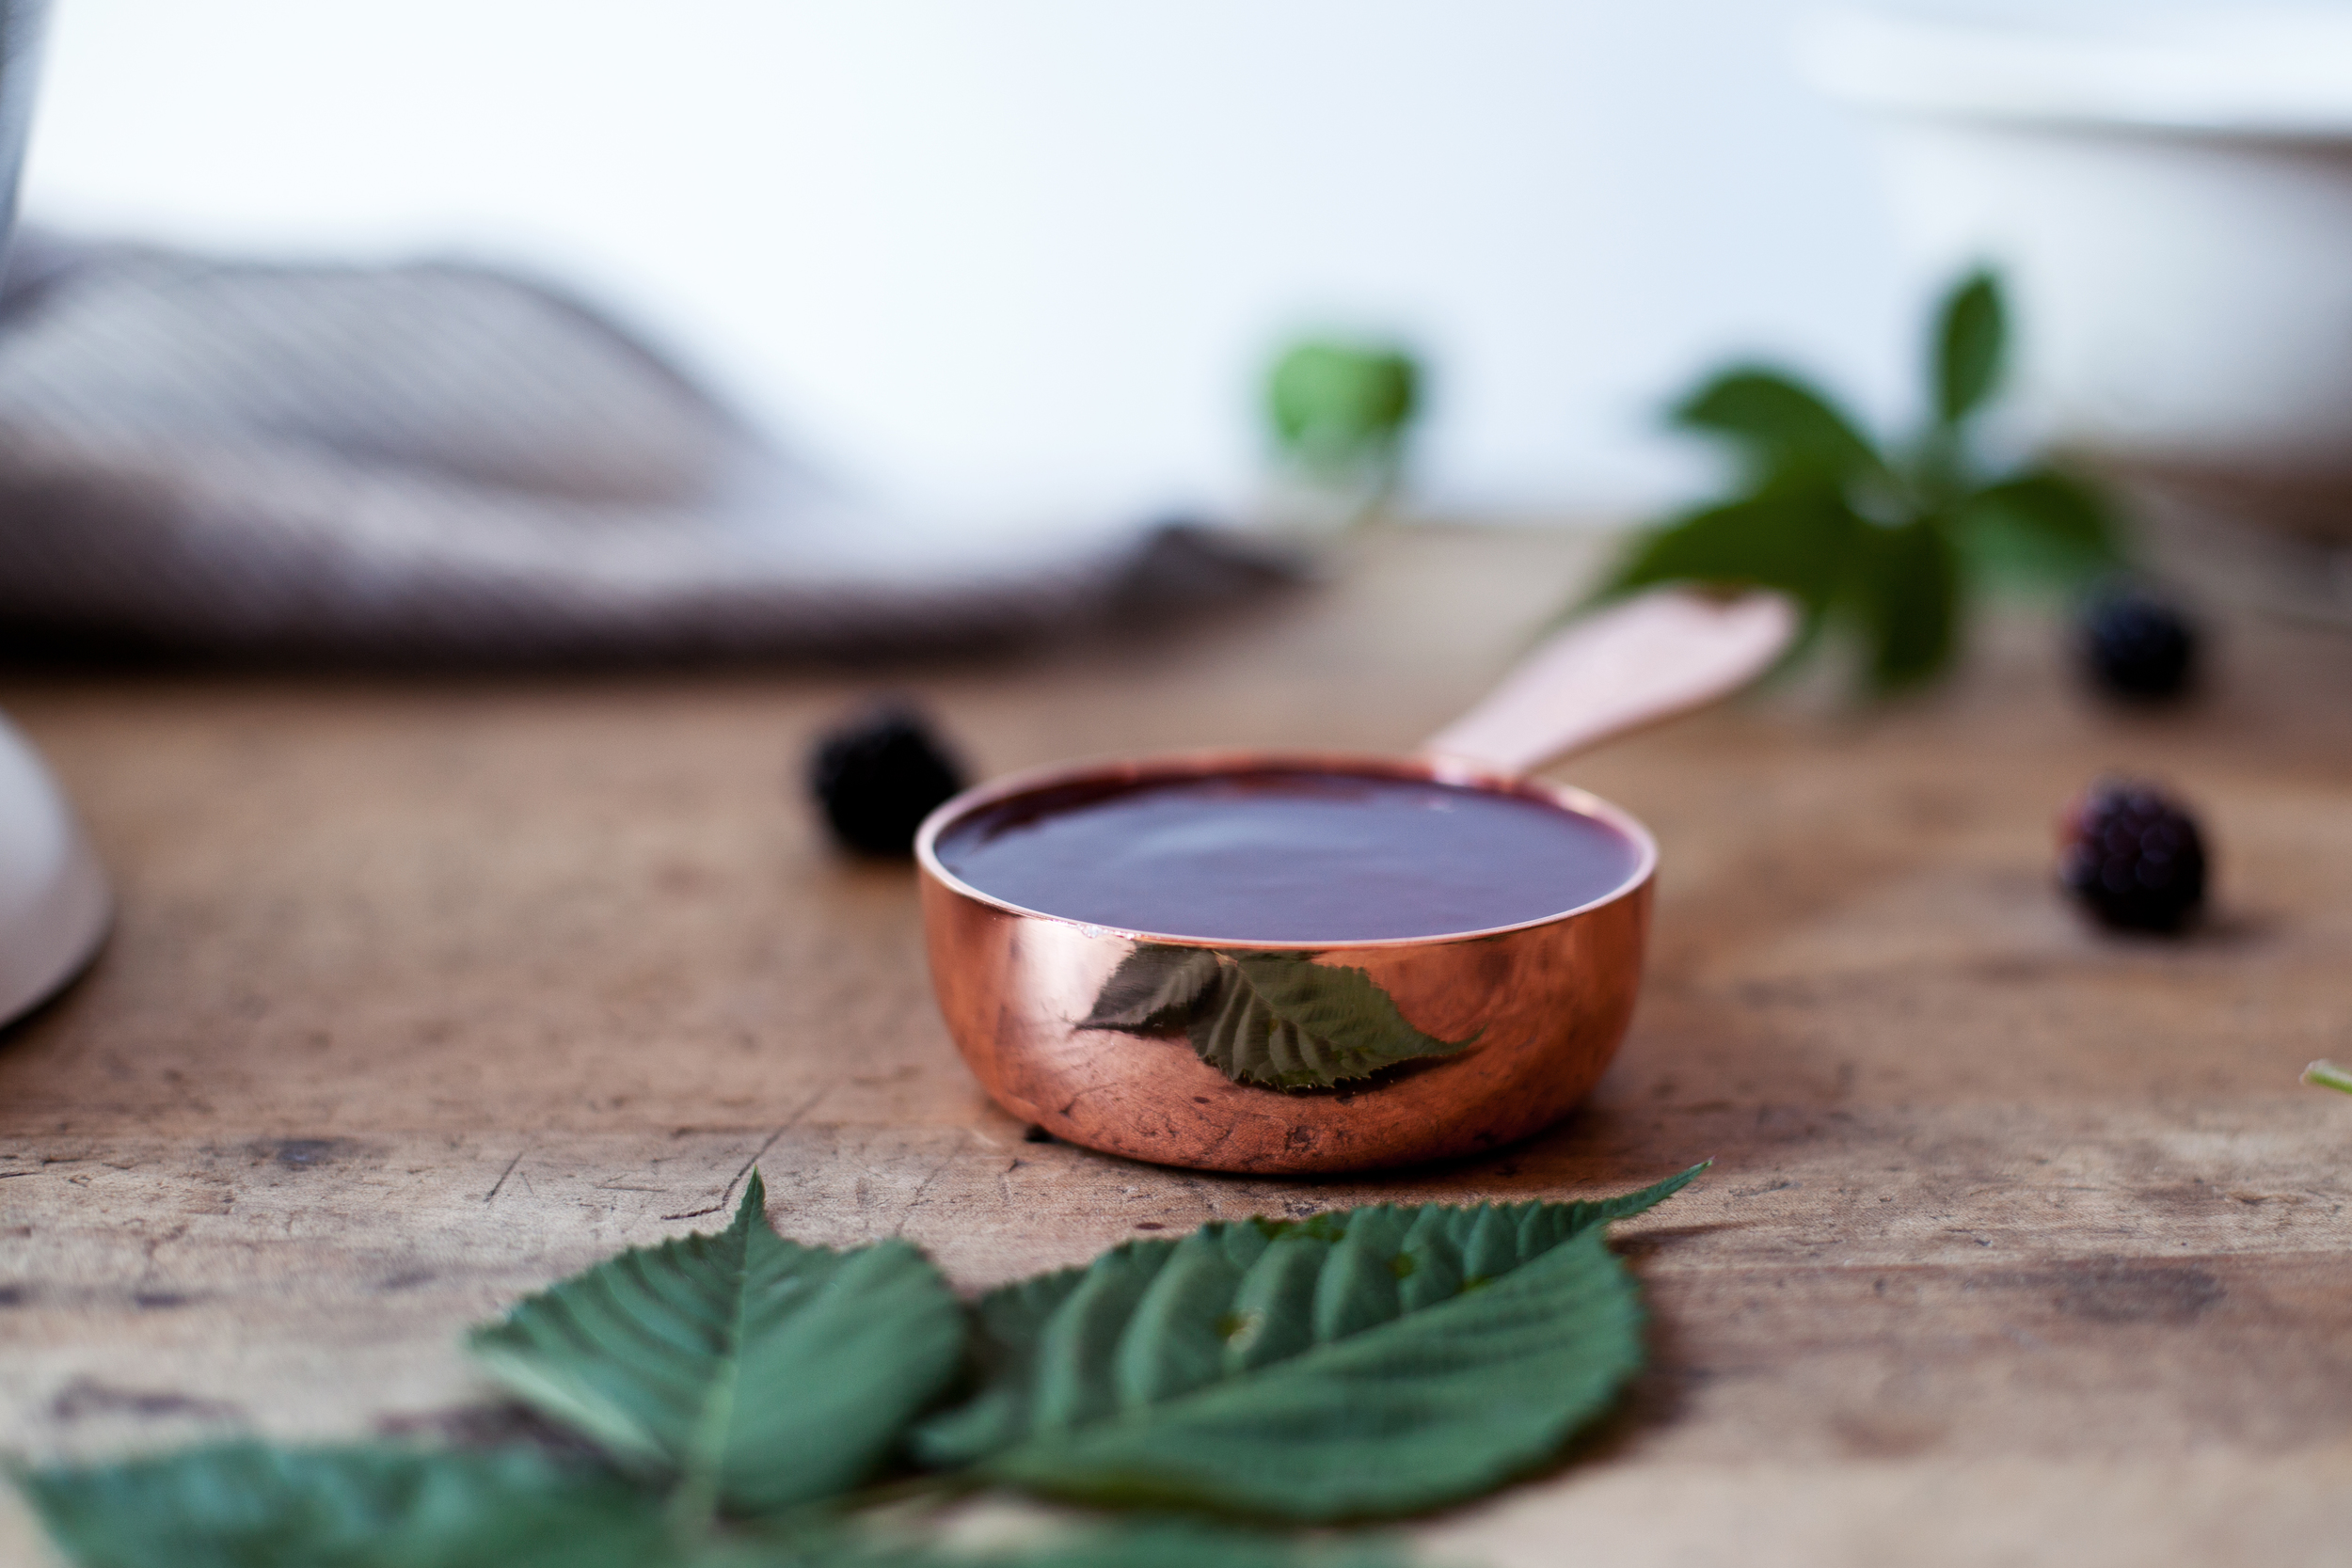
  • using a blender, puree the blackberries. strain mixture twice to remove any pulp or seeds. set aside 1/2 cup of the strained puree mixture.
  • line a 13x9 baking dish with parchment paper & grease with oil.
  • add 1/2 cup blackberry puree & gelatin into the bowl of a stand mixer. let stand until the gelatin softens, about 10 minutes.
  • add water into a sauce pan over medium heat. add sugar, corn syrup & salt. stir until sugar dissolves.
  • increase heat to high & boil (do not stir) until temperature reaches 230-250 degrees, about 6-8 minutes.
  • using the whisk attachment, turn on mixer to low speed & slowly pour in boiling hot syrup.
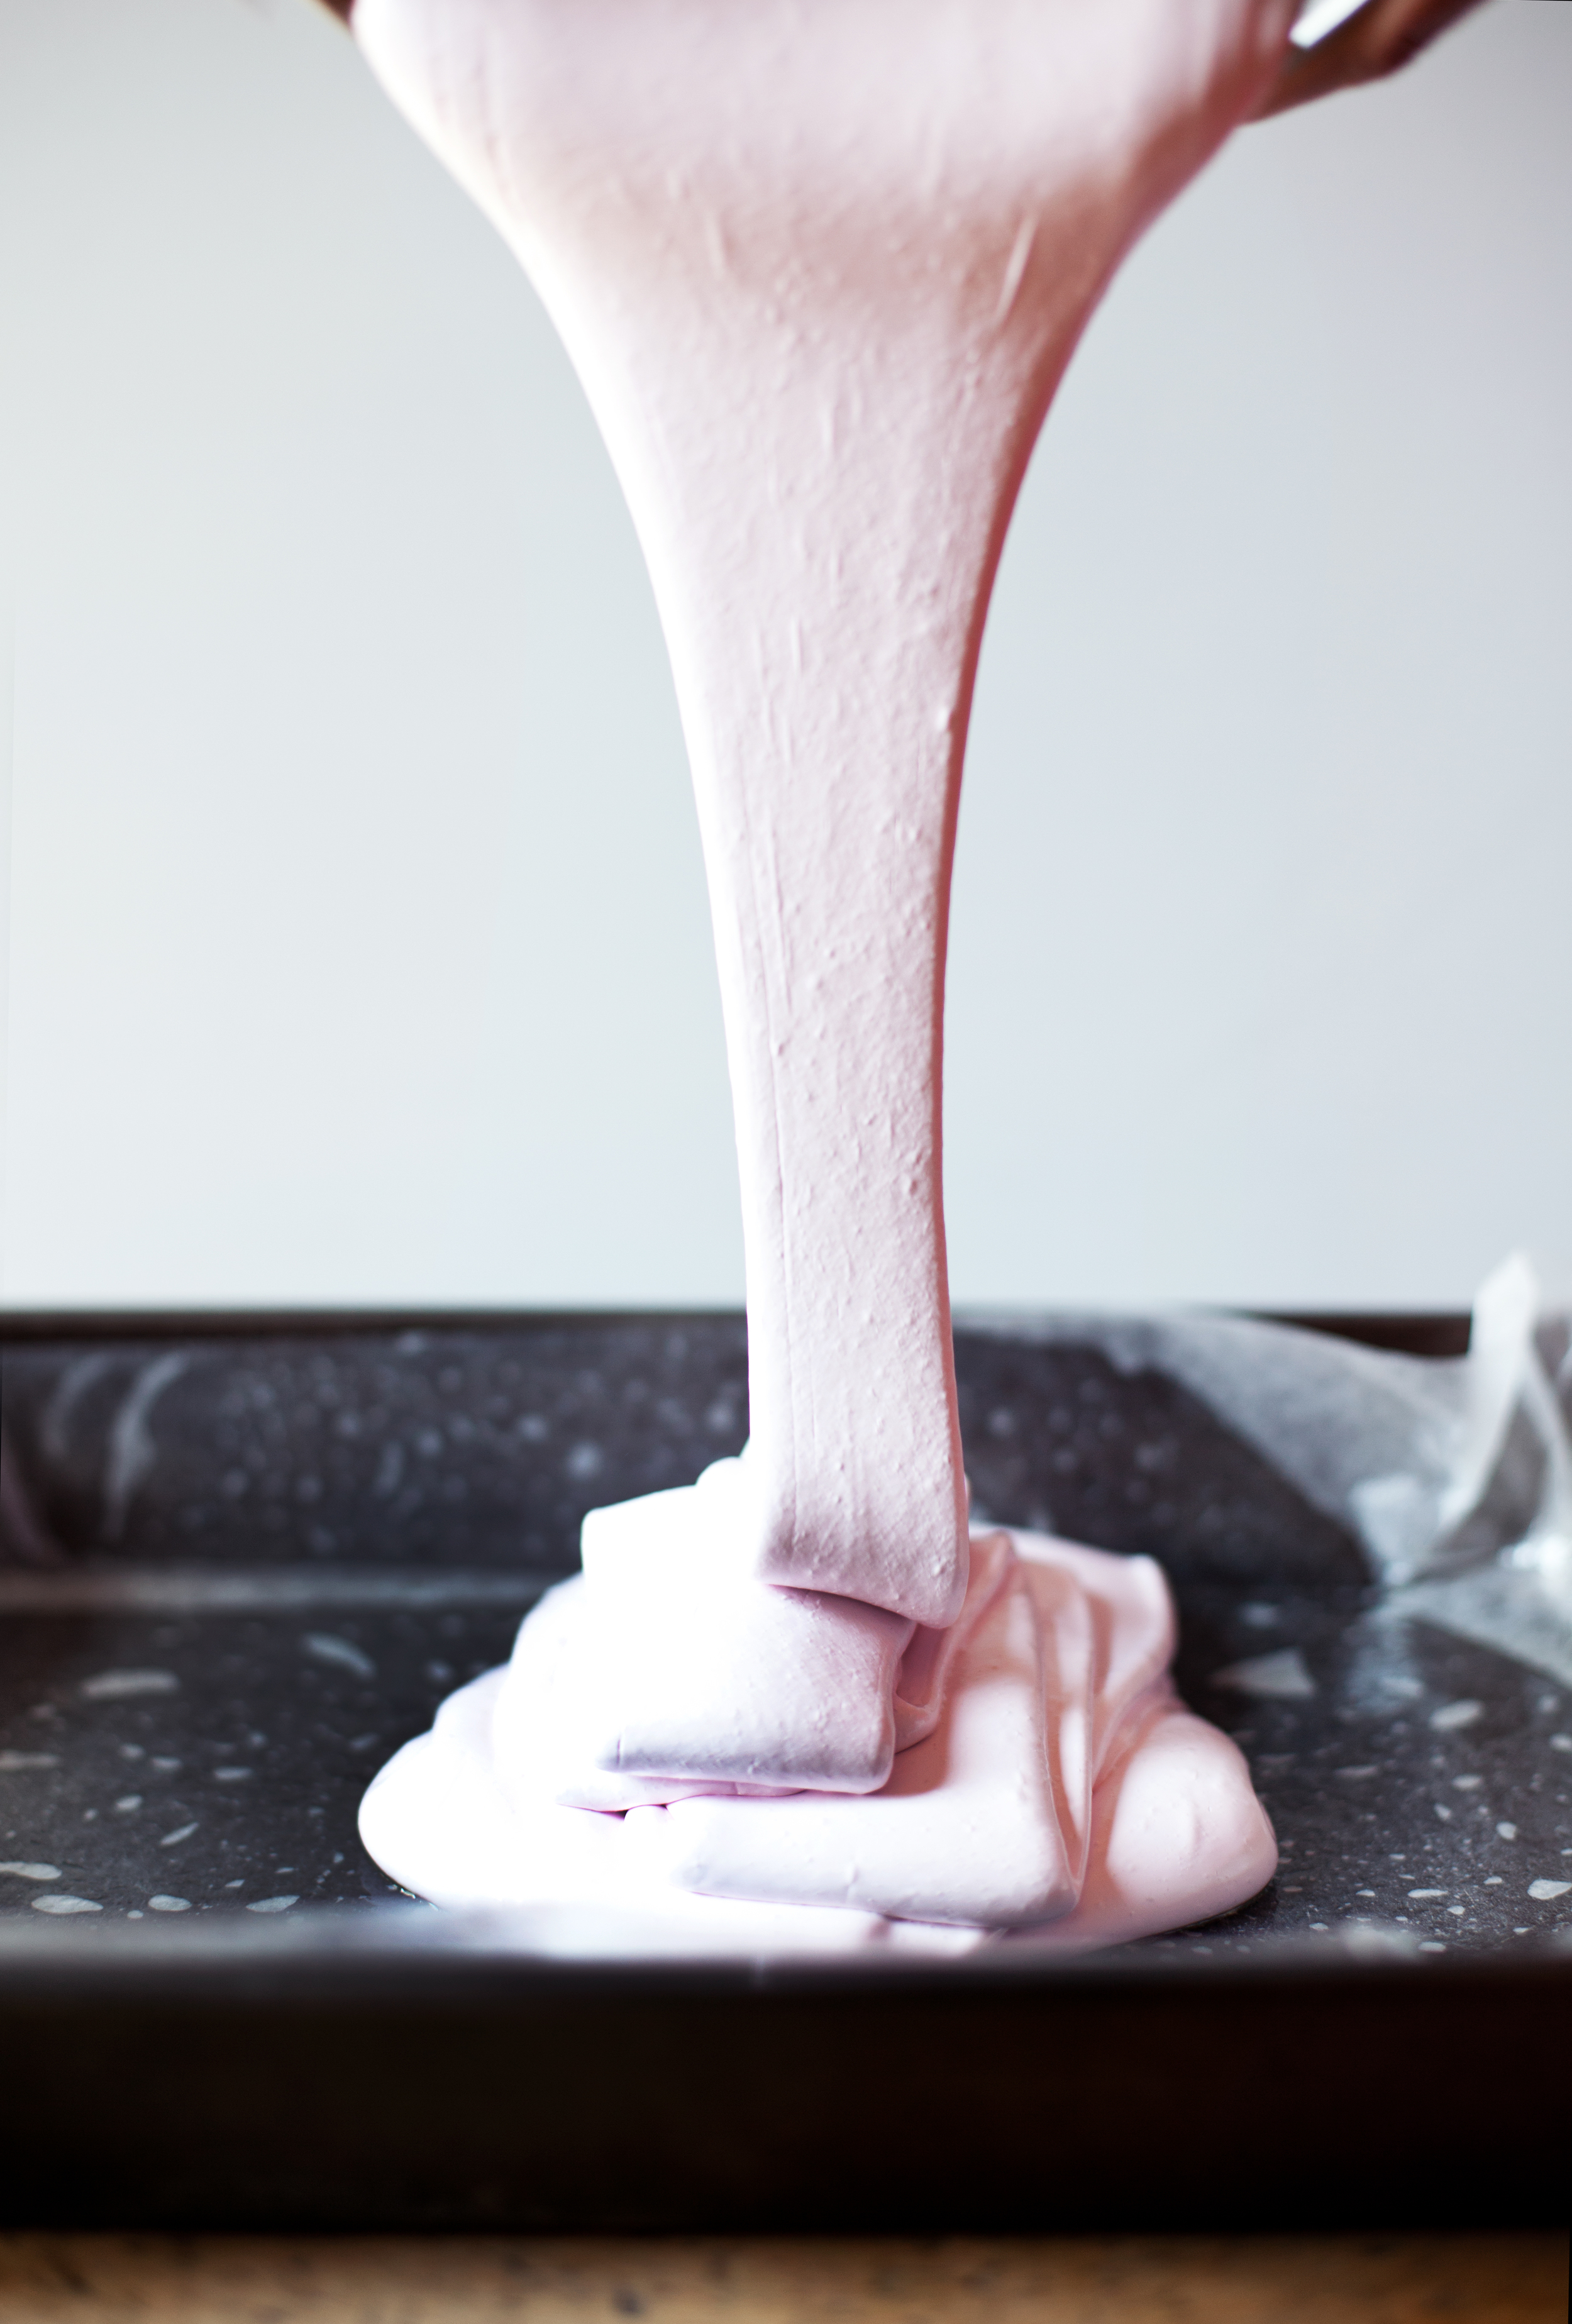
  • once syrup is mixed evenly with the gelatin, add vanilla & increase speed to high. beat until mixture is thick & fluffy, about 15 minutes.
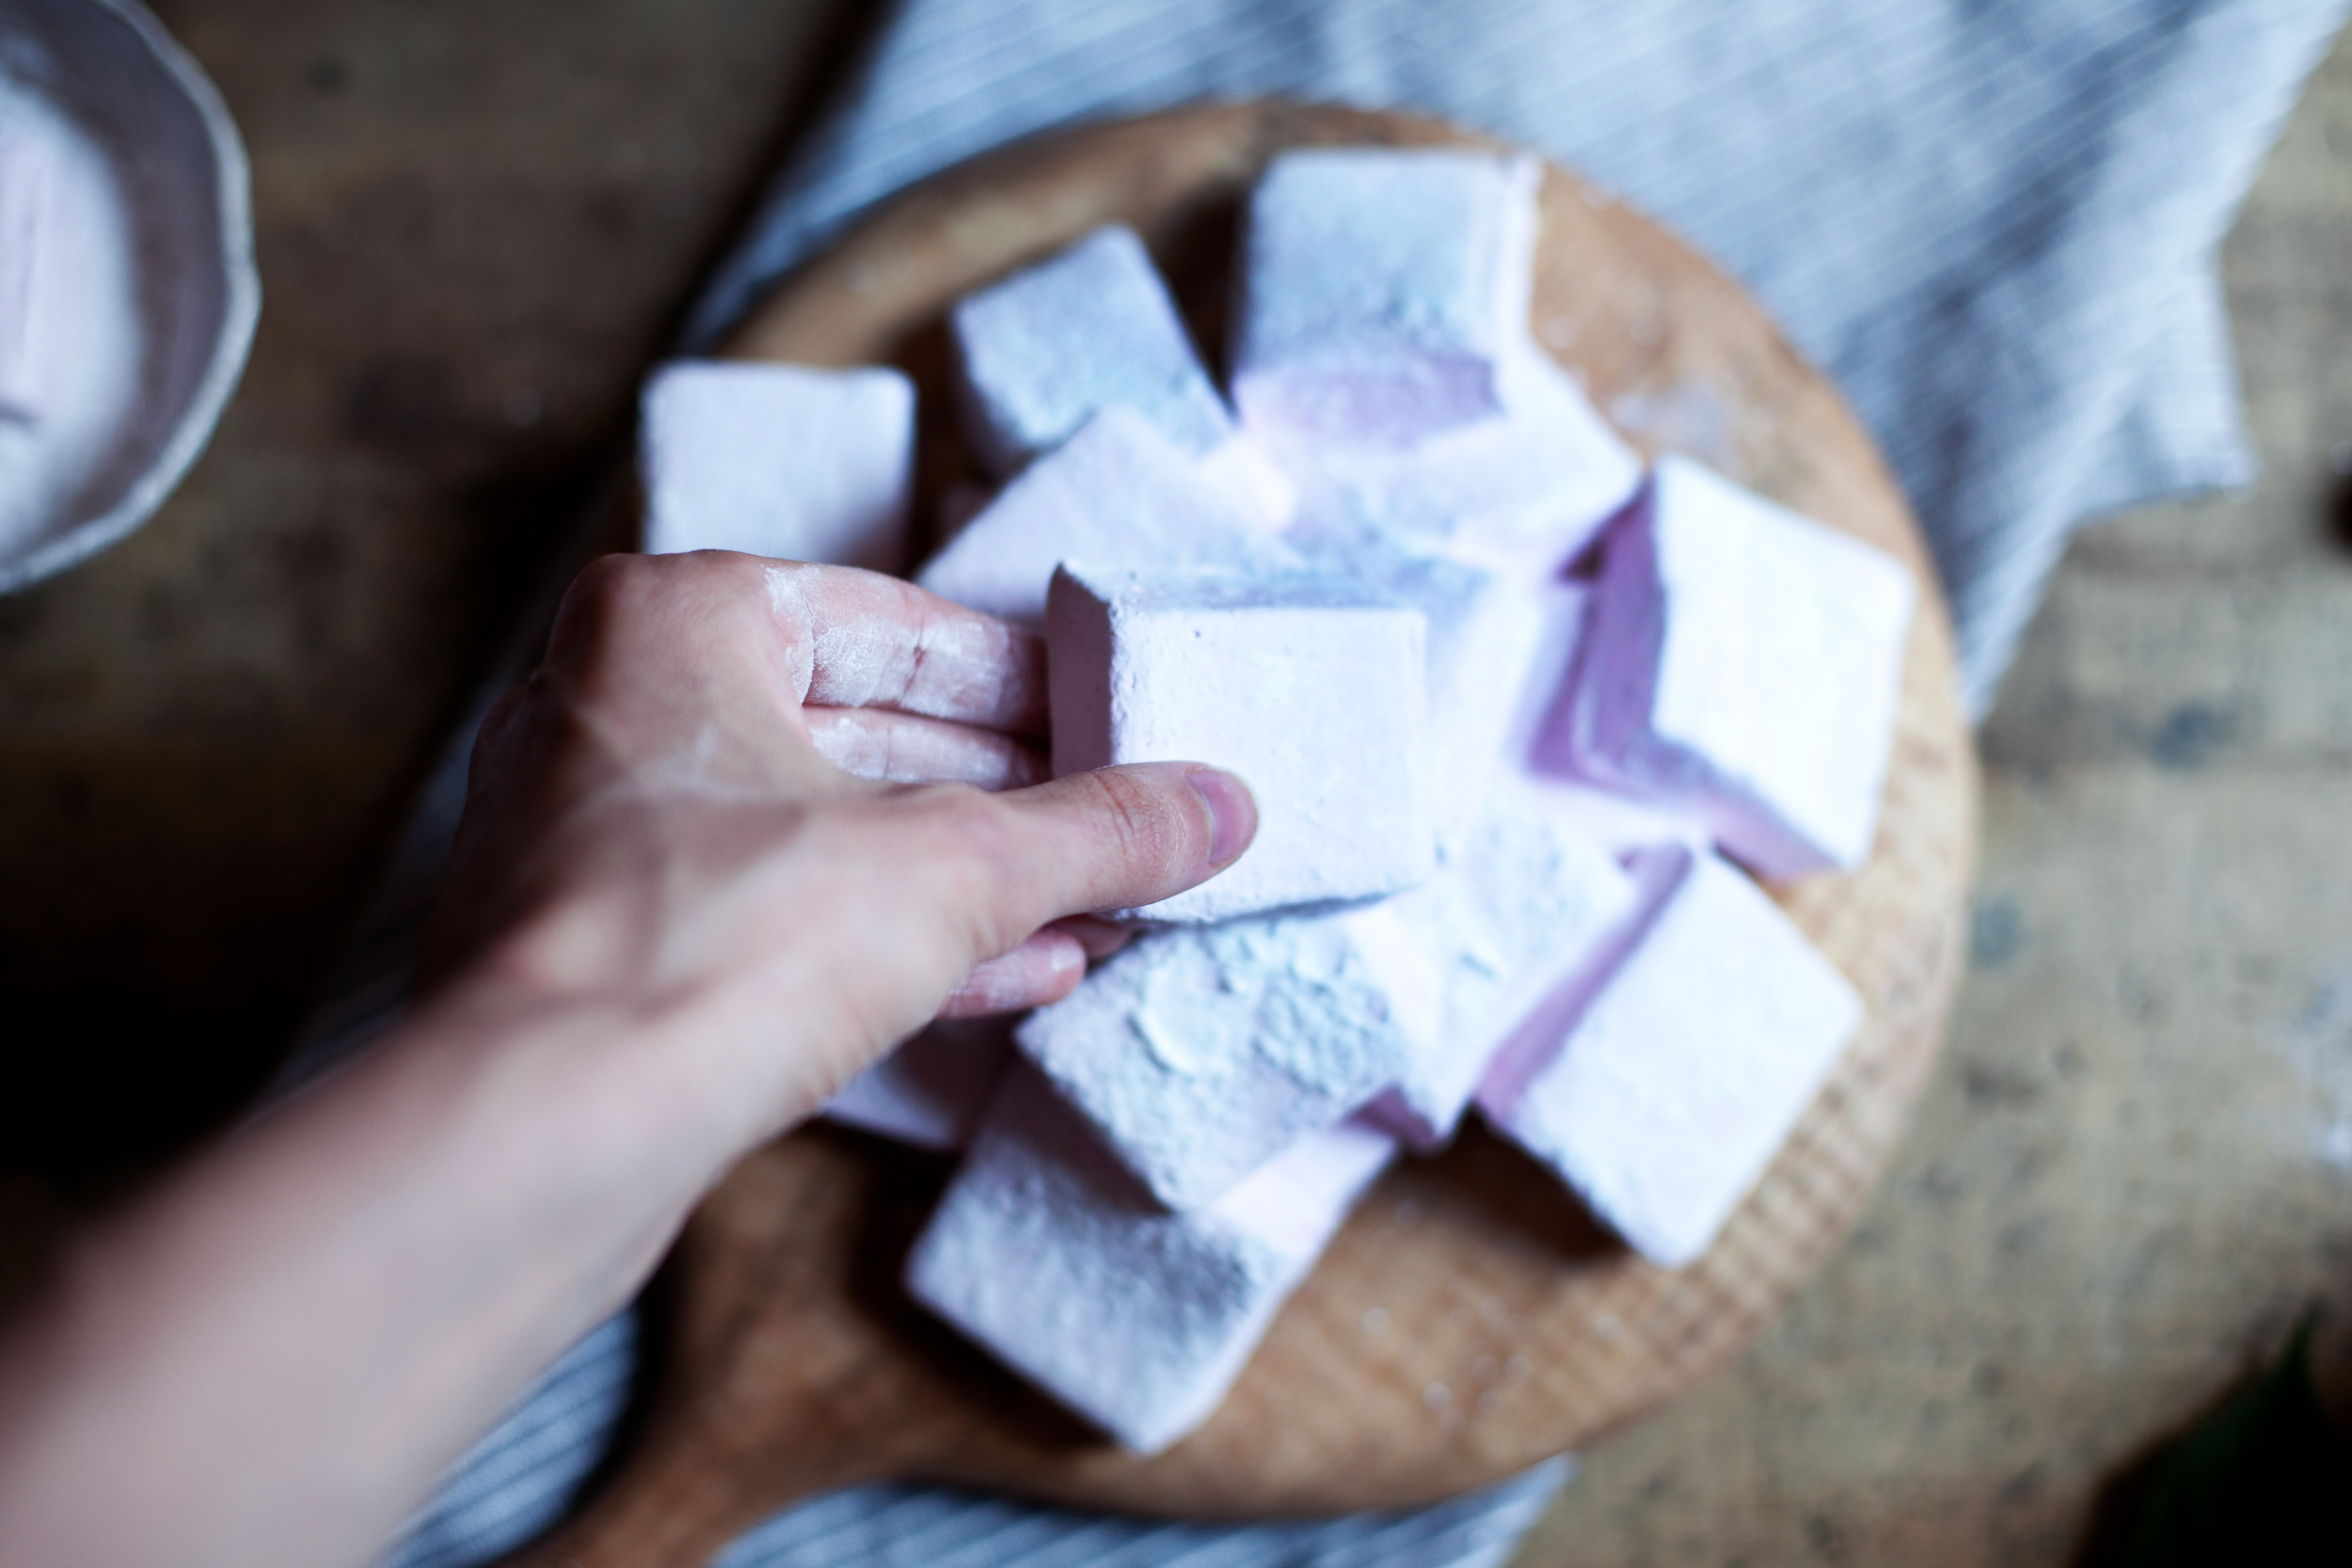
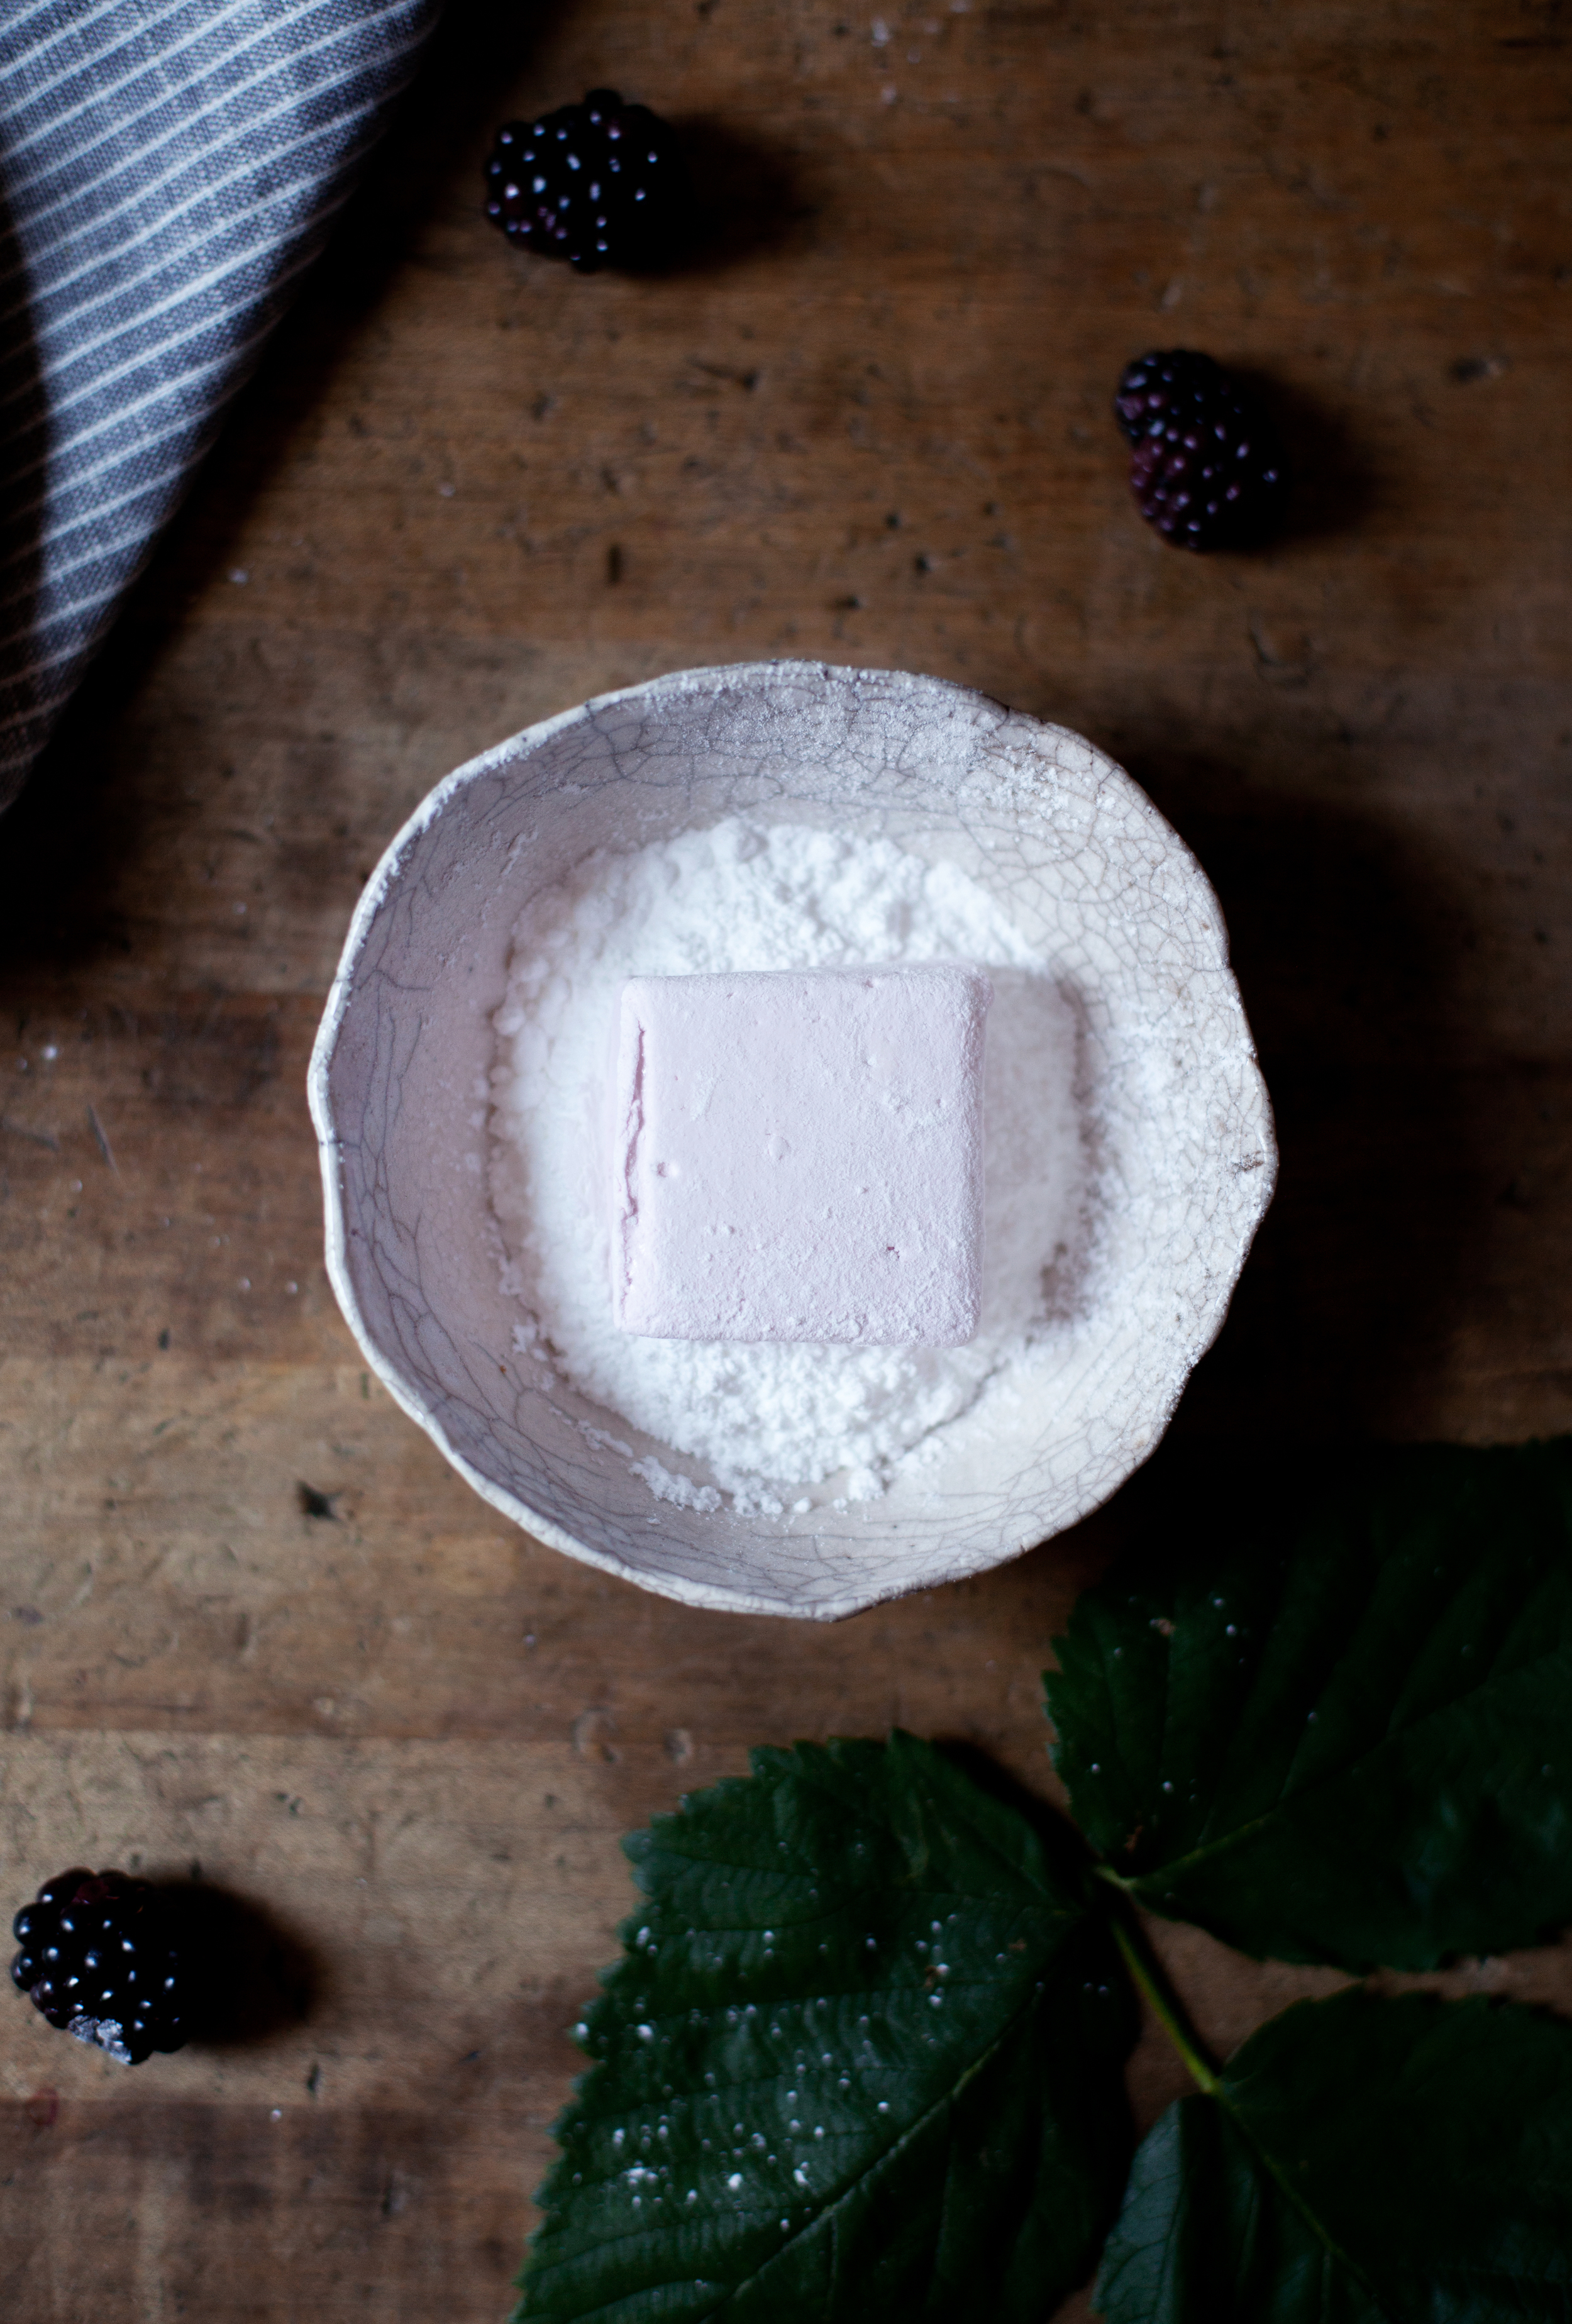
    pour into baking dish immediately & let stand at room temperature until firm, about 2-3 hours.
  • sift corn starch & powdered sugar over mixture before slicing. toss each slice in the powdered mixture as well.

this post was created in partnership with KitchenAid® in celebration of the new KitchenAid® Artisan® Mini Mixer available now! tag all your mini creations with #minimoments.  

matcha peach layered popsicles


happy friday everyone! before we get into this recipe, i am going to answer the question everyone has been asking me on instagram.. "WHERE DID YOU GET THOSE POPSICLE MOLDS?!". it is nice to know i wasn't the only person who found it next to impossible to find a classic style popsicle maker. i literally went to every store in niagara that i thought would possibly carry them & no luck. every store had the same junky, child size, rainbow colour popsicle makers. it was quite frustrating! but then as a last resort i looked at good old amazon & success! i found these on amazon.ca here & i highly recommend them if you are looking for that classic look. now let's get into the reason we are all here.. the popsicles!

aftermaking those salted caramel popsicles on NOM this week, i wanted to make a healthy two tone flavour style popsicle. with peach season in bloom, i thought mixing matcha + peaches was a perfect pair! i used the aiya matcha cooking grade matcha powder & fresh peaches that i pureed. to keep it healthy, i used a raw sugar to sweetened them with a splash of vanilla. they are super easy to make & the perfect summer treat.

ingredients

for the matcha popsicle layer

for the peach popsicle layer

  • 2 cups freshly sliced peaches
  • 1 teaspoon lemon juice
  • 3/4 cup plain greek yogurt
  • 2 tablespoons raw honey
  • 1 teaspoon pure vanilla extract

directions

for the matcha popsicle layer

  • in a blender add the yogurt, matcha powder, honey & vanilla. puree until smooth & the matcha is well blended.
  • fill popsicle molds halfway with the mixture & freeze until solid.

for the peach popsicle layer

  • in a blender add the sliced peaches, lemon juice, yogurt, honey & vanilla. puree until smooth.
  • fill the remaining half of the popsicle molds with the mixture, add in the popsicle sticks & freeze until solid.
  • remove from molds & enjoy!

like what you see? get it here. popsicle maker | bowls | linen | flatware

this post was created in partnership with aiya matcha! you can find the cooking grade matcha powder that i used here

salted caramel peach funnel cakes


happy AUGUST!? summer is flying by fast as always. i hope everyone is enjoying their long weekend, even if you were hit with a big thunderstorm like we were. i enjoyed staying inside & baking loads of zucchini bread + zucchini fritters [check out NOM for that recipe] until the sun was ready to come out! last weekend justin's work had a "christmas in july" party that was full of food trucks & deep fried food galore. fresh donuts, deep fried oreo's, pizza rolls & you guessed it.. funnel cakes! instead of coming home that night thinking i ate wayyyy too much fried food, i woke up craving another funnel cake. however, because it is hard to compete with fair funnel cakes & food truck versions i thought topping it with salted caramel would make this at home version a hit. to make it "healthy" i served it with freshly sliced peaches, instead of that pre-made pie topping it is usually served with. plus, when you make them at home you can serve them up in fancy mauviel copper pans & porcelain paper plates;)

ingredients

for the funnel cakes

  • 2 cups all purpose flour
  • 1 1/2 teaspoon baking powder
  • 1/4 teaspoon cinnamon
  • 1/8 teaspoon nutmeg
  • 1/4 teaspoon salt
  • 1/2 cup white sugar
  • 2 egg yolks
  • 1 teaspoon pure vanilla extract
  • 1 3/4 cups milk
  • 2 peaches, thinly sliced
  • 1 batch salted caramel sauce, recipe below or store bought
  • 1 cup of sweet whipped cream
  • 1/2 cup of powdered sugar, for dusting
  • canola oil, for frying

for the salted caramel sauce

  • 1 cup white sugar
  • 1/3 cup water
  • 1/2 cup heavy cream
  • 1/4 cup unsalted butter
  • 1 teaspoon sea salt

directions

for the funnel cakes

  • in a large skillet heat two inches of oil over medium heat.
  • in a large mixing bowl, sift together the flour, baking powder, cinnamon, nutmeg, salt & sugar.
  • in a separate bowl, whisk together the egg yolks, vanilla & milk. pour the wet mixture into the dry ingredients.
  • mix until the batter is smooth & lump free. transfer batter to a piping bag.
  • once the oil is hot, pipe batter into the skillet in a messy circular motion creating the classic funnel cake shape.
  • cook on each side for about 30 seconds.
  • transfer onto a paper towel lined plate to allow any of the excess oil to drain.
  • top with powdered sugar, freshly sliced peaches, salted caramel & whipped cream.

for the salted caramel sauce

  • in a saucepot add the sugar and water. bring the pan to a boil while wiping down the crystals that form on the sides of the pan using a pastry brush (do not stir, i repeat, do NOT stir).
  • continue to boil until the mixture turns to a deep amber colour, approximately 5 minutes. be sure not to burn the caramel! it will go from a deep amber to burnt sugar VERY quickly.
  • remove from heat and immediately whisk in the butter, cream & salt. cool to room temperature before serving.

like what you see? get it here. copper pan | pinch bowl | flatware | linen | porcelain paper plates