red velvet cupcakes + white chocolate buttercream


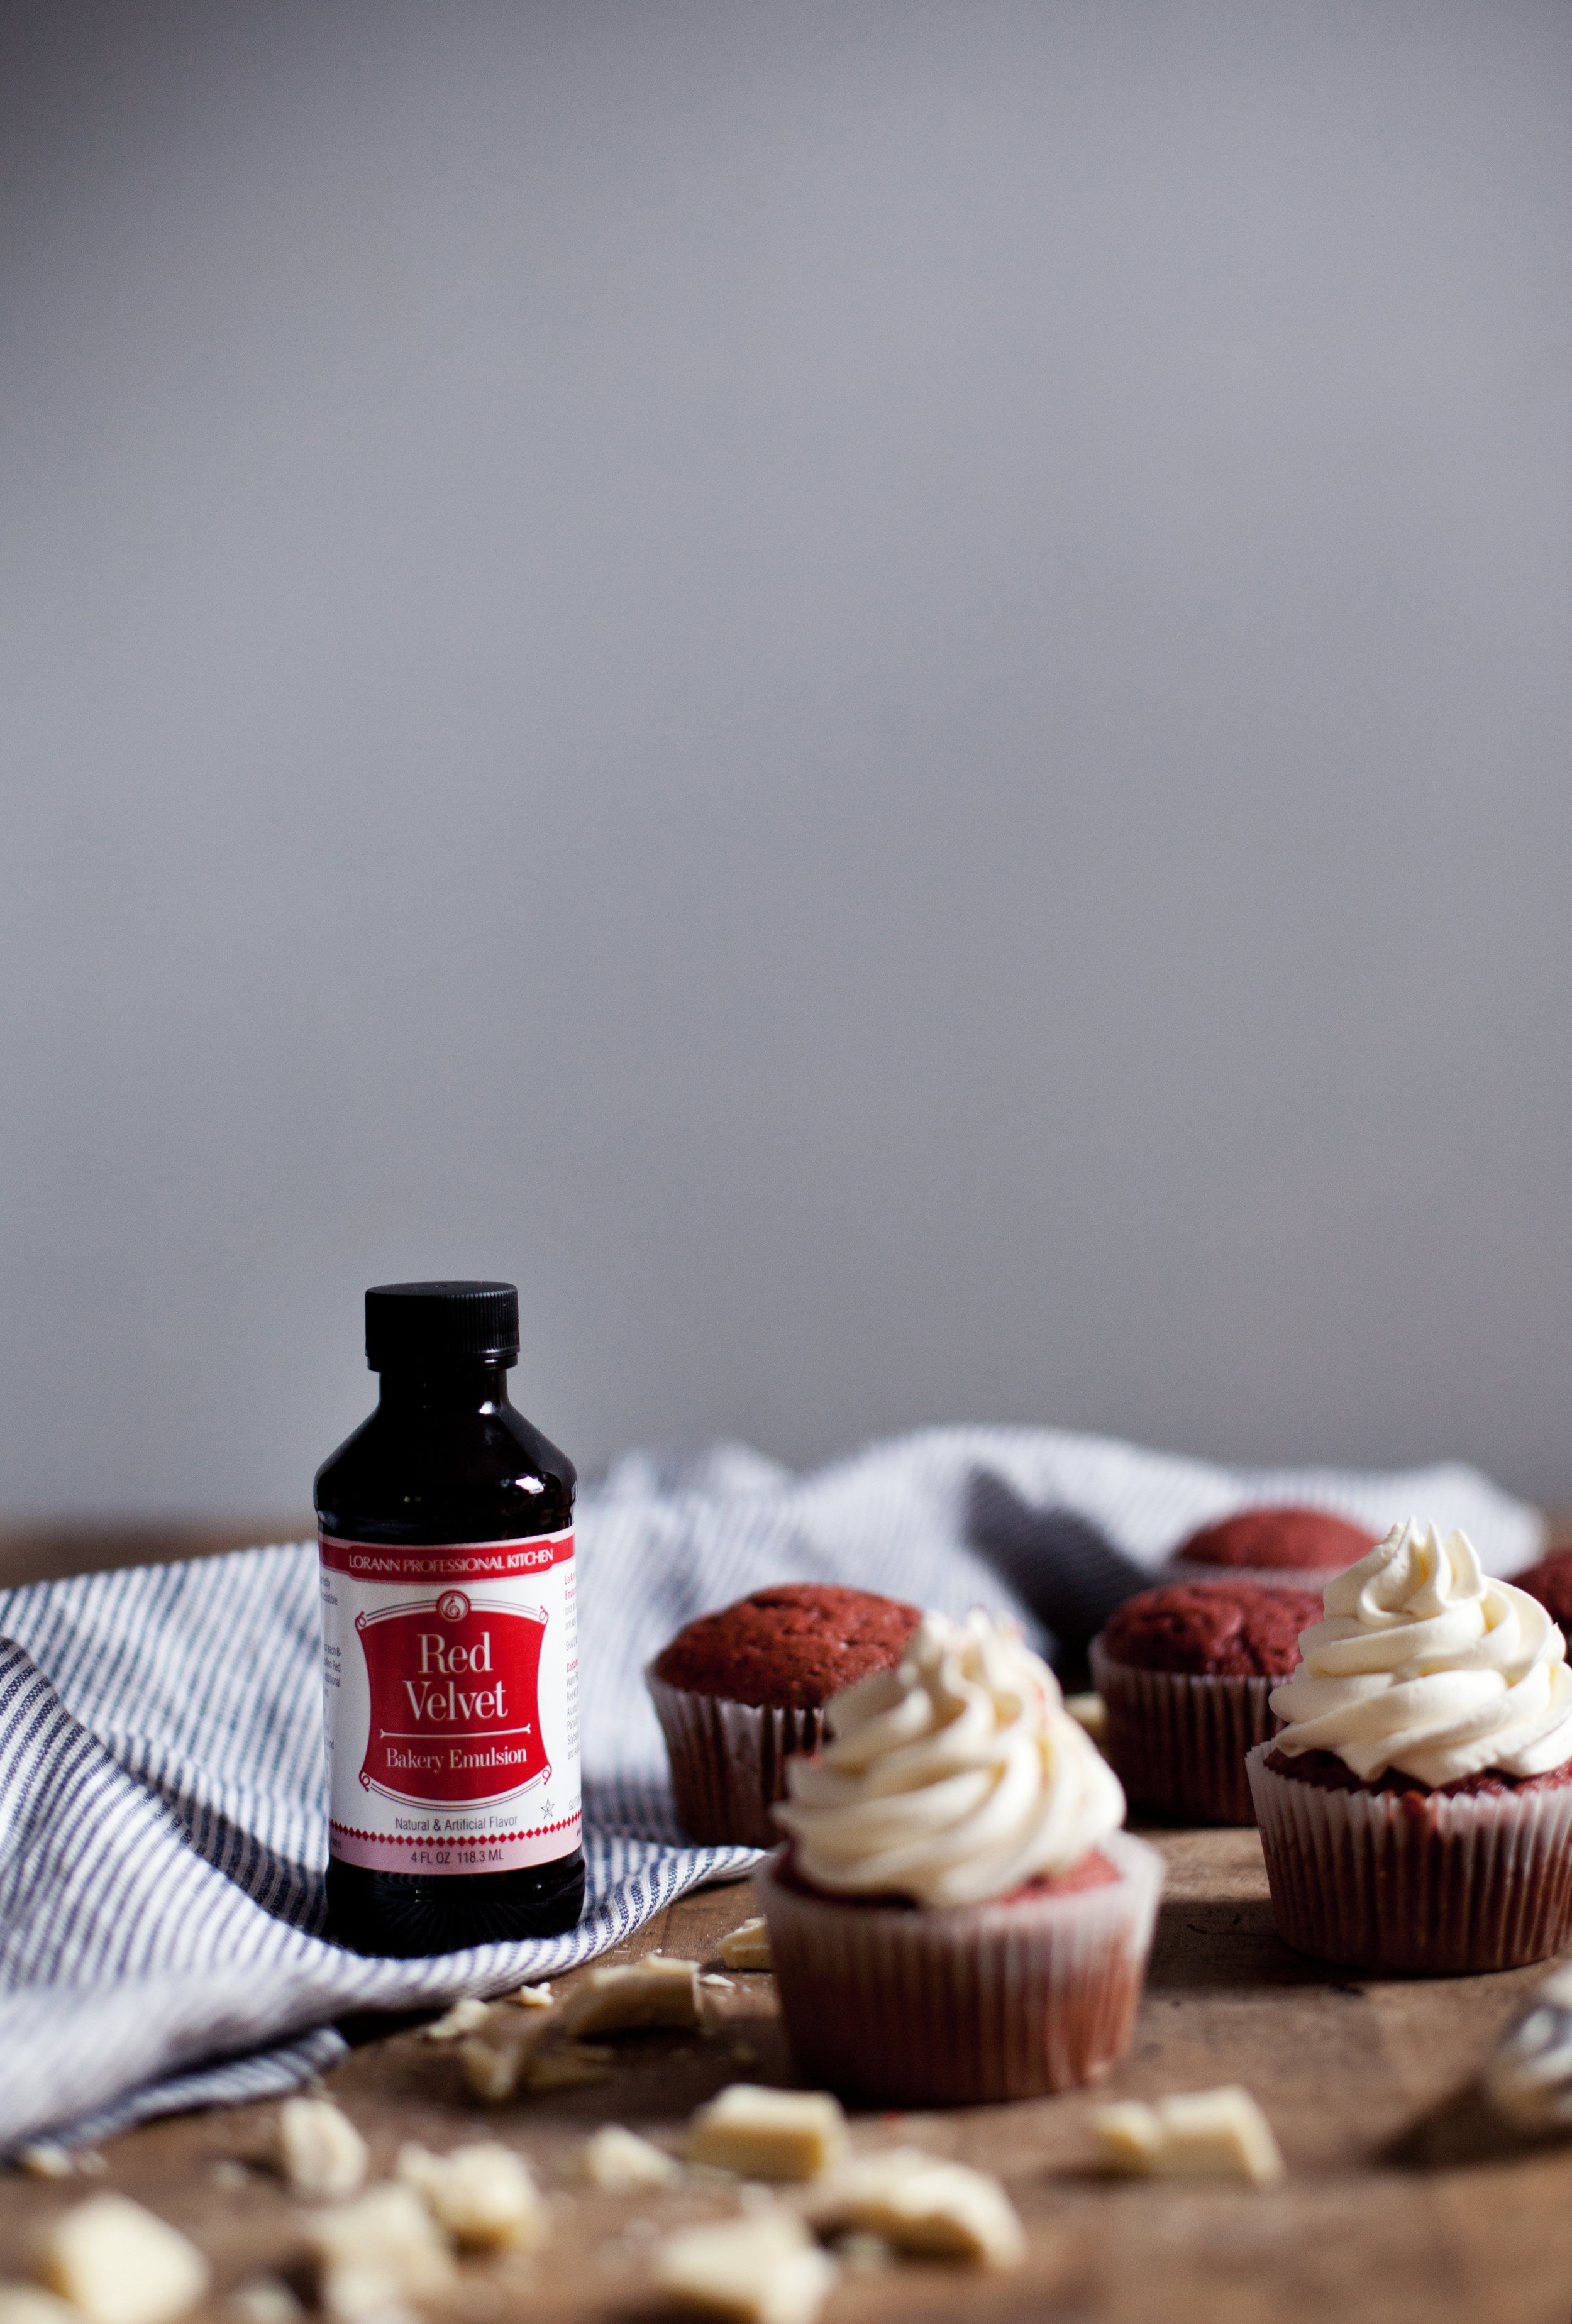
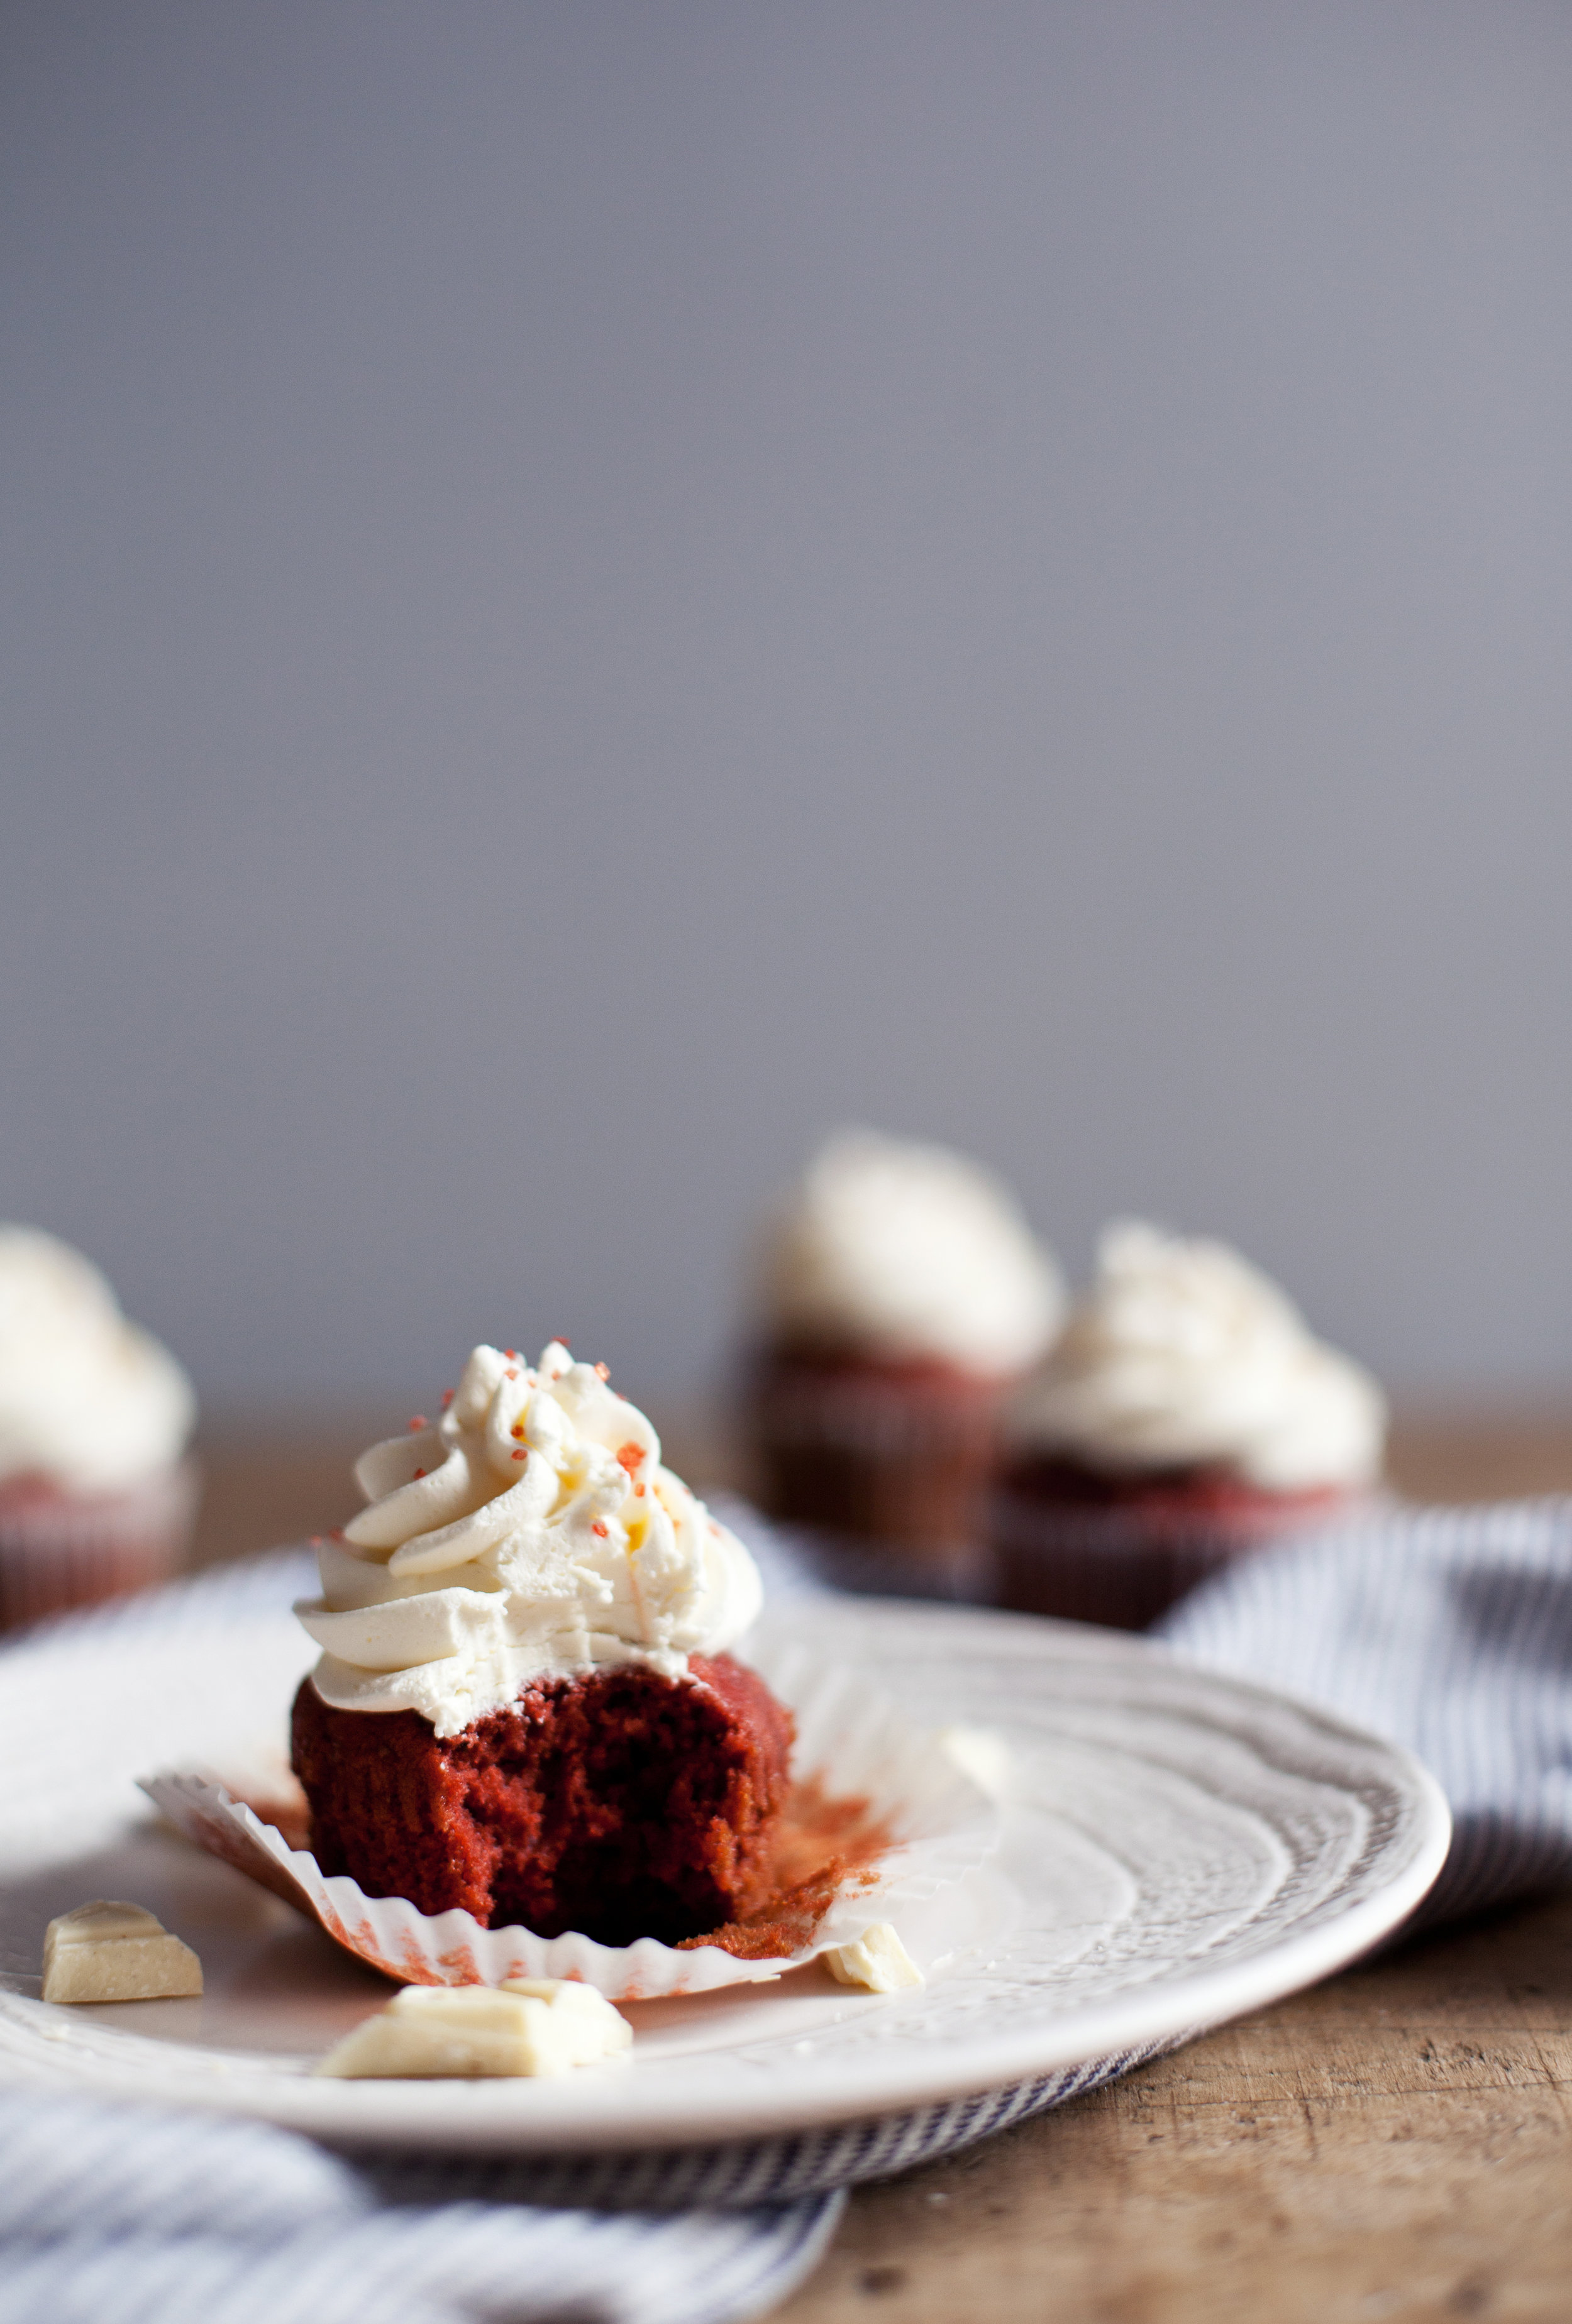
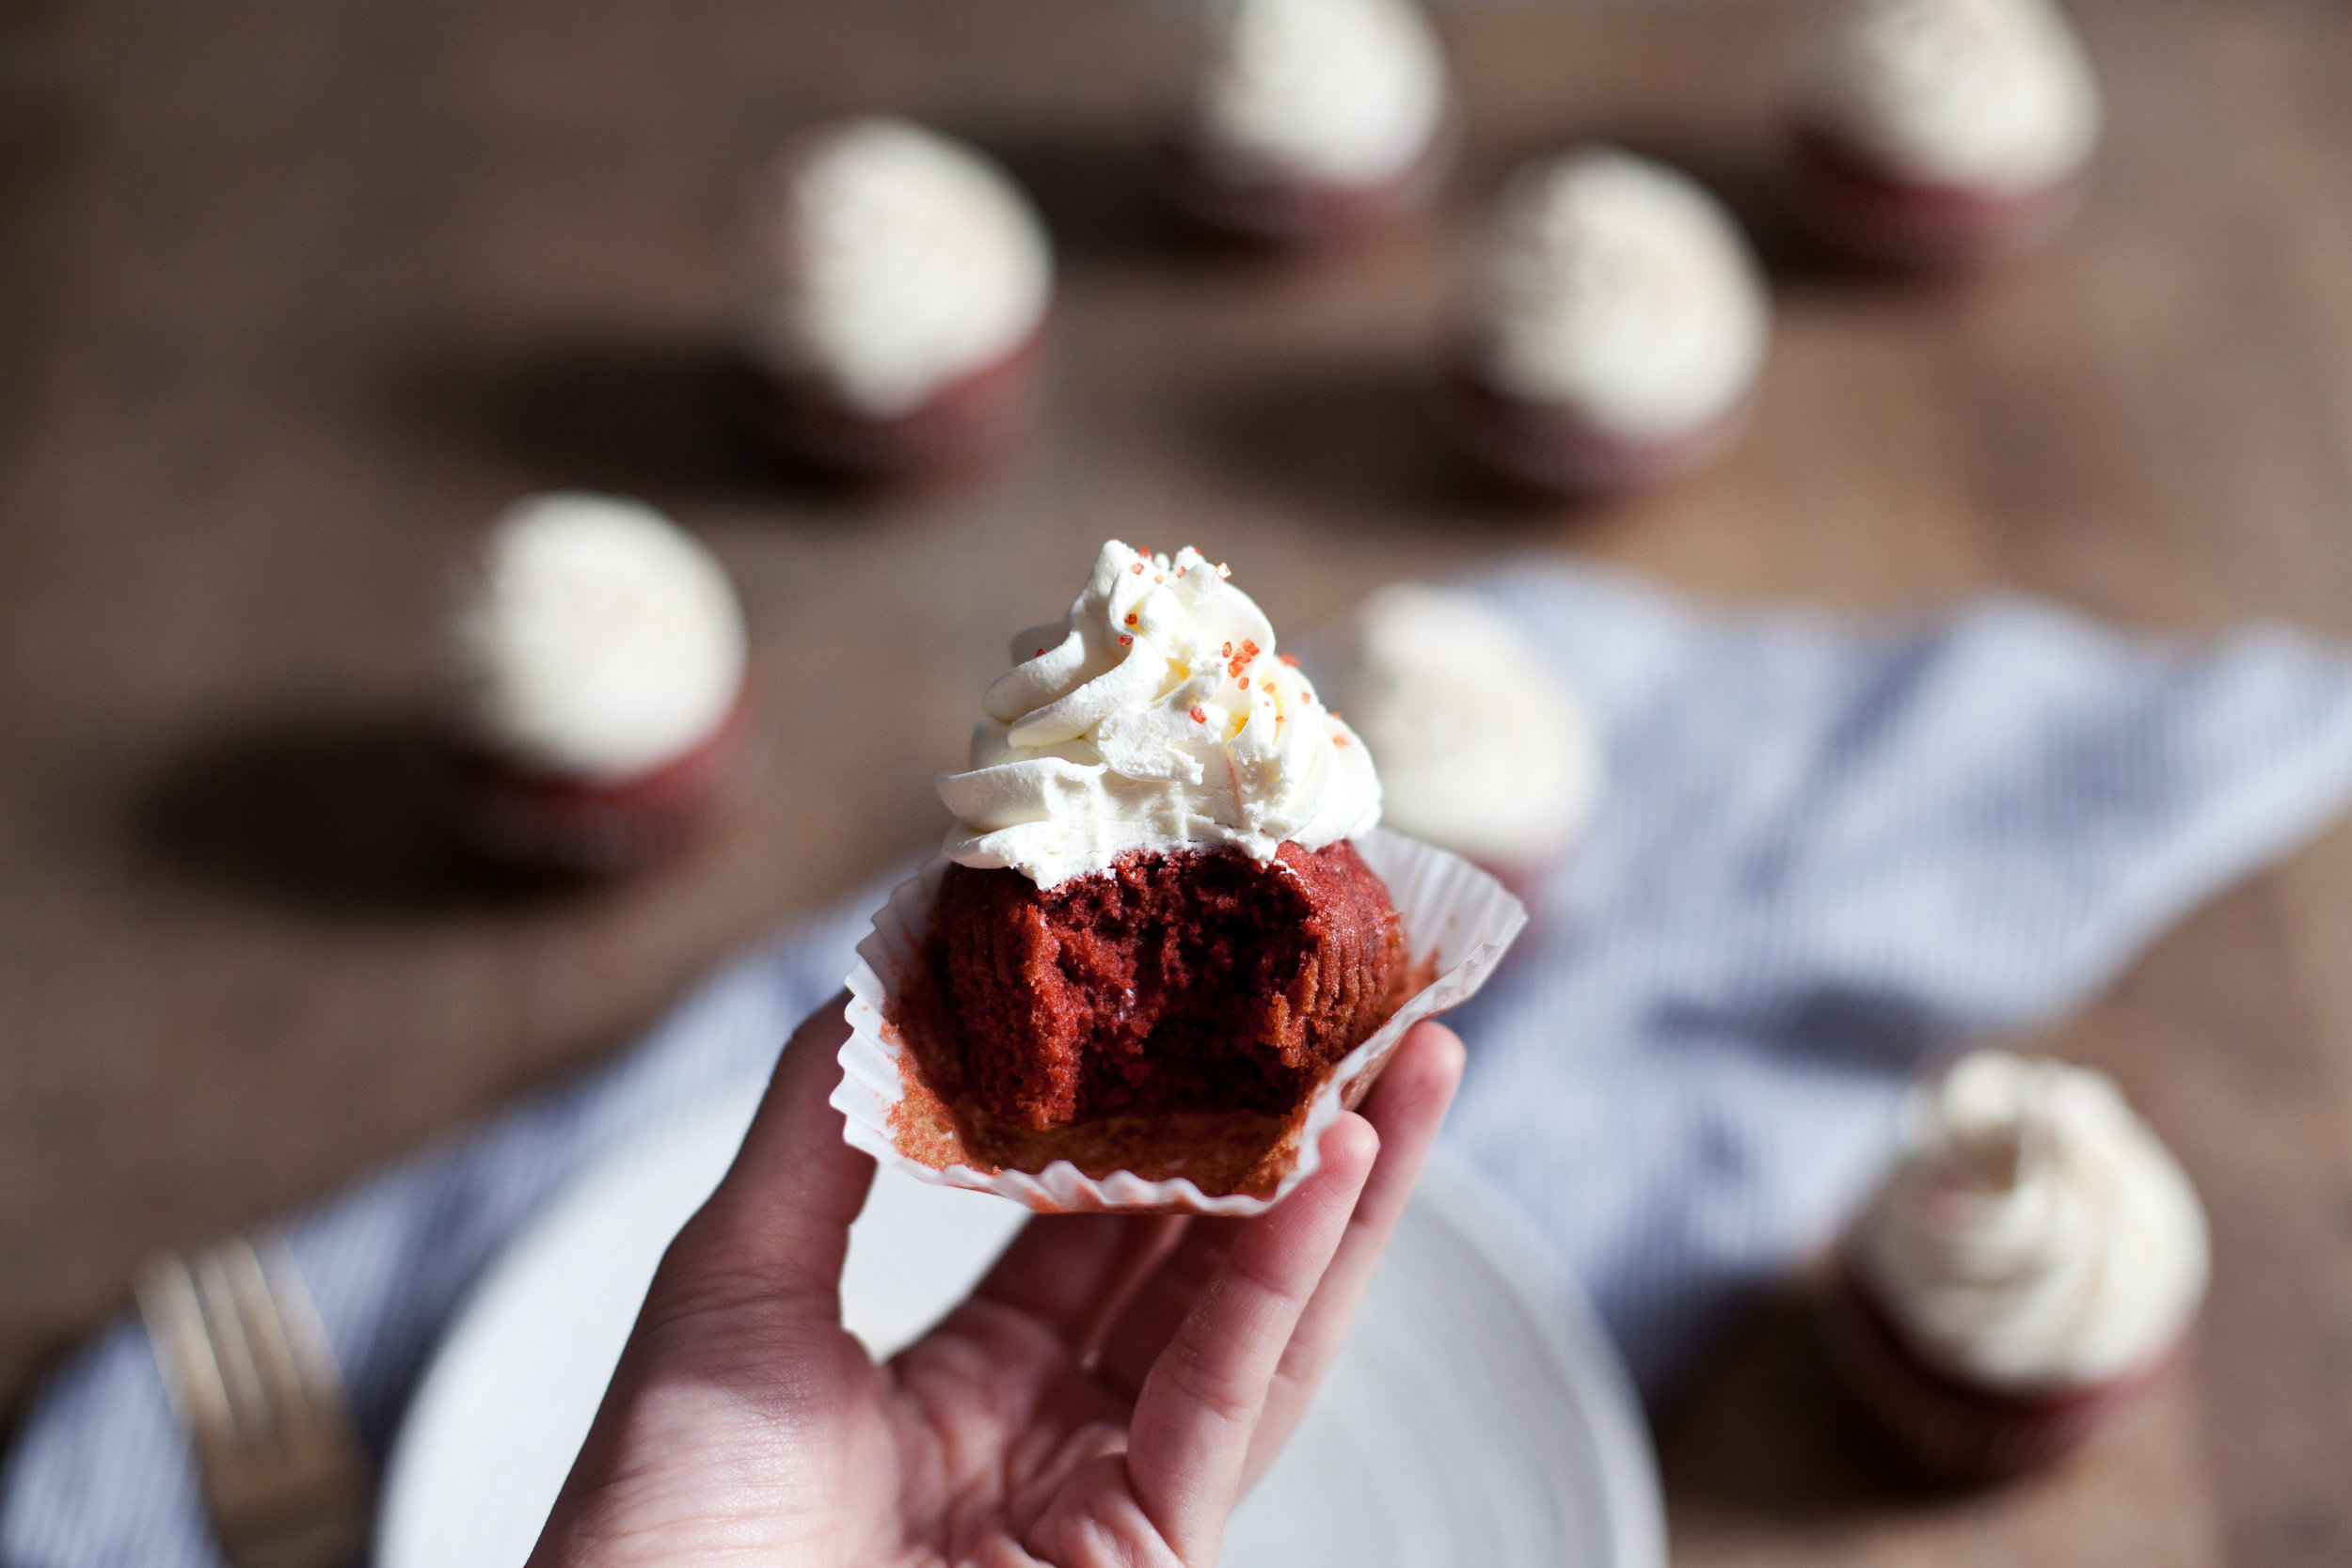
now that halloween is done all i can think about is christmas & all the baking i plan to do! one of the treats that is always at the top of my list are red velvet cupcakes & cake. the deep red colour reminds me of the holidays & the richness of them is totally a winter comfort food. i have made red velvet so many times (one year i did a red velvet cheesecake, probably the most work i have ever put into one dessert) but something was ALWAYS missing from the recipe. that true red velvet taste i long for. that all changed when i came across the red velvet bakery emulsion from lorannoils. it is seriously genius! i can't get enough of it. it gives an extra boost of the red velvet flavour we crave & provides the rich colouring as well so you don't have to go through containers of red food colouring to get the right colour.

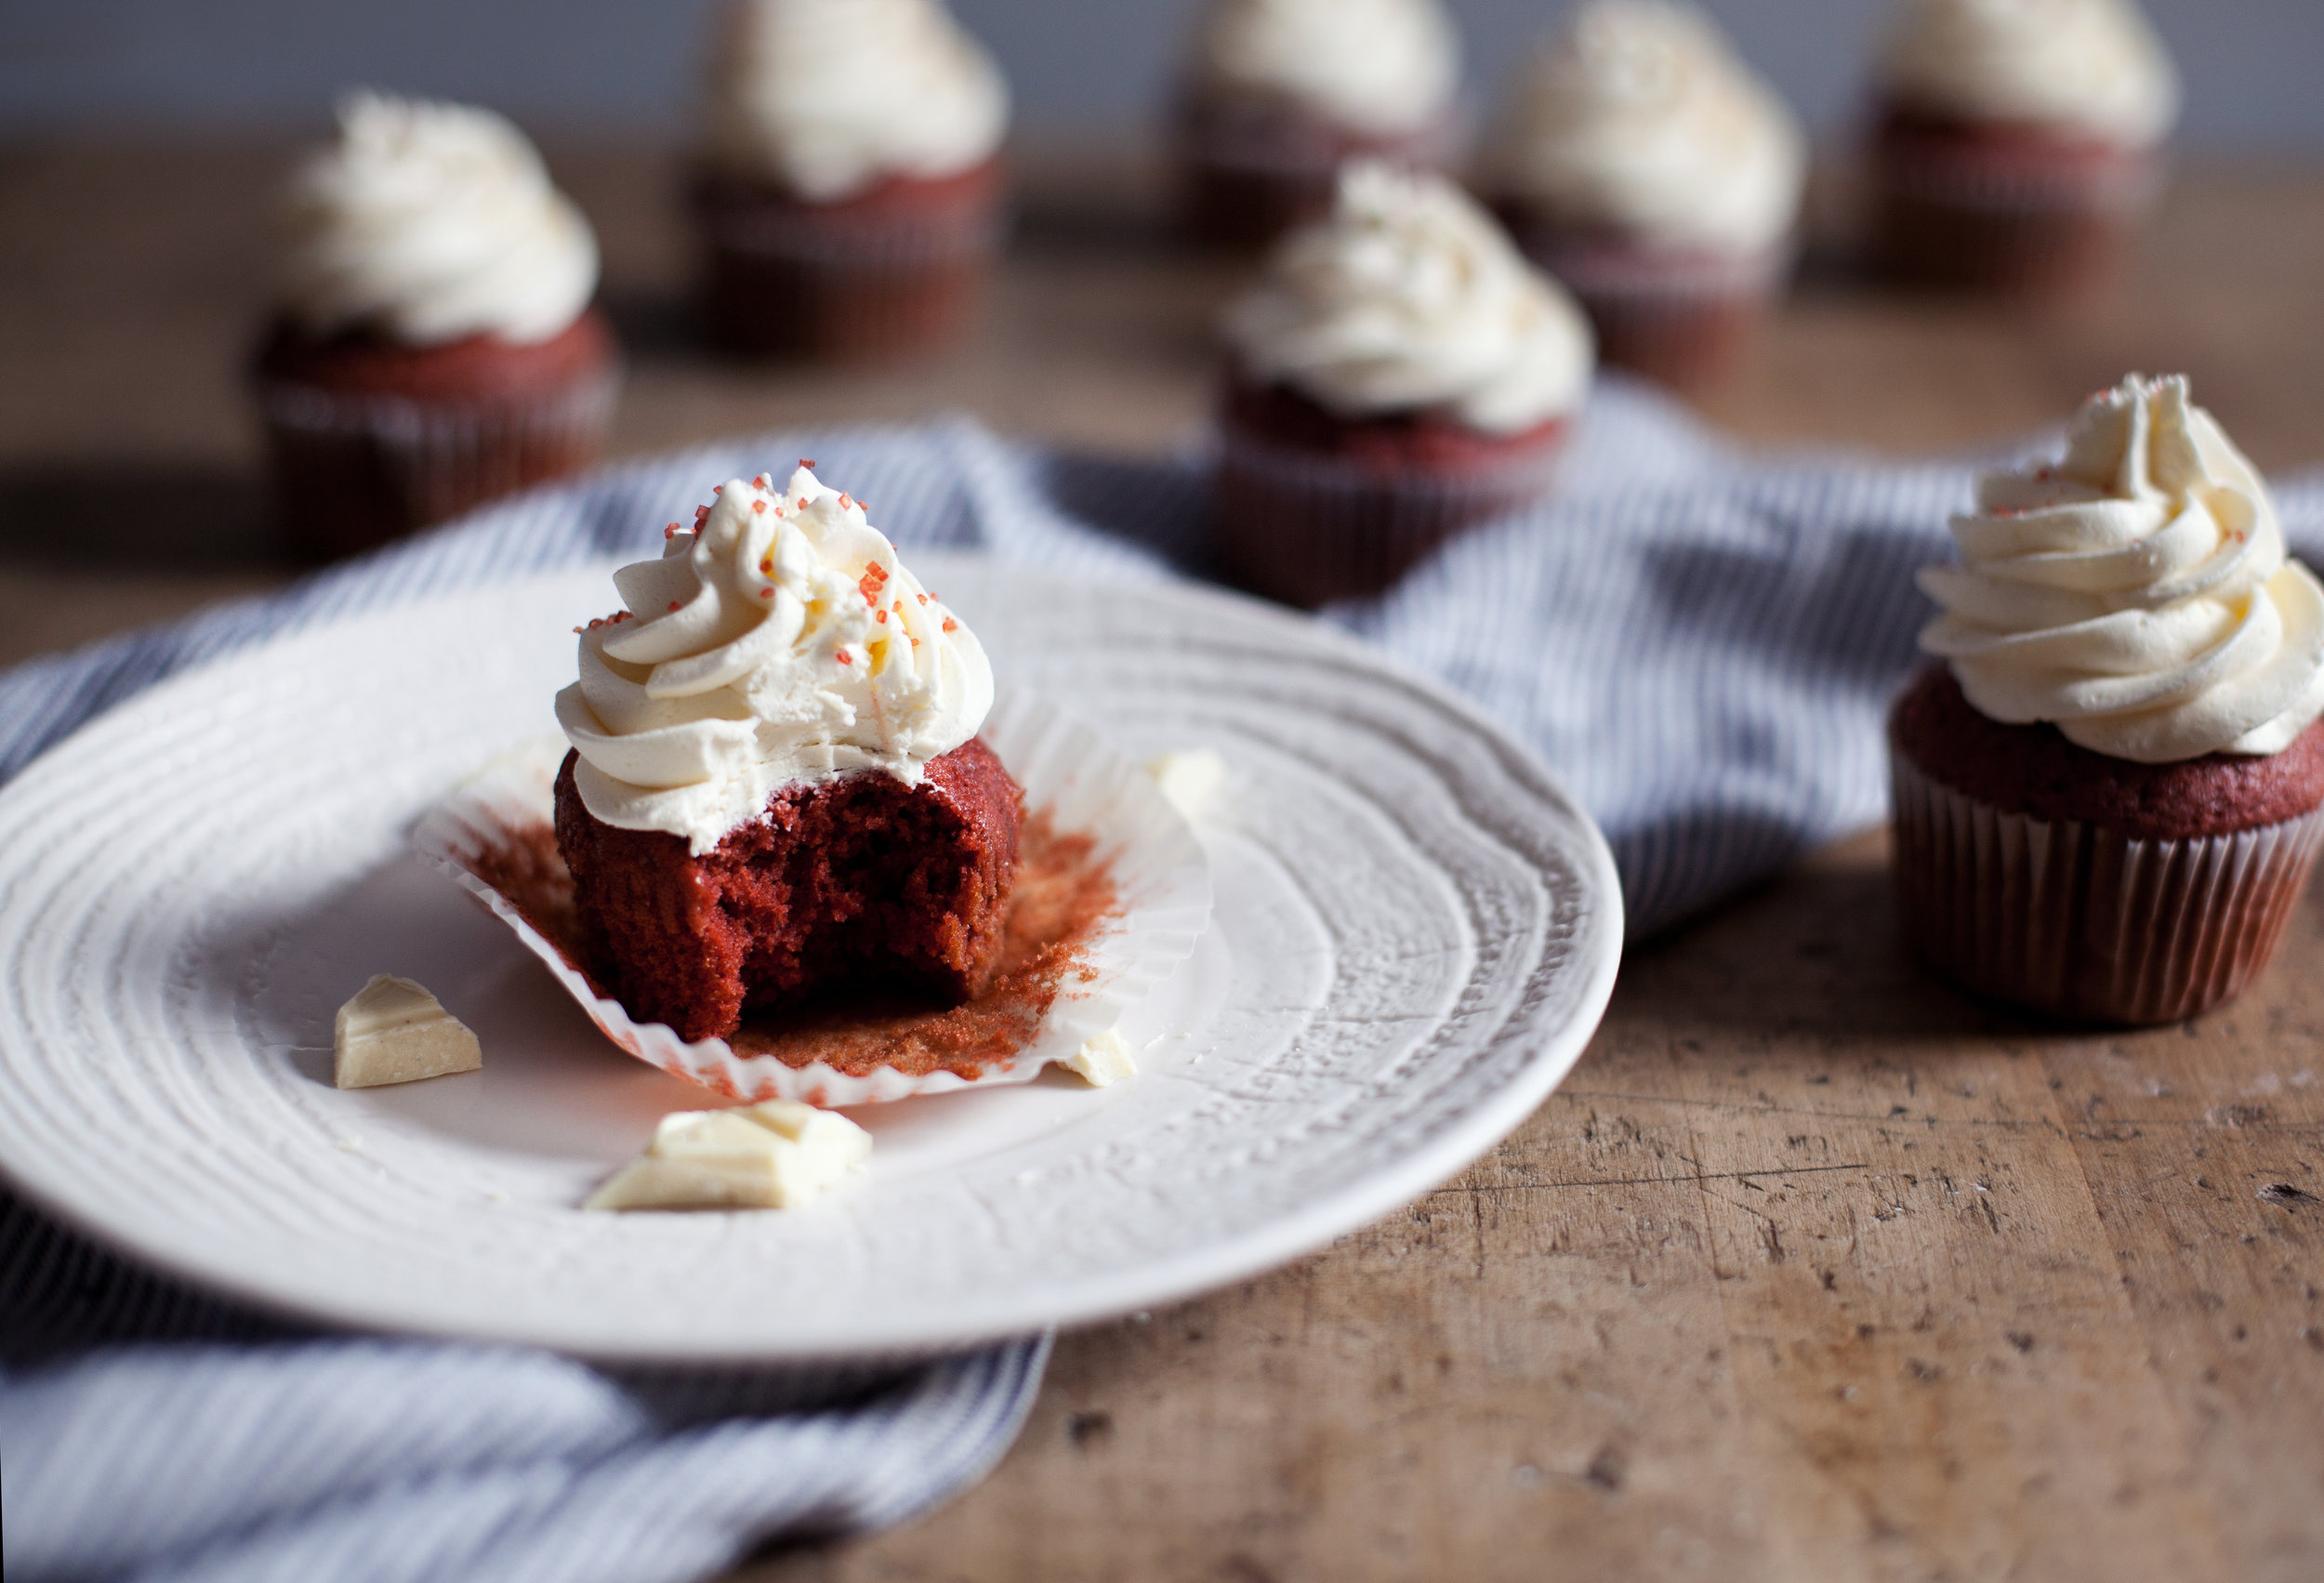
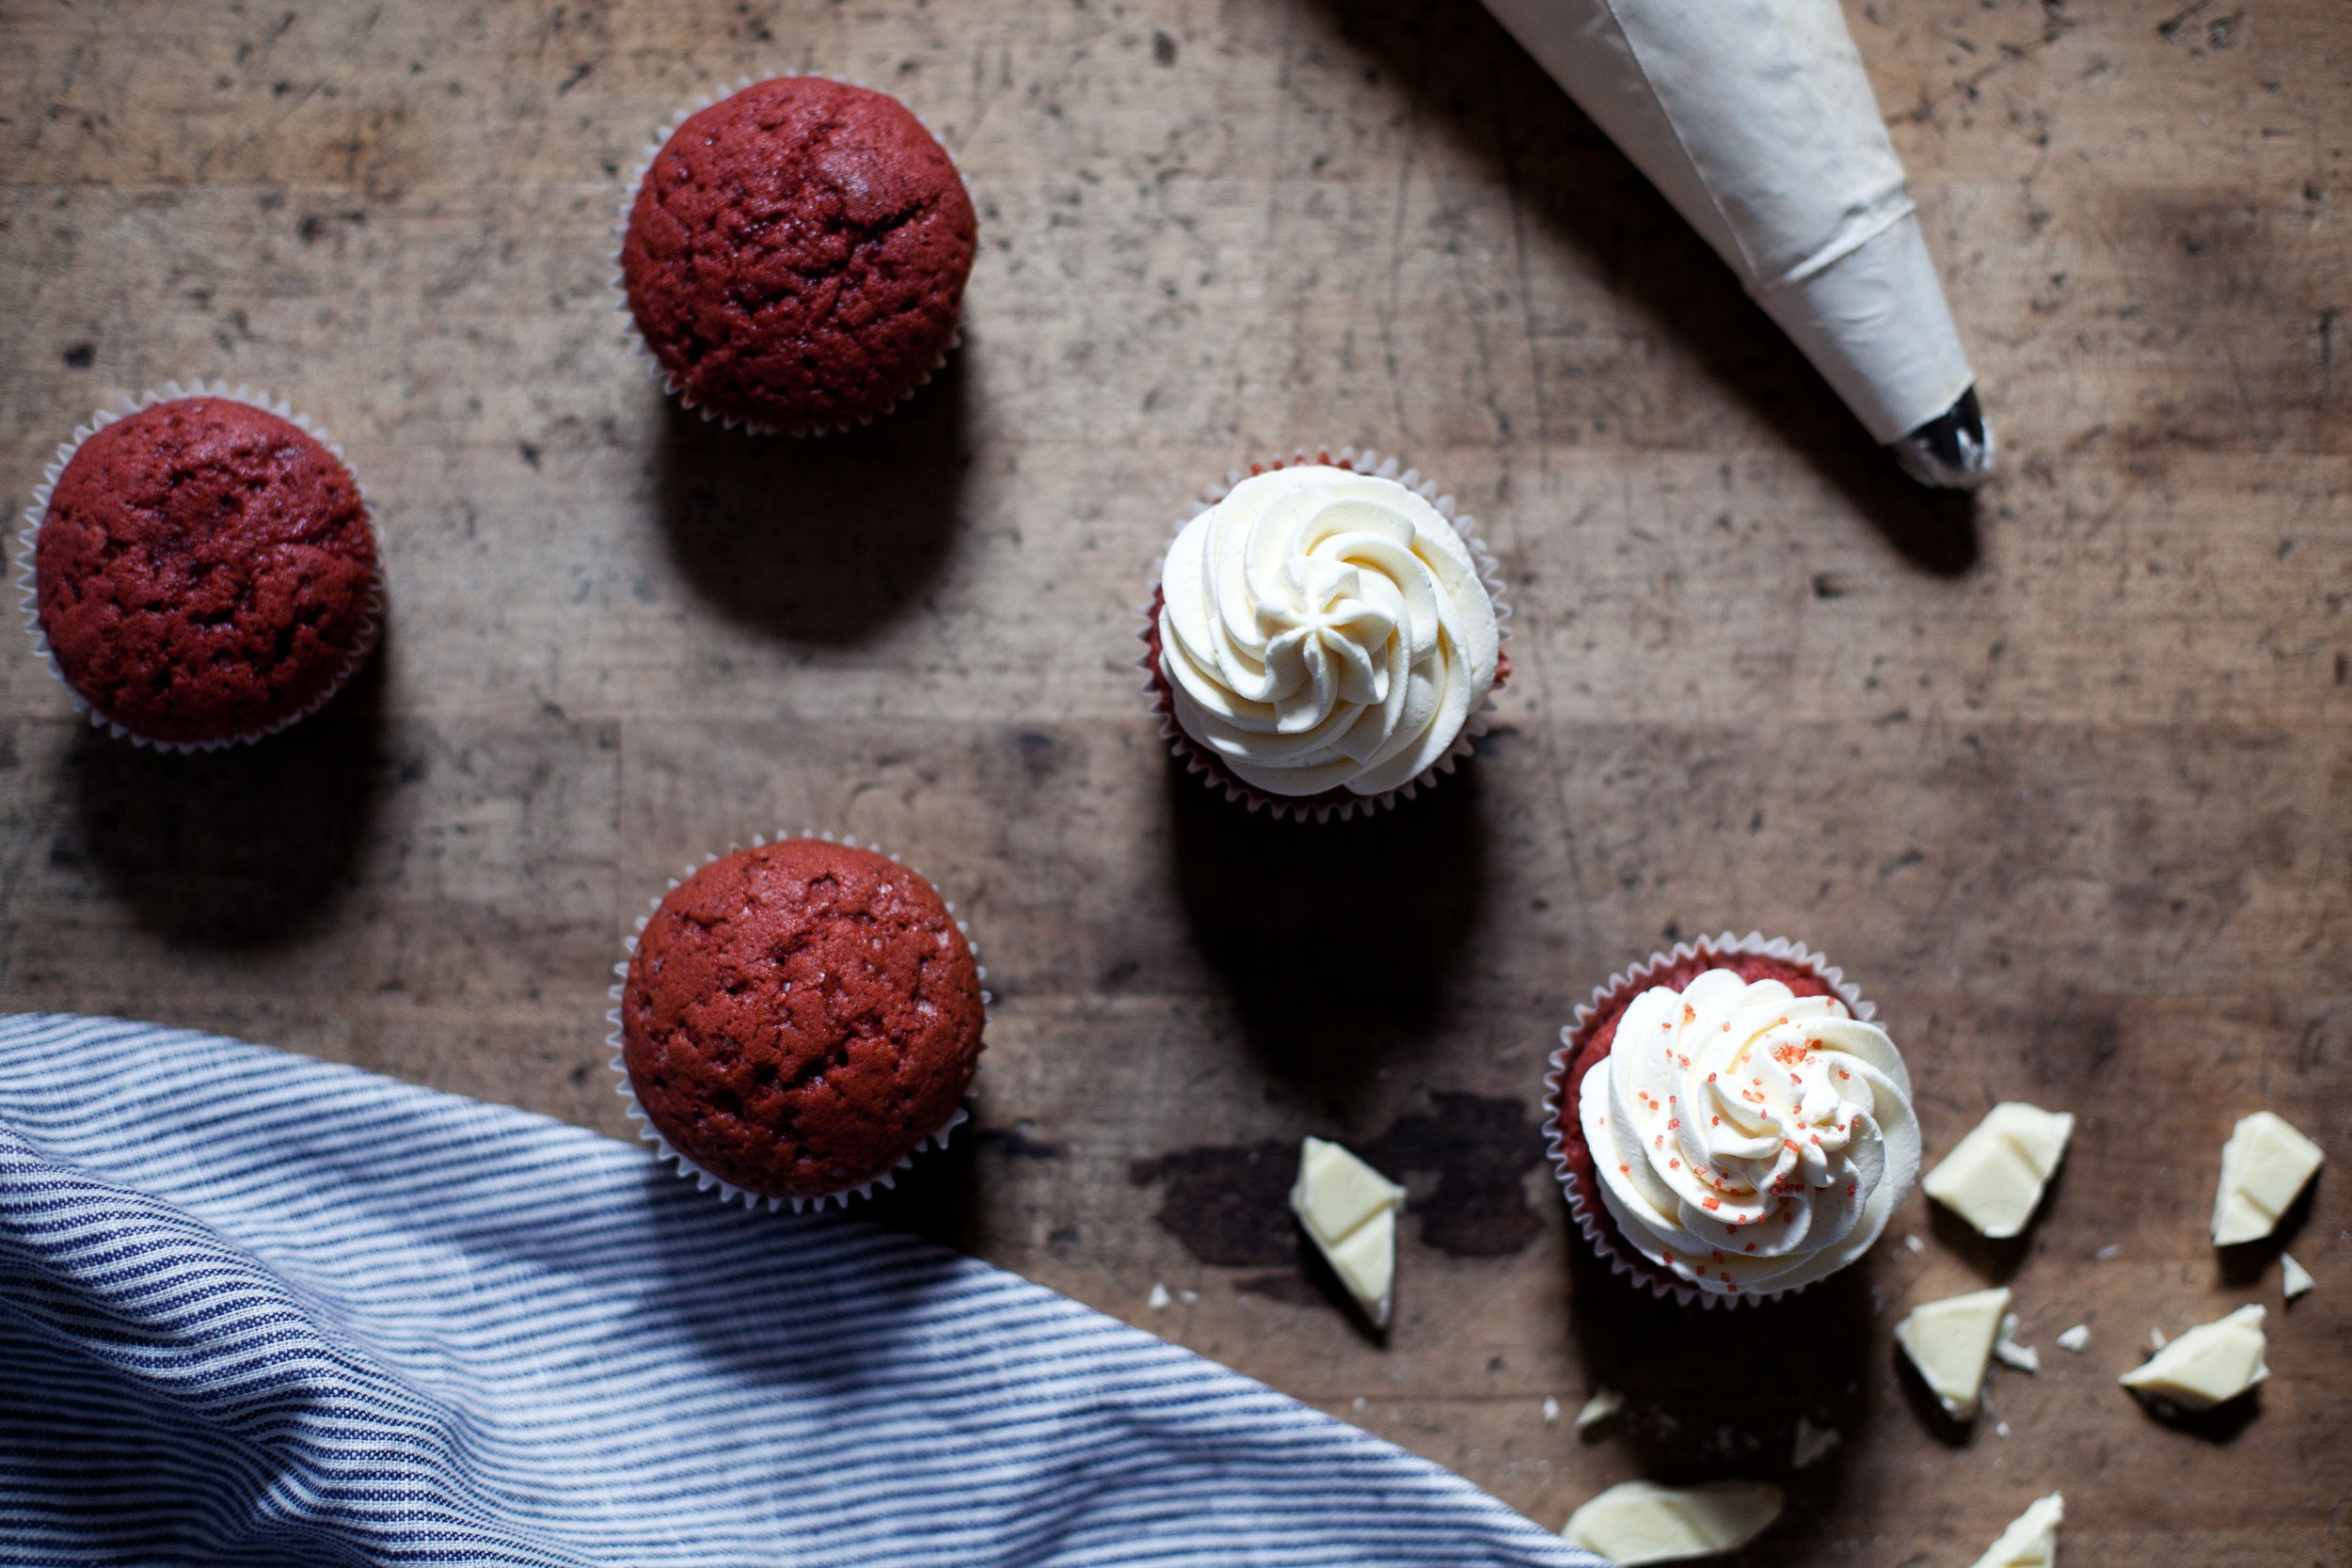
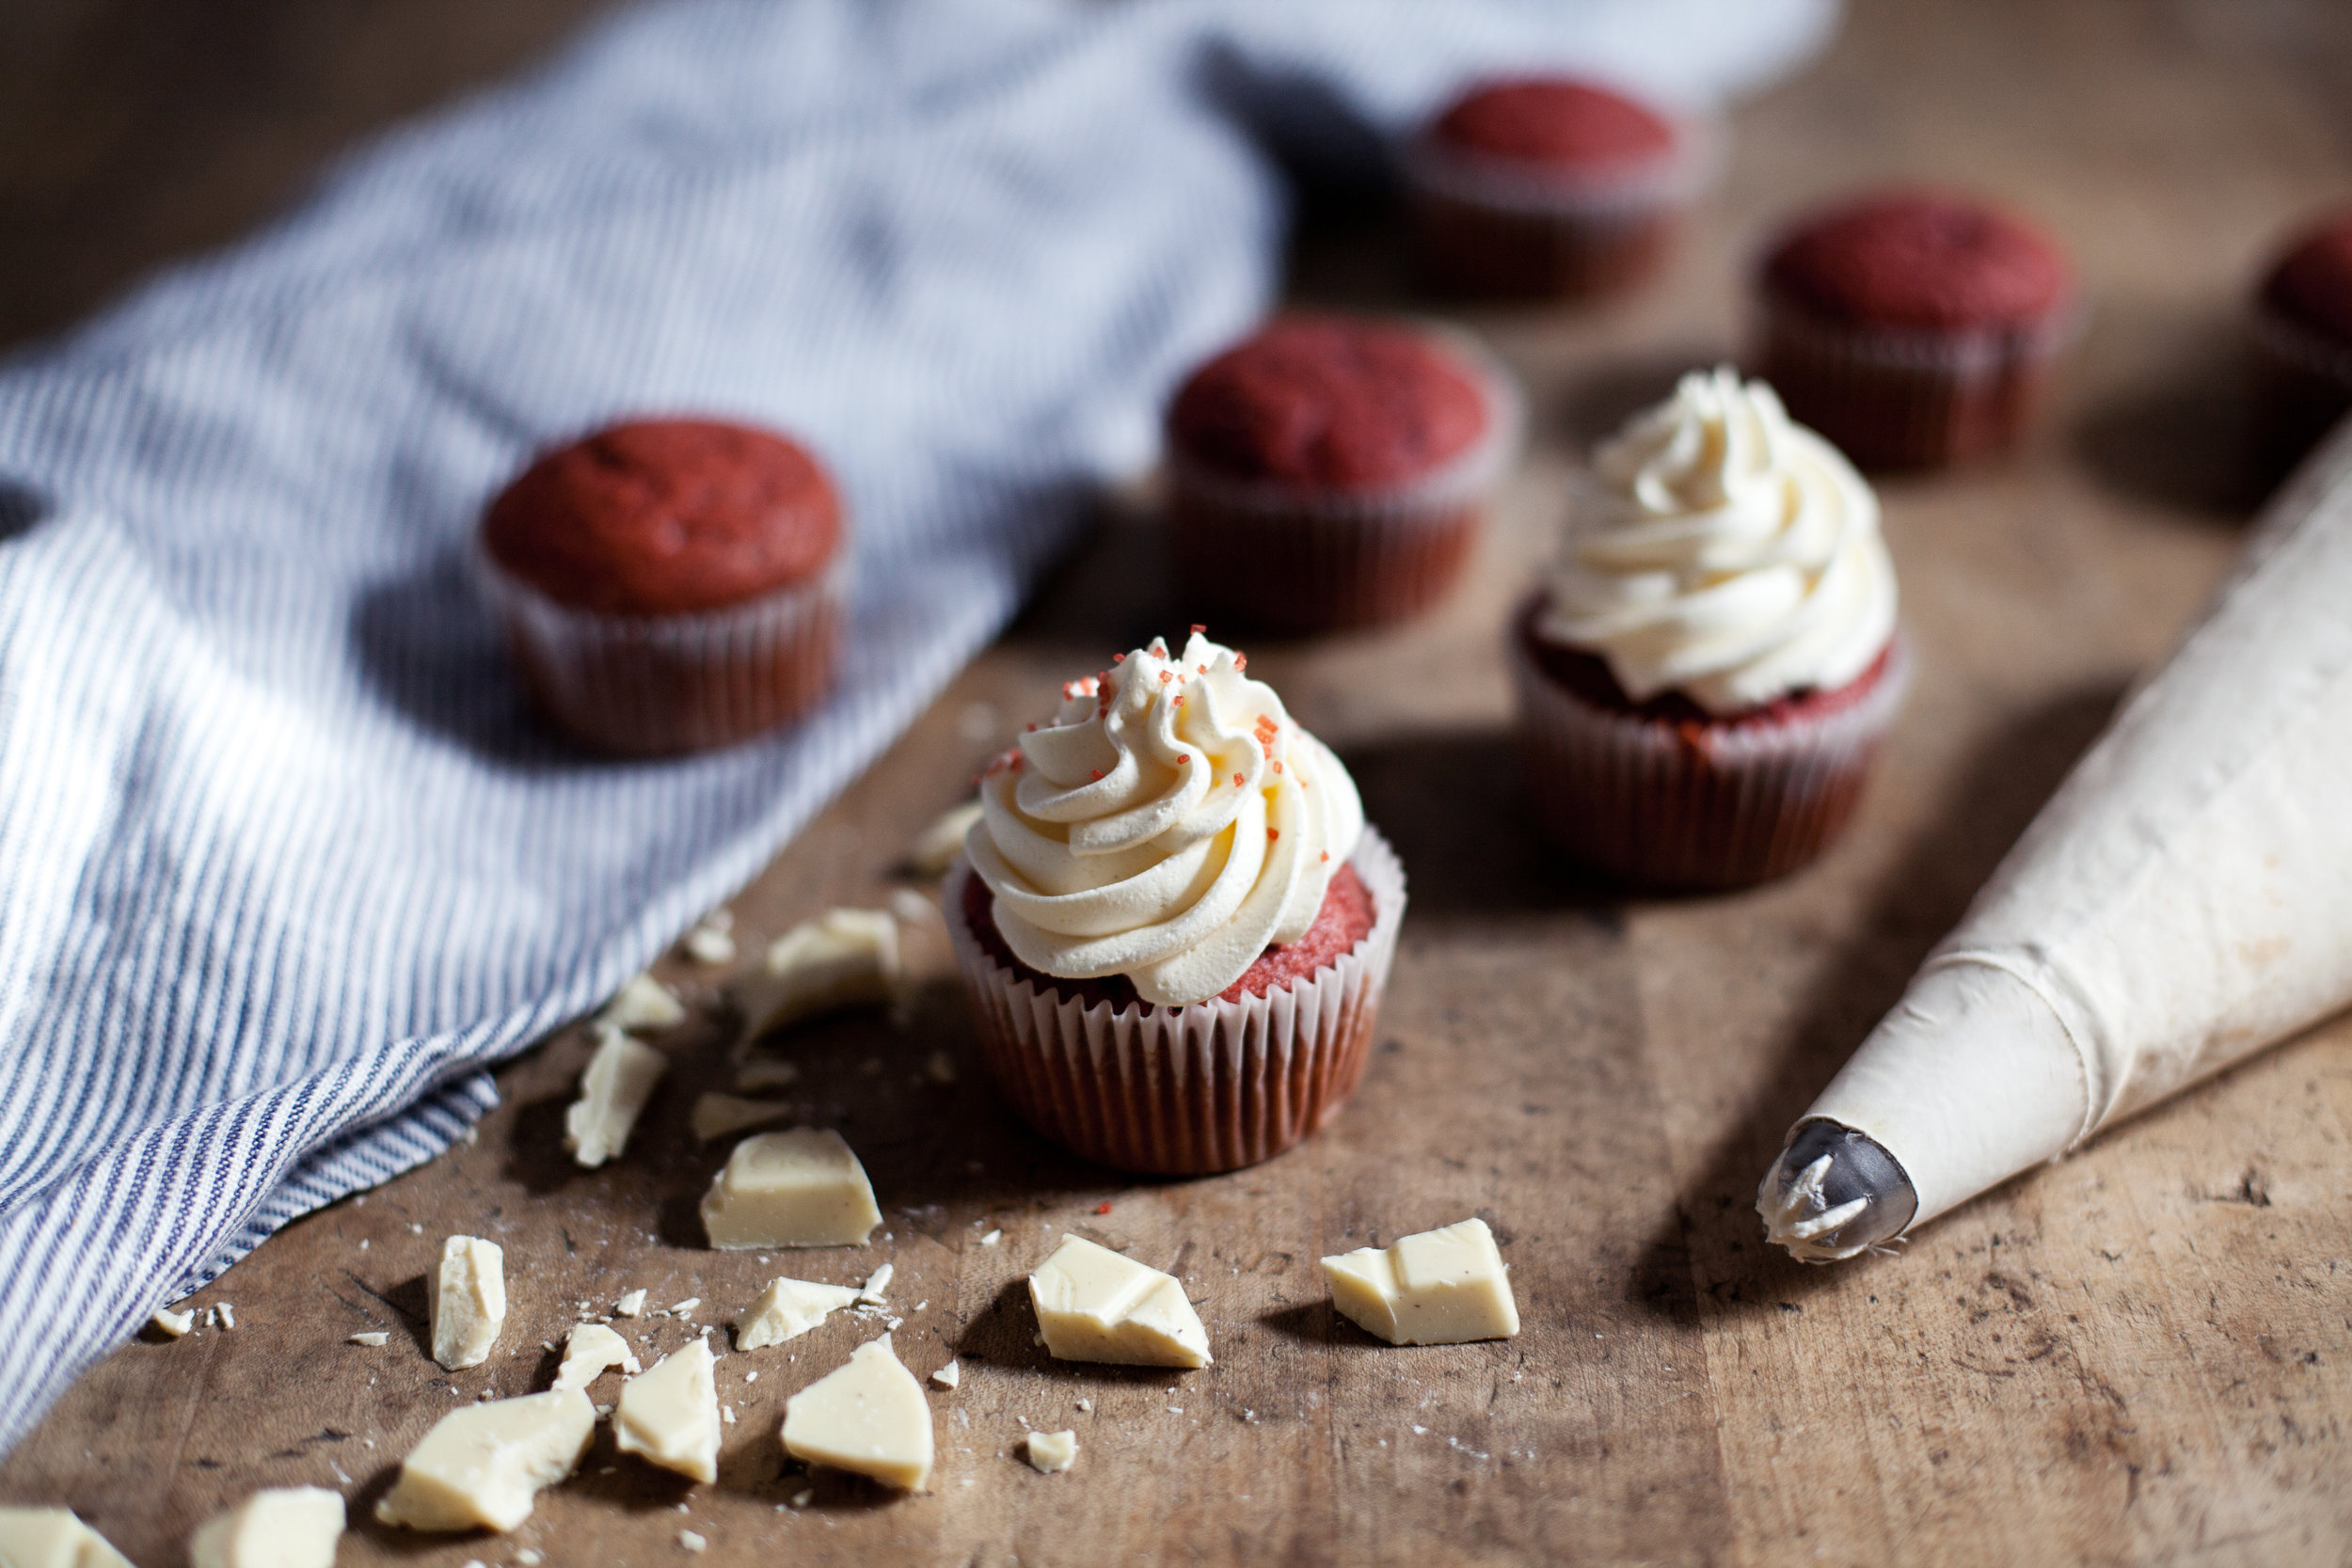
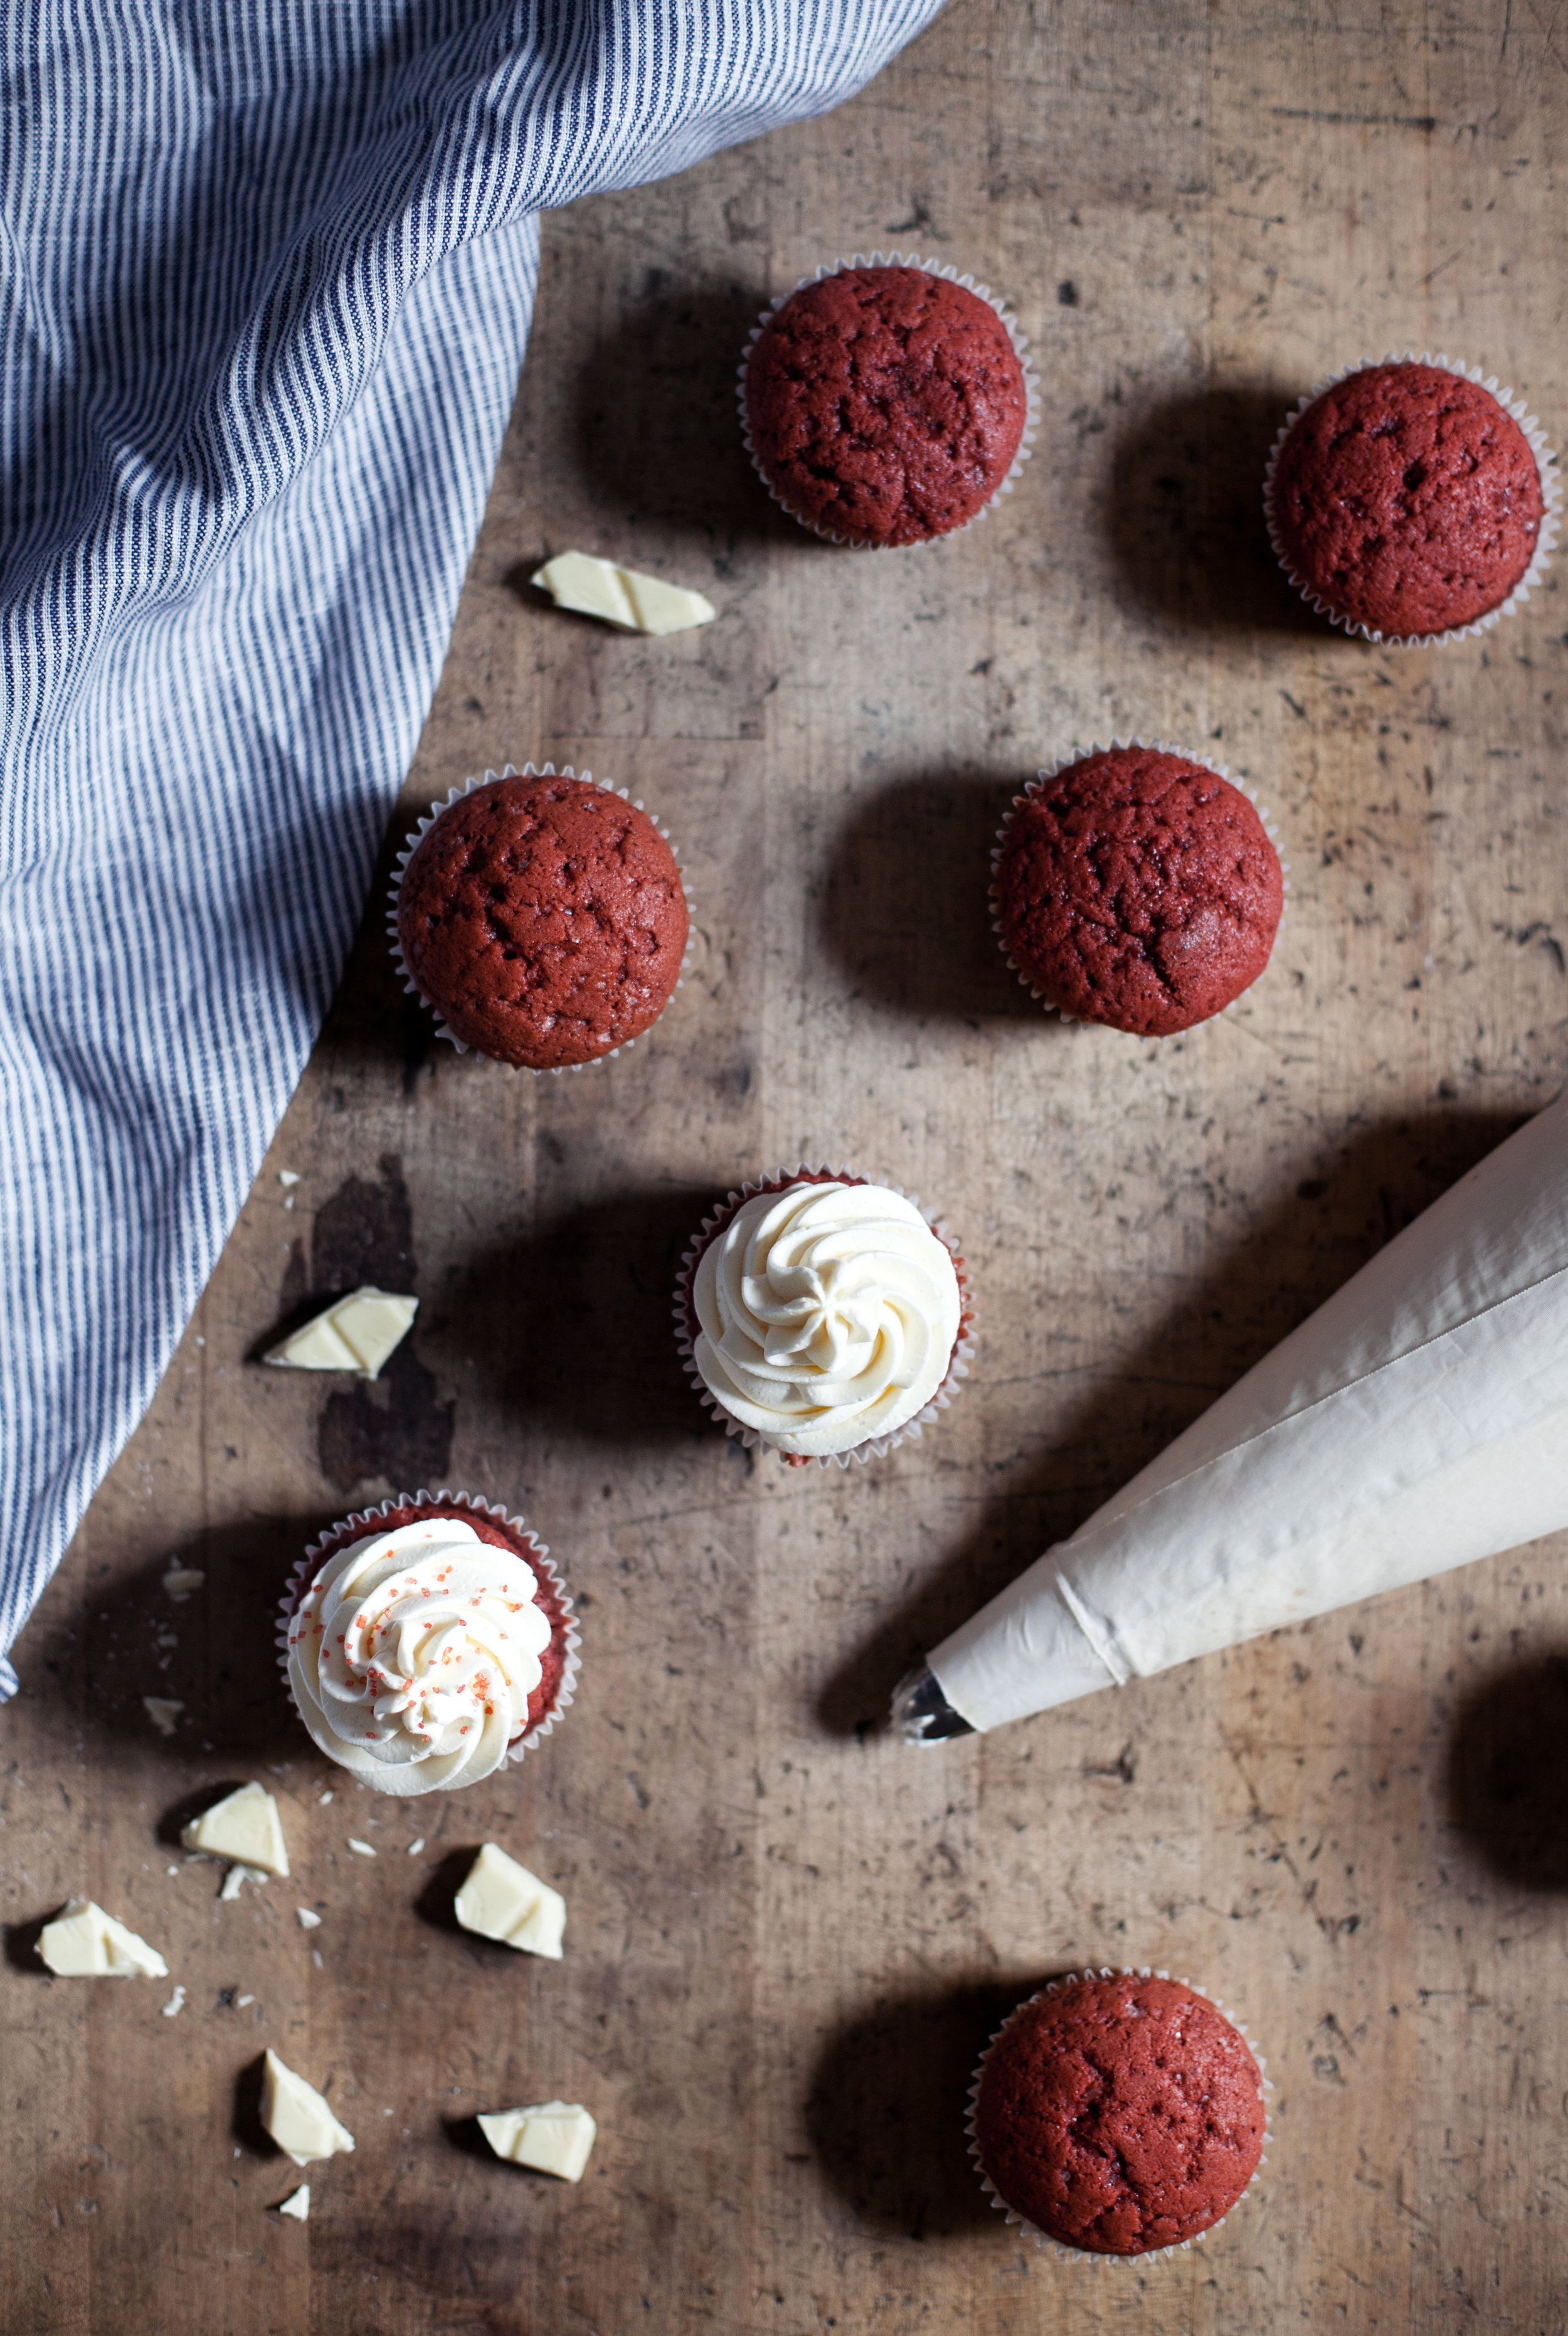
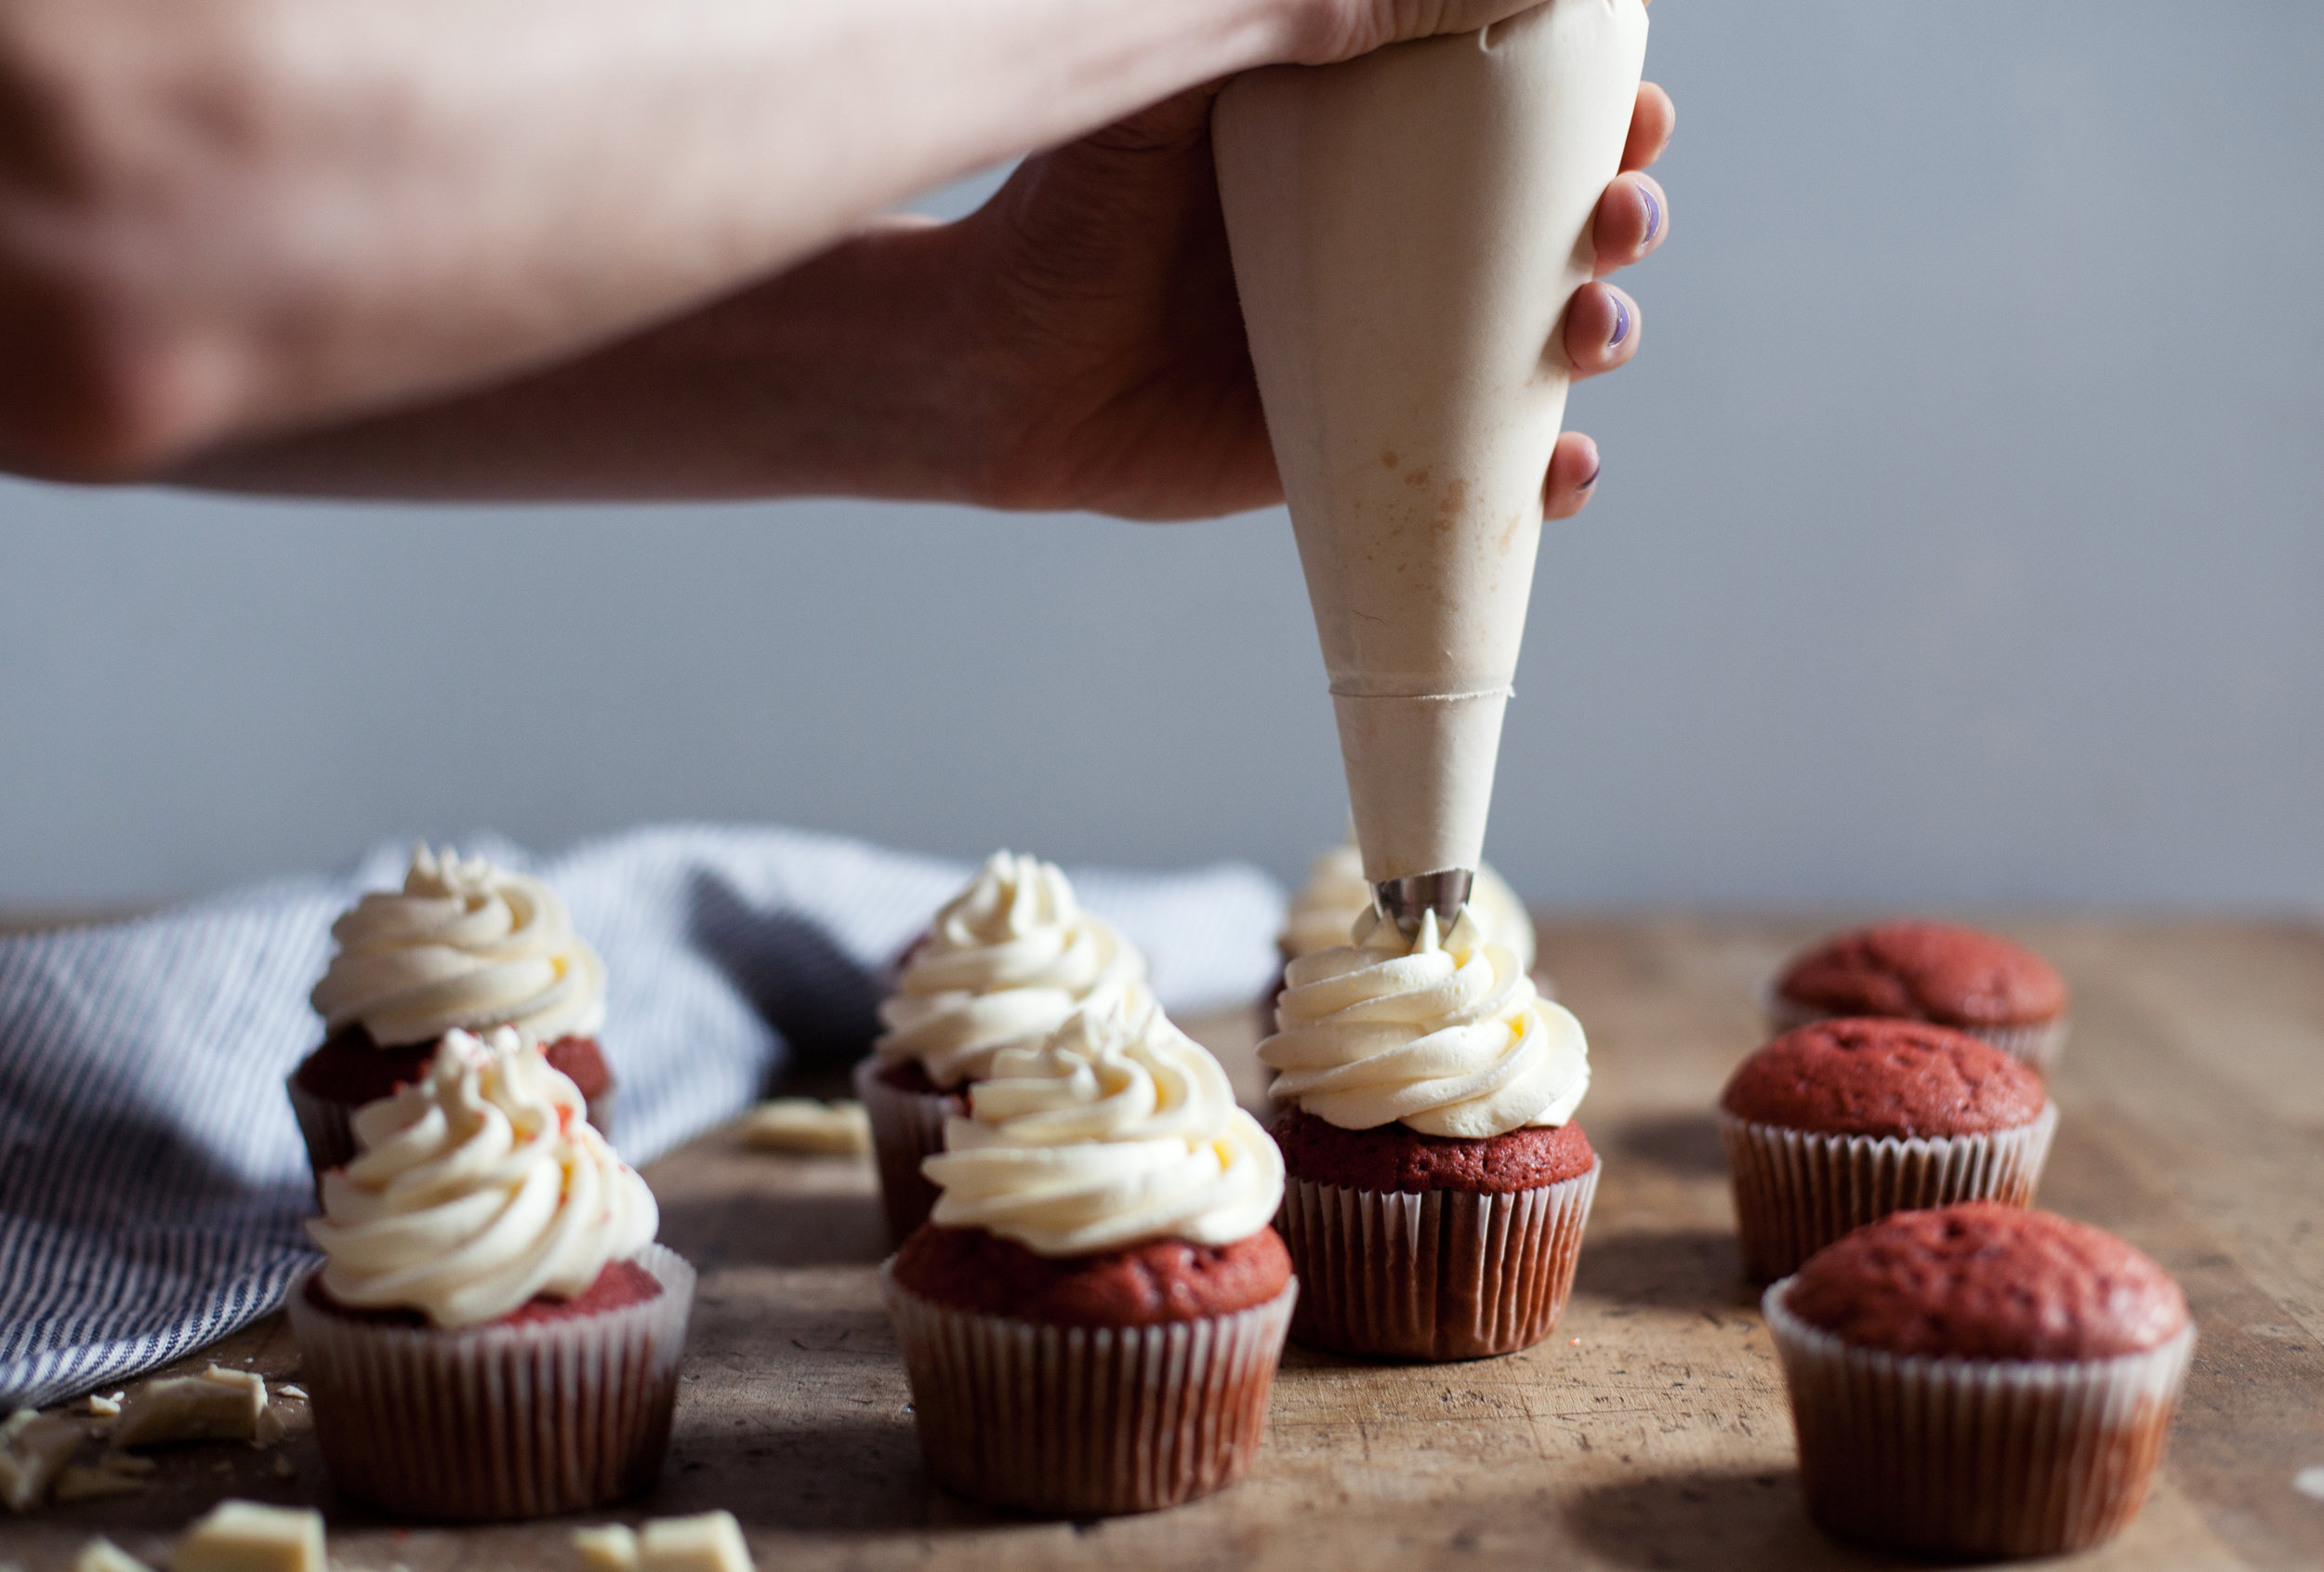
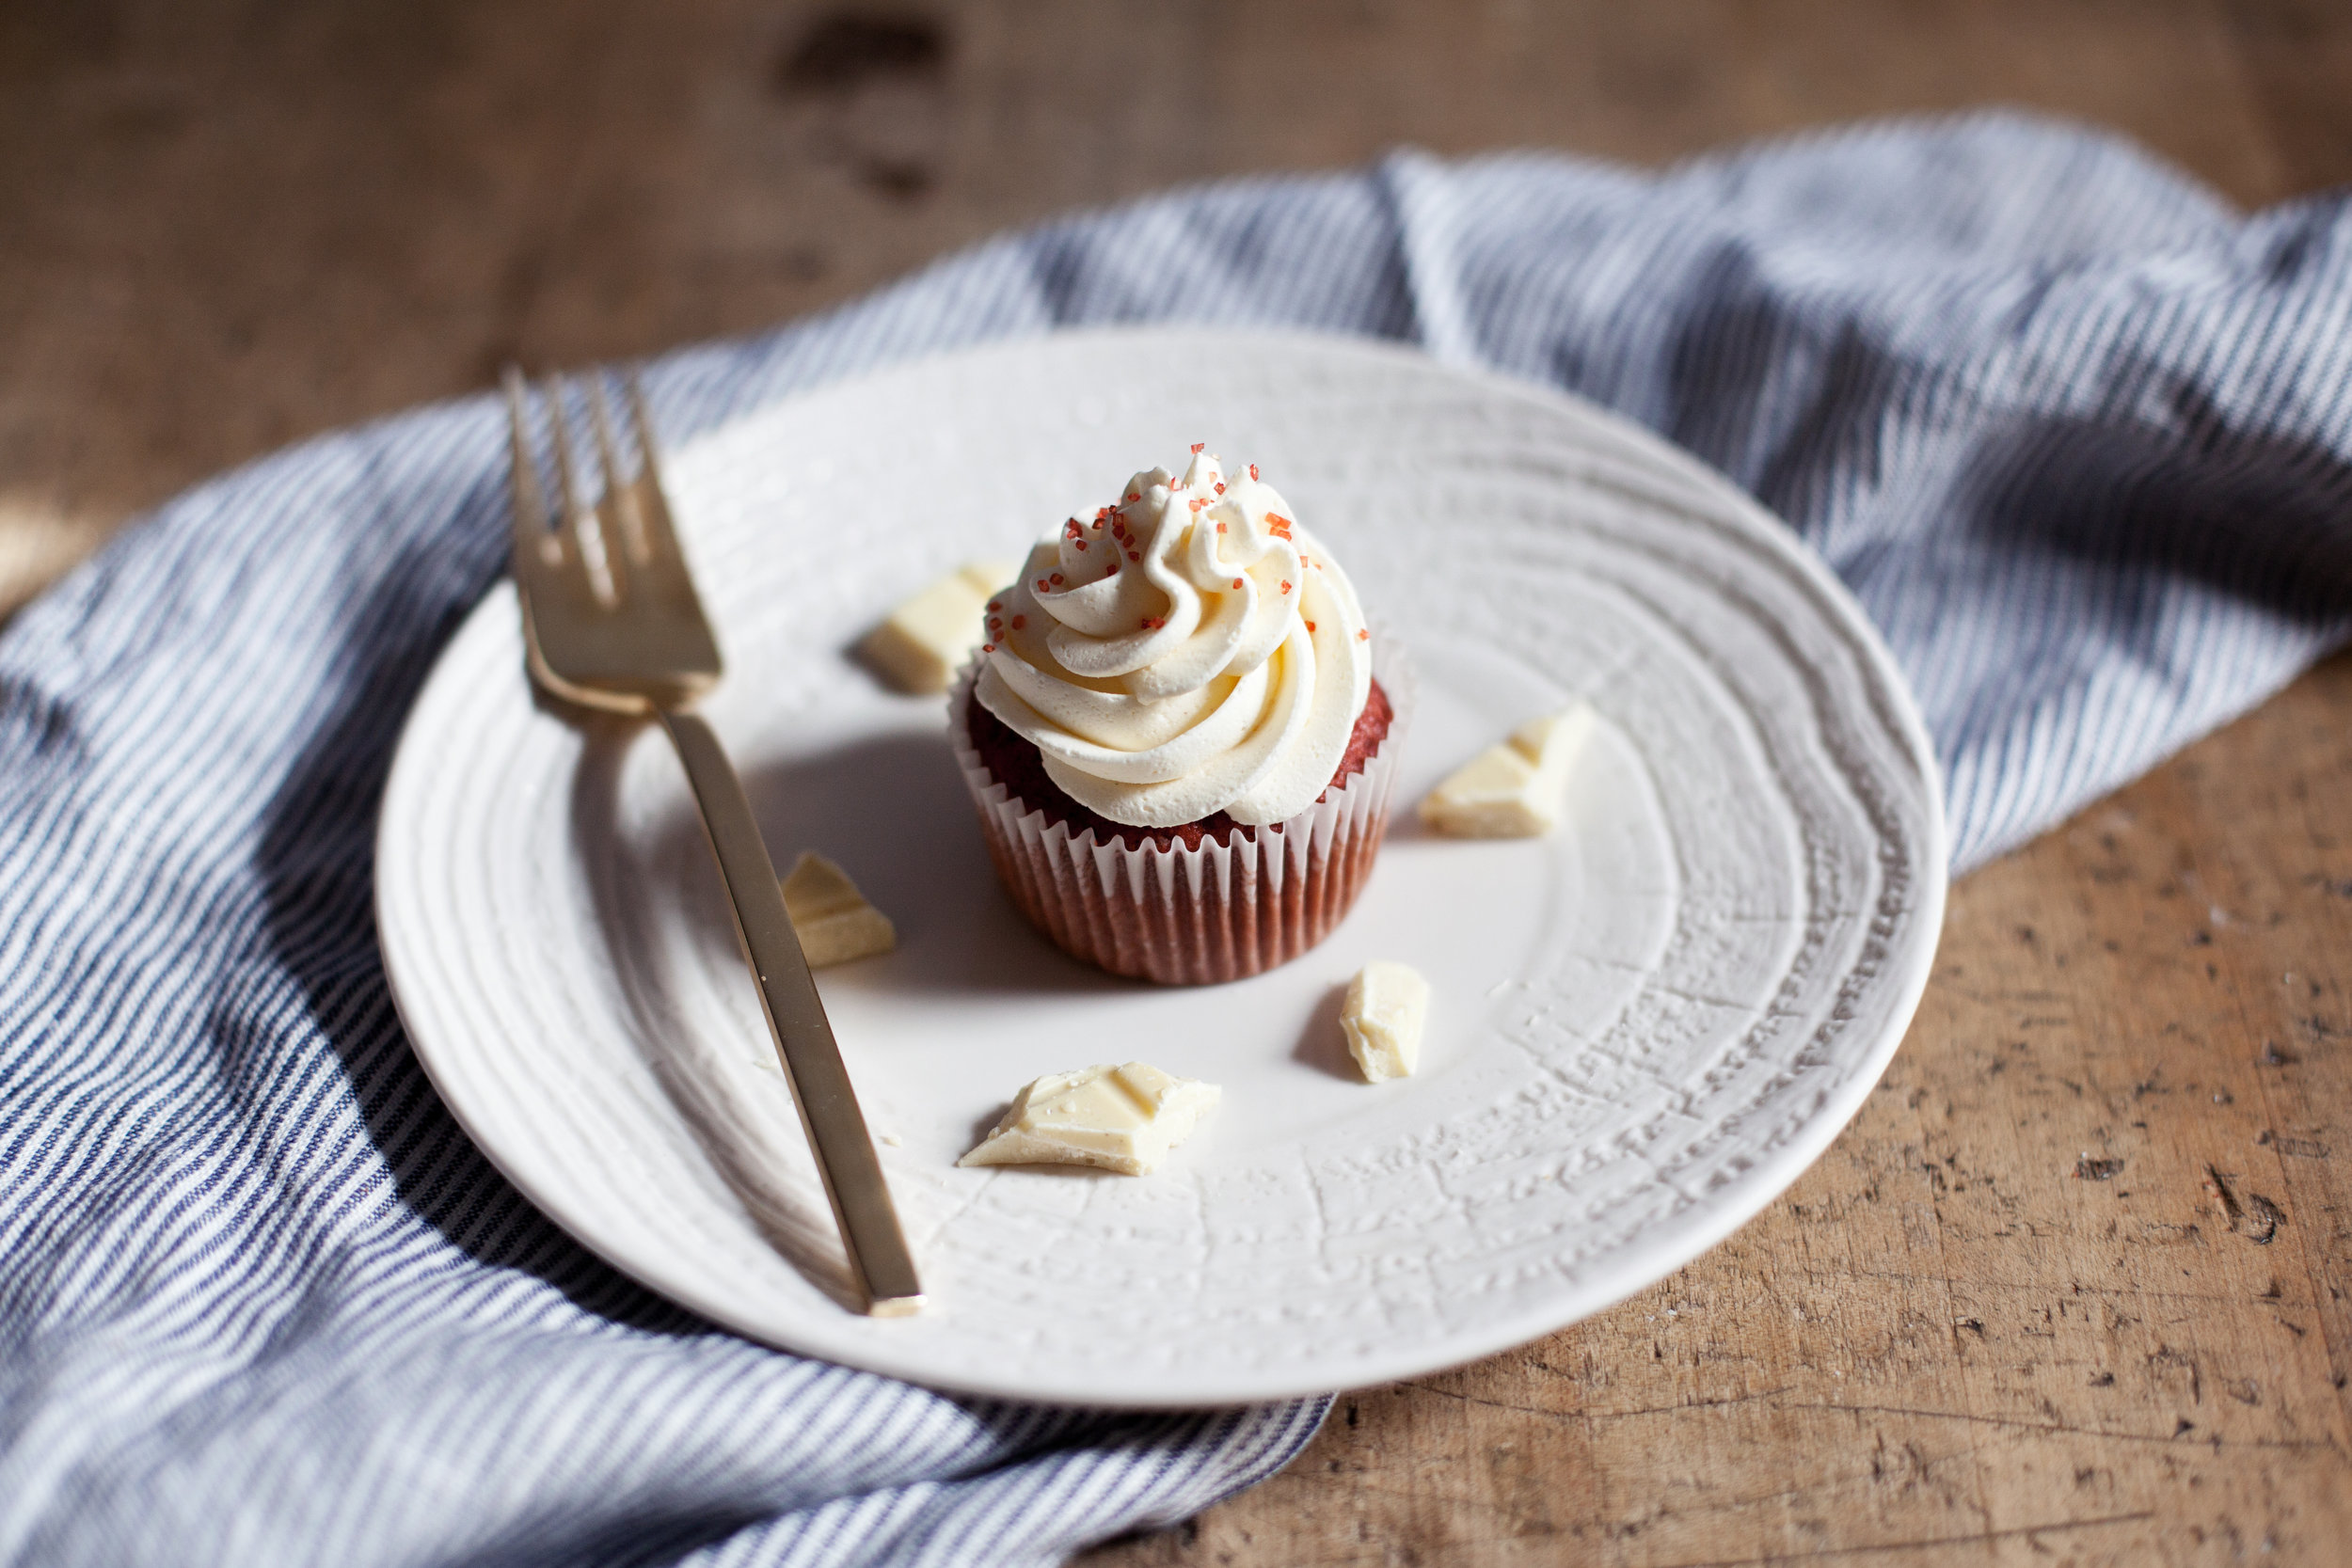
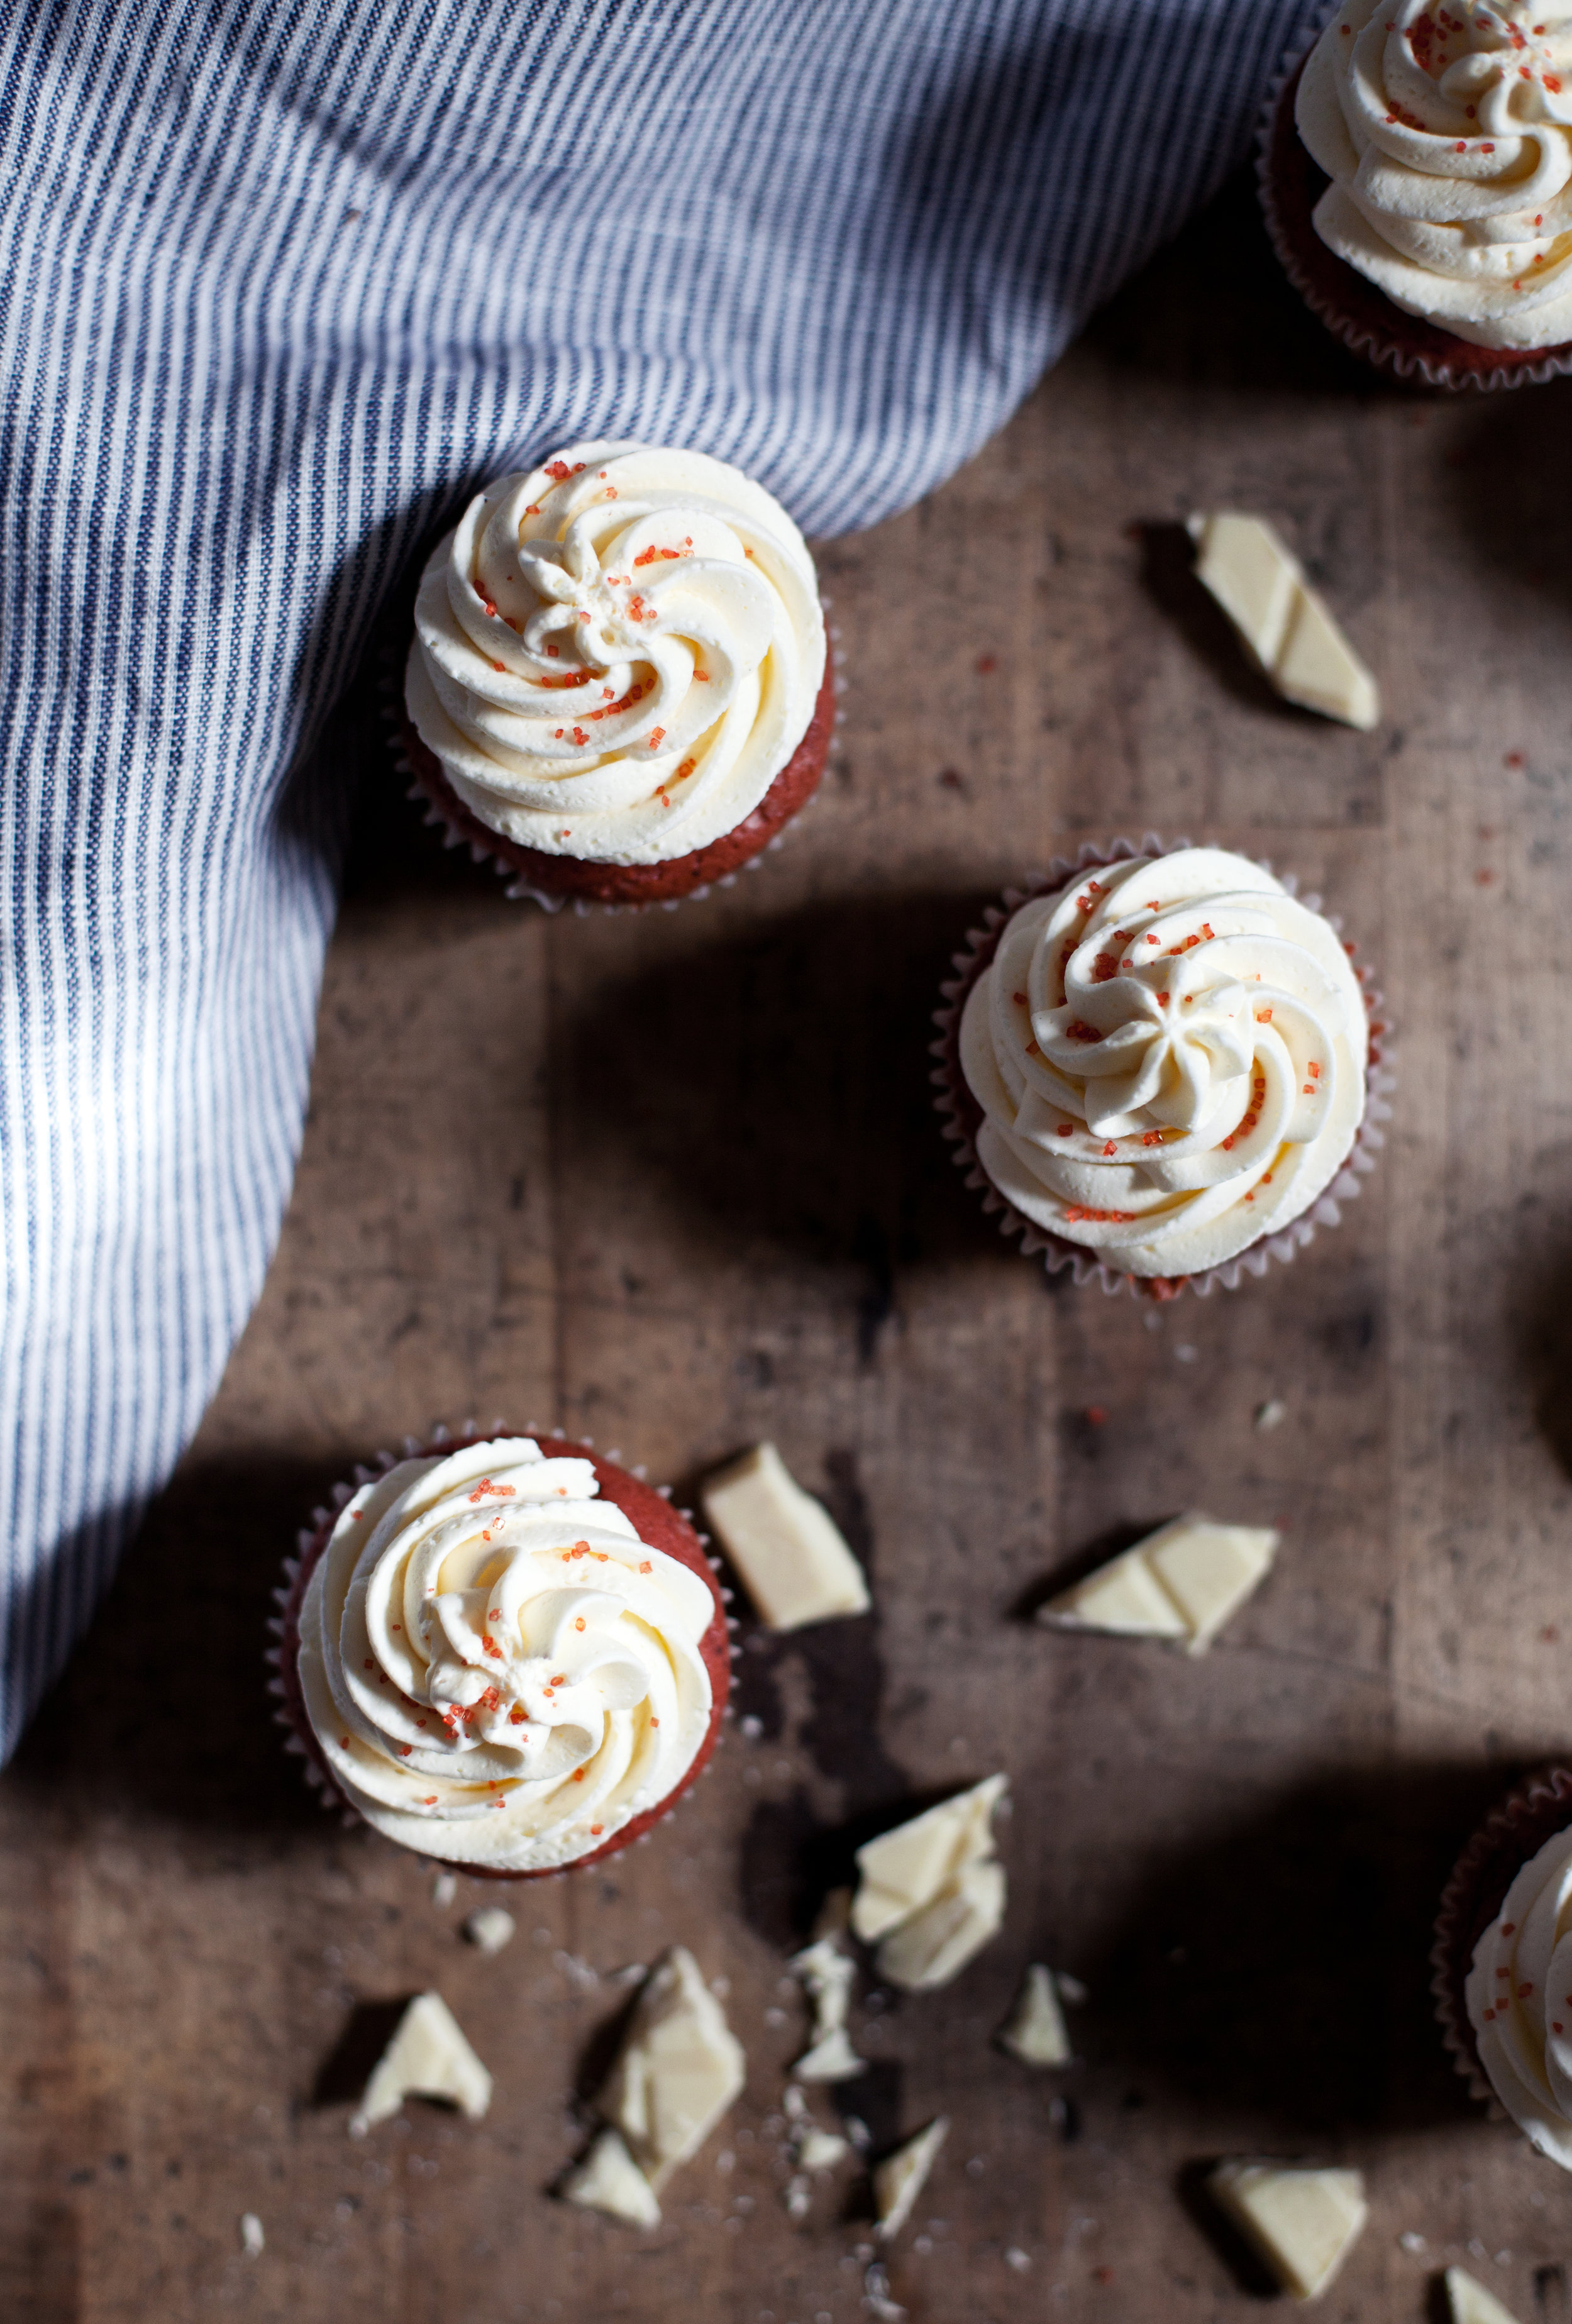
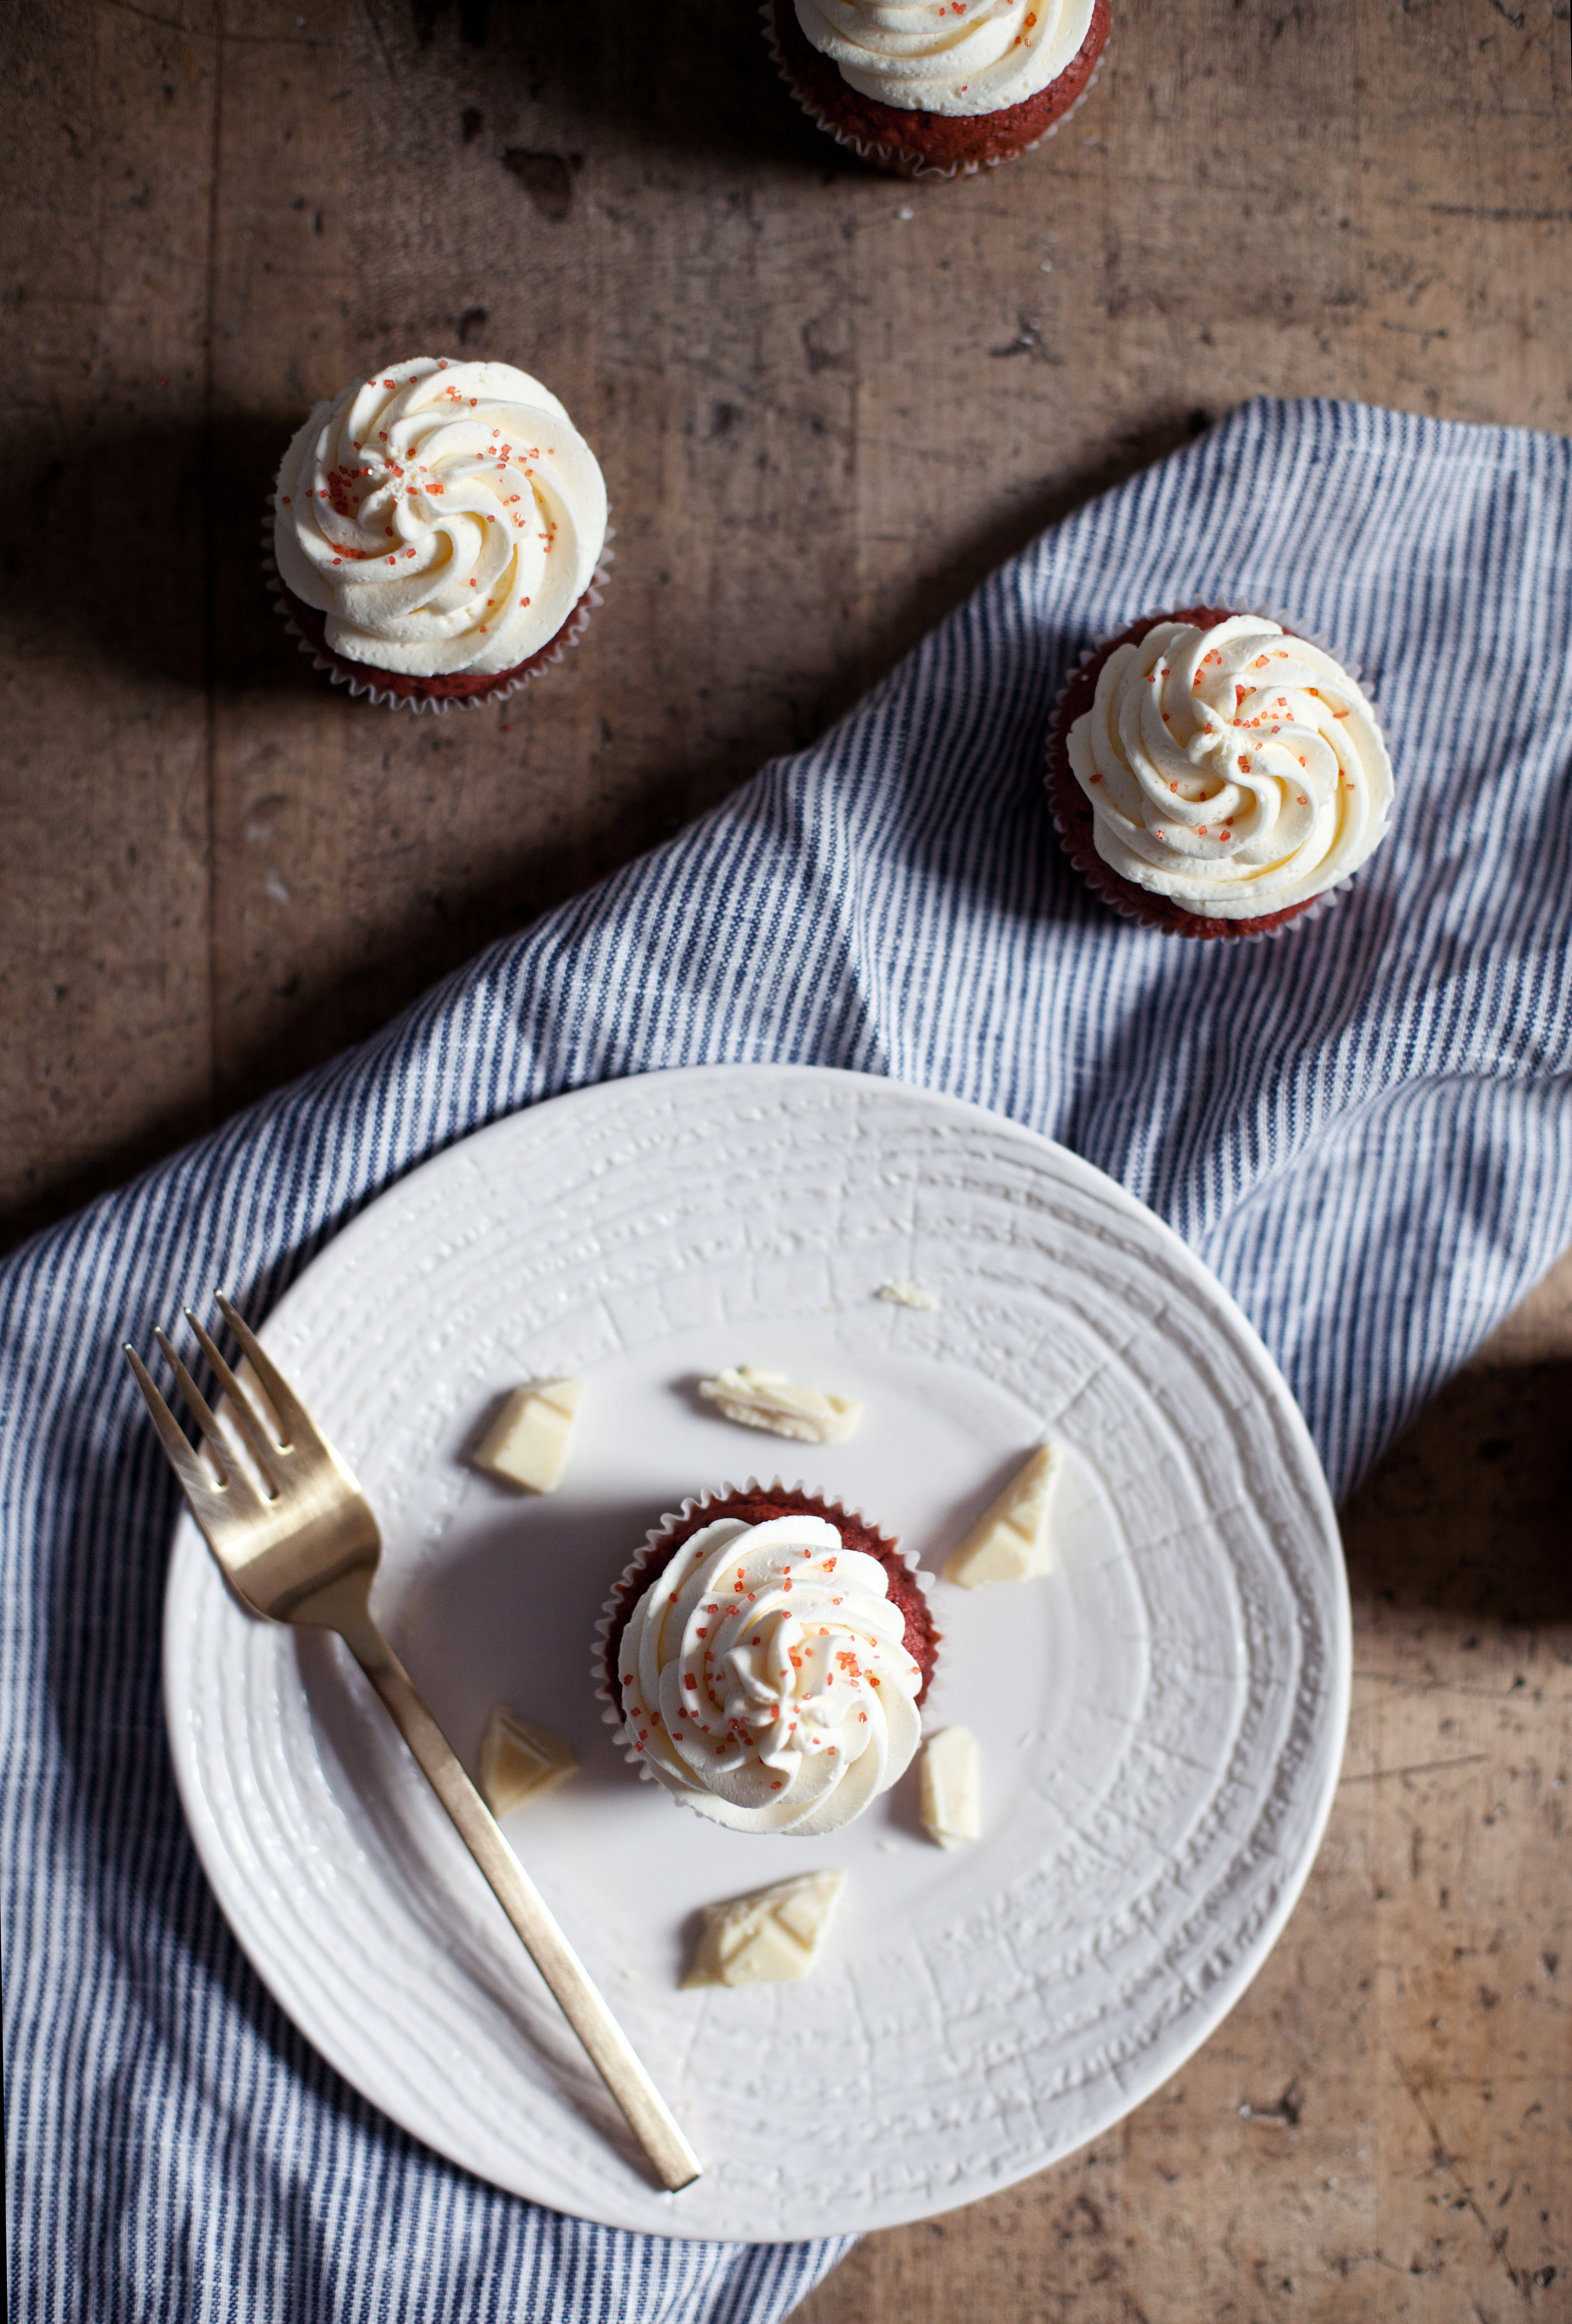
does any one else buy the primary food colouring pack & use the red up instantly? i have so many yellow, green & blue food colouring bottles in my pantry! the green only seems to come in handy around st. patrick's day. now this recipe can certainly be made into an 8-inch cake if you double it, but for festive gatherings i think cupcakes make so much more sense. people get to grab what they want & serve themselves! easy for the hostess & guest. plus, you get way more frosting if you pipe cupcakes as high as i do. when white chocolate is involved, you best not be skimpy! if you think red velvet cake must have cream cheese frosting, then try infusing some white chocolate into your favourite cream cheese frosting recipe too. just trust me & add that white chocolate.

ingredients

for the red velvet cake (makes one dozen)

  • 2 cups cake flour, sifted
  • 1 heaping tablespoon dutch processed cocoa powder
  • 1 teaspoon baking soda
  • 1/4 teaspoon salt
  • 1/2 cup unsalted butter, room temperature
  • 1 cup raw sugar
  • 2 eggs
  • 1/3 cup vegetable oil
  • 1 teaspoon apple cider vinegar
  • 3/4 cup full fat buttermilk
  • 1 teaspoon two-fold madagascar vanilla extract by lorannoils
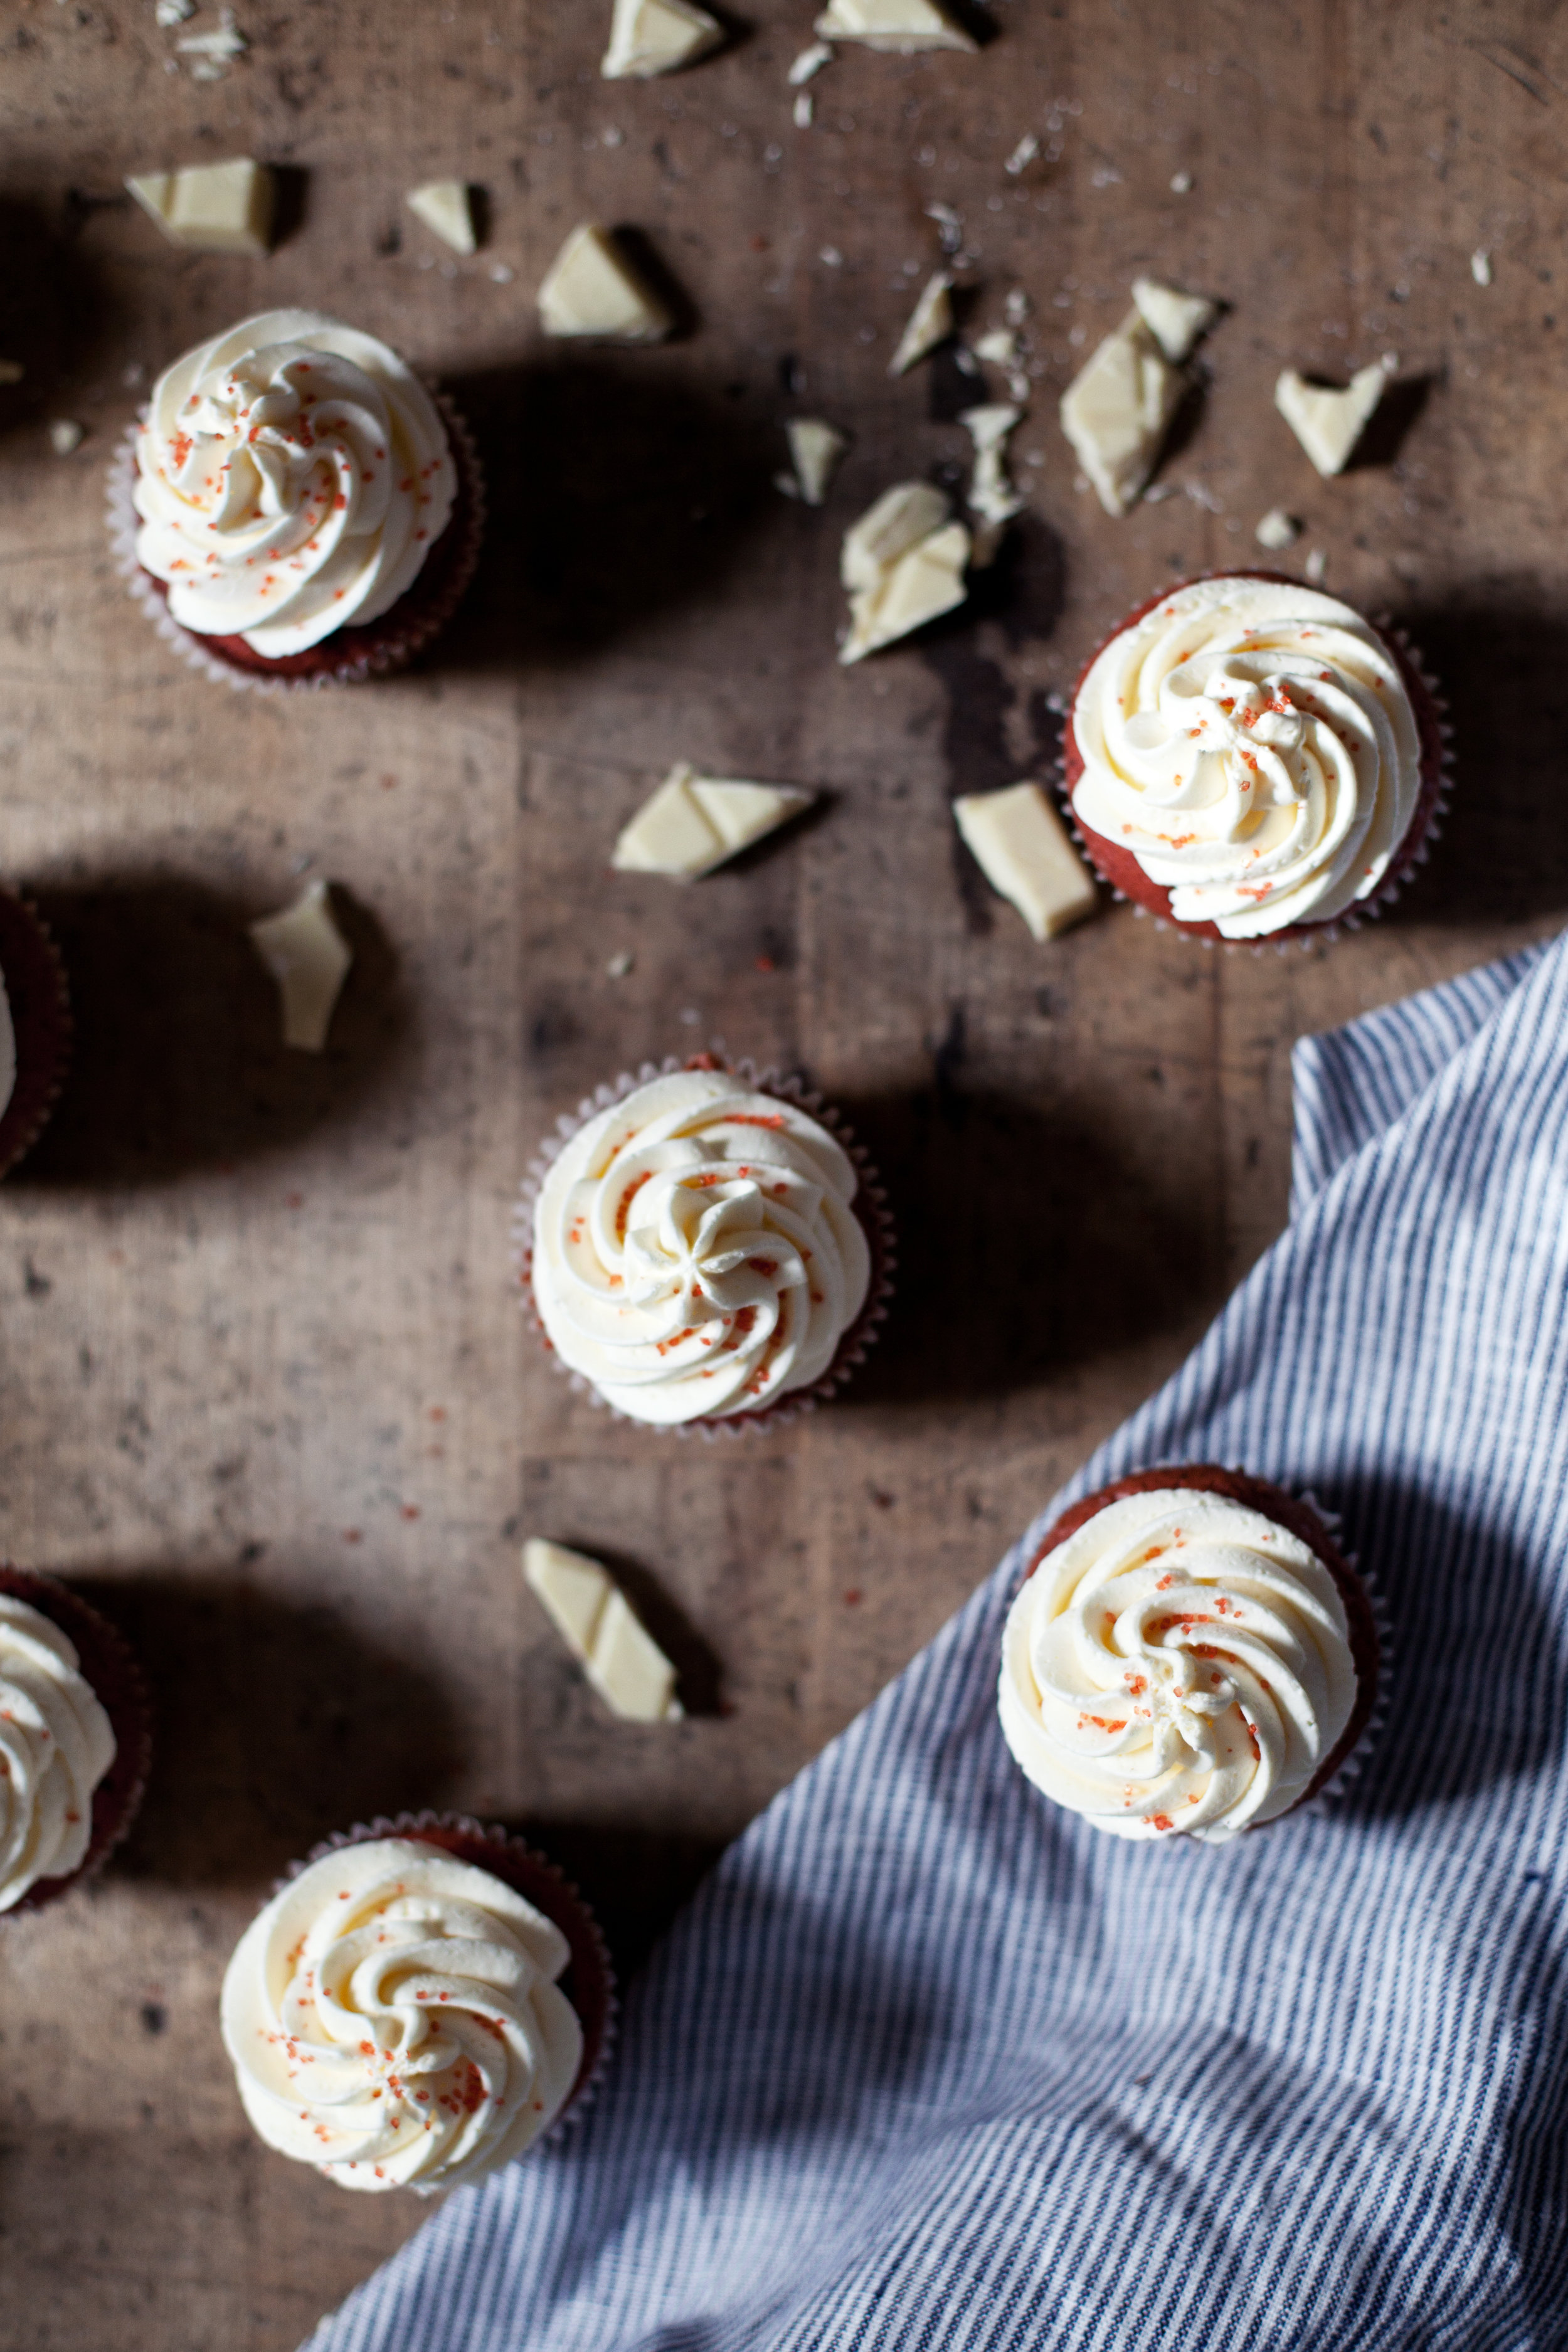
  • 1 tablespoon red velvet bakery emulsion by lorannoils

for the white chocolate buttercream

directions

for the red velvet cake (makes one dozen)

  • preheat oven to 350 degrees.
  • in a large mixing bowl sift flour, cocoa powder, baking soda & salt. set aside.
  • in the bowl of a standmixer cream the butter & sugar. add the eggs one at a time followed by the oil & cider vinegar.
  • rotate between adding in the buttermilk & the flour mixture until combined.
  • finish off with the vanilla extract & red velvet emulsion.
  • evenly distribute amongst lined cupcake tins. bake for fifteen minutes or until the cake bounces back to touch.
  • let cool completely before frosting, about thirty minutes.

for the white chocolate buttercream

  • in the bowl of a standmixer with the paddle attachment cream the butter & white chocolate until smooth.
  • add the icing sugar one cup at a time & beat until light + fluffy.
  • finish off by adding in the vanilla.
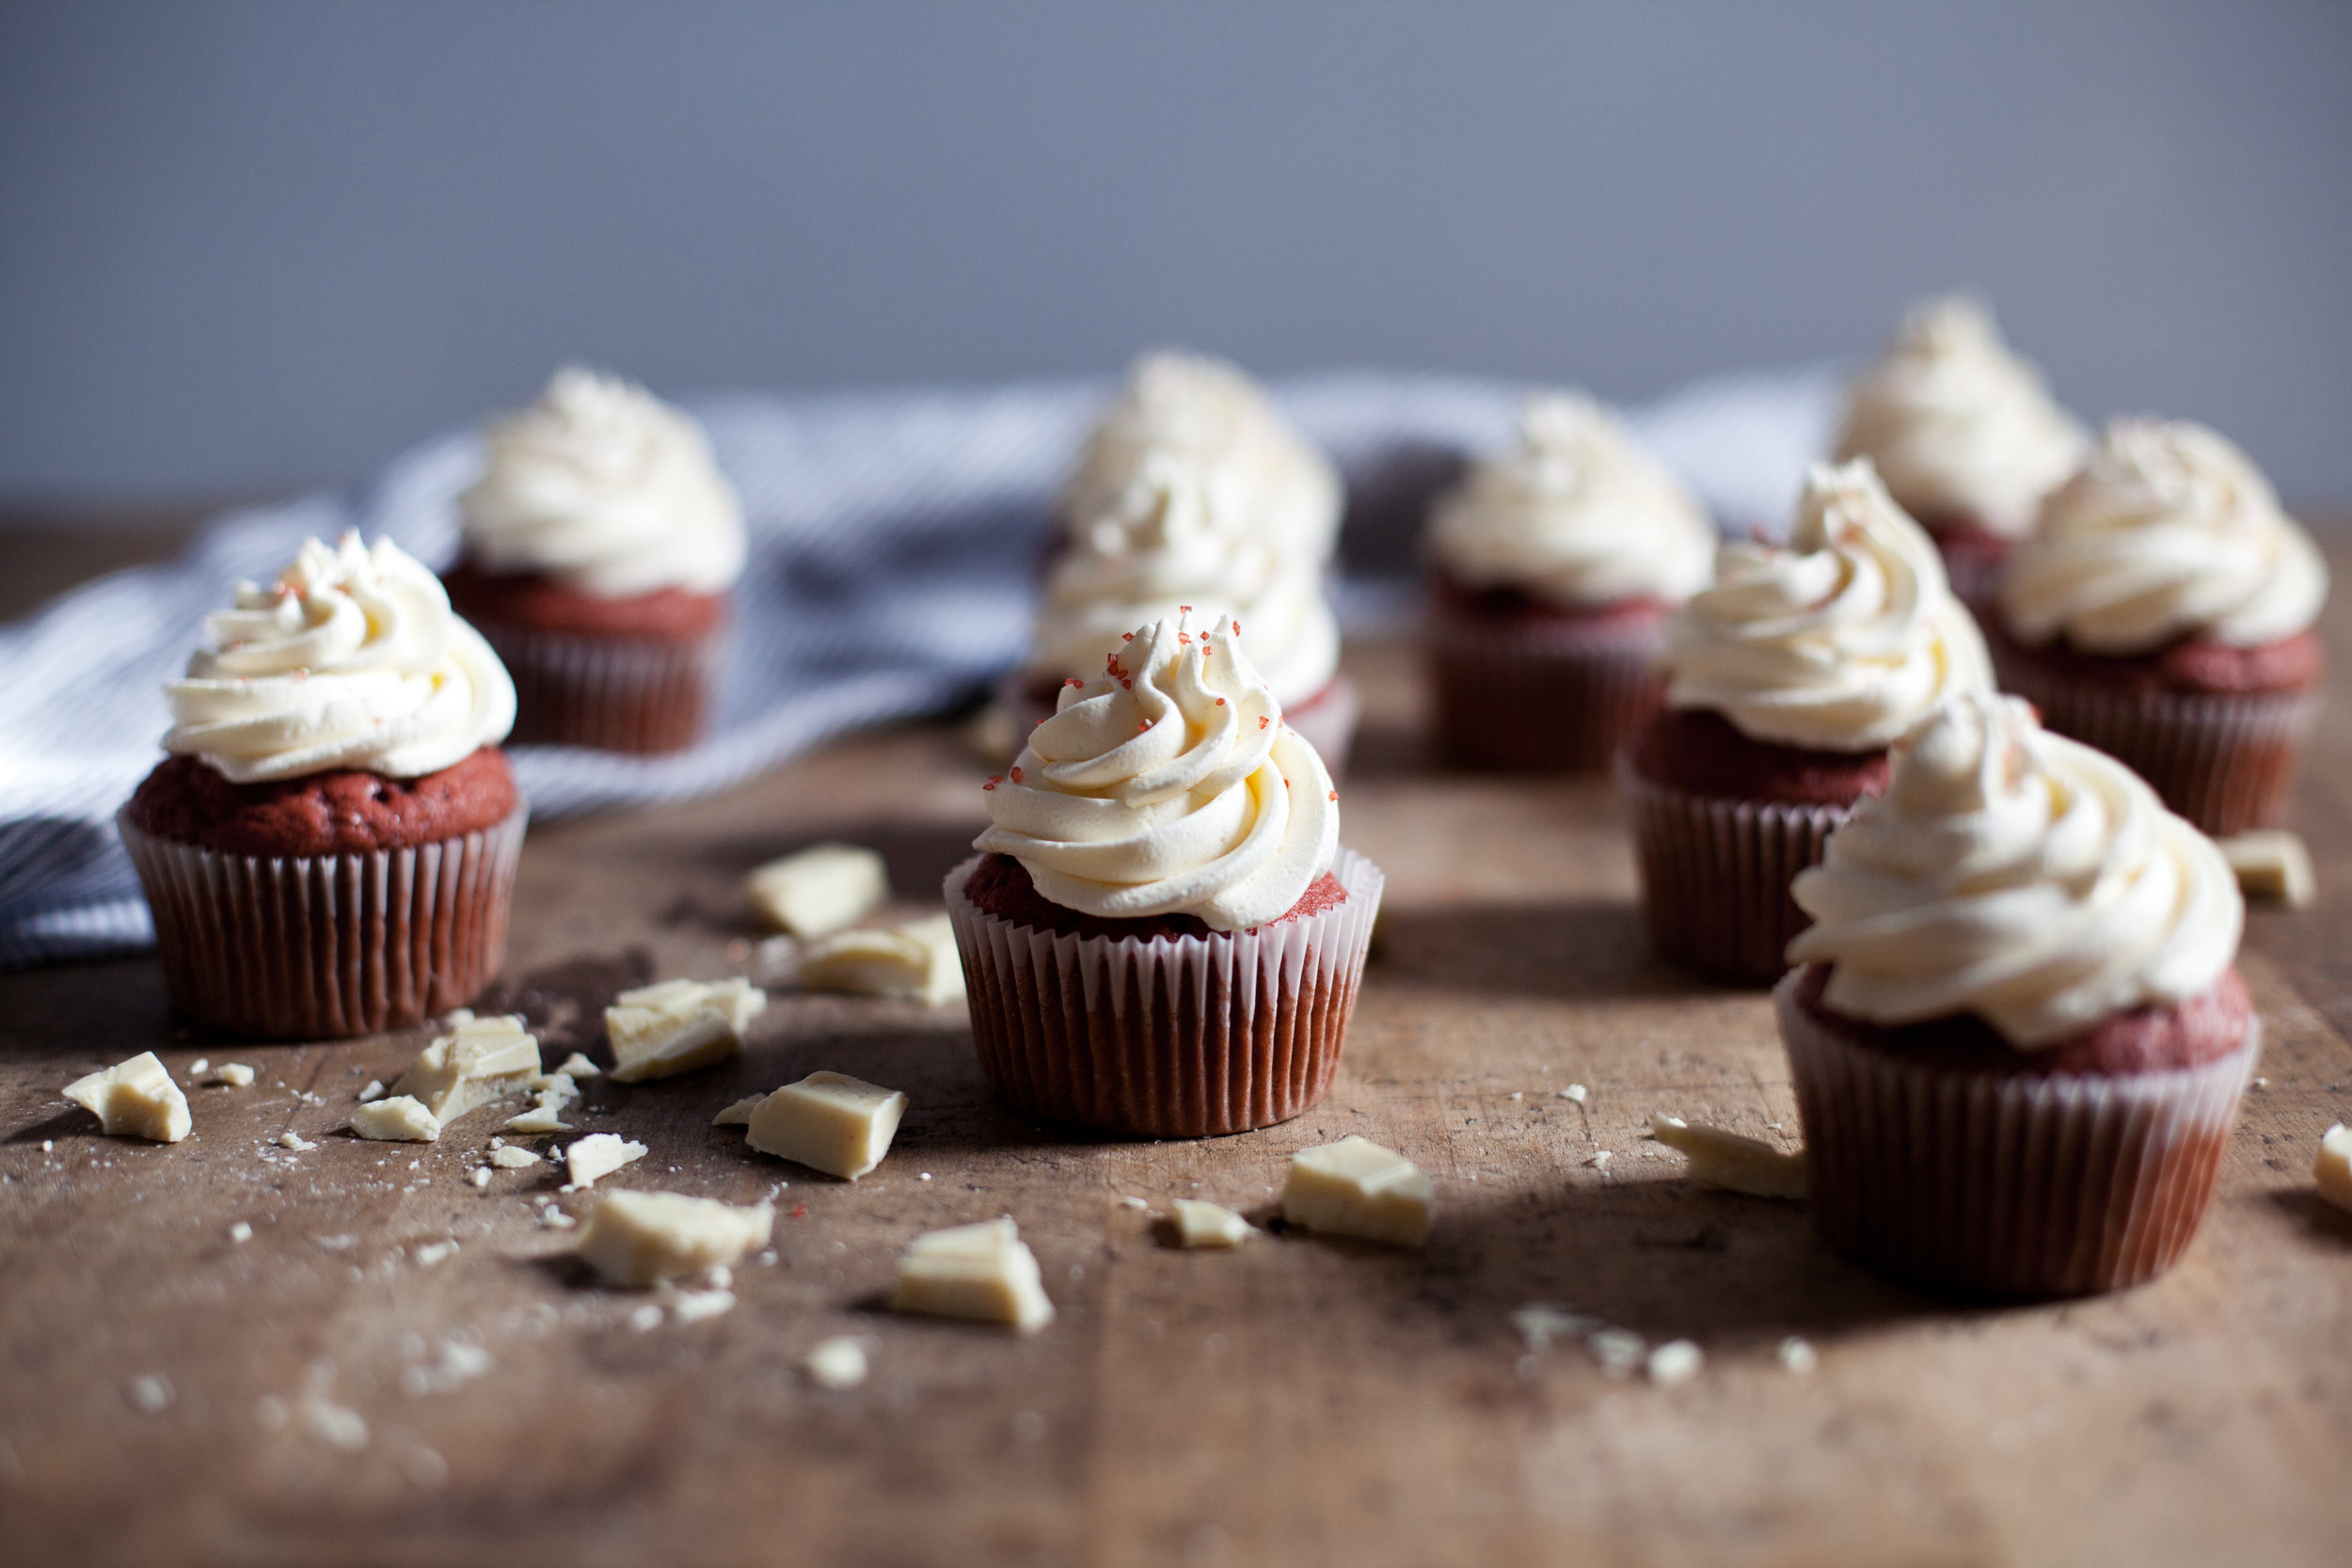
  • frost cupcakes as desired & sprinkle with a touch of red sugar.

this post was created in partnership with LorAnn Oils. they make the best extracts + emulsions available. i will never make red velvet anything without the red velvet bakery emulsion again! find the featured two-fold madagascar vanilla extract here & the red velvet emulsion here. thank you for supporting the brands that keep hey modest marce up & running! xo

roasted pumpkin + butternut squash soup


this soup is fall. literally, everything about it screams fall! right down to the beautiful velvety orange colour. today i am teaming up with vitamix to share the recipe (as well as the most gorgeous copper vitamix) for this roasted pumpkin + butternut squash soup! i think everyone knows by now that if copper finish is one of the options for any kitchen item, i have to have it! i just finished putting up the open shelves in my kitchen this weekend (fingers crossed they hold) & decked it out in ALL the copper things i could find! so this vitamix looks gorgeous out on the counter next to the shelves.

instead of just doing a classic butternut squash soup, i wanted to roast some pumpkin into the mix. i bought a ton of pie pumpkins this month because i can't help myself (they are so cute) & now that halloween is over i am putting them to use! i roasted both the butternut squash & pie pumpkin in olive oil, fresh sage & fresh thyme for maximum fall flavour. i asked my dad if he could bring me some fresh sage for their garden to my house for this recipe since i don't have an herb garden yet.. he brought every herb he could find because he didn't know which one sage was LOL! gotta love dads.

this vitamix is probably one of the most amazing blenders i have ever used. it literally pureed this soup within seconds & left no chunky bits behind like i find most blenders do. what's left was a silky soup that i decided to drizzle with cream because it looks so pretty. it is stressful getting that photo perfect swirl though! BUT if you want to keep it vegan, just leave that last touch of cream out.

anyways, you should probably add this soup to your thanksgiving menu! it is healthy & a light way to start a big feast. we devoured this batch after spending an afternoon raking up leaves, only for the ground to be covered in even more leaves. yay for being a homeowner! haha

ingredients

  • 1 pie pumpkin, seeded & roughly chopped
  • 1 medium butternut squash, seeded & roughly chopped
  • 1/4 cup olive oil + 2 tablespoons olive oil
  • 4 sprigs fresh thyme + 1 tablespoon fresh thyme leaves
  • 4 fresh sage leaves + 4 sage leaves, chopped
  • salt & pepper, to taste
  • 2 cloves of garlic, minced
  • 1 medium onion, roughly chopped
  • 2 stalks of celery, roughly chopped
  • 1 large carrot, peeled & roughly chopped
  • 5-6 cups homemade vegetable stock
  • 1 bay leaf
  • heavy cream, optional to finish

directions

  • preheat oven to 400 degrees.
  • on a lined baking sheet add the chopped pumpkin & butternut squash.
  • toss with olive oil, thyme, sage, salt & pepper. roast for 1 hour or until the flesh softens.
  • while the squash is roasting, prepare the soup base. in a large pot over medium heat add the additional olive oil, thyme, sage, garlic & onions. cook until the onions turn translucent.
  • add the celery & carrots, cook for 5 minutes. season with salt & pepper.
  • add the vegetable stock & bay leaf. let simmer covered for 30 minutes or until the vegetables are soft.
  • remove the bay leaf & pour base into the vitamix. blend.
  • remove skin from the roasted squash & pumpkin, add to the vitamix. puree until silkly smooth.
  • if desired, serve with a touch of heavy cream.

like what you see? get it here.  vitamix| feast bowl | soup bowl | linen | flatware | planter

salted caramel apple crisp


who is ready for another apple recipe?! of course this one has to have some salted caramel sauce incorporated too. when i was out for a walk in my new neighbourhood this past weekend, i discovered just down the street from me is ANOTHER apple orchard (um, i love this place). i don't know how i didn't discover that sooner, this one was beyond cute. i knew it was time to purchase another bushel full & get baking.

i don't really think it is possible to ever get sick of apple desserts. there are too many! one of my favourites growing up was apple crisp & this one my mom said is the best apple crisp i have ever made. i think that is saying a LOT. instead of just finishing it off with salted caramel i even tossed the apples in salted caramel sauce before baking. you can always use store bought, but i highly reccomend making it yourself! nothing will come close to this flavour & i even made a simple video on NOM last month on how to make it. hope you have a lovely weekend & who knows what i will discover next in this quaint little hood of mine:)

ingredients

for the salted caramel

  • 1 cup white sugar
  • 1/3 cup water
  • 1/3 cup heavy cream
  • 1/4 cup unsalted butter
  • 1 teaspoon sea salt
  • 1 teaspoon pure vanilla extract (optional)

for the filling

  • 3 lbs baking apples, peeled + cored + thinly sliced
  • 1/4 cup brown sugar, packed
  • 1/4 cup salted caramel
  • 1 tablespoon cornstarch
  • 1 teaspoon pure vanilla extract
  • 1 teaspoon lemon juice

for the topping

  • 1 cup rolled oats
  • 1 cup all purpose flour
  • 1/2 cup brown sugar, packed
  • 1/2 teaspoon ground cinnamon
  • 1/2 teaspoon sea salt
  • 1/2 cup walnuts, roughly chopped
  • 1/2 cup unsalted butter, cold & cubed
  • salted caramel, for topping
  • whipped cream, for topping

directions

for the salted caramel

  • in a saucepan add the sugar and water. bring the pan to a boil while wiping down the crystals that form on the sides of the pan using a pastry brush (do not stir, i repeat, do NOT stir).
  • continue to boil until the mixture turns to a deep amber colour, approximately 5 minutes. be sure not to burn the caramel! it will go from a deep amber to burnt sugar VERY quickly.
  • remove from heat and immediately whisk in the butter, cream, salt & vanilla.
  • cool to room temperature before using in recipe. can be made in advance!

for the filling

  • preheat oven to 350 degrees.
  • in a large mixing bowl toss the apples, sugar, caramel, cornstarch, vanilla & lemon juice.
  • add to baking dish & set aside while you prepare your topping.

for the topping

  • in a large mixing bowl whisk the oats, flour, sugar, cinnamon, salt & walnuts.
  • add in the cubed butter & work into the mixture until pea sized crumbs are formed.
  • evenly disperse over the apples & bake for one hour.
  • remove from oven & drizzle with additional salted caramel.
  • serve with fresh whipped cream or vanilla ice cream.

like what you see? get it here. copper pan | ramekin | linen | porcelain paper plate