garden goals & loblaws pharmacy awareness month


hi friends!!!

march is Loblaws Pharmacy Awareness month, i have been asked to help them celebrate & create awareness. if you are not familiar with Loblaws, it is a supermarket chain across british columbia, quebec & ontario! it is one of my favourite grocery stores to shop at, i miss my toronto store dearly. located on queen street west, it had the most amazing cheese wall i have ever seen, but i will stop now before i start rambling about the wheels & wheels of parmesan (italians, you get me). this month is all about celebrating the pharmacist and dietitians available at select loblaws and zehrs locations.

the Loblaws Pharmacy offers patient education programs and works closely with the in-store Loblaws Dietitians to help customers and patients achieve their health goals. one of my personal health goals this summer is to eat more fruit, vegetables & to get the garden looking as gorgeous as my mom's. these photos were taken last summer in her beautiful garden where i spent most of my days picking the tomatoes, berries & fresh herbs!

if you need help eating better, loblaws dieticians can guide you & assist you in achieving your goals. be it starting a new diet or better understanding the dietary restrictions for certain health conditions, you can consult with one of the in-store dietitians.

the dietitians offer one-on-one nutrition counselling, in-store workshops, classes, food demonstrations & grocery store tours. these services are perfect for anyone looking to maintain their health, anyone struggling to eat healthy with a busy schedule & for individuals suffering from a health condition.  the team is committed to providing personalized care and quality service to each person.

Loblaws is hosting its Loblaws Facebook Live event on march 22, 2017 at 8pm where you can learn all about these services & ask a pharmacist any questions you may have! 

what are your goals for the summer?!

Visit Sponsors Site

this is a sponsored post written by me on behalf of Loblaws Companies Inc.. all opinions are 100% mine.

master bath refresh


in my opinion, spring is the perfect time for a little bathroom refresh! now i can't take full credit for this gorgeous bathroom. the previous owner had already done the most beautiful renovation featuring a marble shower & a custom marble vanity. it was one of the features in the house that won my heart over. it is the only full bathroom in the house, but unlike every couple on hgtv i really didn't care about an ensuite. one full bathroom featuring both a bathtub & shower was plently! who wants to clean multiple bathrooms anyways? not me. there was just some minor things i wanted to change to the space & personalize it with my own touch.

step one: the paint

the original colour of the space was a powder blue. i am not big on colour when it comes to wall paint (or anywhere) so i knew i wanted to change it to white. we actually ended up having to paint it TWICE! the first colour i chose turned out just awful, it had a beige tone to it & simply looked like a dirty off white. FARROW AND BALL TO THE RESCUE! i talked with my friend over at dreamy white lifestyles who seems to have done her research when it came to finding the perfect shade of white. i wanted something with no undertones so she recommended her favourite colour all white! farrow and ball's all white in estate emulsion is perfect. it is clean, bright & has that perfect chalky finish. i stuck to farrow and ball's wevet for the trim to match the rest of the house, which is actually a touch darker then the walls & has a slight grey hue to it. it is something you don't notice in the other rooms, but when you put it up to a clean white you finally see the hint of grey! lastly, i painted the door farrow and ball's mole's breath to bring in a touch of grey & pull from those marble veins.

step two: the lighting

the previous lighting in the space was very classy & square, but i tend to lean towards more school house & industrial vibes. the mirror was a huge frameless mirror that i had no intentions of changing, but we accidentally broke it when we painted! so i chose to get both the mirror & light fixtures from restoration hardware. i am obsessed with this store, but we all are.. right?! i am so happy how the shadeless sconce lights look along side the chrome framed mirror. i chose the same school house style light fixture for the spare room & office, but in the bathroom i went for the clear shade instead of the milk glass. the clear shade looks a little more elegant & i love how the vintage edison bulb is visible to match the scones lights.

step three: the hardware

the faucets in the sink, tub & shower are all moen's kingsley line. the hardware, however was not. i managed to find all the matching pieces to moen's kingsley line on wayfair (p.s. yay to free shipping in canada)! they sell the faucets featured in this space too. i installed a toilet paper holder, towel bar, glass shelf & towel hook in the matching chrome finish. the beautiful shelf above the bath is the perfect spot to hold candles as well as a place to rest your glasses/jewlery before you get into the bath tub. the towel hook i installed next to the shower makes it so much easier to just grab your towel before getting out of the shower. it is WAY to cold to get out & search for a towel! lastly, that cute modern farmhouse basket where i store the extra towels is from wayfair as well. it is perfect to hold just about anything in & even comes in a copper finish!!!

step four: the linens

i chose the same rough linen bath makeover that i used in the powder room design. not to sound like a broken record, but i just can't get enough of rough linen's linen! the quality, the texture.. everything about it is perfect. trish (the owner) did such an amazing job sourcing the perfect fabric. featured are the "natural" coloured linens, but i think the grey would look just as amazing! i just saw they released linen baby blankets now too, i kind of want to get one for buddy. she is close enough to a little baby! maybe it would keep her out of my linen bedding every morning, but doubtful.

check out all the sources at the links below:)

breaded chicken avocado caesar salad


happy FRIDAY!!! this week felt sooo slow. i am beyond happy to see that friday is finally here. we had the craziest wind storm this week (justin works in insurance, so he got the bulk end of it), but luckily modest house stayed in one piece. we just have broken twigs & branches galore to pick up this weekend. what are your weekend plans?!

okay, so don't let this long recipe below scare you from making this amazing caesar salad! it is SUPER simple, i promise. i just decided to go all ina garten & make EVERY component from scratch; the dressing, the croutons & the breaded chicken. i even raised the chickens myself! okay just kidding, i am not full barefoot contessa YET, but maybe one day. each of these components relatively uses the same ingredients in one way or another. what you are left with is the ultimate avocado caesar salad! hell, the ultimate salad! seriously, this puts every restaurant salad i have ever been served to shame.

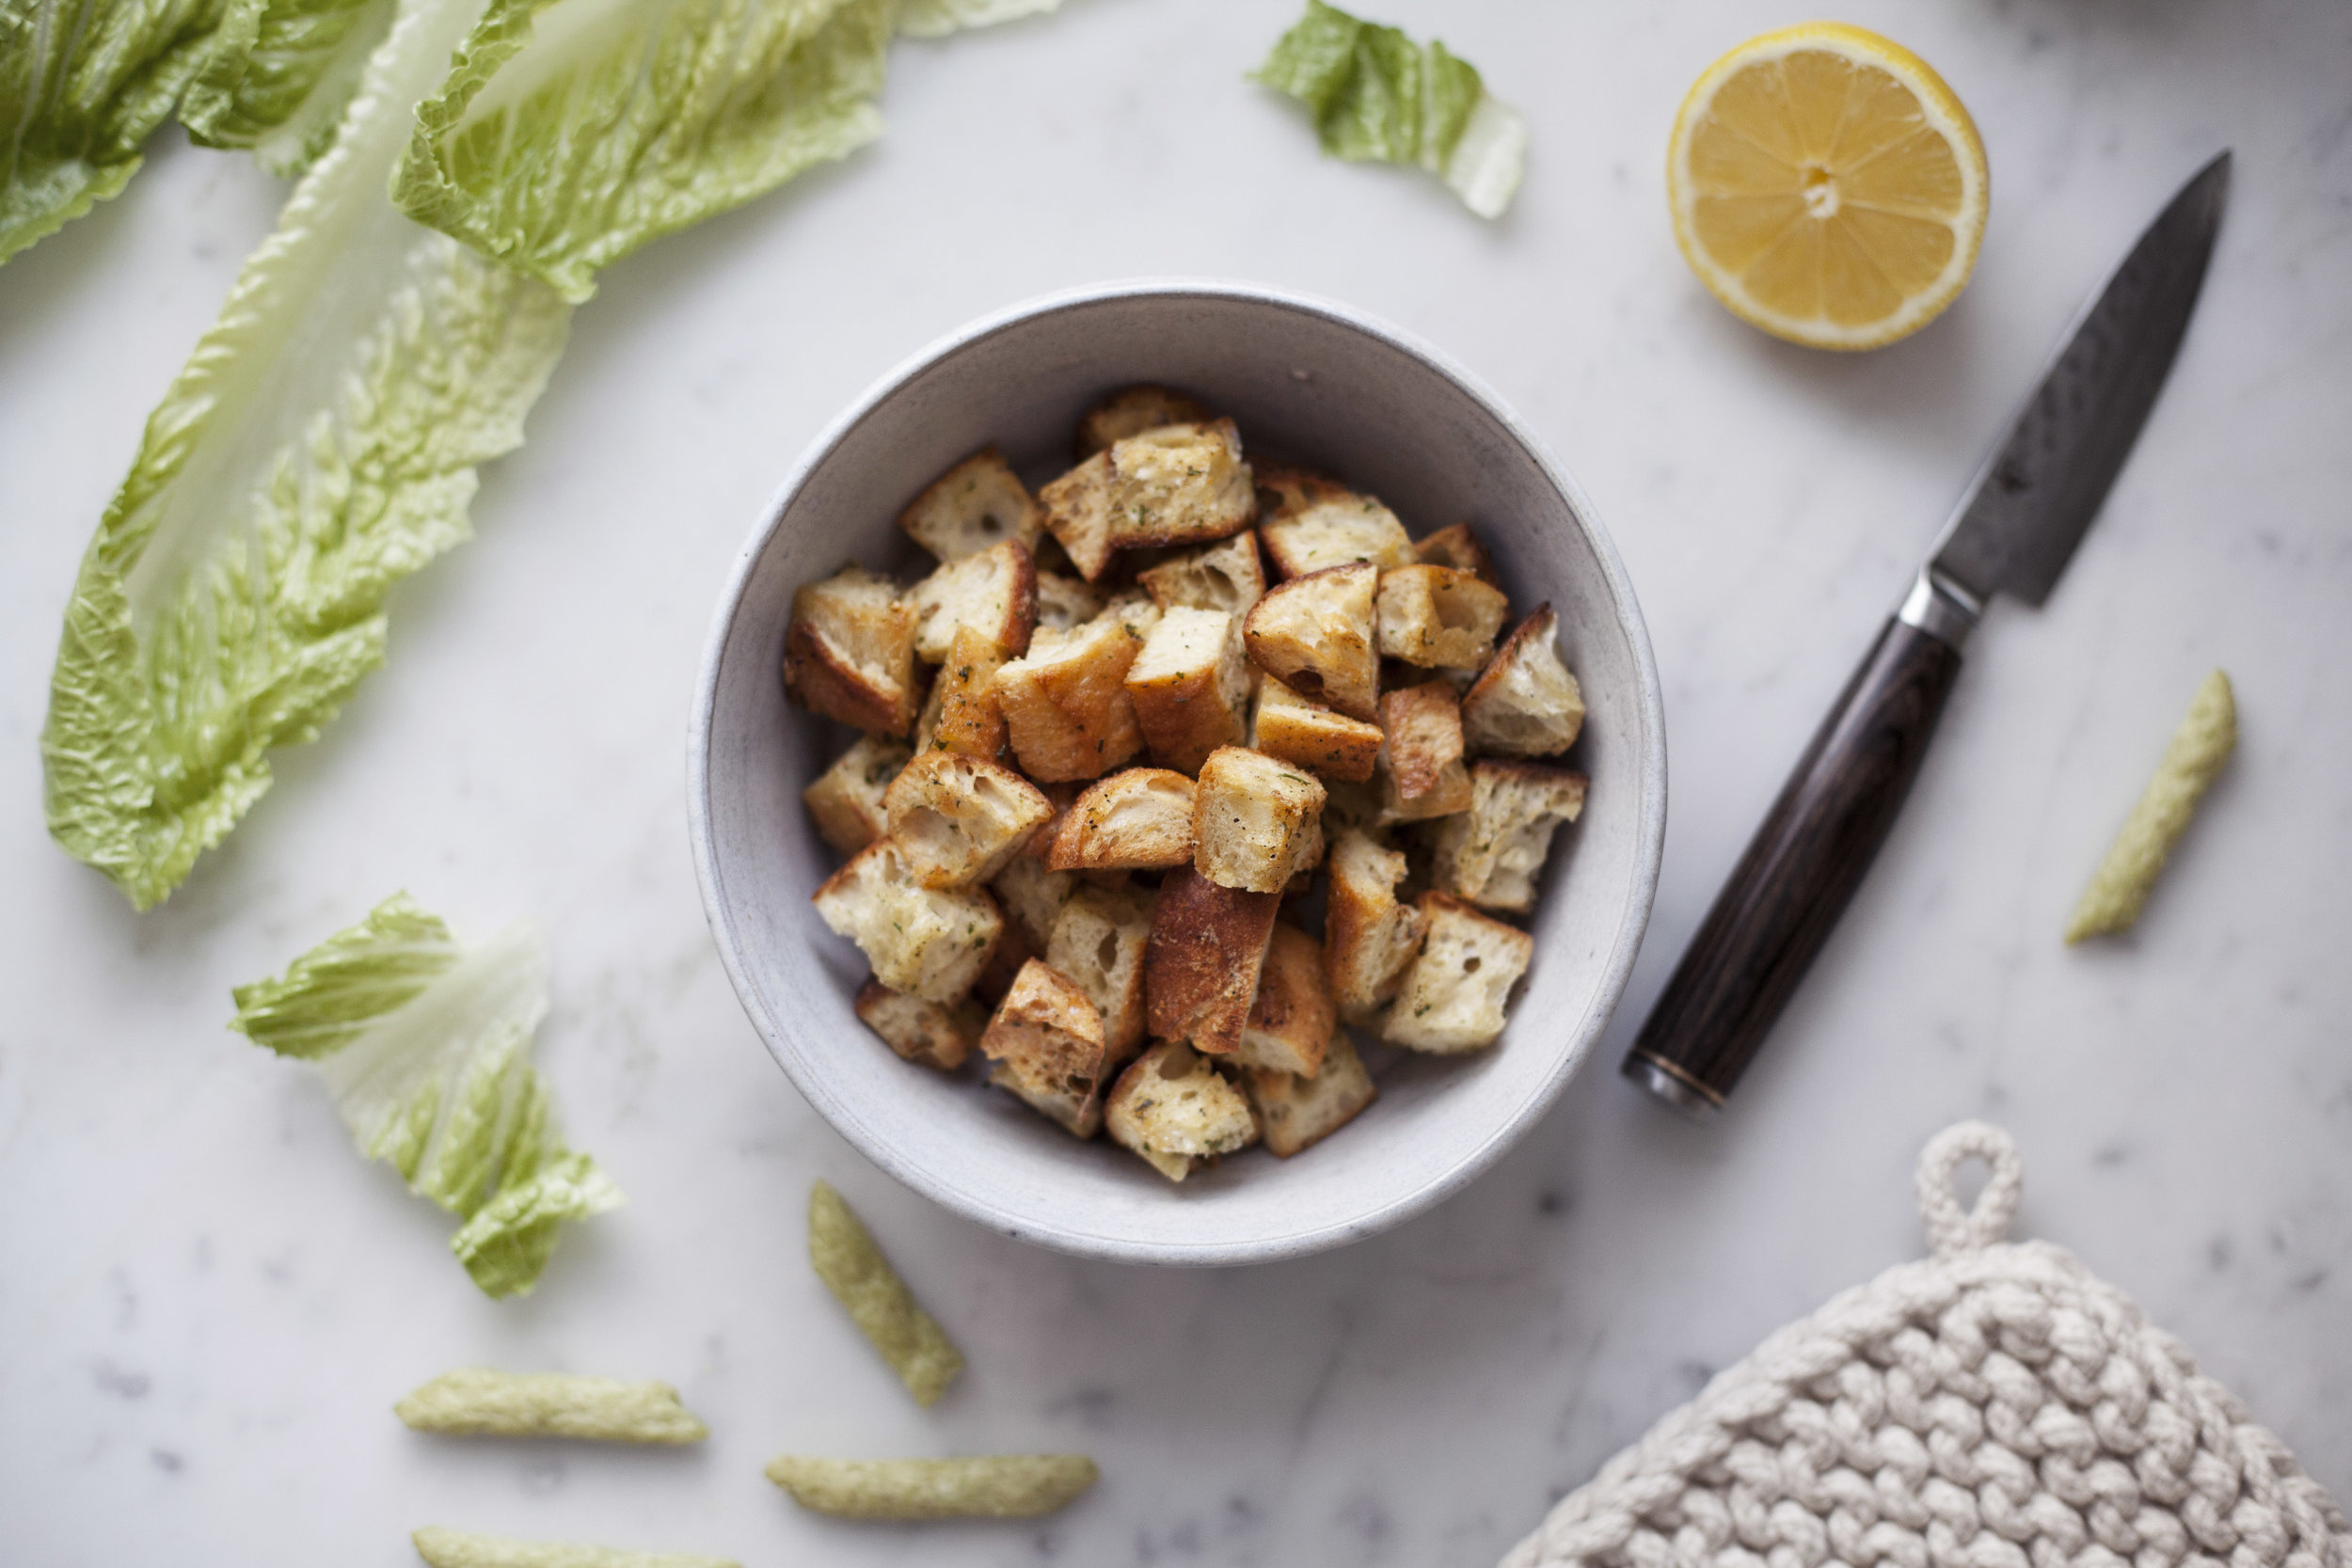
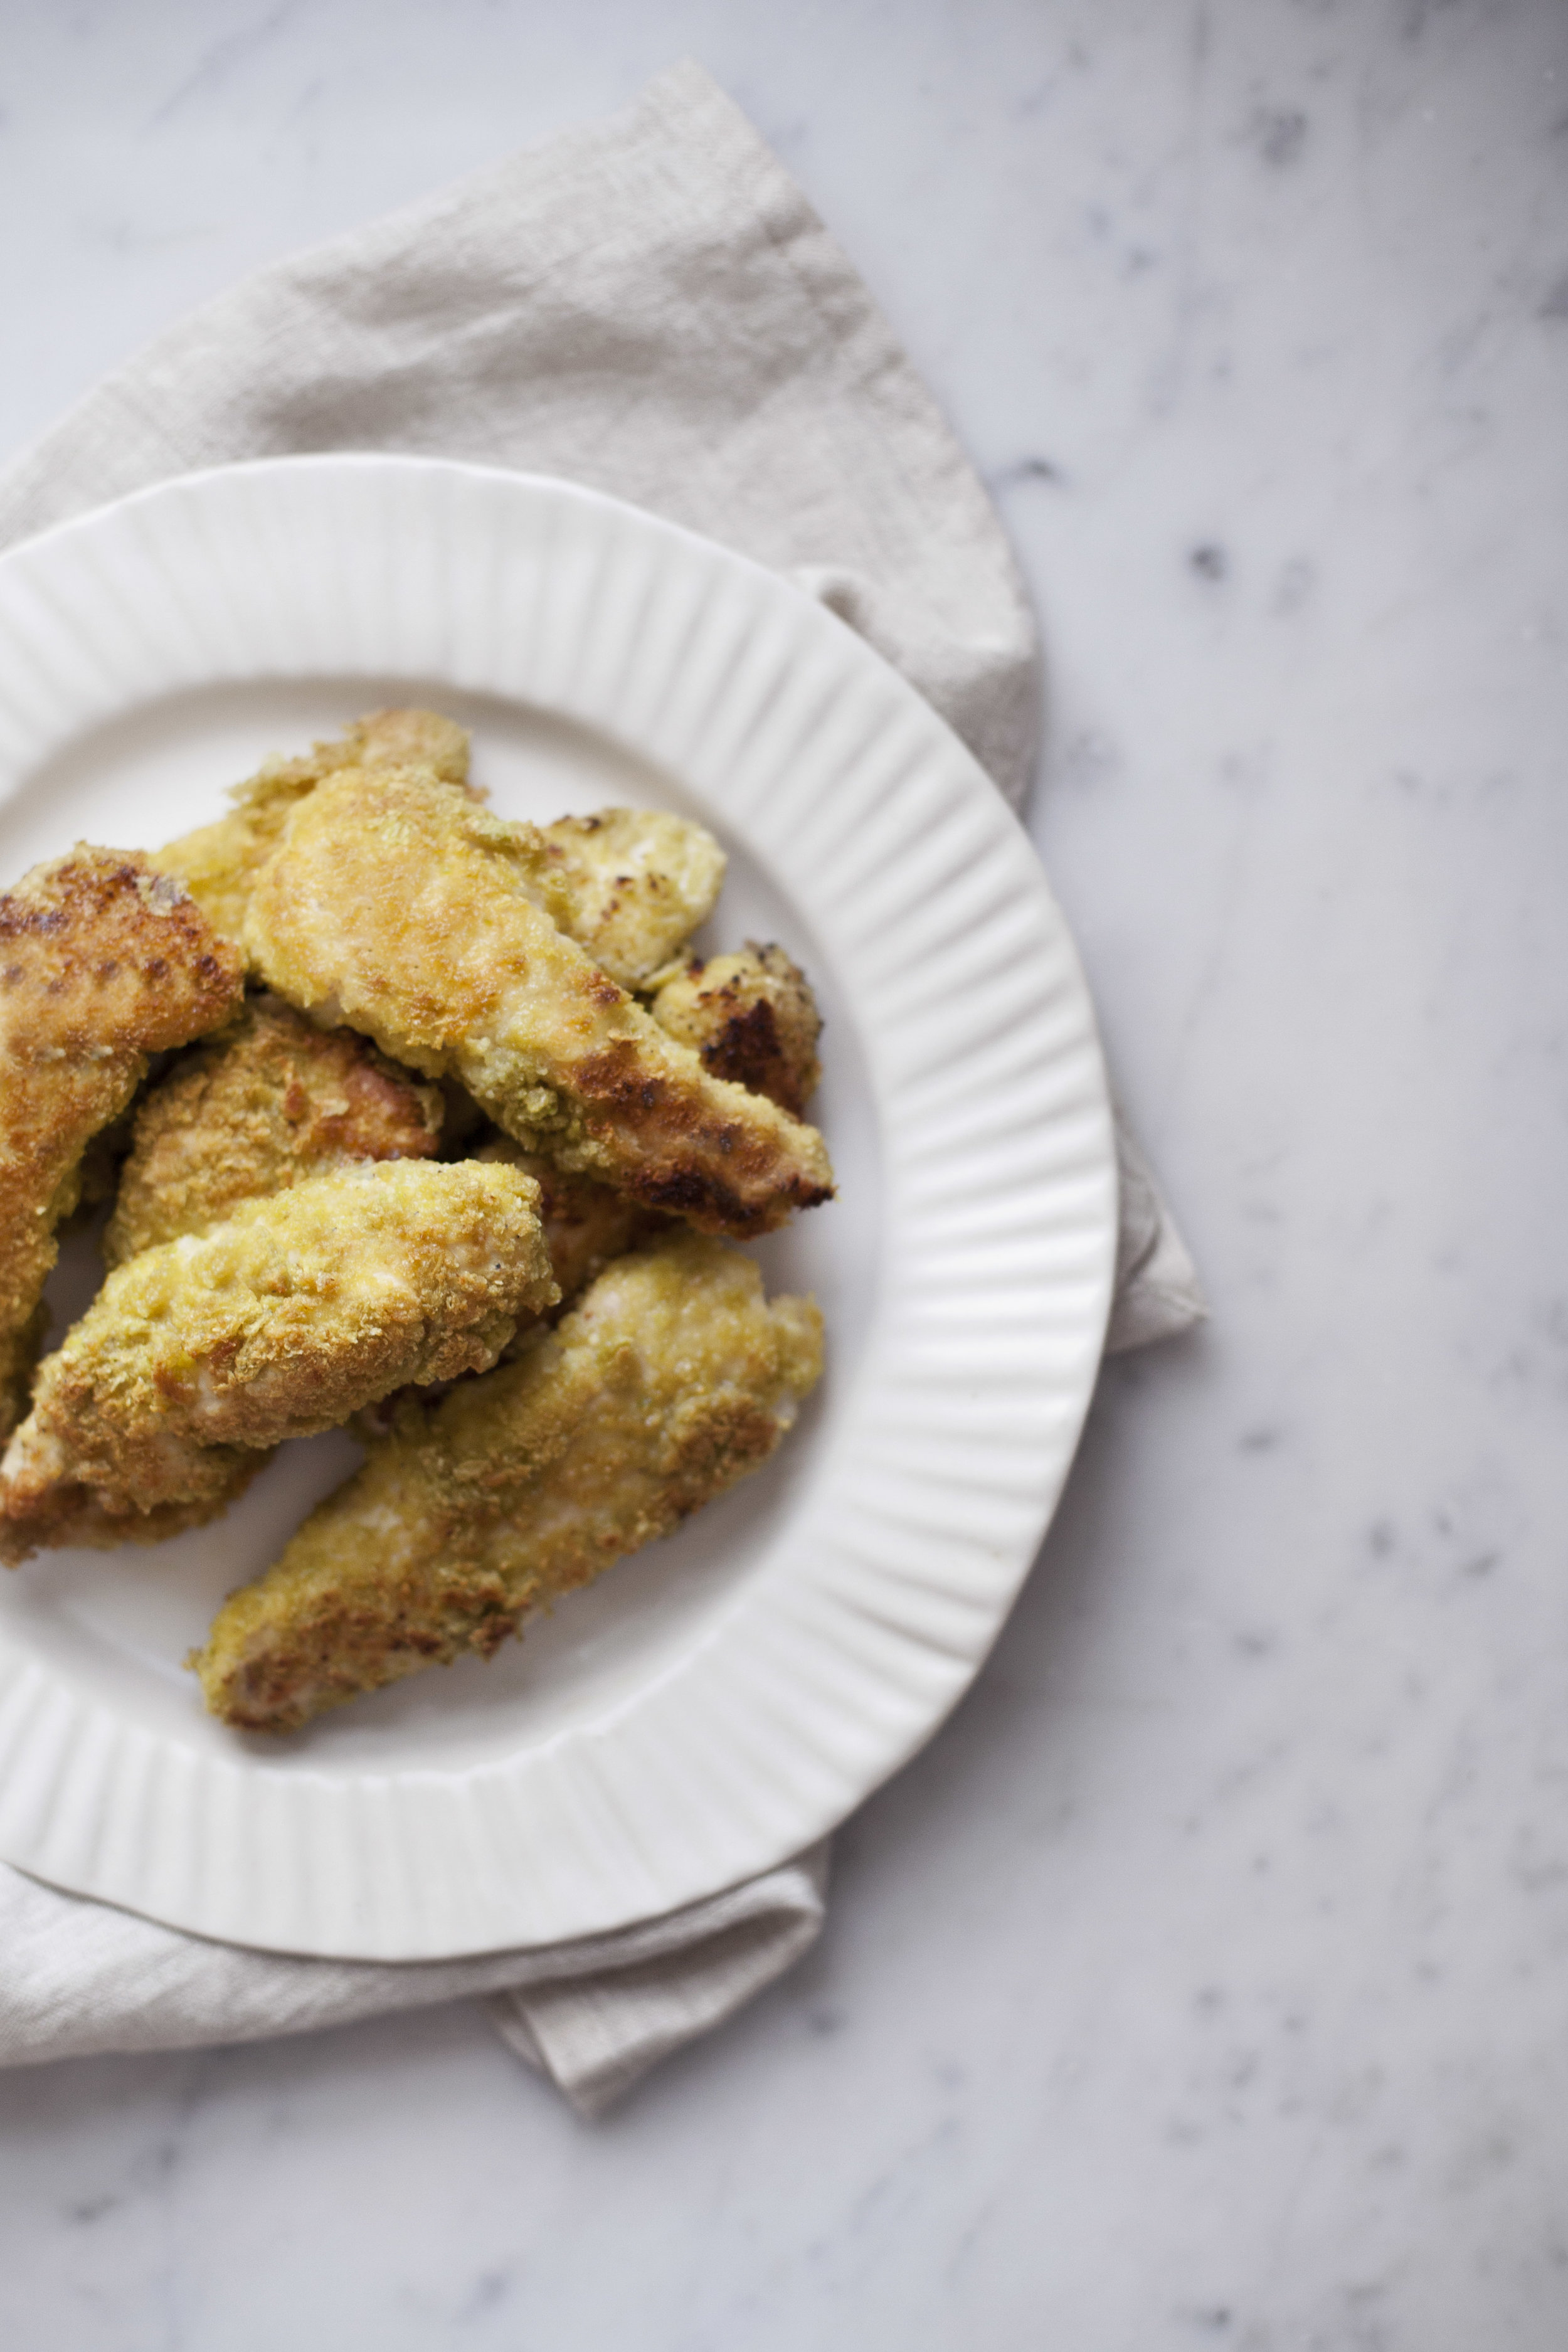
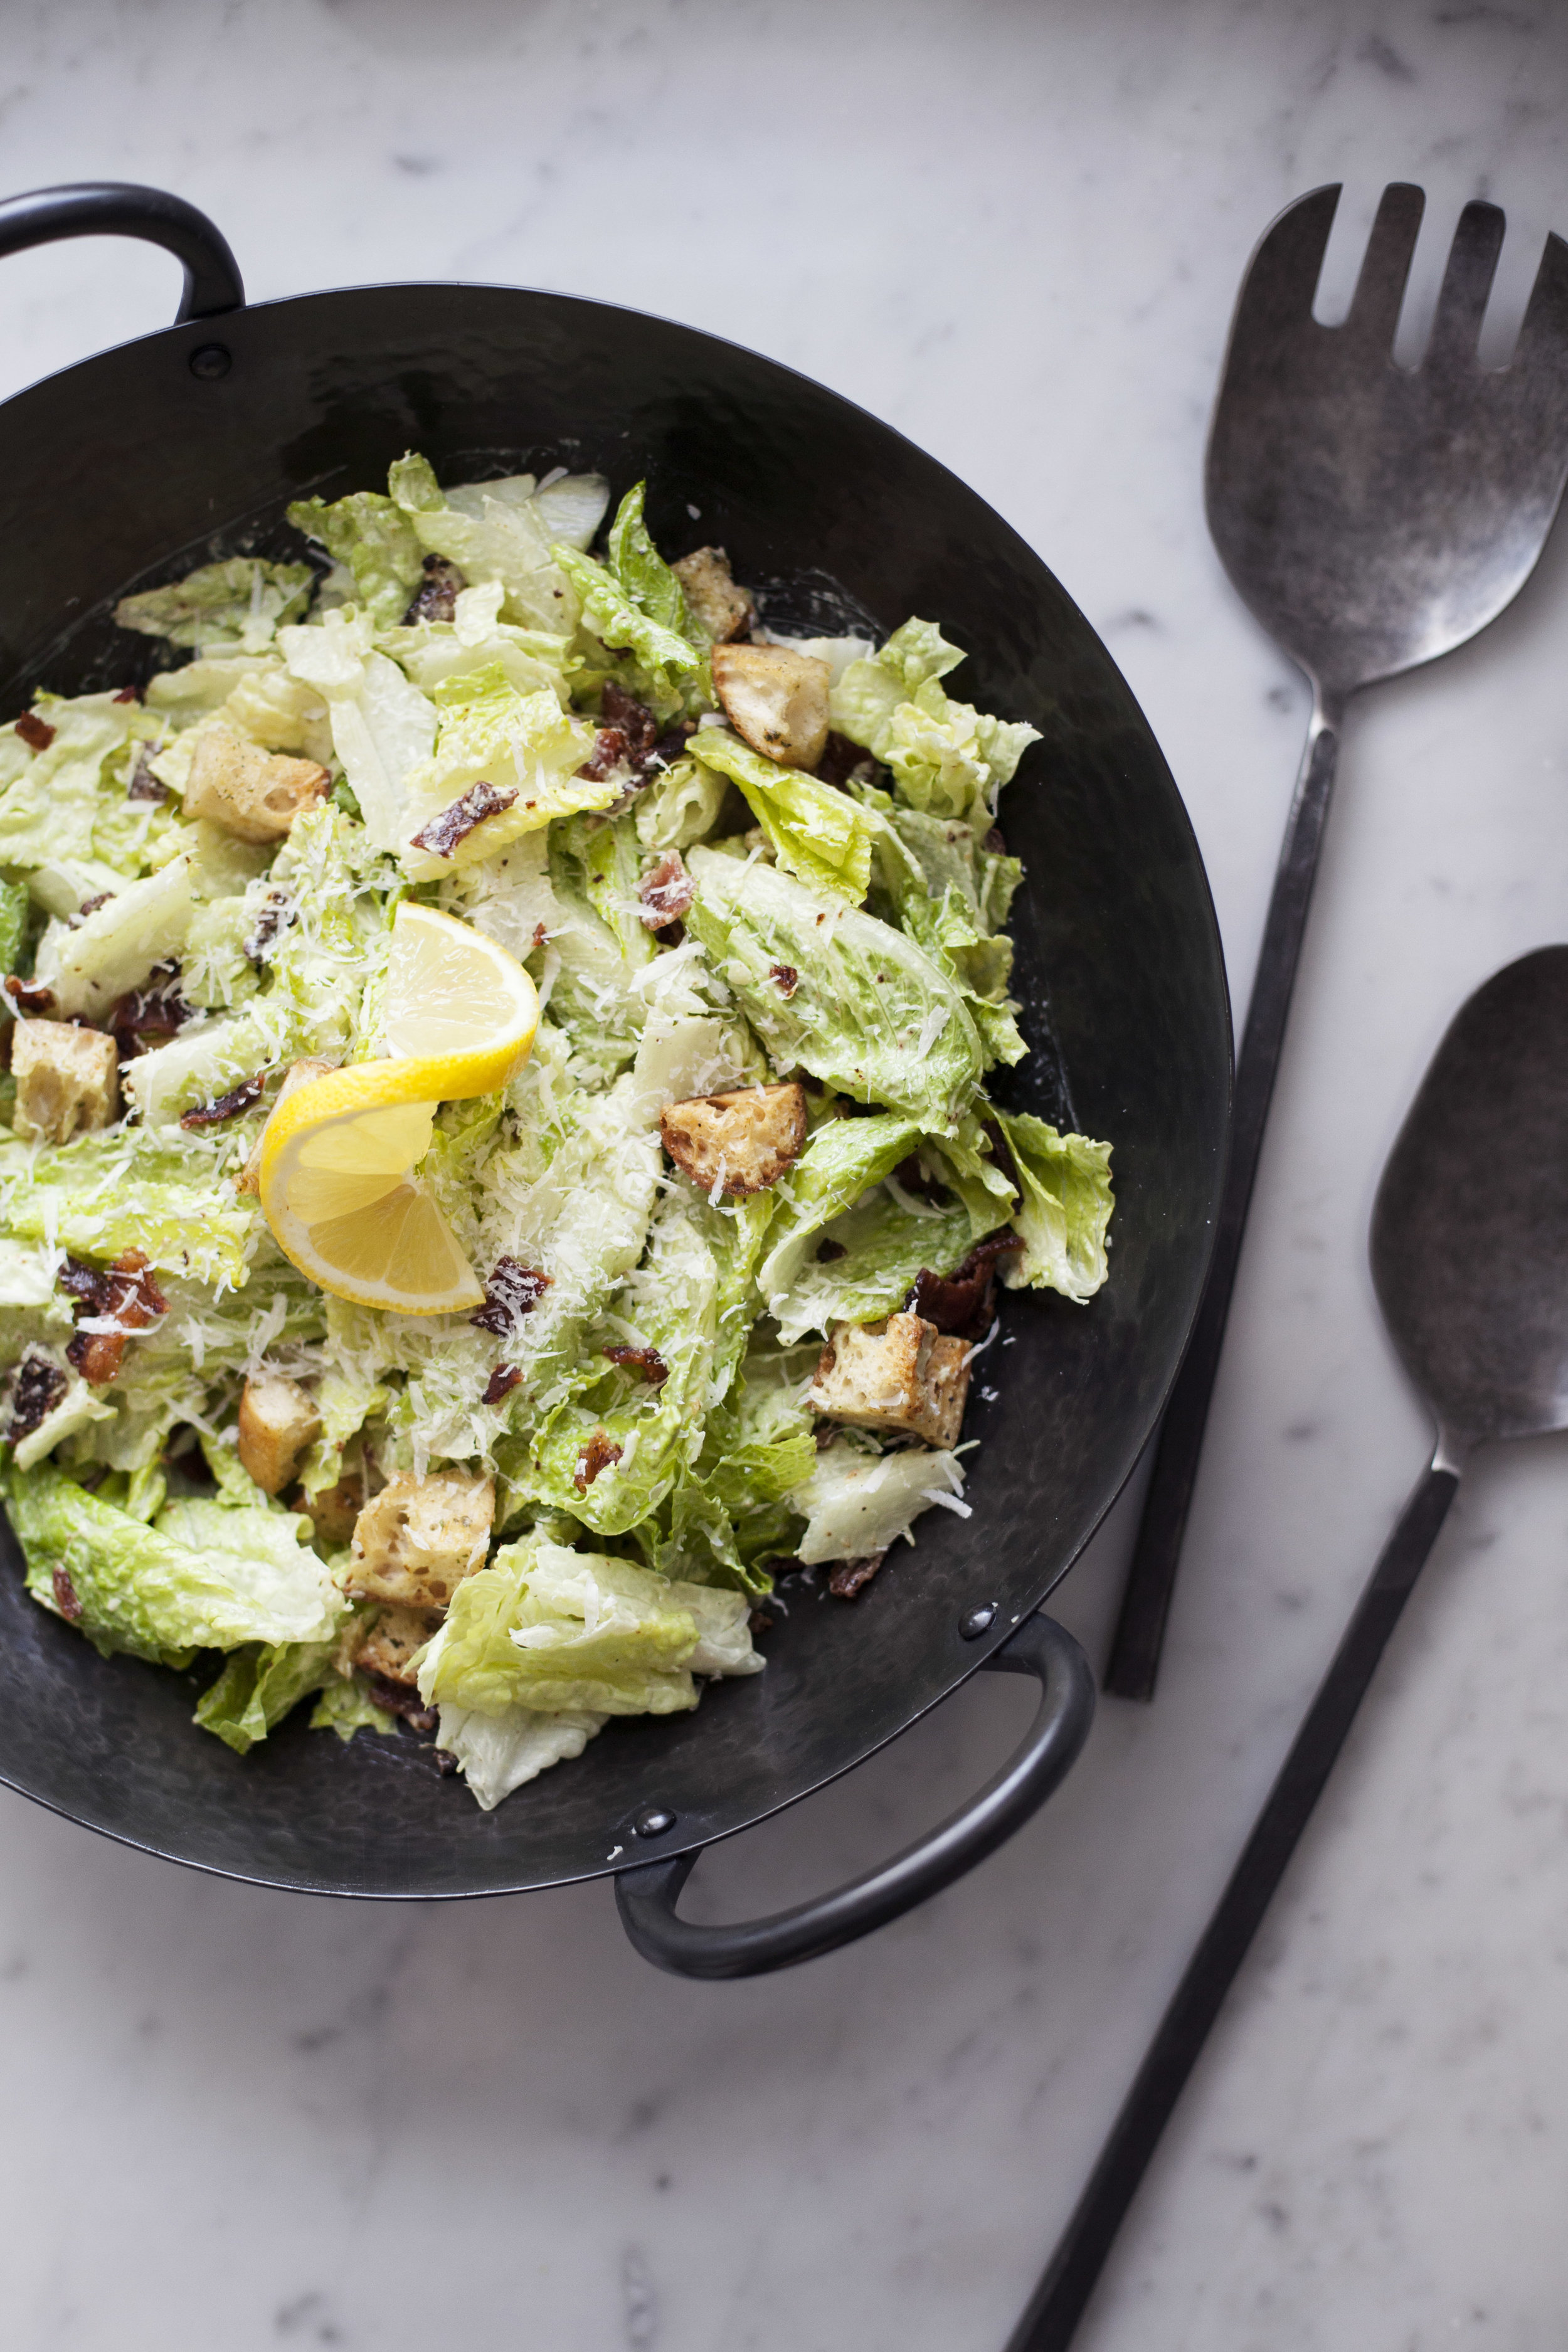
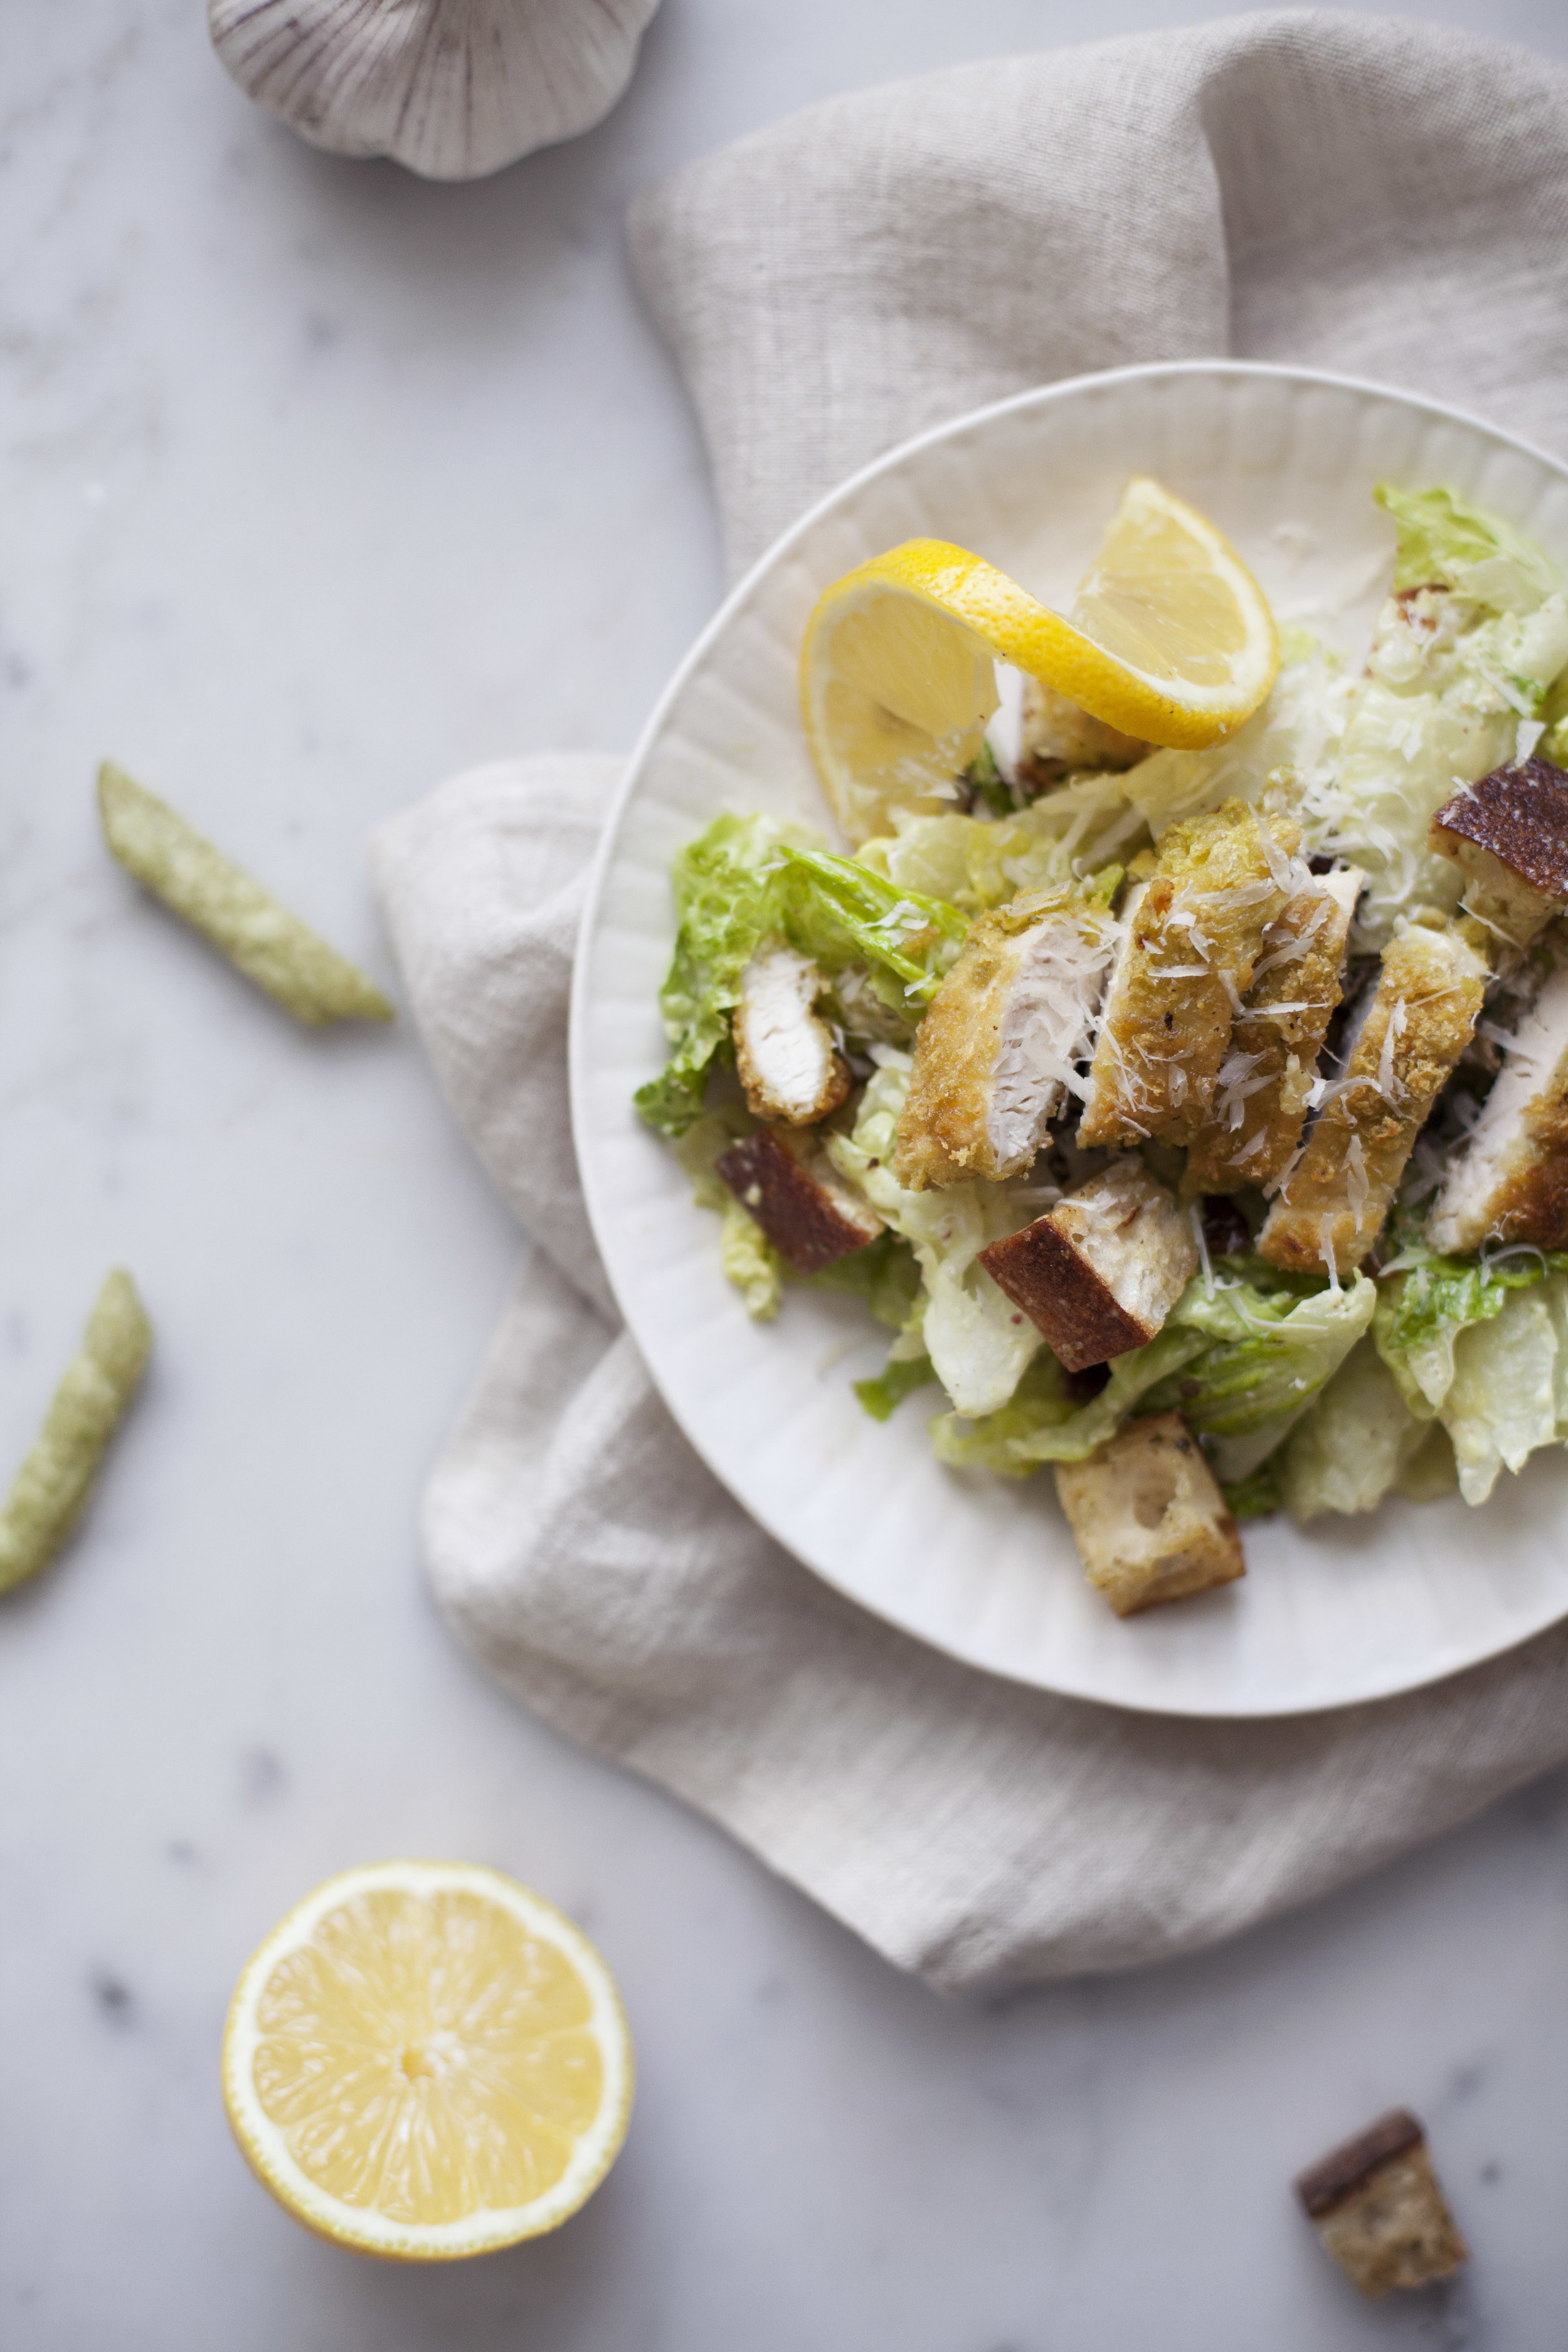
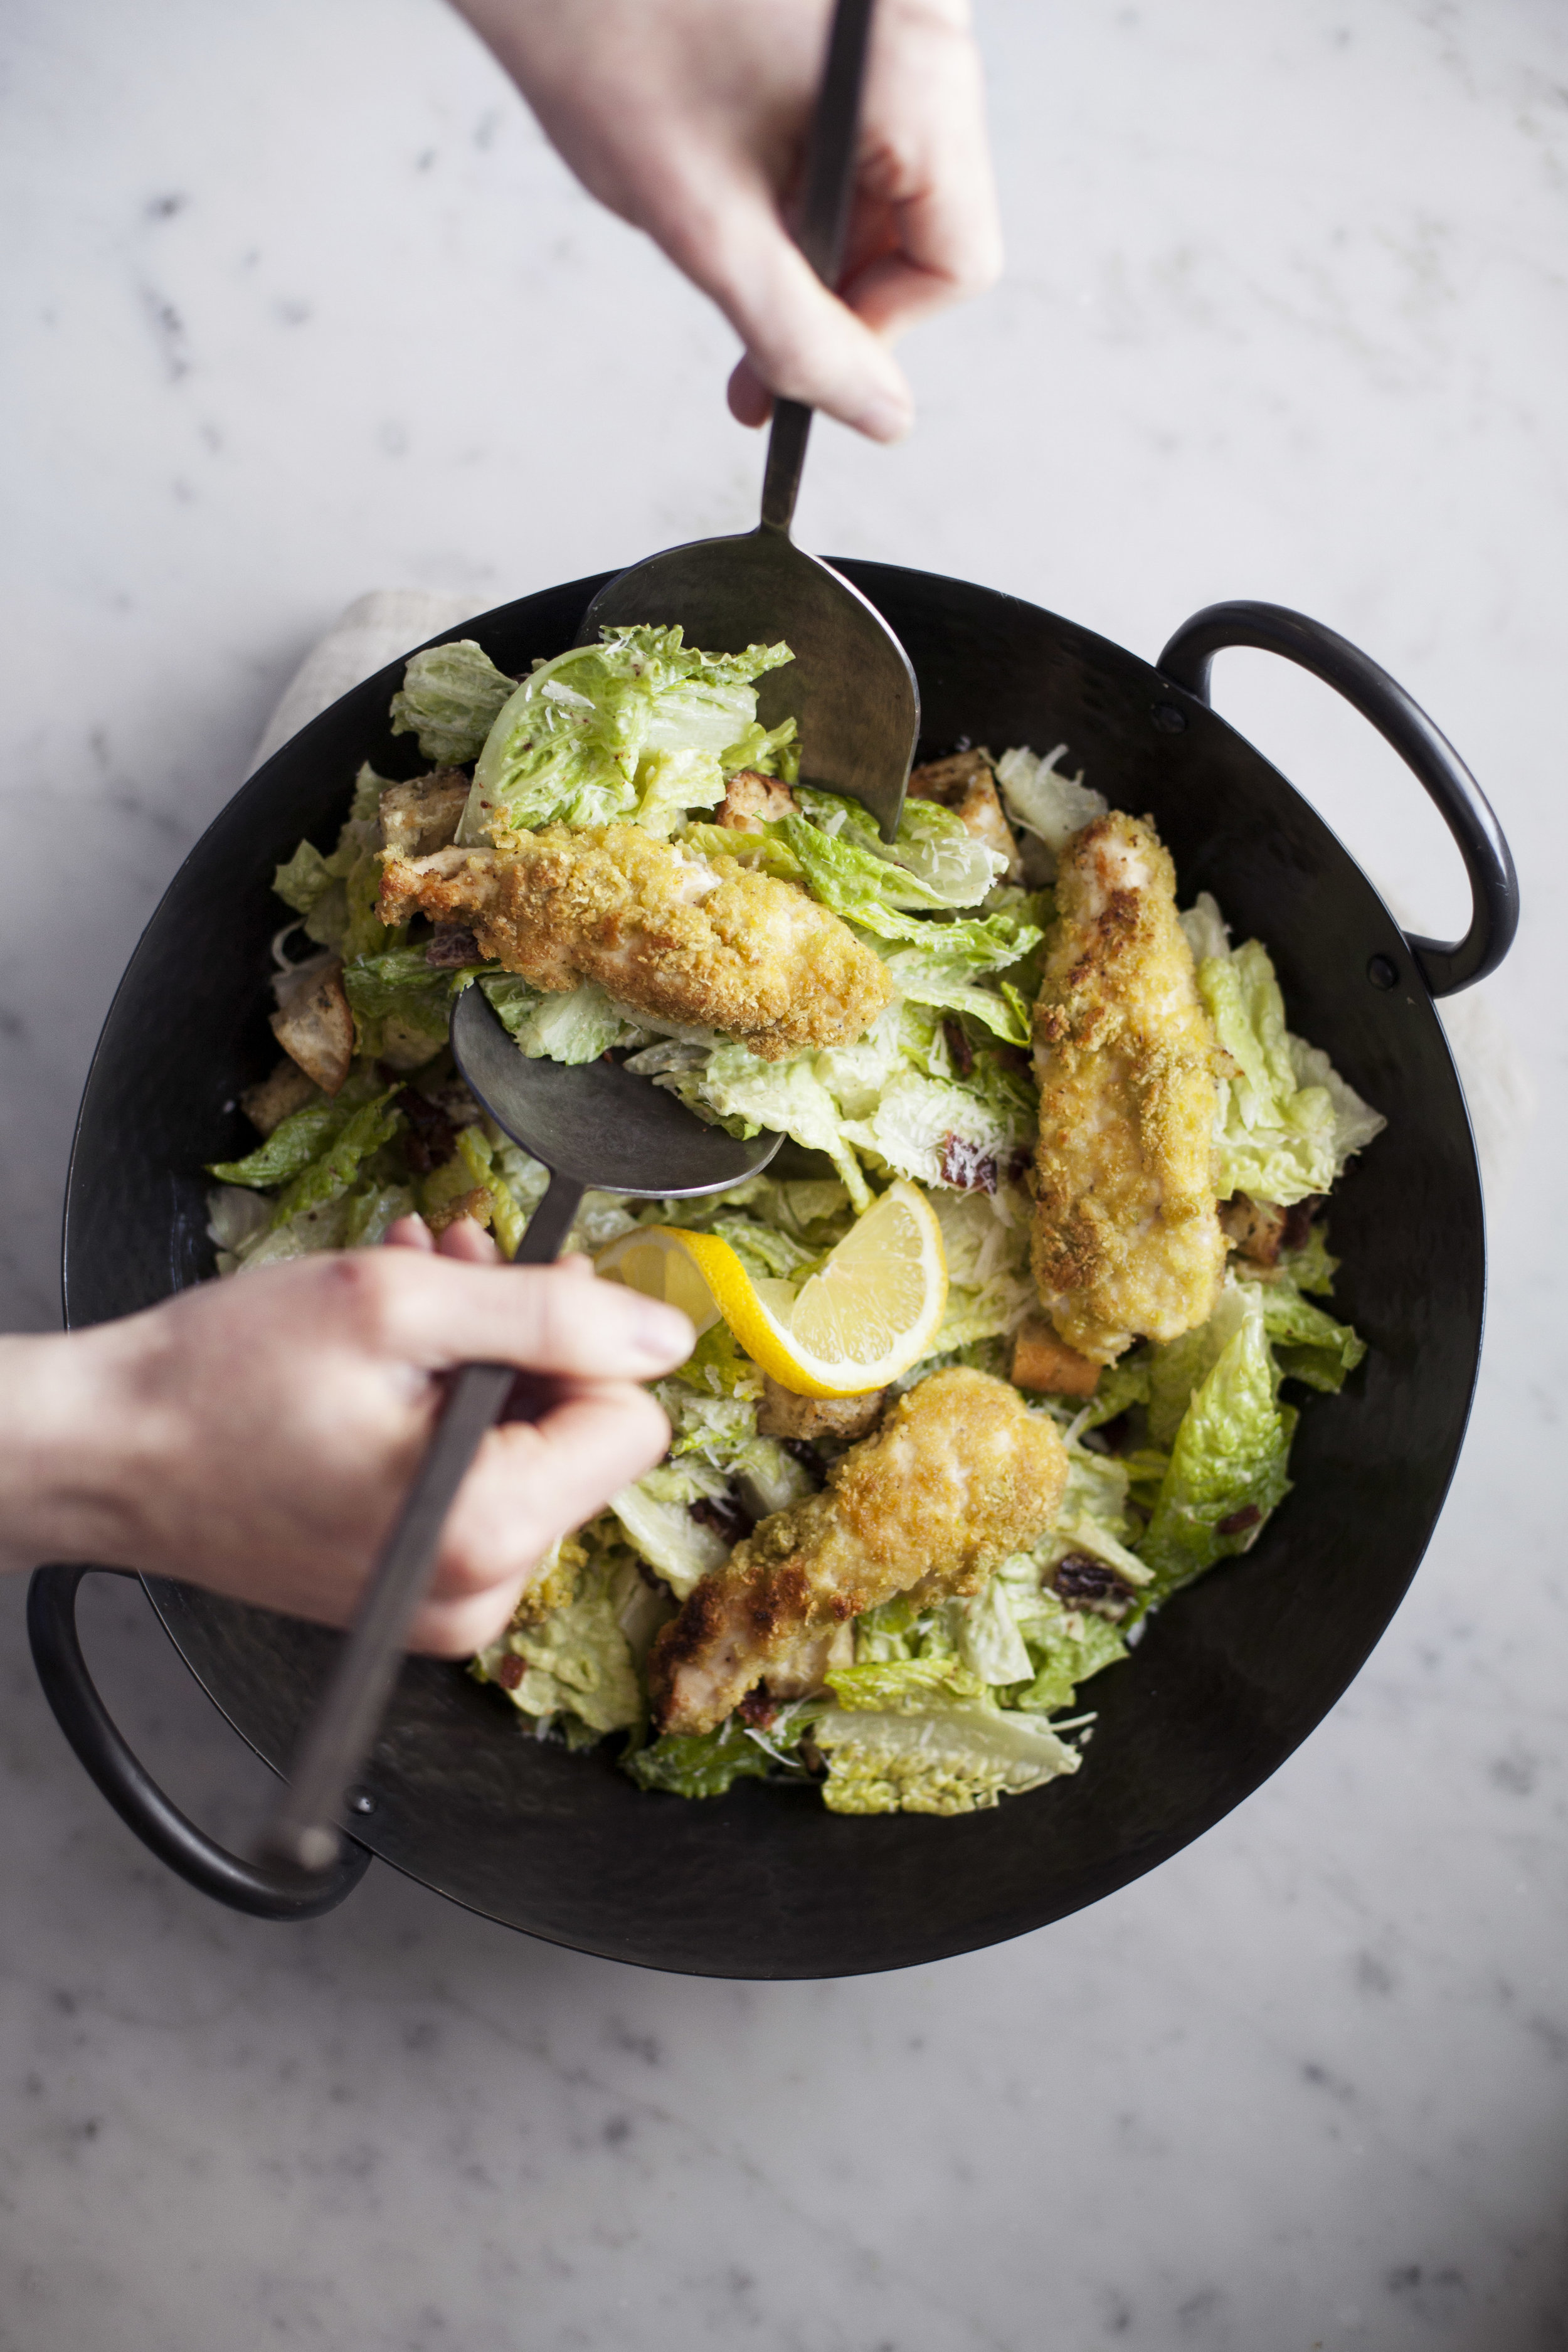
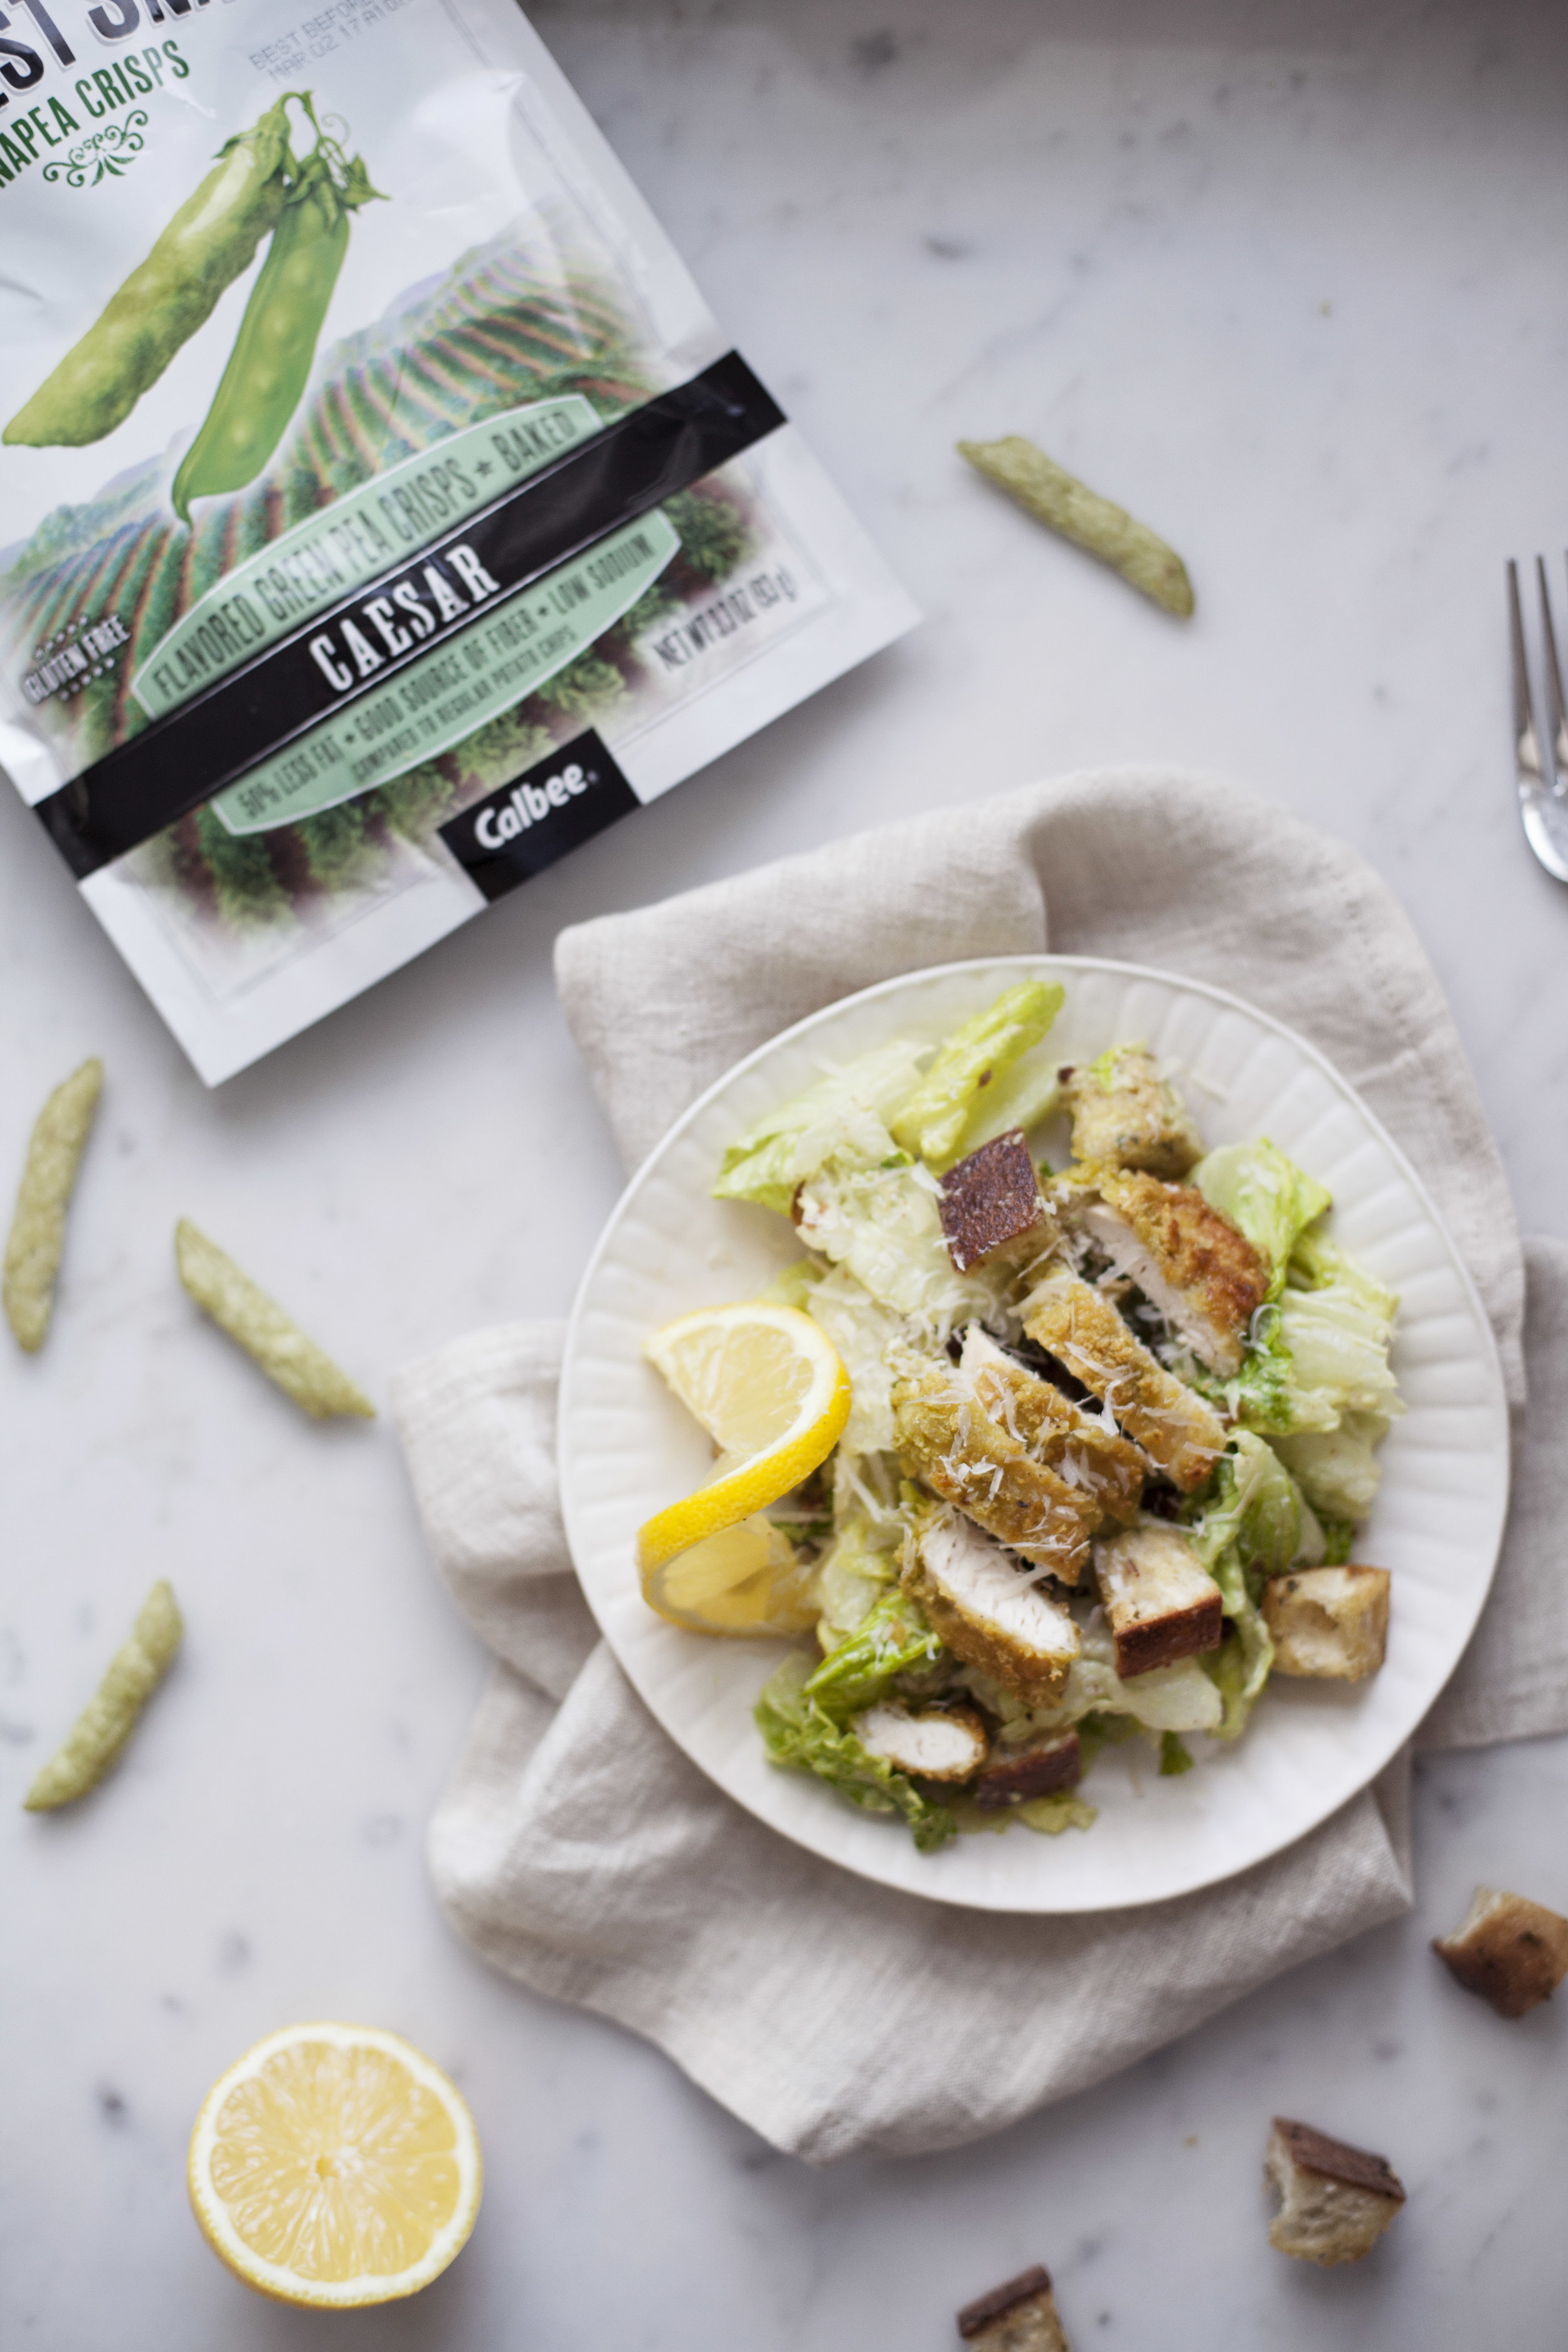
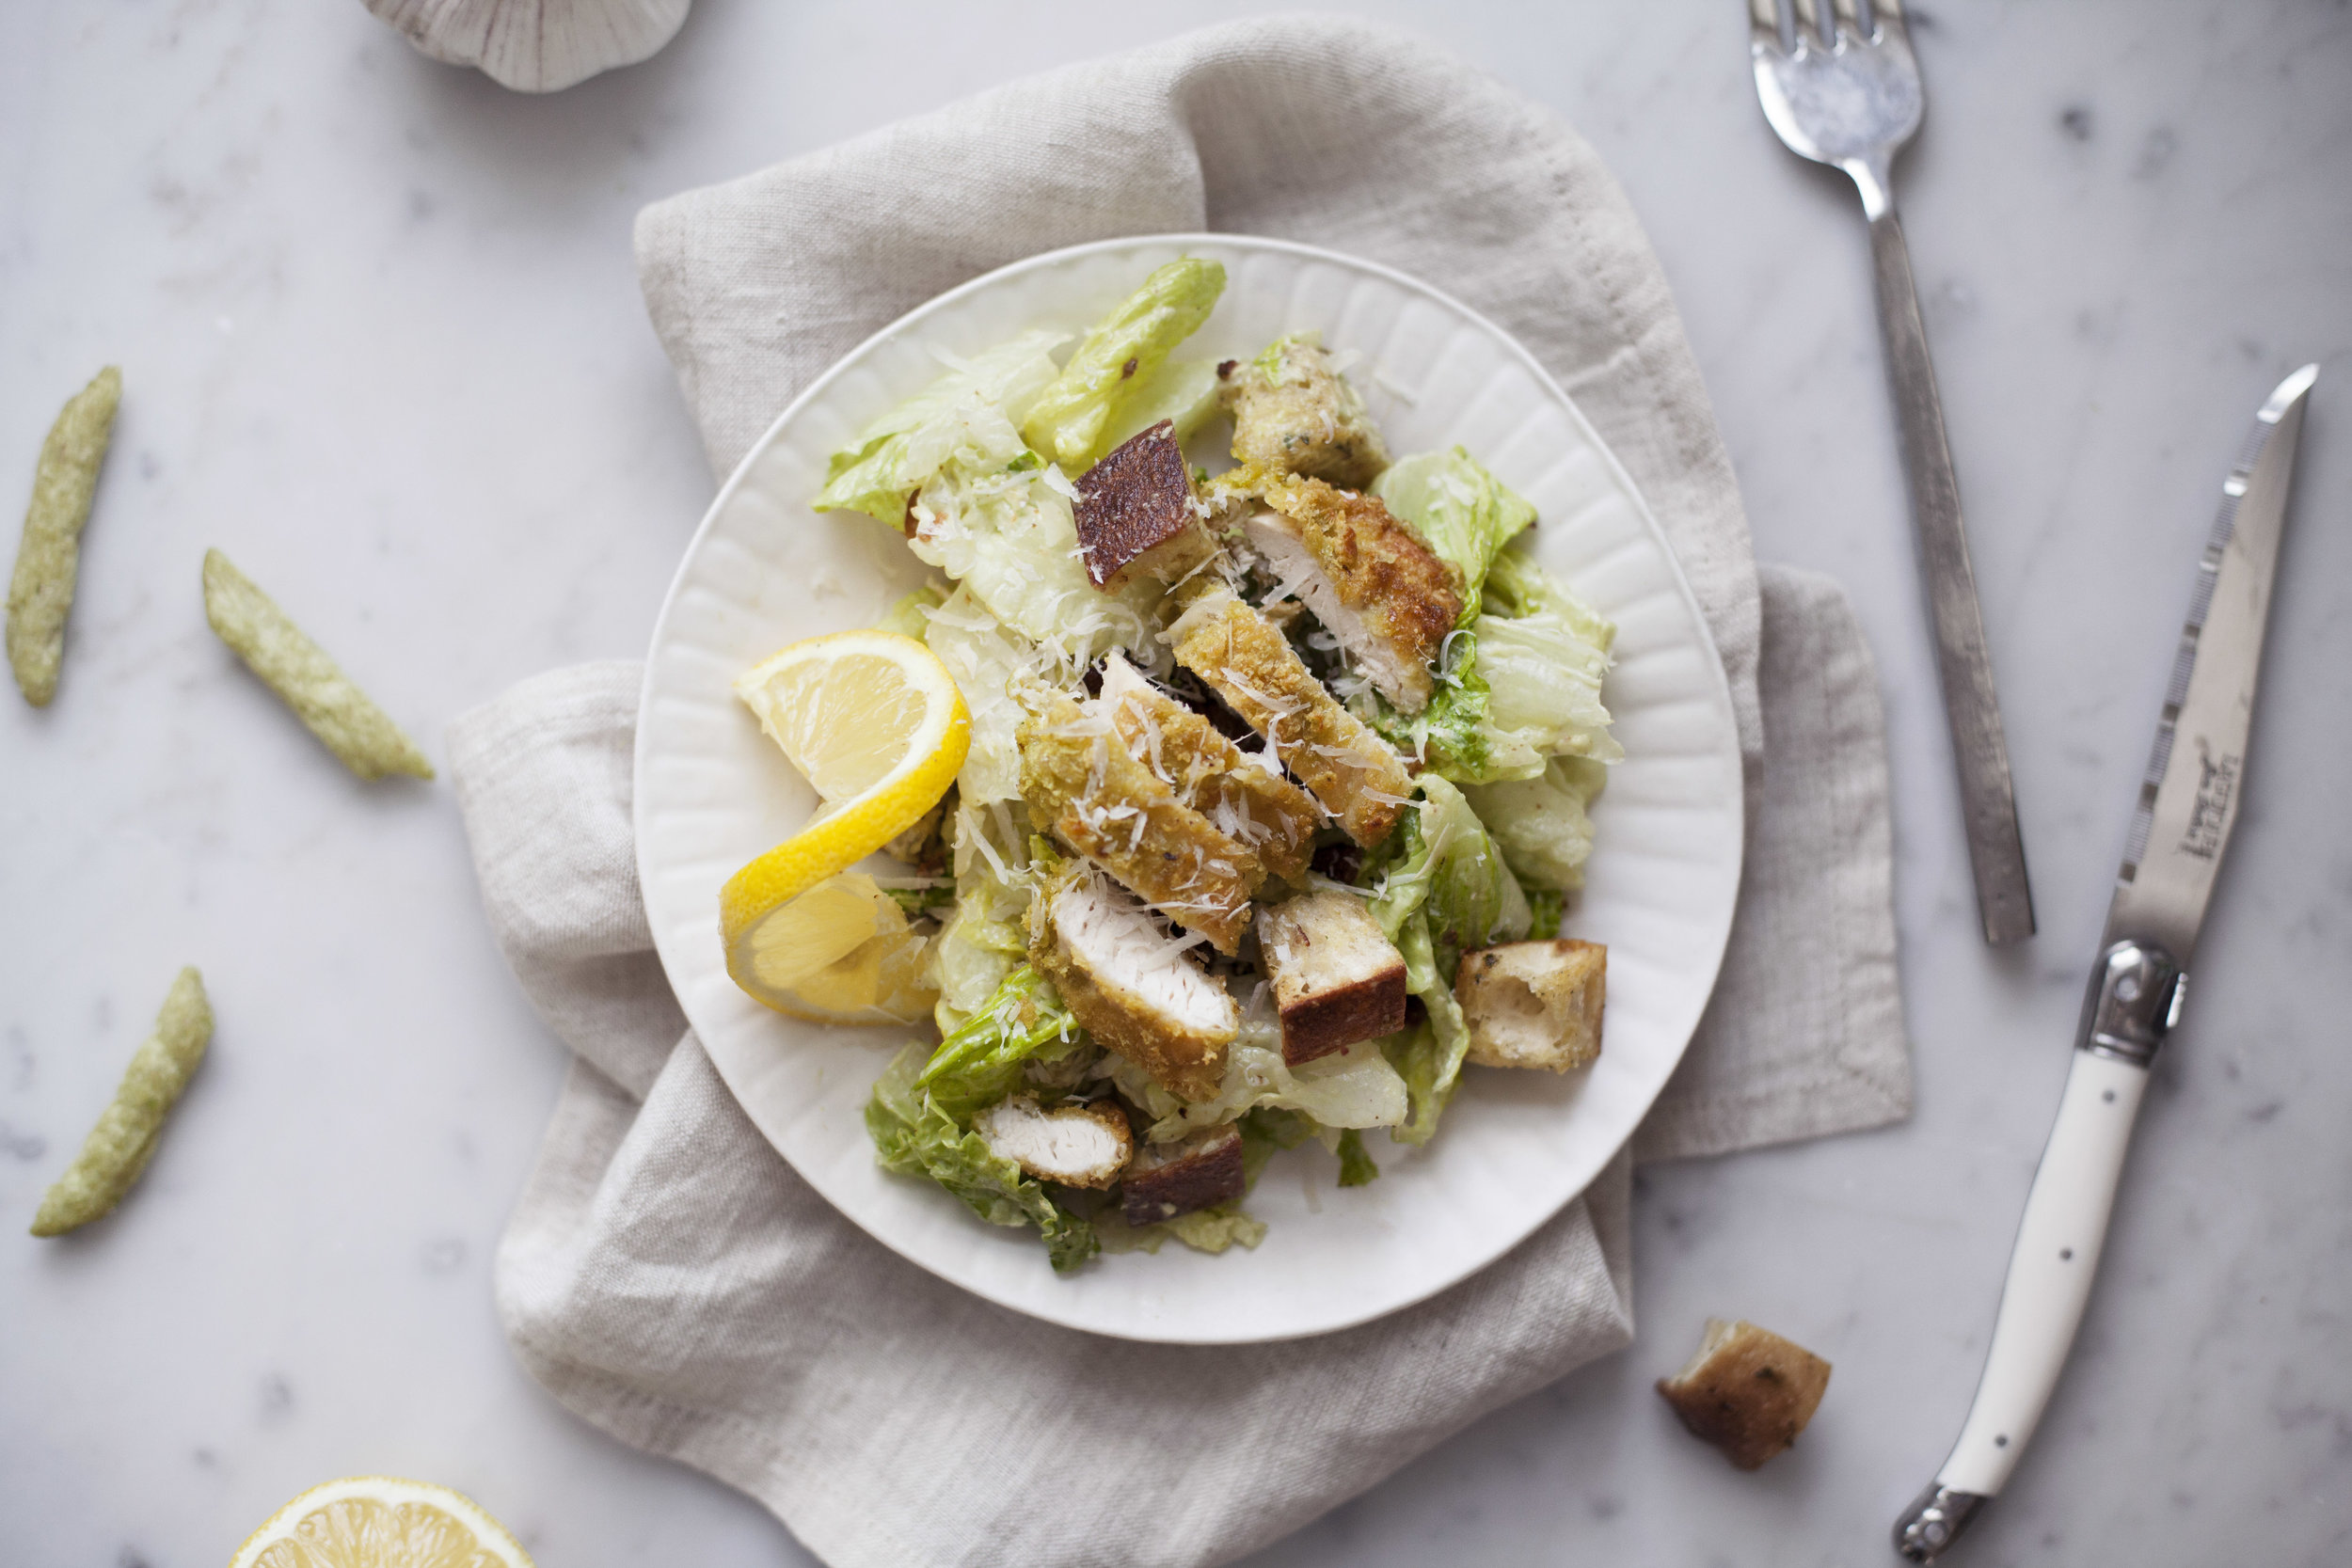
the ripe avocado adds a rich & creamy texture to the dressing, i even used avocado mayonnaise. the homemade garlic bread croutons have so much flavour, i just want to eat a bowl of these on their own (i had to stop myself from finishing them before i even assembled the salad for photos). lastly, the chicken strips breaded in crushed harvest snaps' caesar flavoured snap peas instead of bread crumbs adds that extra level of caesar flavour that all the other caesar salads are missing! plus it offers a healthier & lighter breading. just wait till late spring & early summer, THIS is the salad you'll want to show up to every BBQ with.

NOTE: i do not like anchovies, so i did not include them in the recipe. but feel free to do so if they are your jam!

ingredients

for the caesar salad

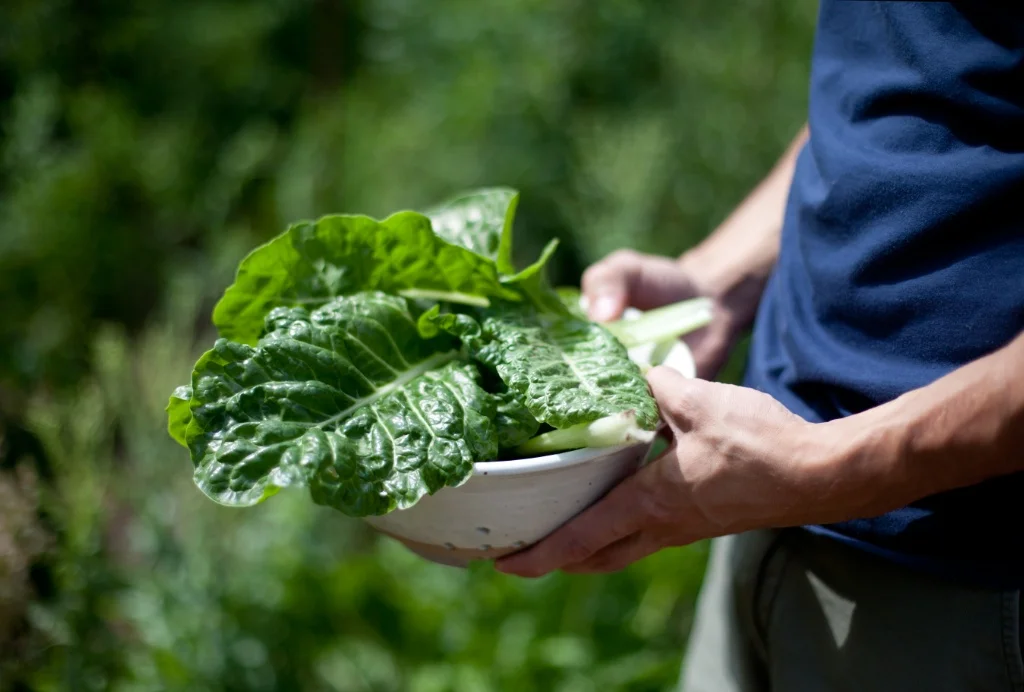
  • 2 hearts of romaine, torn into bite size pieces
  • 1/2 cup avocado caesar dressing (recipe below)
  • 2 cups garlic bread croutons (recipe below)
  • 1 pound crispy bacon, roughly chopped
  • 1/2 cup parmesan, freshly grated
  • 1 lemon, sliced for garnish
  • 6-8 snap pea breaded chicken strips (recipe below)

for the avocado caesar dressing

  • 1 ripe avocado
  • 1 clove of garlic, grated
  • 1/3 cup parmesan cheese, freshly grated
  • 1/2 cup avocado mayonnaise (can substitue regular mayonnaise)
  • 1 teaspoon dijon mustard
  • 1/2 lemon, juiced
  • salt & pepper, to taste

for the garlic bread croutons

  • 1 white baguette, cut into 1 inch cubes
  • 1/4 cup extra virgin olive oil
  • 2 teaspoons dried parsely
  • 2 garlic cloves, grated
  • 1/2 cup parmesan cheese, freshly grated
  • salt & pepper, to taste

for the snap pea breaded chicken strips

  • 2 eggs, whisked
  • 1 cup all purpose flour, sifted
  • 2 cups crushed harvest snaps caesar snap peas
  • salt & pepper
  • 8 fresh chicken strips (or two chicken breast cut into 8 strips)
  • vegetable oil, for pan frying

directions

for the caesar salad

  • in a large salad bowl add the romaine, garlic bread croutons, crispy bacon & desired amount of dressing. toss until well coated.
  • finish with freshly grated parmesan.
  • top with sliced lemon & breaded chicken strips.

for the avocado caesar dressing

  • in a large bowl using an immersion blender puree together the avocado, garlic, parmesan cheese, mayonnaise, dijon, lemon juice, salt & pepper until smooth.
  • set a side until you are ready to assemble the salad.
  • dressing will last in the fridge up to one week covered.

for the garlic bread croutons

  • in a large mixing bowl add the cubed bread followed by the olive oil, parsely, garlic, cheese, salt & pepper.
  • toss well to ensure each piece is well coated.
  • bake at 400 degrees for 10-15 minutes, until golden brown & crunchy!
  • set a side until you are ready to assemble the salad.

for the snap pea breaded chicken strips

  • in three large bowls add the eggs in one, the flour in one & the crushed harvest snaps in the other. season each with a touch of salt & pepper.
  • gently toss the chicken in the flour, followed by the egg, followed by the harvest snaps.
  • repeat this step until each chicken strip is coated.
  • in a pan over medium high heat add the oil. once hot fry each chicken strip on each side & place on a baking sheet.
  • finish off in the oven until the chicken is fully cooked, about ten minutes.
  • assemble salad while the chicken bakes!

this post was created in partnership with harvest snaps! thank you for supporting the brands that keep me doing what i love. xo