DIY CAMERA STRAP


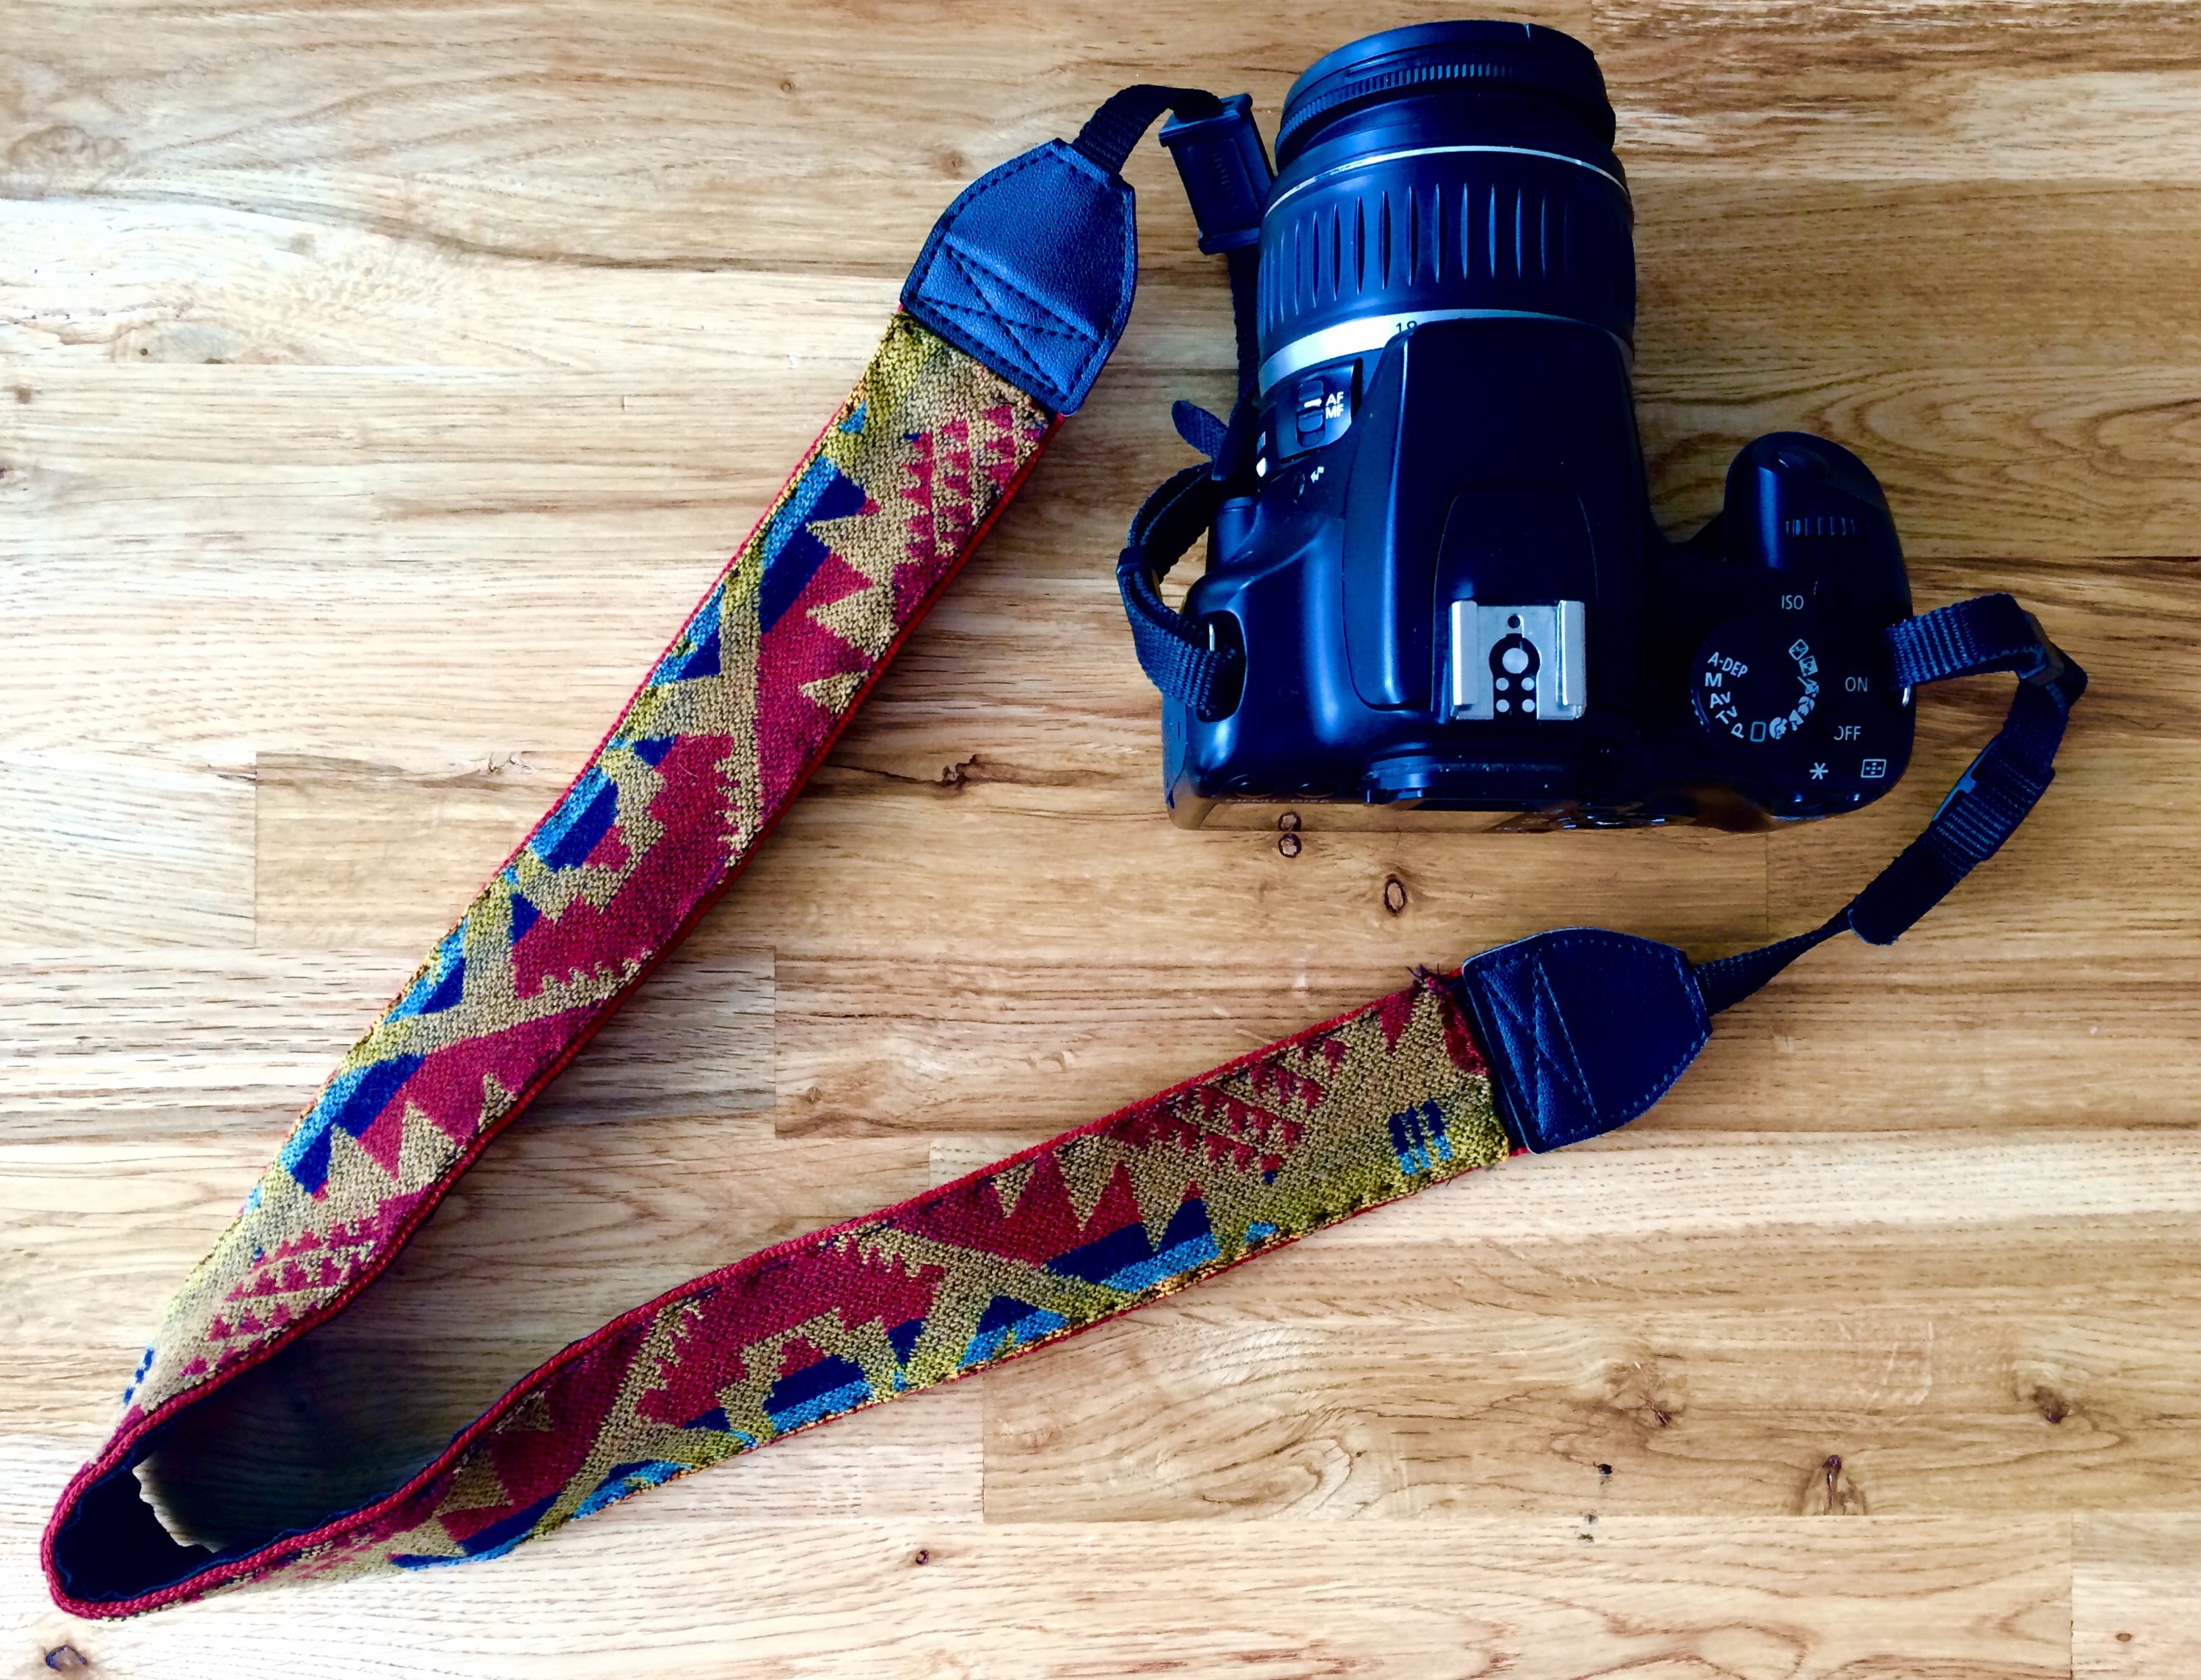
if you are a food blogger, you probably take a lot of photos! which means, you probably own a camera of some sort. this morning i decided i wanted to turn my plain black camera strap into something fun! something more me. so i searched through some pendleton fabric scraps i had lying around from my etsy shop & found the perfect little piece. this piece would have been thrown out if i had not come up with this idea! what a waste that would have been;) i will teach you how to turn your boring old black camera strap into something as funky as your personality and style! this may not be a food post, but DIY anything are fun. you don't need a machine, or anything fancy! just a needle, thread, and your two hands. here we go.

ingredients;) errr... you will need:
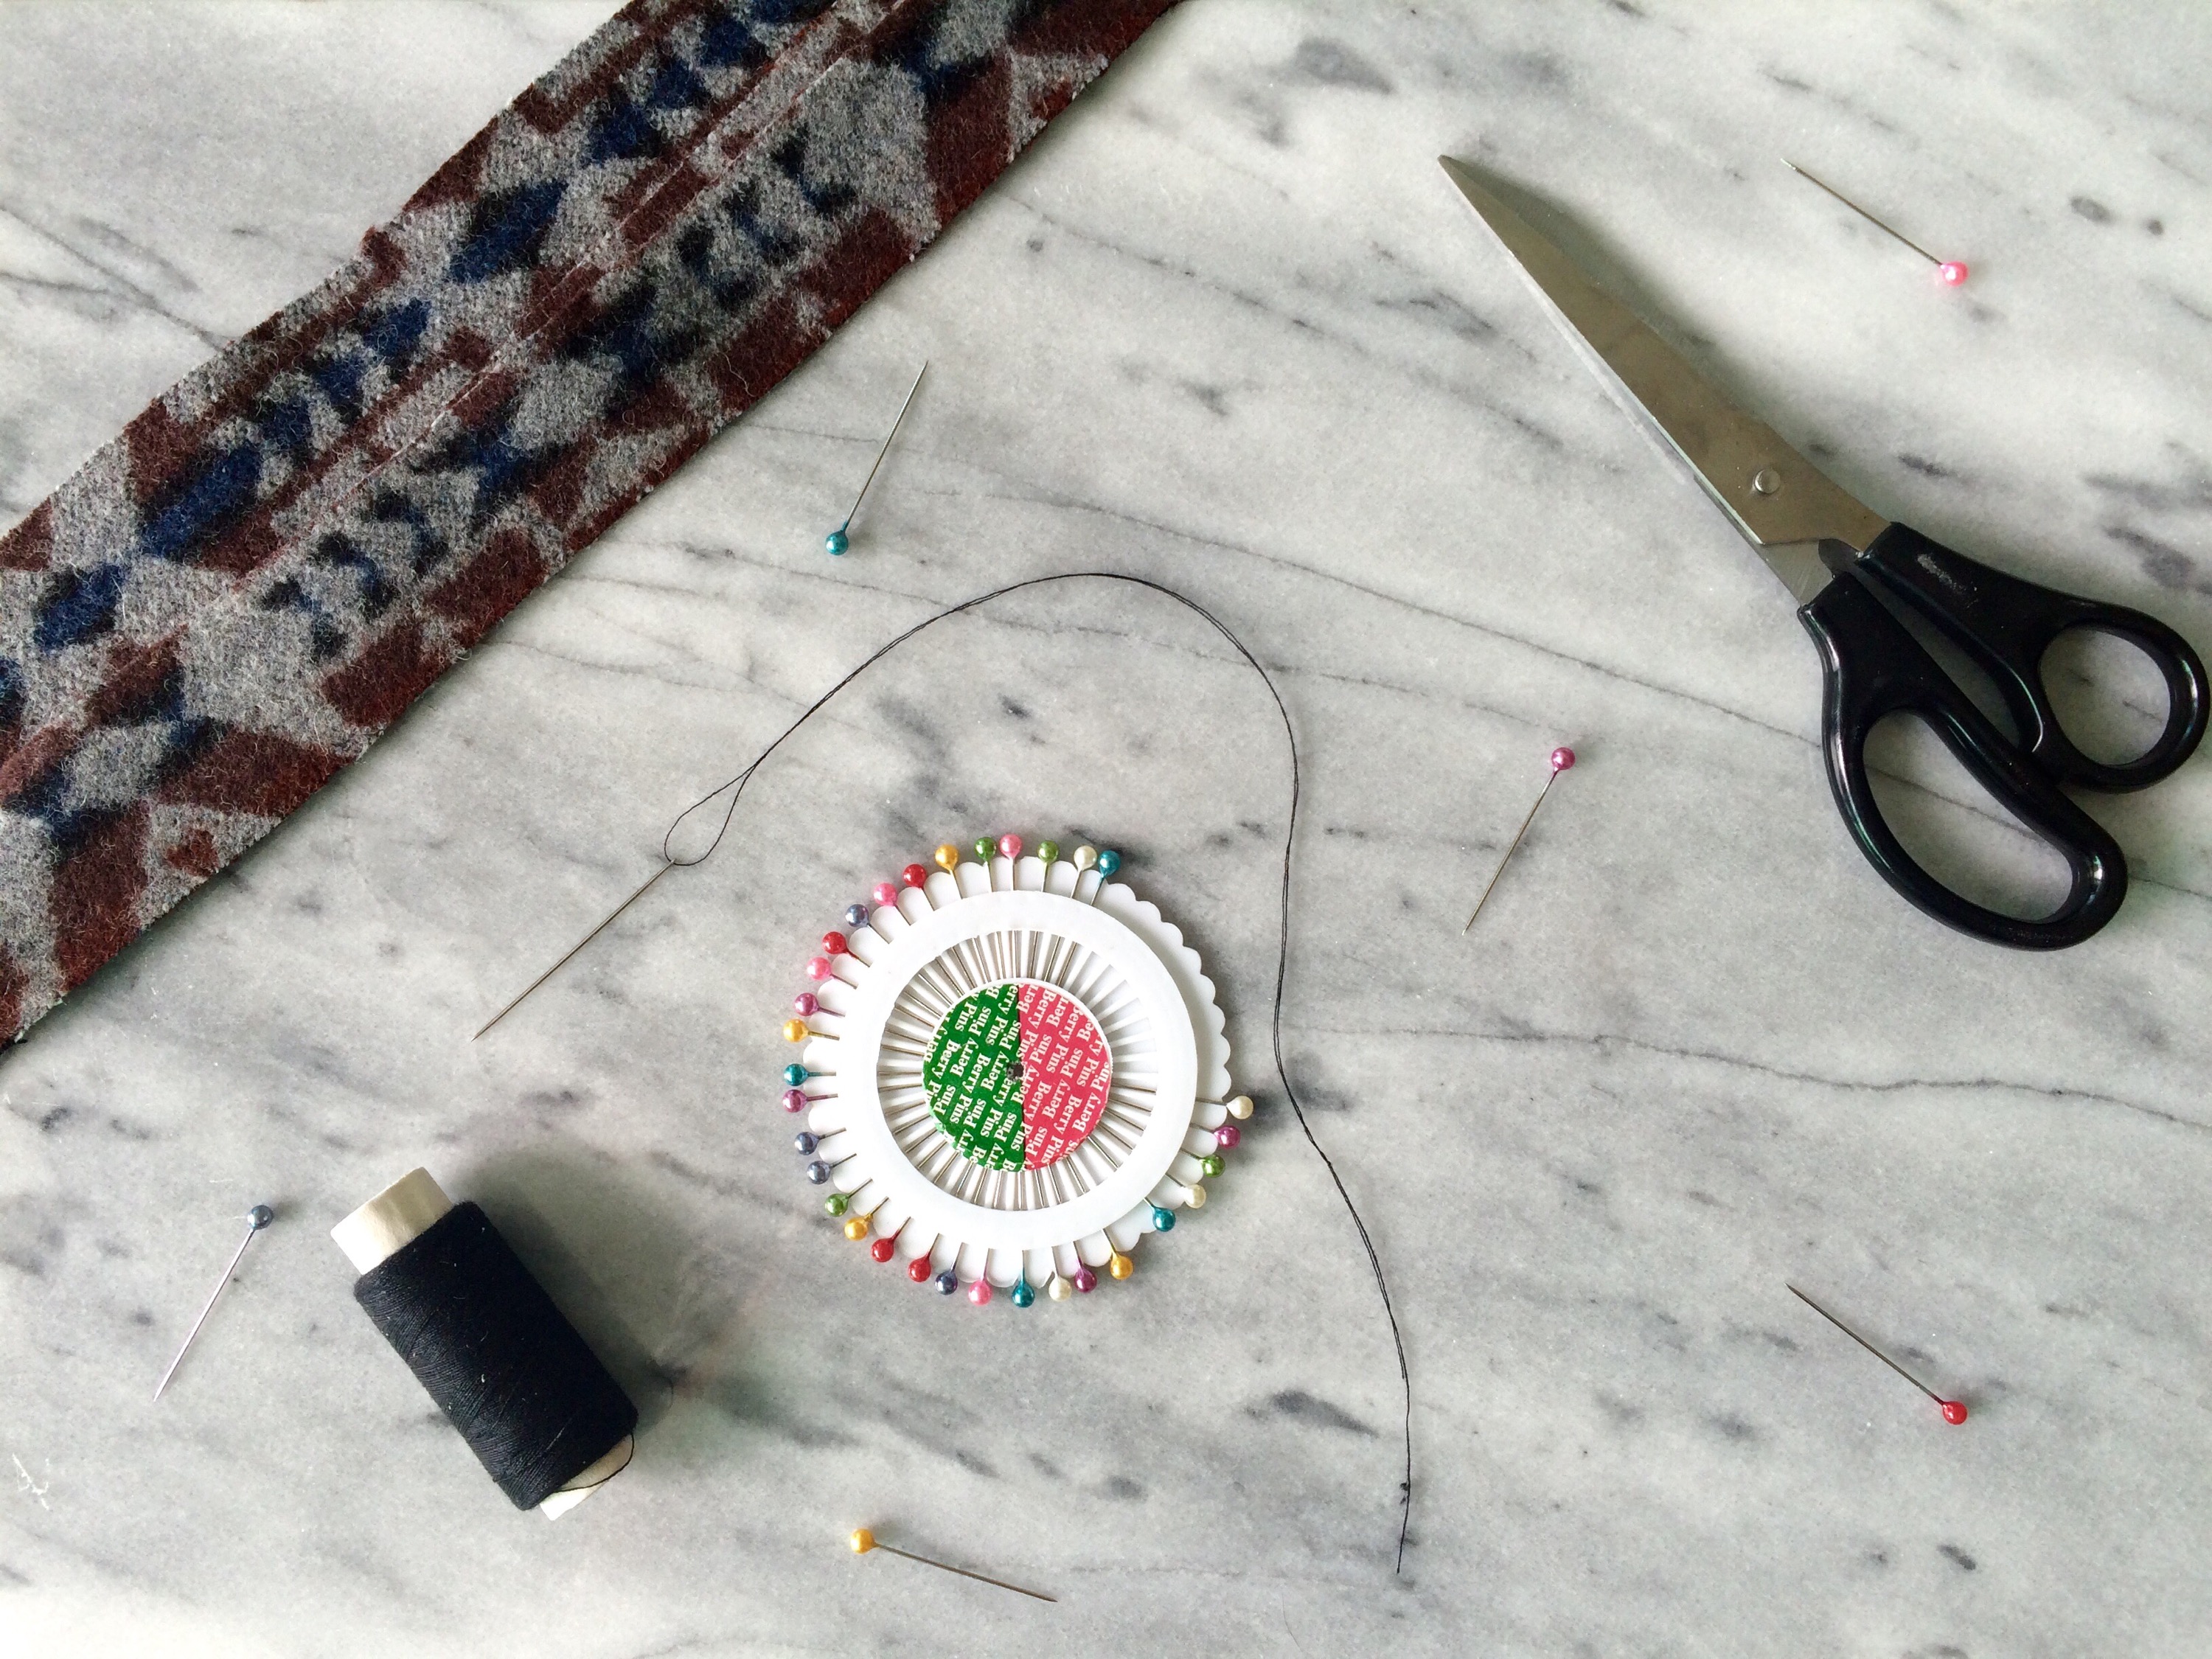
  • sewing needle
  • thread to match fabric of choice
  • scissors
  • pins
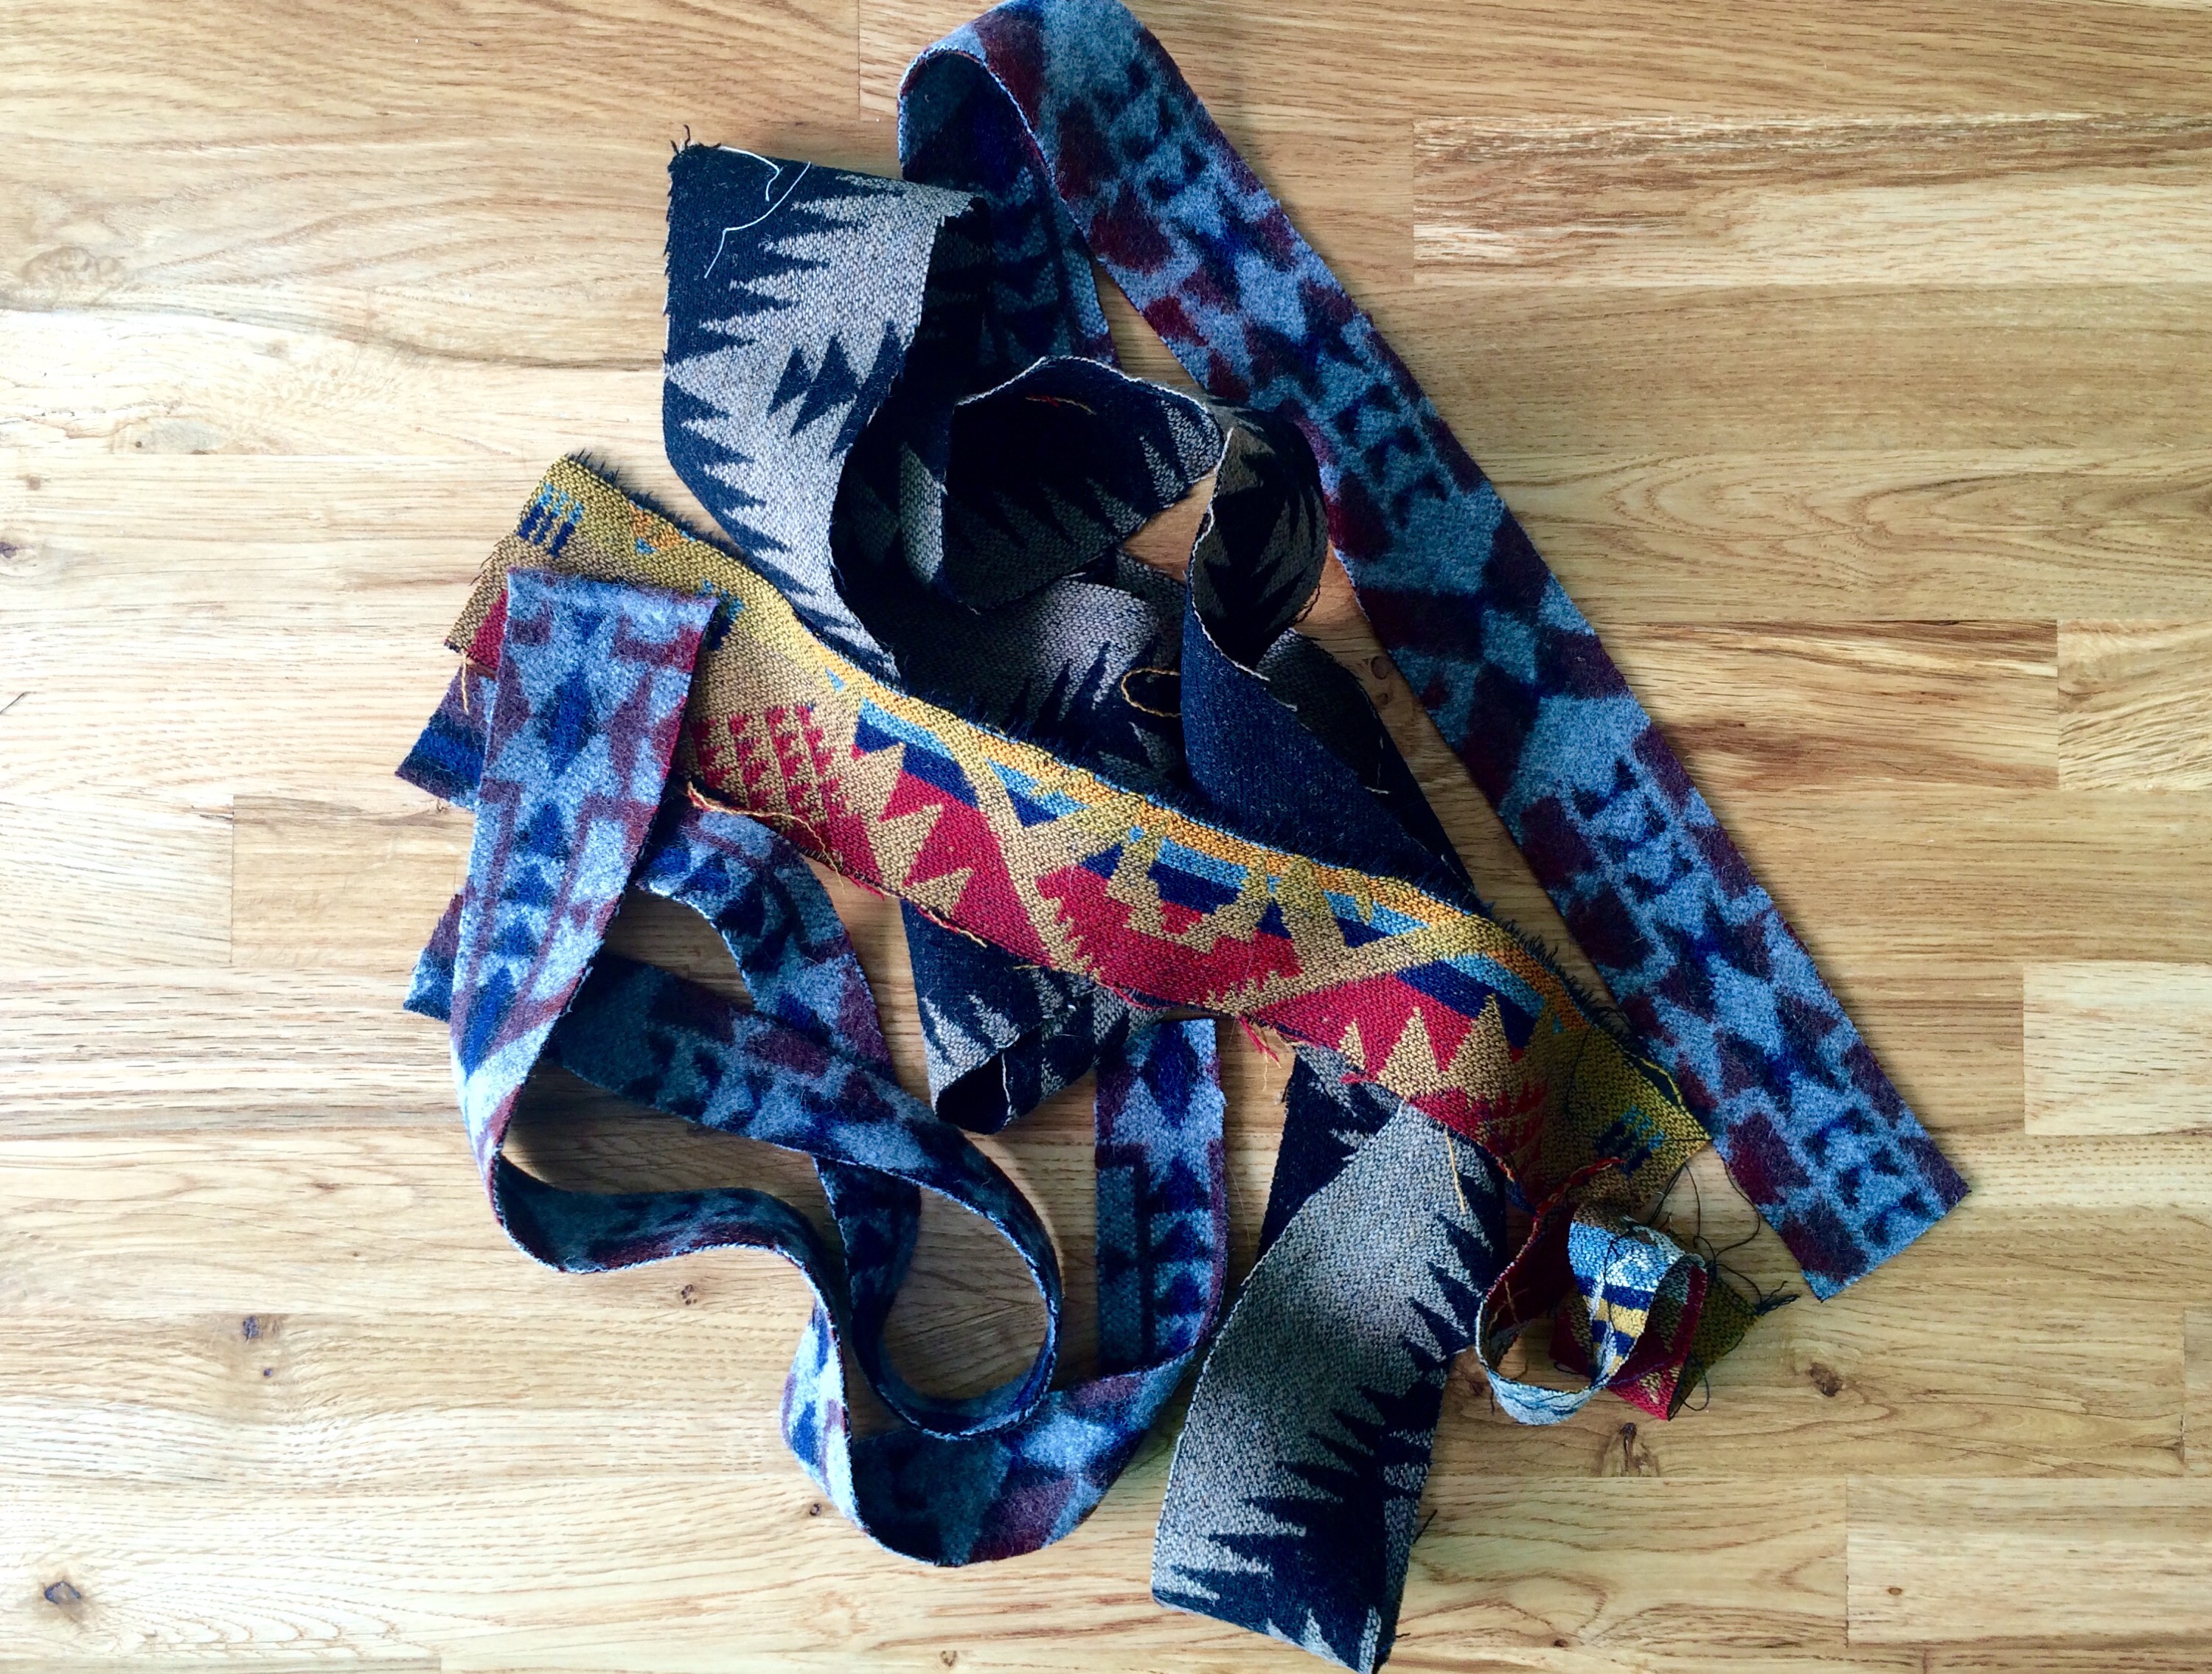
  • scrap of your favourite fabric [i used pendleton's mini journey west]
  • existing camera strap [i used the one my canon rebel came with]

directions:

  1. cut fabric to match the length and width of the camera strap, leaving an additional 1/2 inch on each end and side.
  2. begin to pin fabric to existing camera strap carefully folding the 1/2 inch sides under, but DO NOT pin it to the back side of the strap, just tuck it under & into the top.
  3. once the fabric is pinned straight and neatly, use a needle and thread and begin to top stitch the fabric down to the ends and sides of the camera strap (NOTE: i did not top stitch all the way through to the textured back side of the strap as i didn't want the seams to look messy, i only stitched through the first layer of the existing camera strap fabric.
  4. continue in until all sides are sewn down neatly. take the time & be patient as it is tedious work, but once finished you too will have a camera strap that looks $50 worth a million bucks:)

DOUBLE CHOCOLATE BROWNIES


i hope everyone has made it through the long weekend of chocolate! i mean, easter. i figured i would stick with the chocolate theme from this weekend (because who can honestly get sick of anything chocolate) by making chocolate chip brownies! i have honestly made so many different types of brownie recipes, i can't even keep track. from fudgey to cakey, i would say this recipe produces the best of both worlds. you can mix in just about anything you like! the variations i have made are chocolate chips, peanut butter, walnuts, coconut, cream cheese, oh the possibilities are endless! however, for this particular batch i kept it simple, to embrace brownies in its true glory.

ingredients:

  • 1/2 cup unsalted butter
  • 4 oz unsweetened chocolate (4 squares of bakers chocolate)
  • 2 cups white sugar
  • 1 teaspoon pure vanilla
  • 1 tablespoon espresso
  • 4 eggs
  • 1 cup flour
  • 1/2 teaspoon salt
  • 1/2 cup unsweetened chocolate chips

directions:

  1. preheat oven to 350 degrees.
  2. in a microwave safe bowl, melt butter and unsweetened chocolate. let cool.
  3. in the bowl of a stand mixer, whip sugar, vanilla, espresso, and eggs until light and fluffy.
  4. add in cooled chocolate and butter mixture.
  5. on low speed, sift in flour and salt until just combined.
  6. stir in semi-sweet chocolate chips.
  7. bake for 20-25 minutes (until tooth pic comes out clean).
  8. let cool completely before serving.

NUTTER BUTTER COOKIES


remember nutter butters?! those cute little peanut shaped cookies. these are a flour based peanut butter cookie as opposed to the classic three-ingredient peanut butter cookies. if baked correctly they produce a crisp outside, and soft inside. eat them plain, with peanut butter or sandwich your favourite jam in between them so you can yell "ITS PEANUT BUTTER JELLY TIME".

ingredients:

  • 1/2 cup unsalted butter, room temperature
  • 3/4 cup peanut butter (i used kraft)
  • 3/4 cup white sugar
  • 1/2 cup brown sugar
  • 1 egg
  • 1 teaspoon vanilla extract
  • 1 1/4 cup all-purpose flour
  • 3/4 teaspoon baking soda
  • 1/2 teaspoon baking powder
  • 1/2 teaspoon salt
  • 1/4 cup peanut butter or jam to sandwich in between

directions:

  1. preheat oven to 350 degrees.
  2. in the bowl of a stand mixer, cream butter, peanut butter, white sugar and brown sugar until light and fluffy.
  3. add egg and vanilla, until well incorporated.
  4. on low speed, sift in flour, baking powder, baking soda, and salt.
  5. on a greased cookie sheet place balls of dough and squish with a fork to get the criss-cross design.
  6. bake for 8-10 minutes, and take out right before edges begin to brown.
  7. let cool and eat as they are or place a teaspoon of peanut butter/jam in the middle!